
Improving 2D Orthographics in Photoshop
Over on our Instagram, we have given multiple tips and quick clips of our orthographic rendering processes before. This week we thought it would be good to compile how we go about improving orthographic drawings in Photoshop.
So… let’s begin!
1. Import your Orthographic Drawing
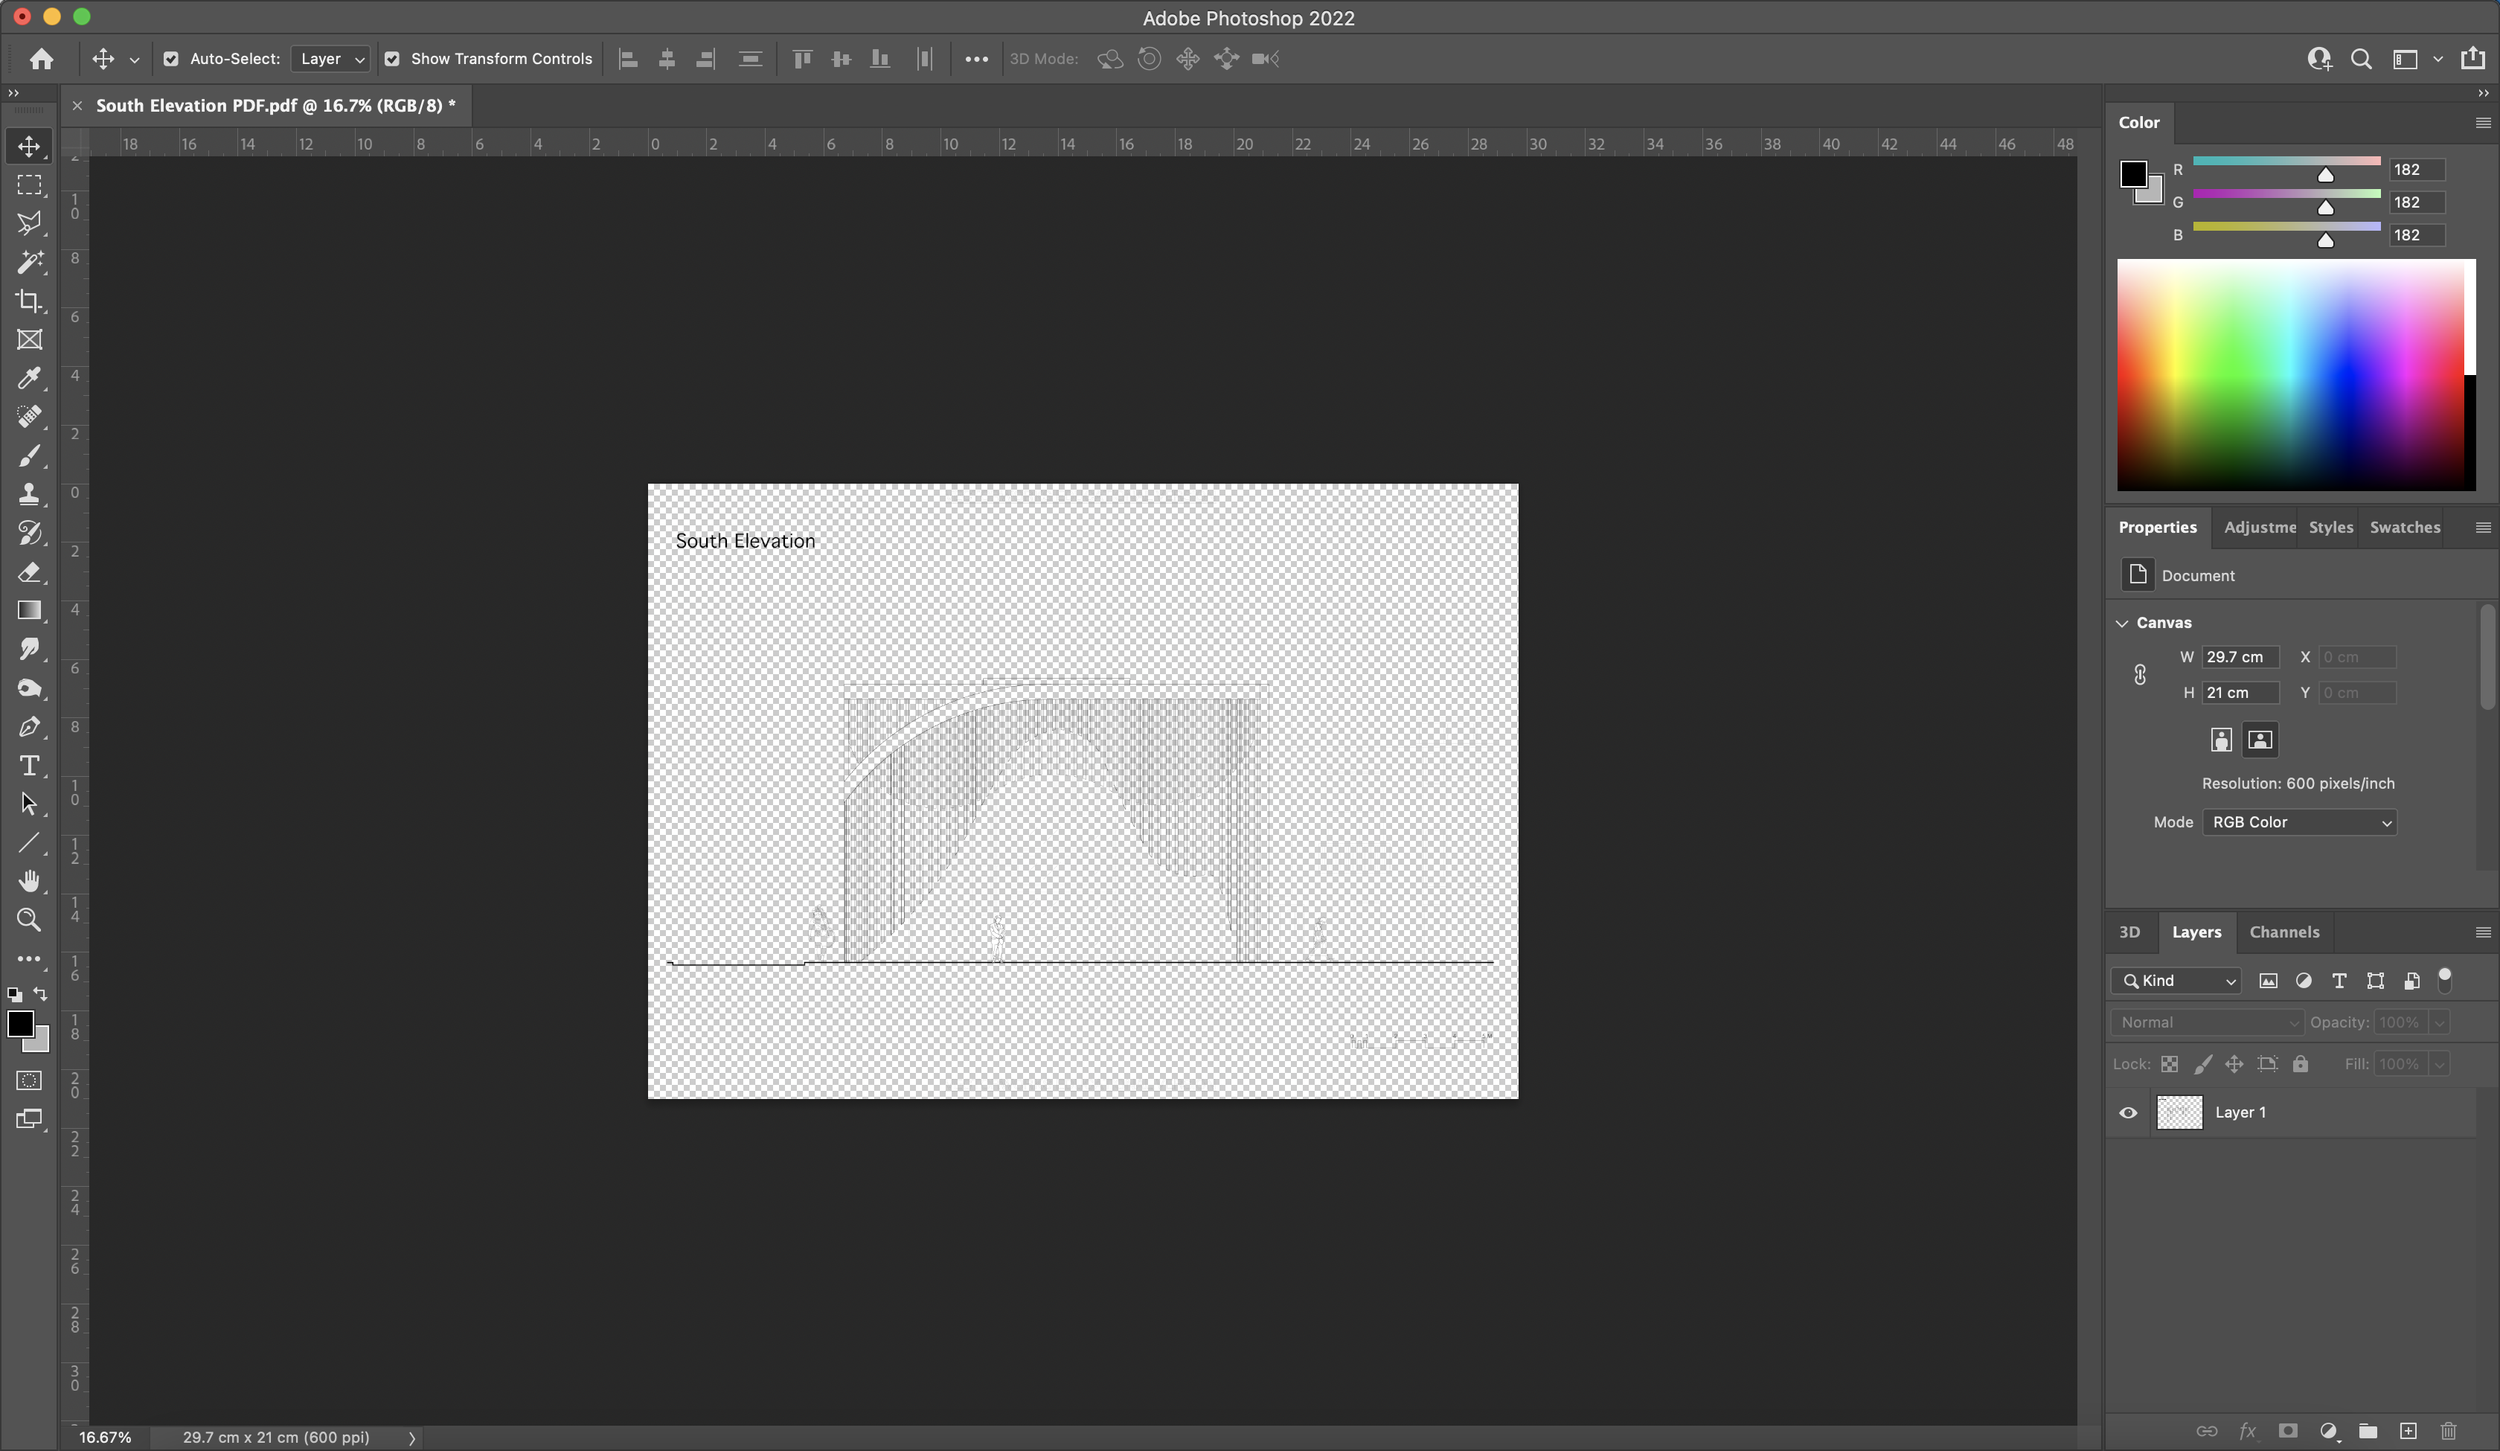
To begin with, you will need to import your orthographic drawing of choice into Photoshop. In my case, I have uploaded a PDF into Photoshop - as long as the file type is compatible, this step should be really easy.
2. Foreground Colour
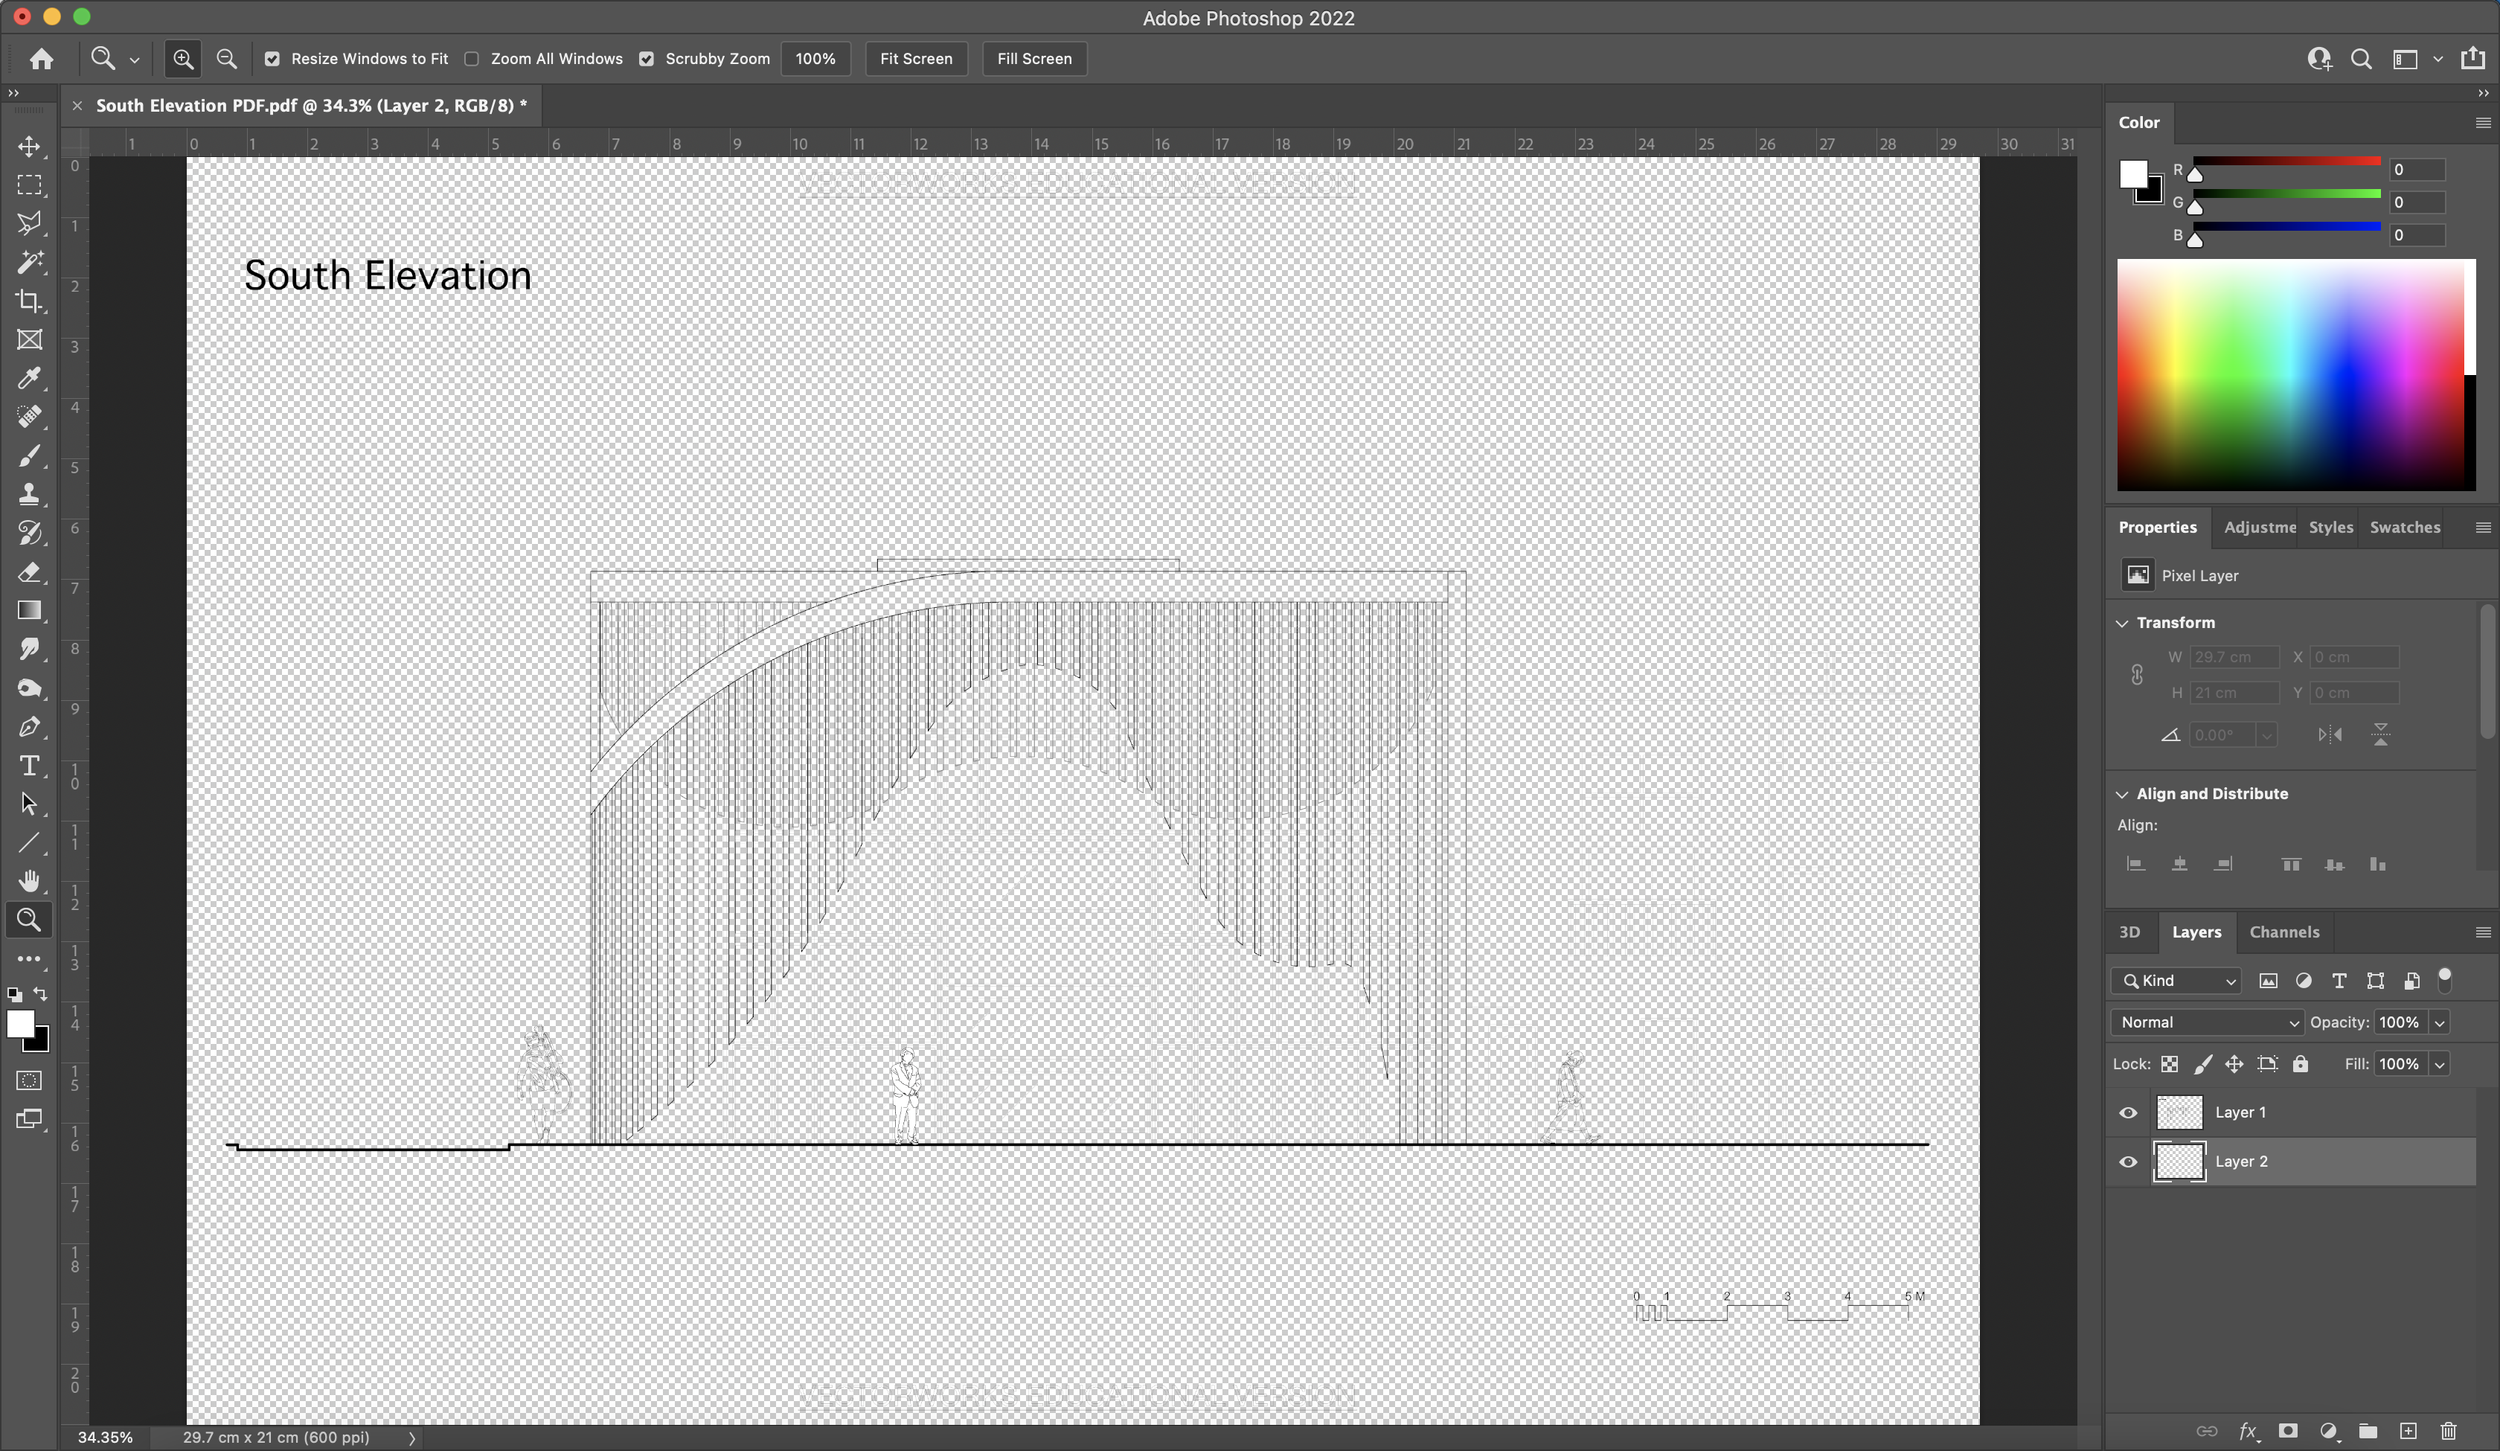
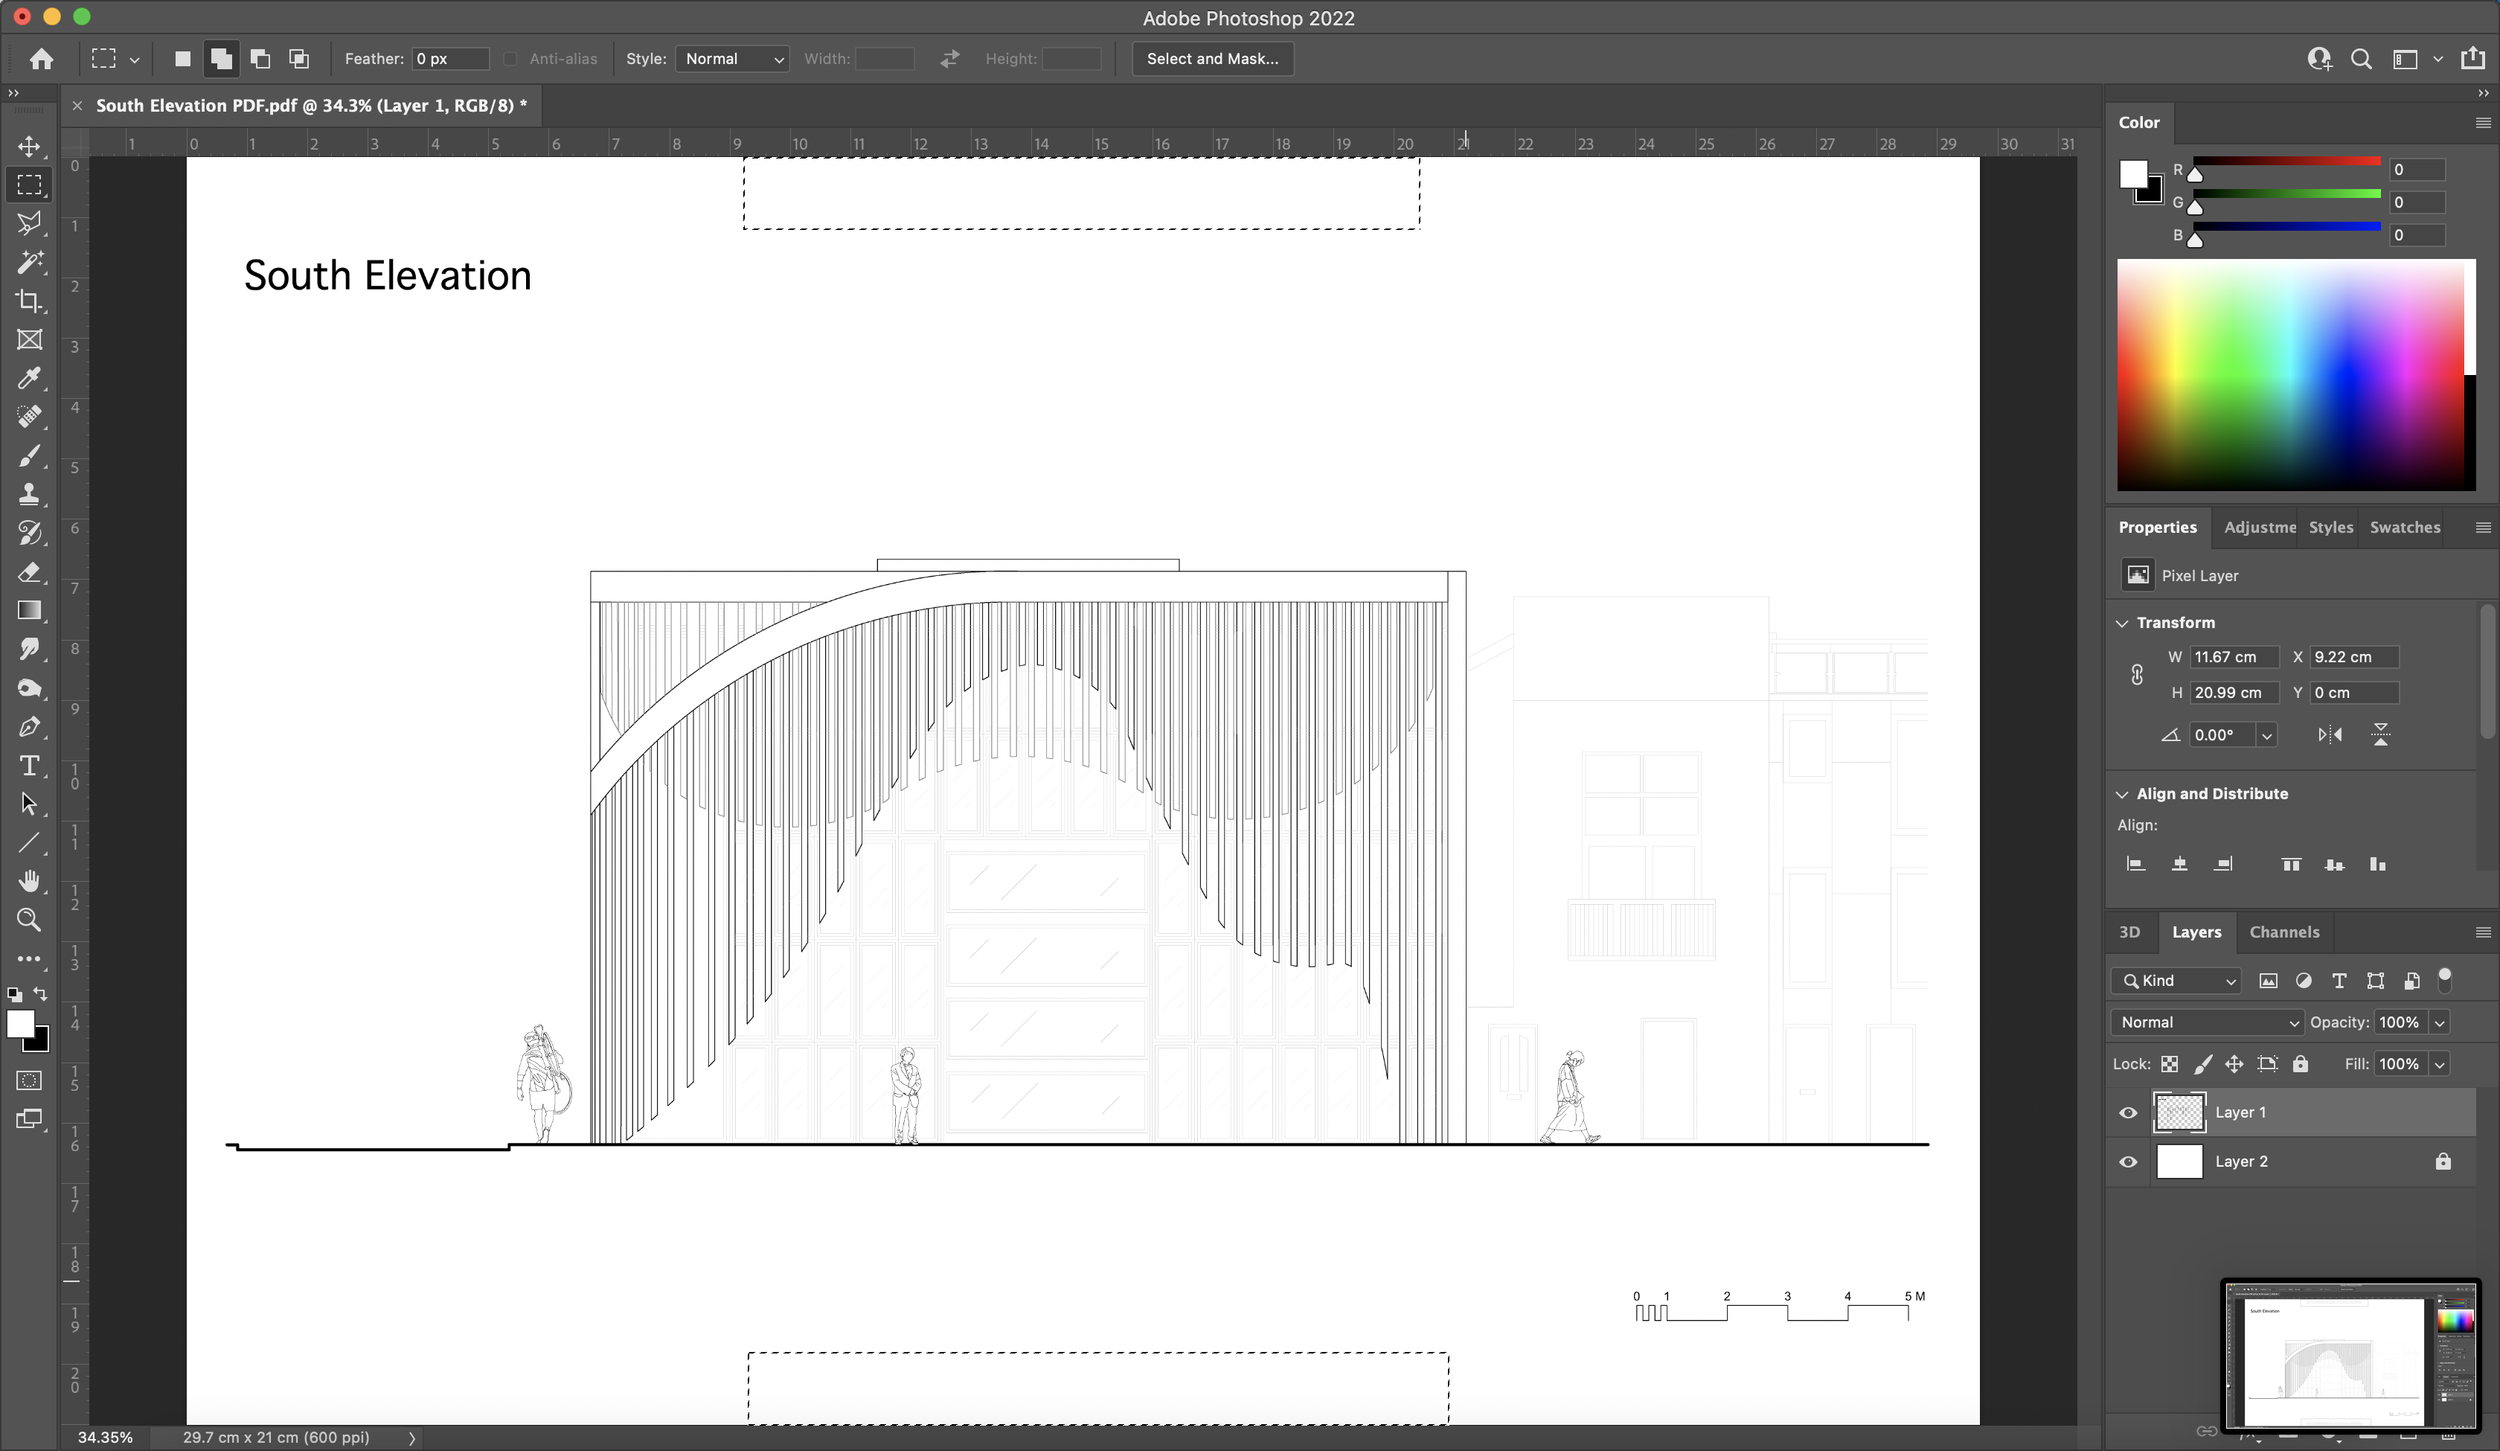
As you can see from the screenshot below, my drawing has no background. To add a white backdrop to the drawing, make sure you have your white and black colours selected as shown on the left under all the tools. Create a new layer and use the command ‘Option + Delete’ to fill the layer with the foreground colour. You do not need to stick to a white background so feel free to change the swatch to your desired colour. I have also locked this layer to avoid moving or selecting it accidentally later on during the process by clicking on the lock icon in the ‘Layers’ window.


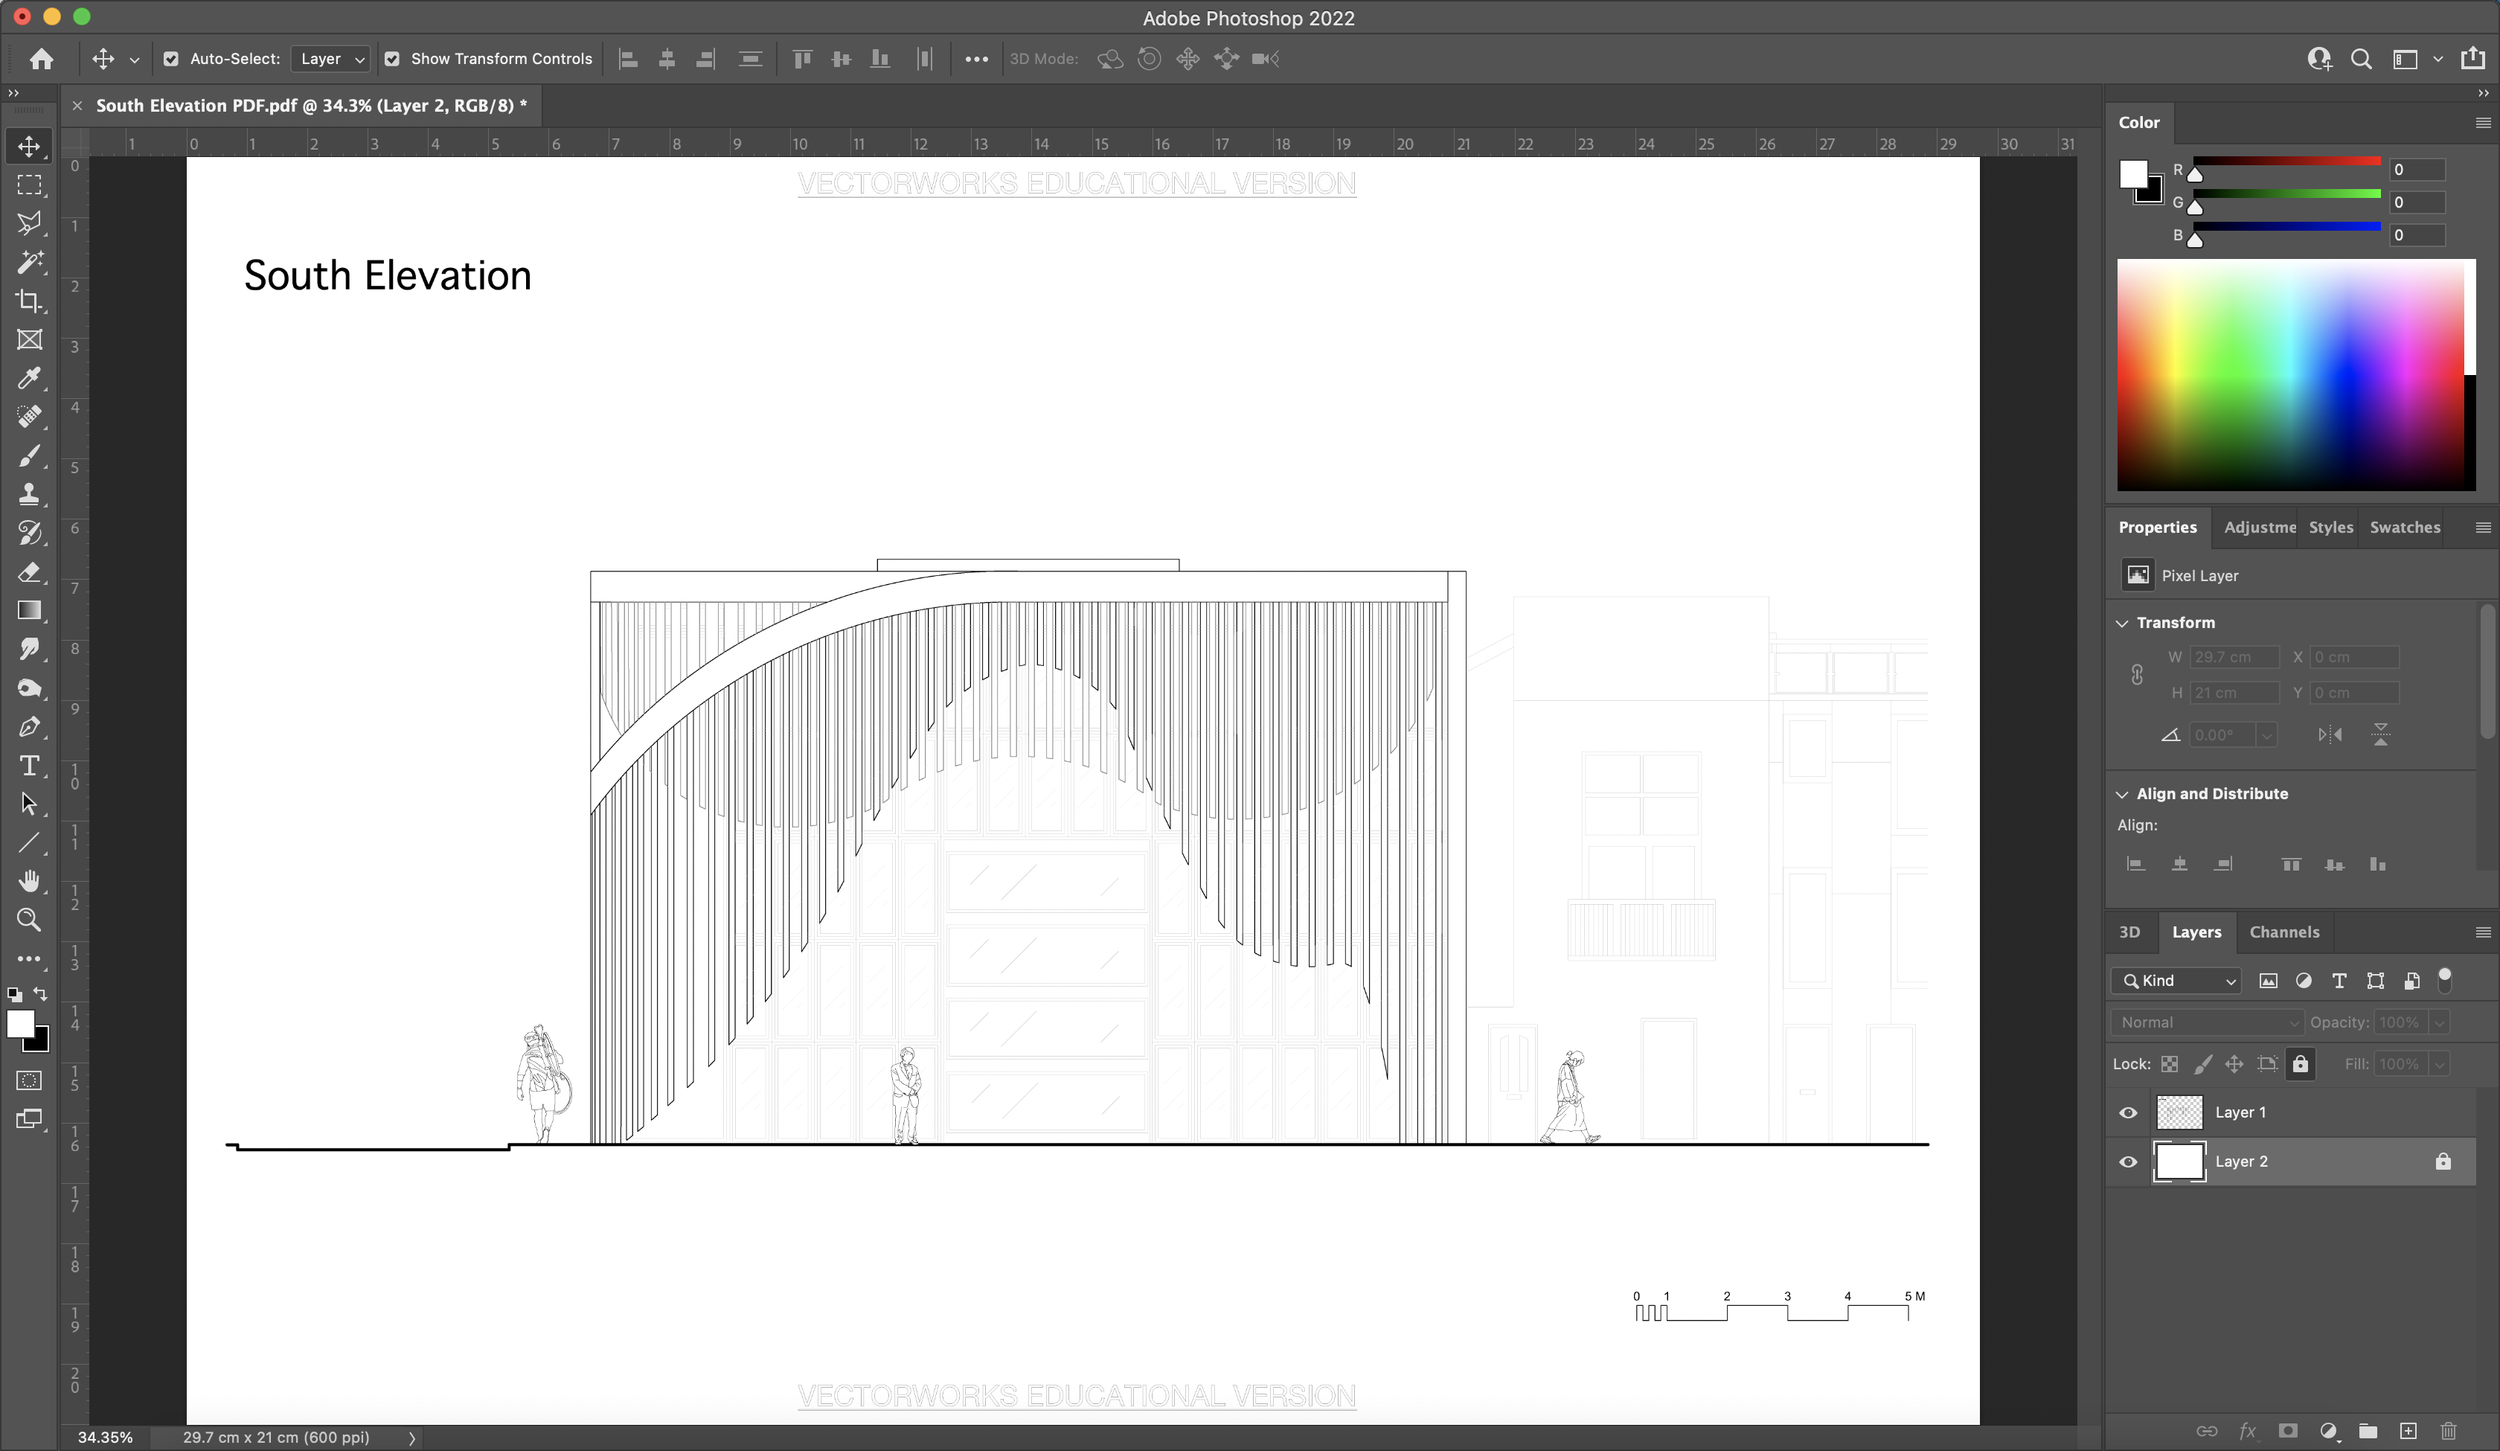
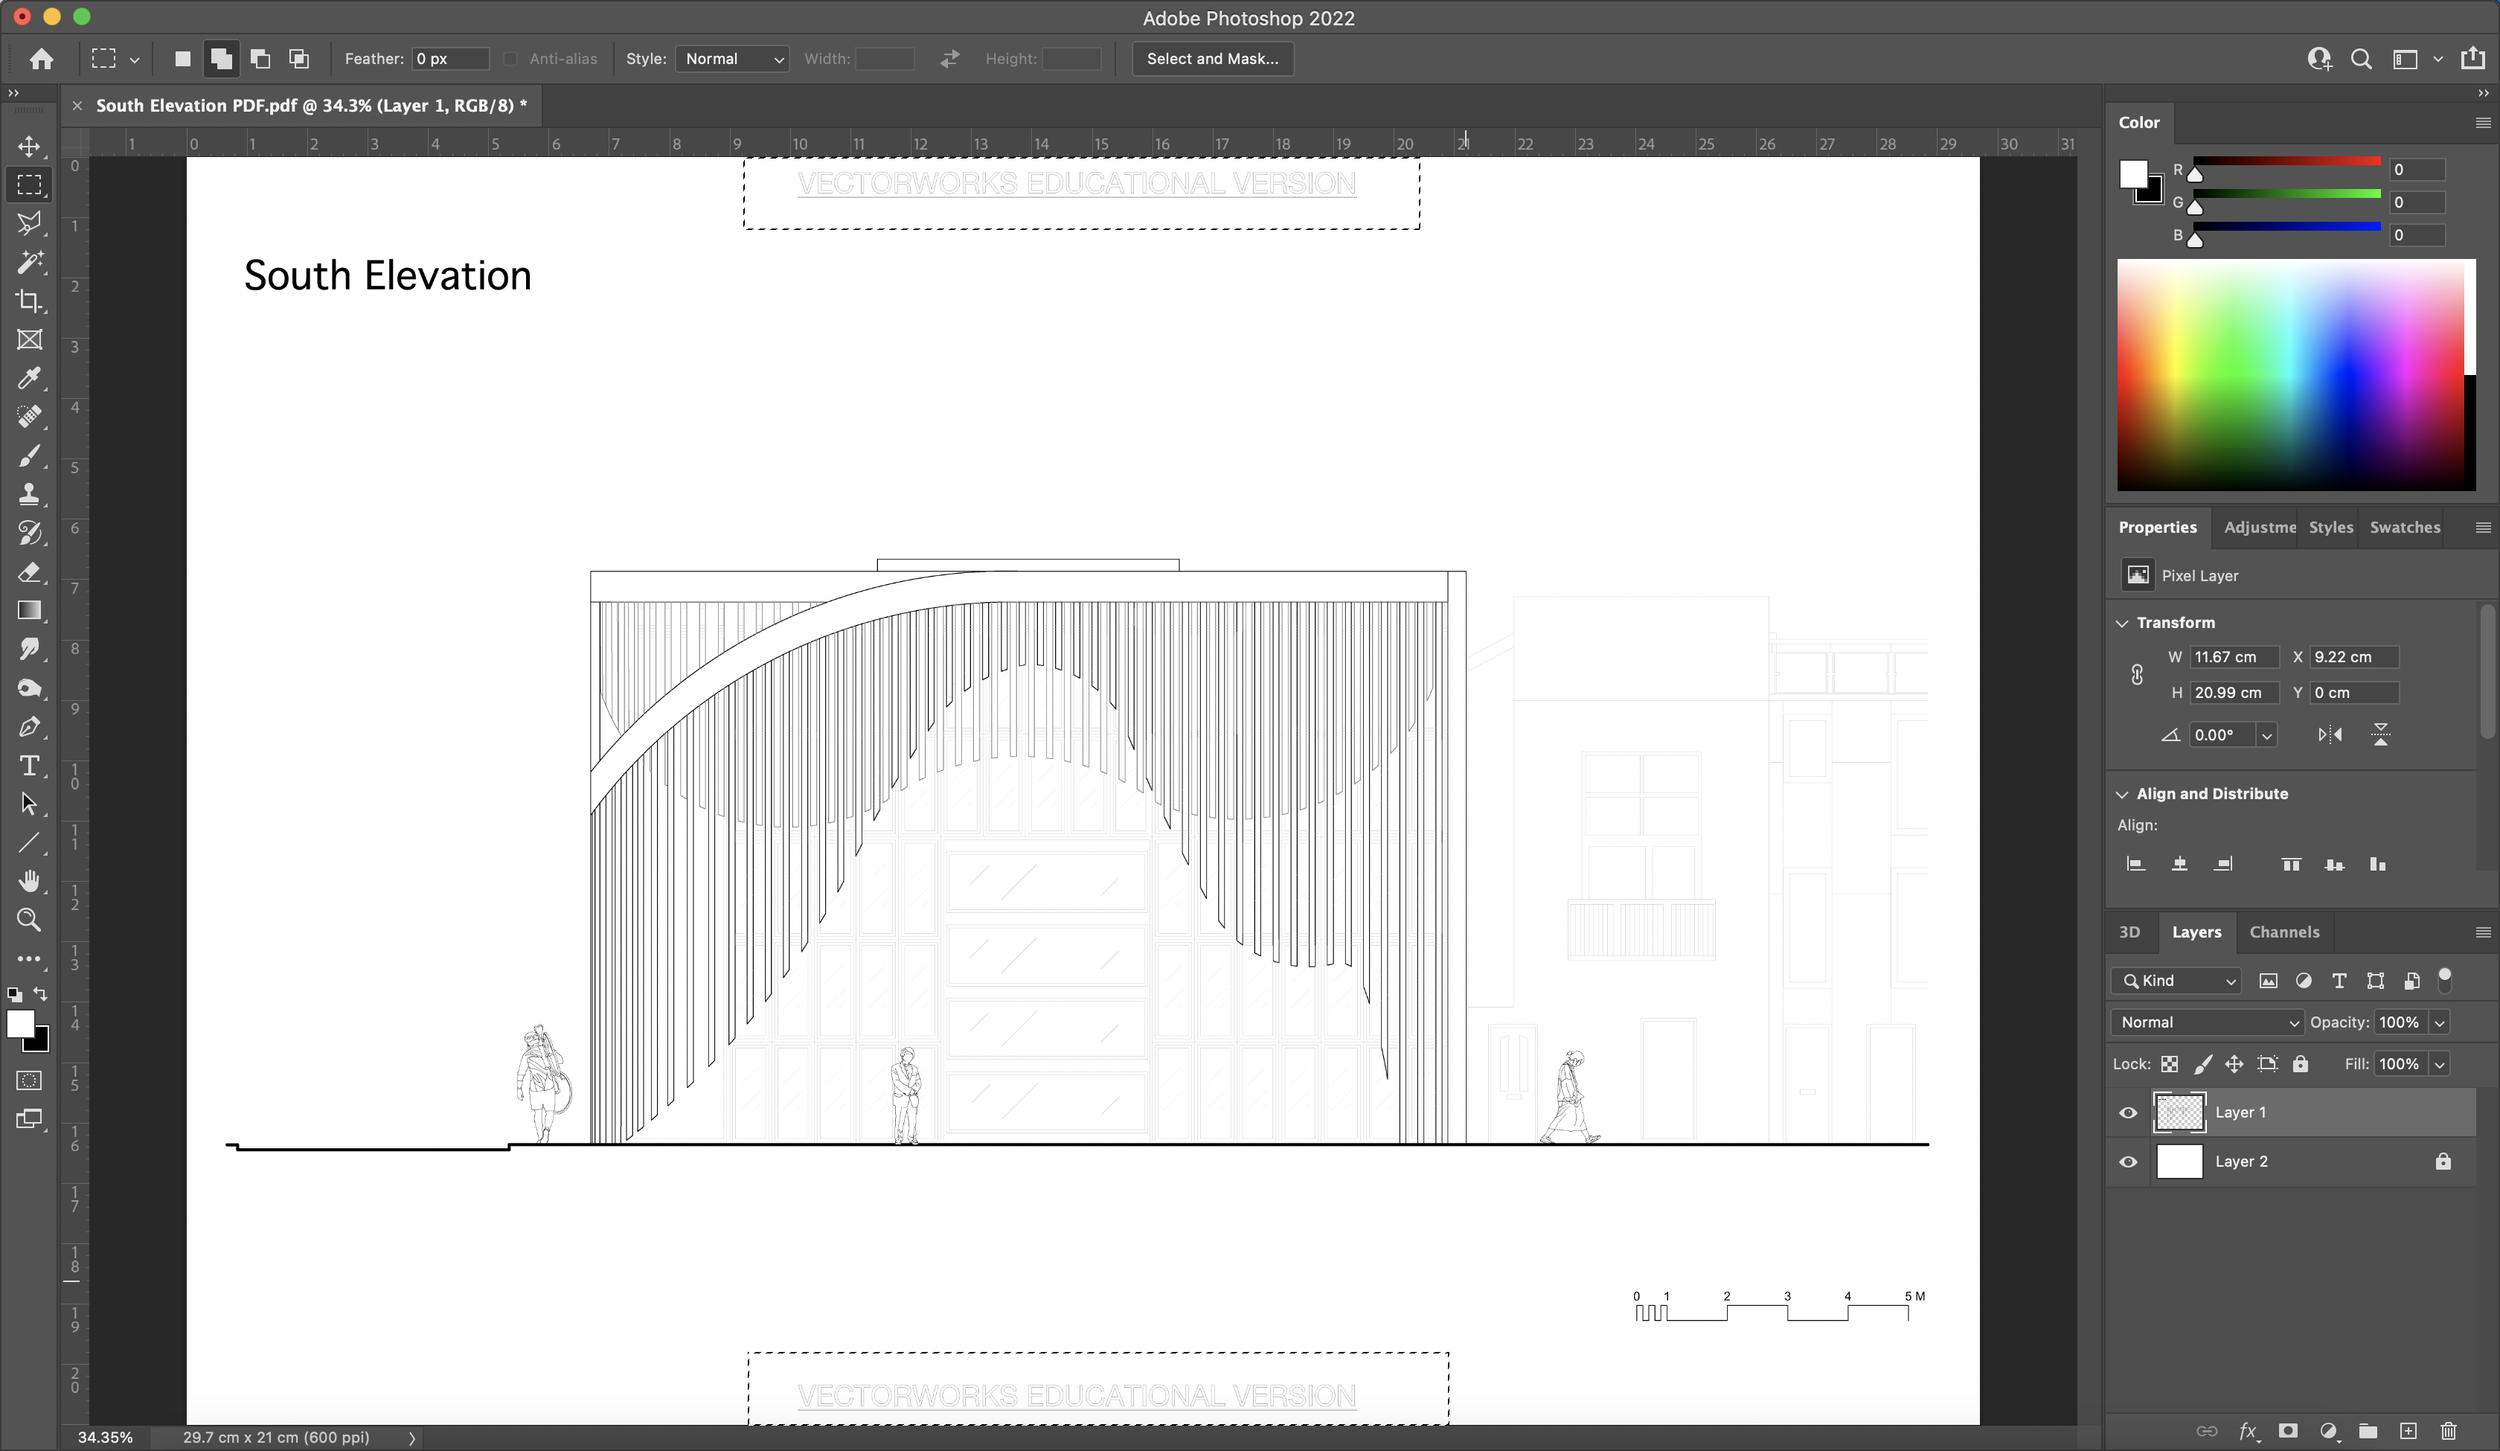
3. Remove any Watermarks
This elevation drawing was drawn specifically in Vectorworks with the university’s educational license and so leaves a watermark when you export your drawing as a PDF. This can simply be removed by using the ‘Rectangular Marquee Tool’ to select the watermark and then delete it.


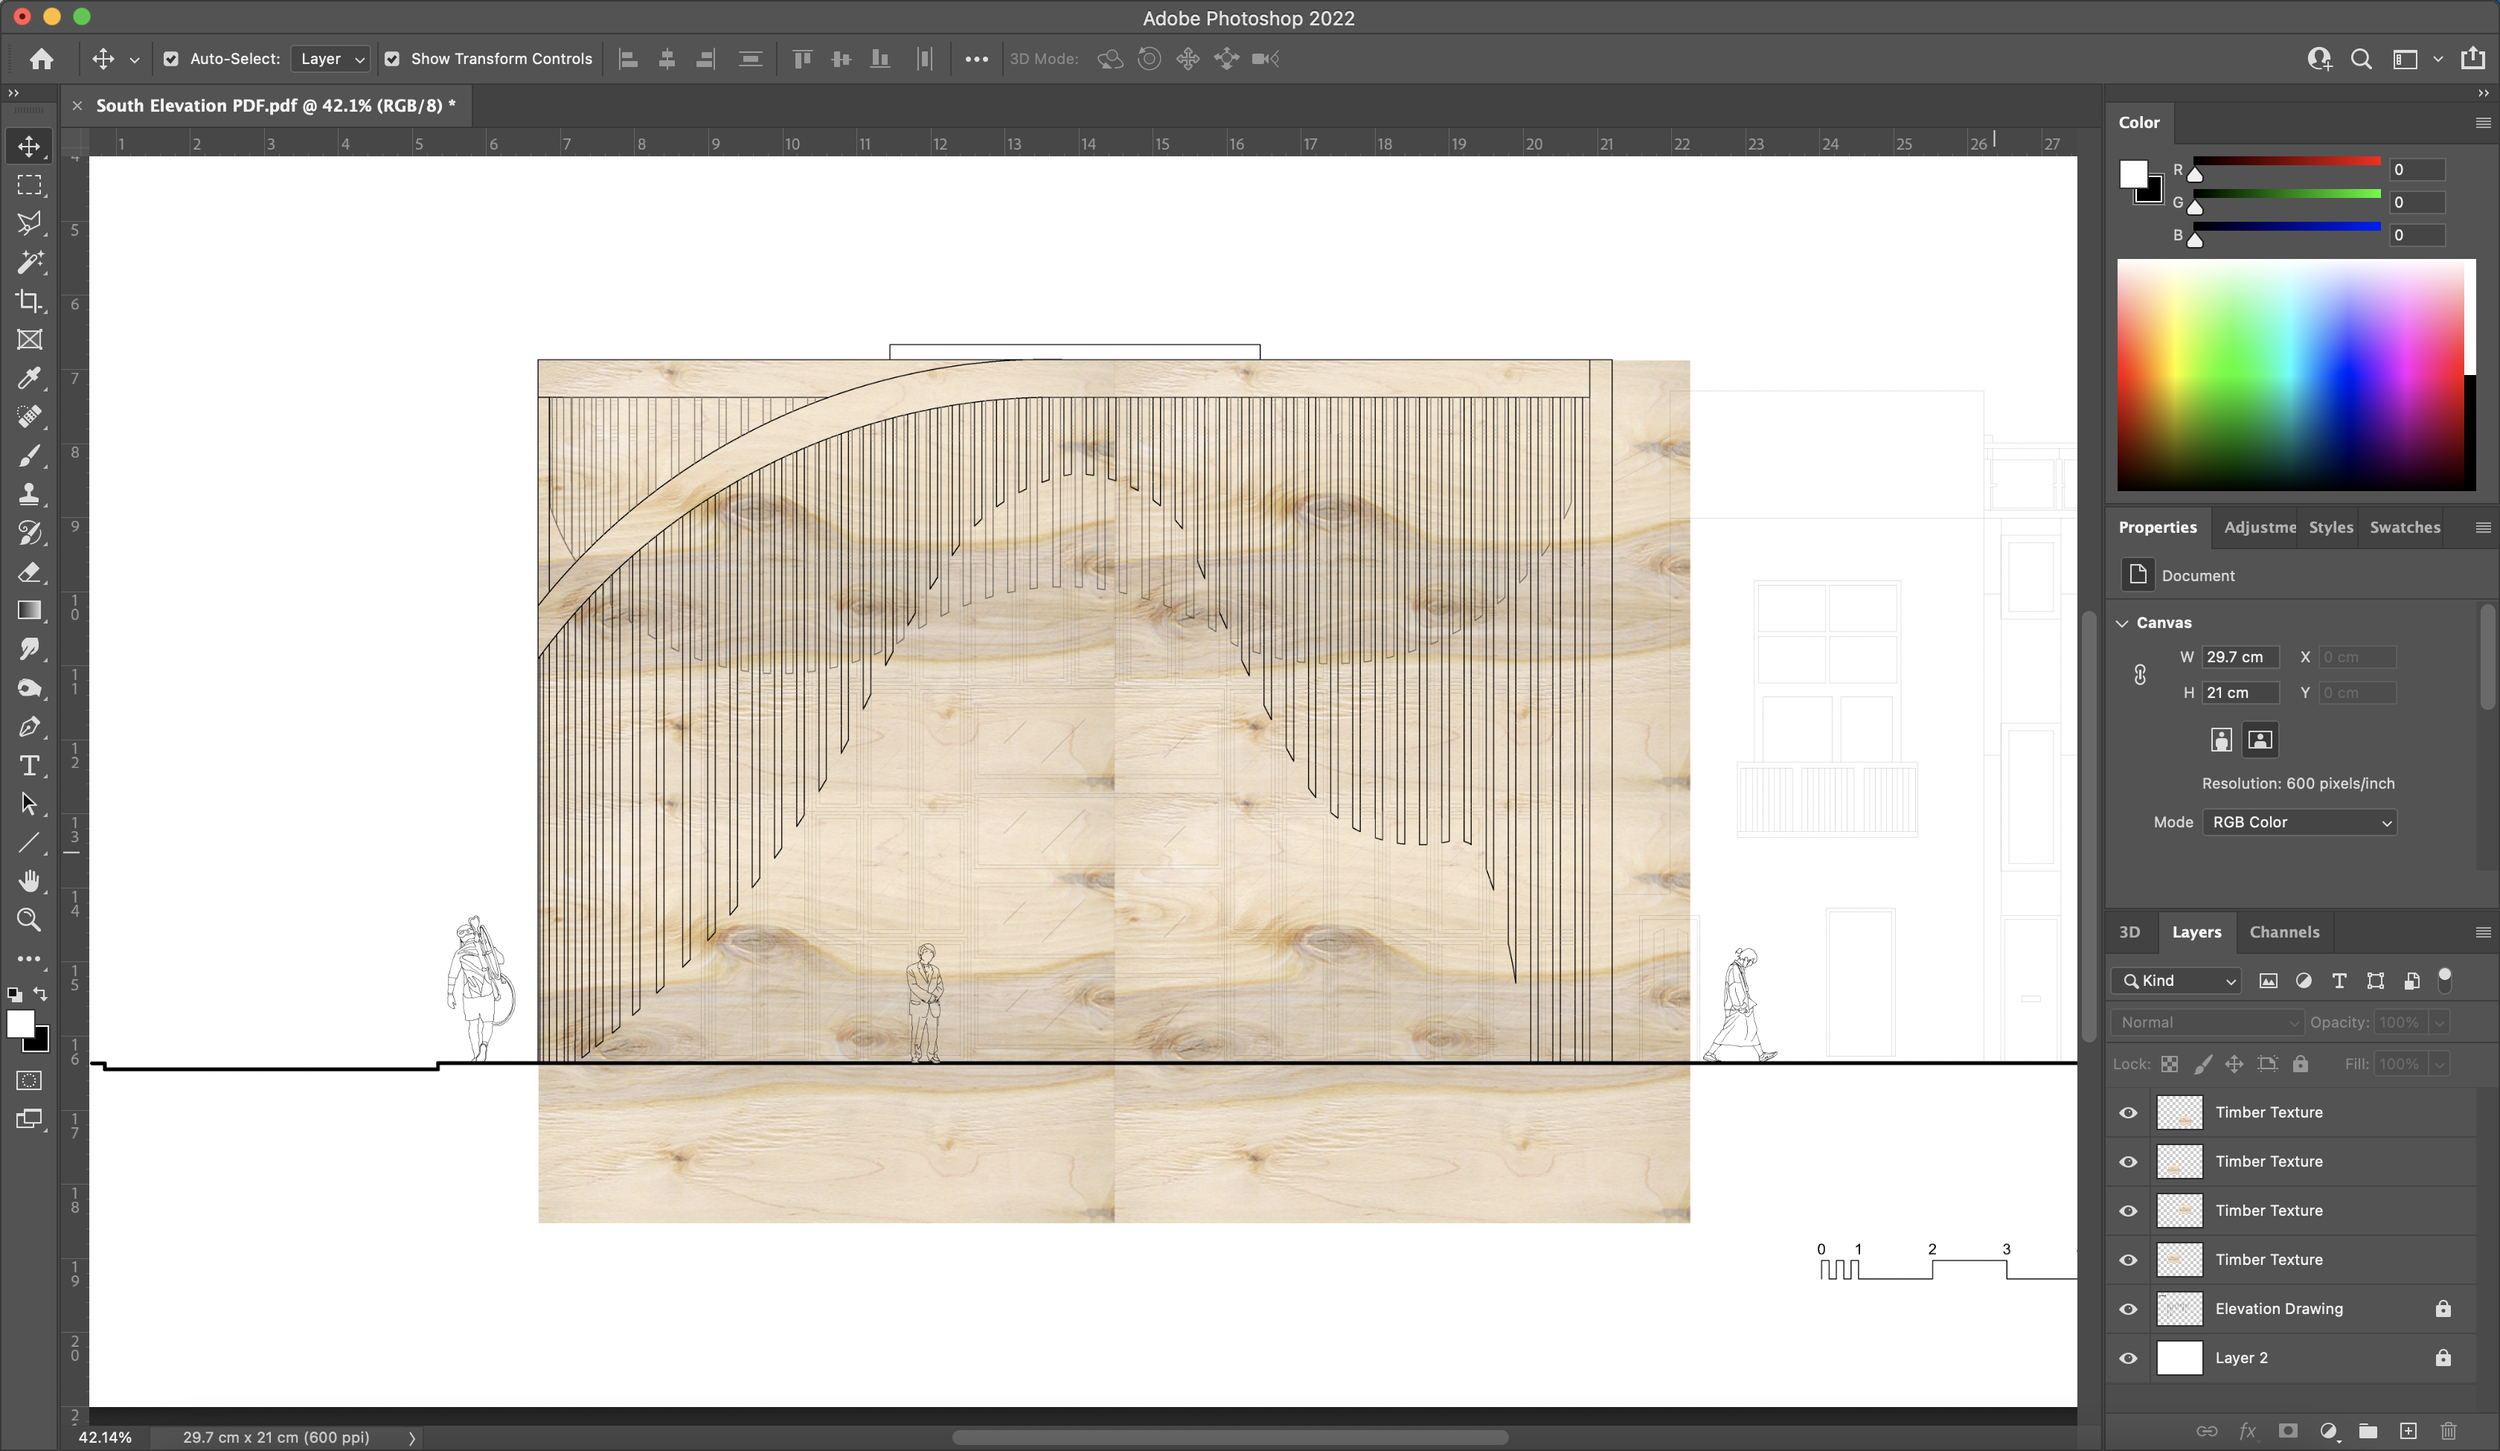
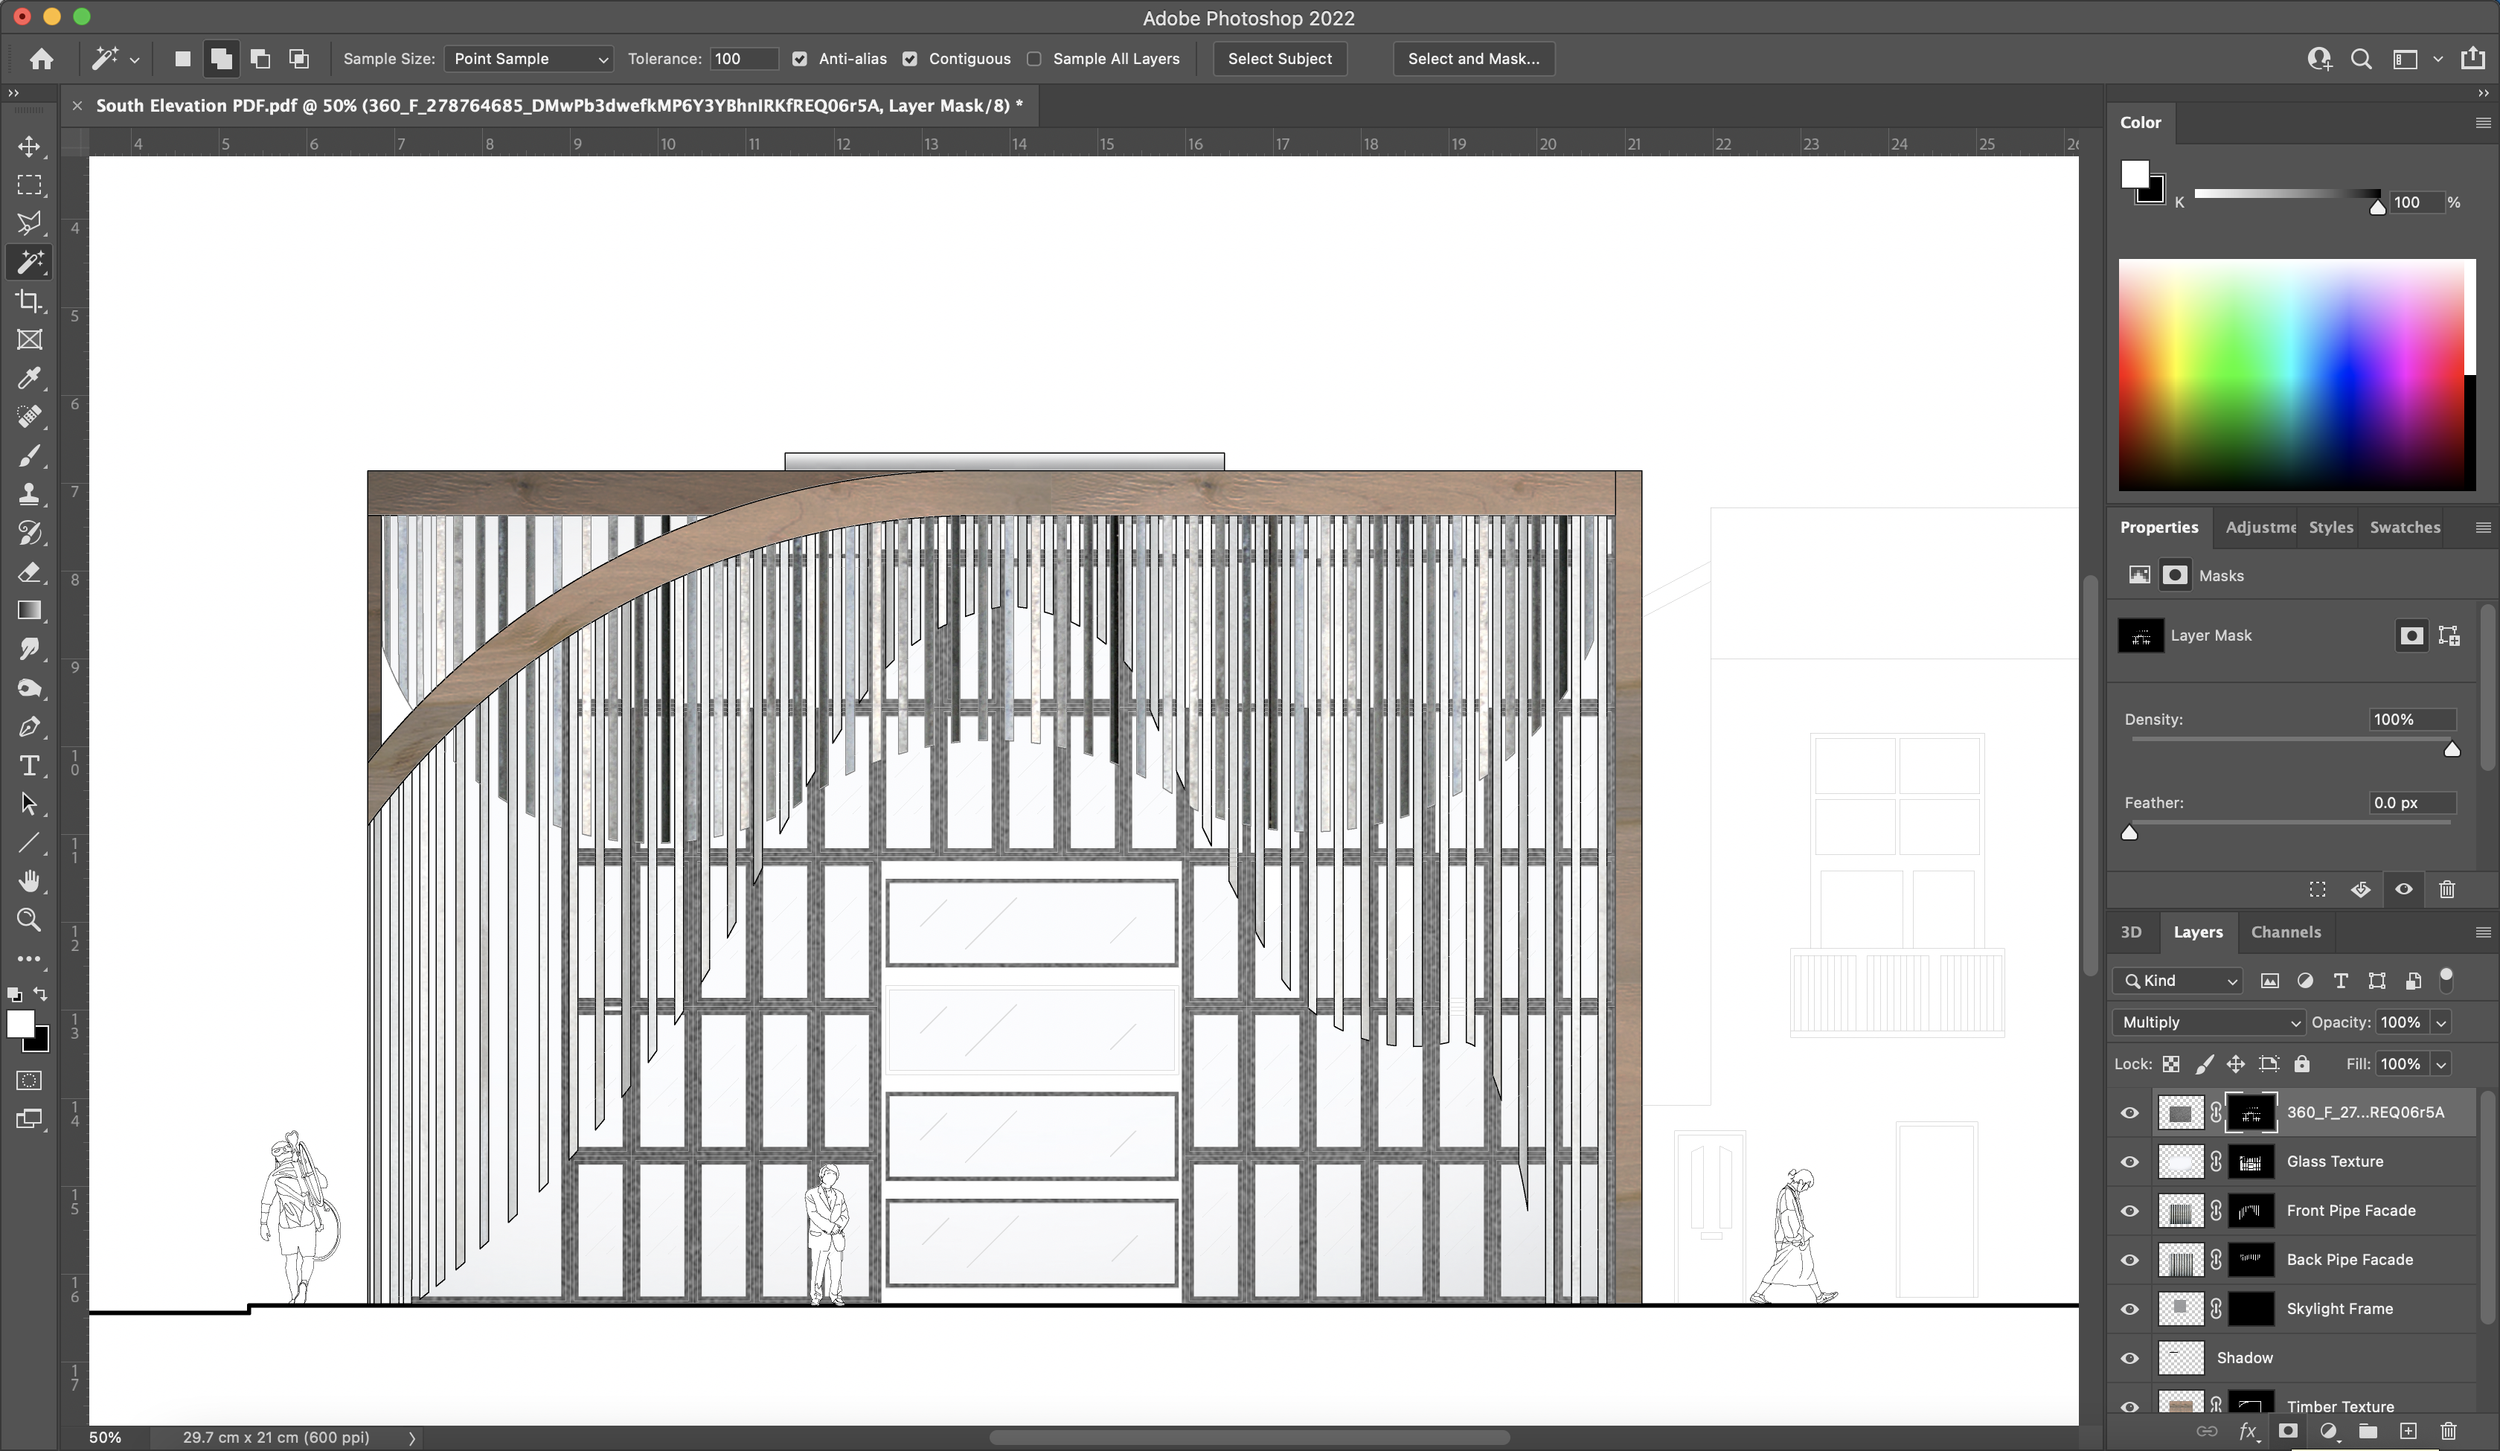
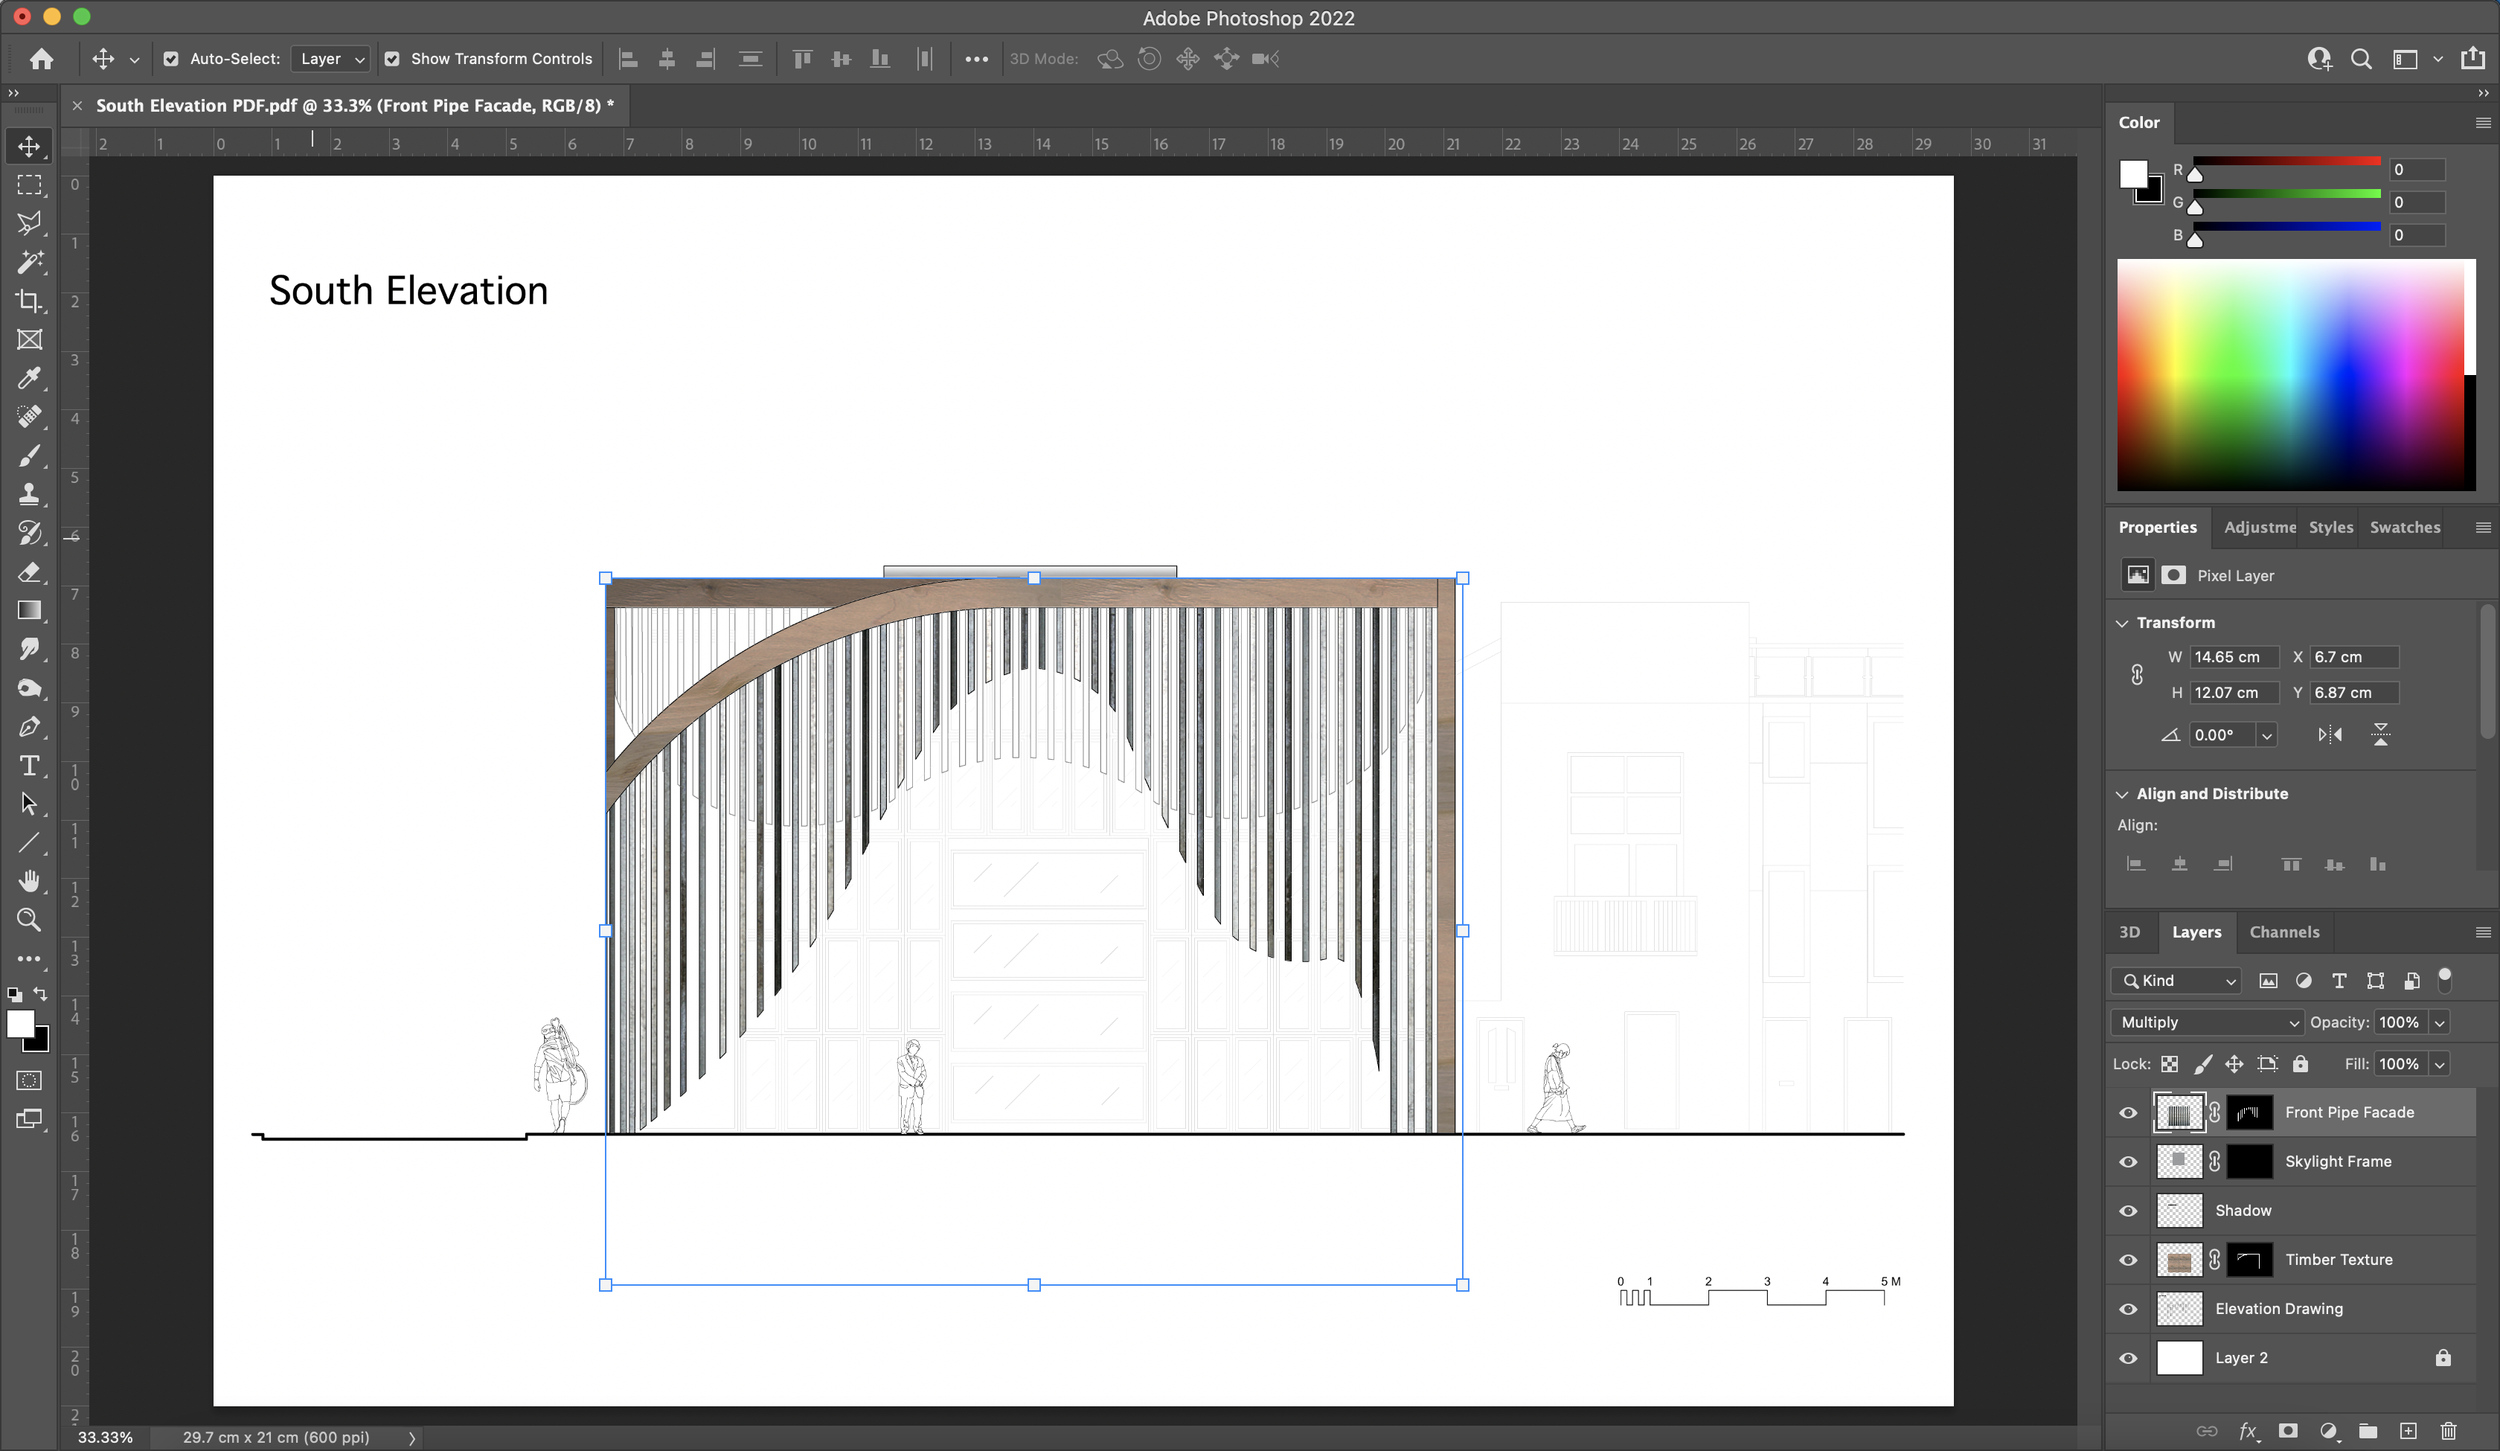
4. Importance of Layers
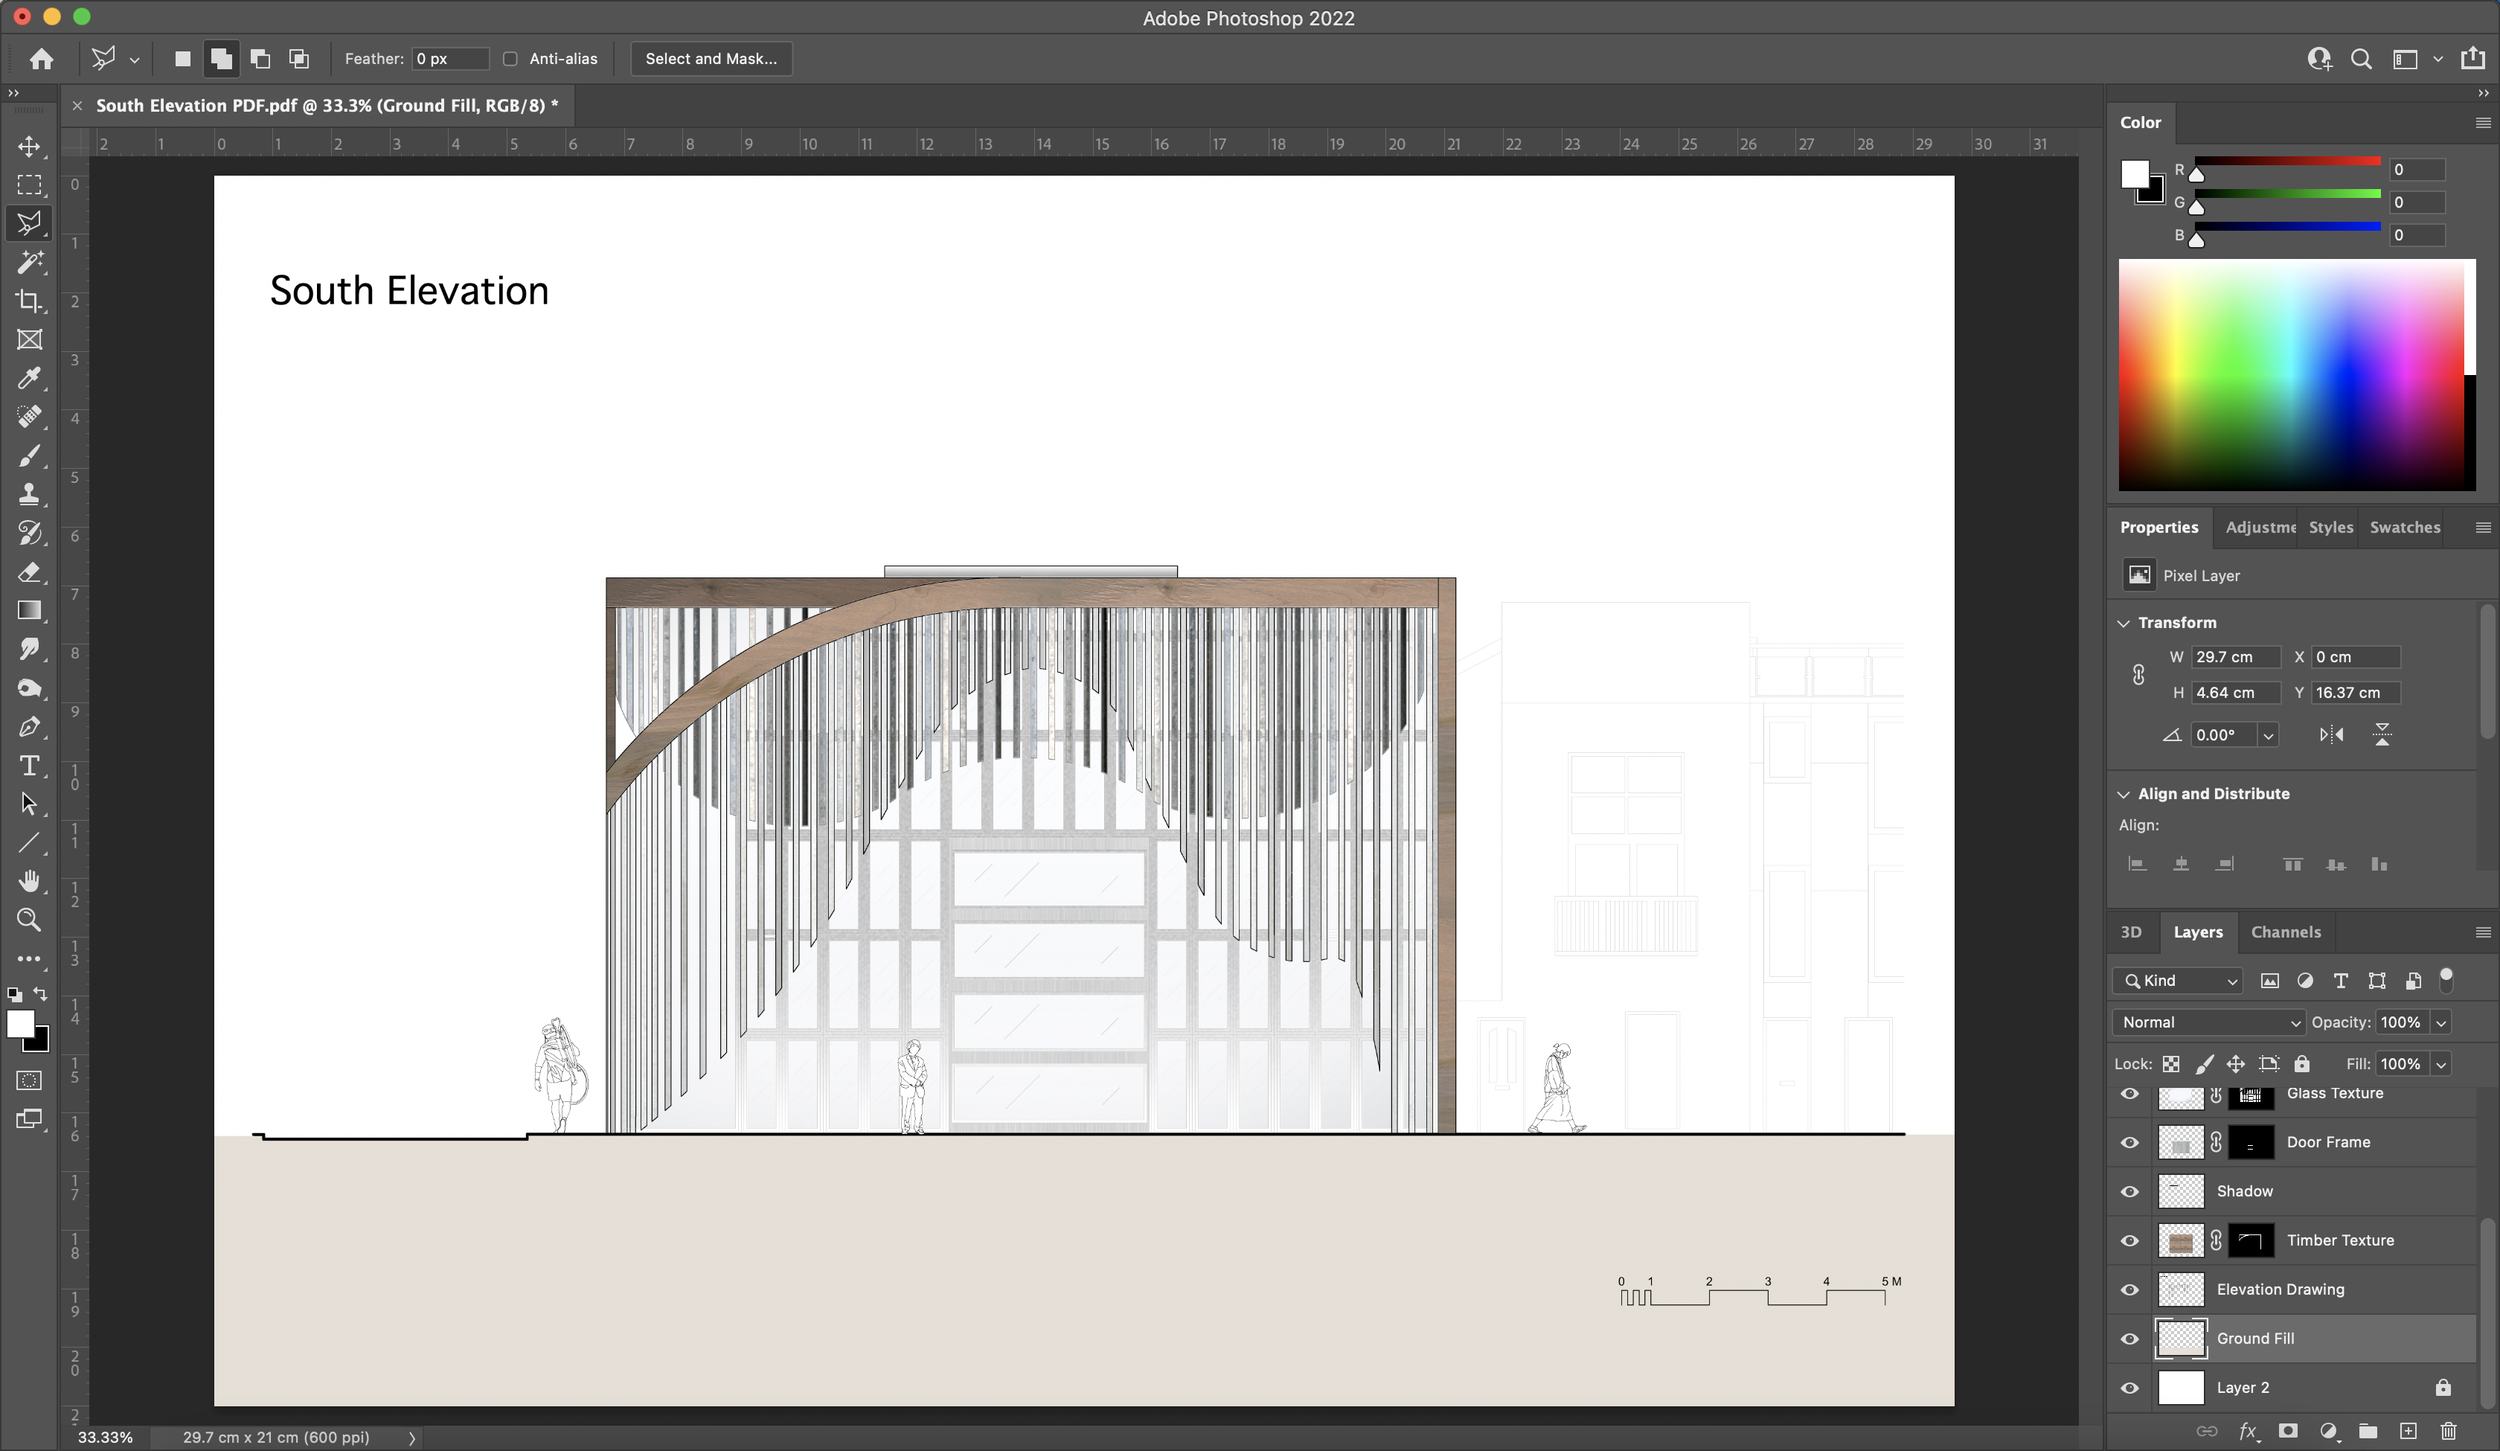
A running theme in this tutorial that you will notice is the importance of keeping your layers in order. Try to get into the habit of splitting components of a collage or processed orthographic drawing into different layers as this will come in handy in the editing and depth organisation part of your post-production. In the screenshot below, you can see that I have made a new layer for the timber texture that I’ll be using for the timber structure being used.


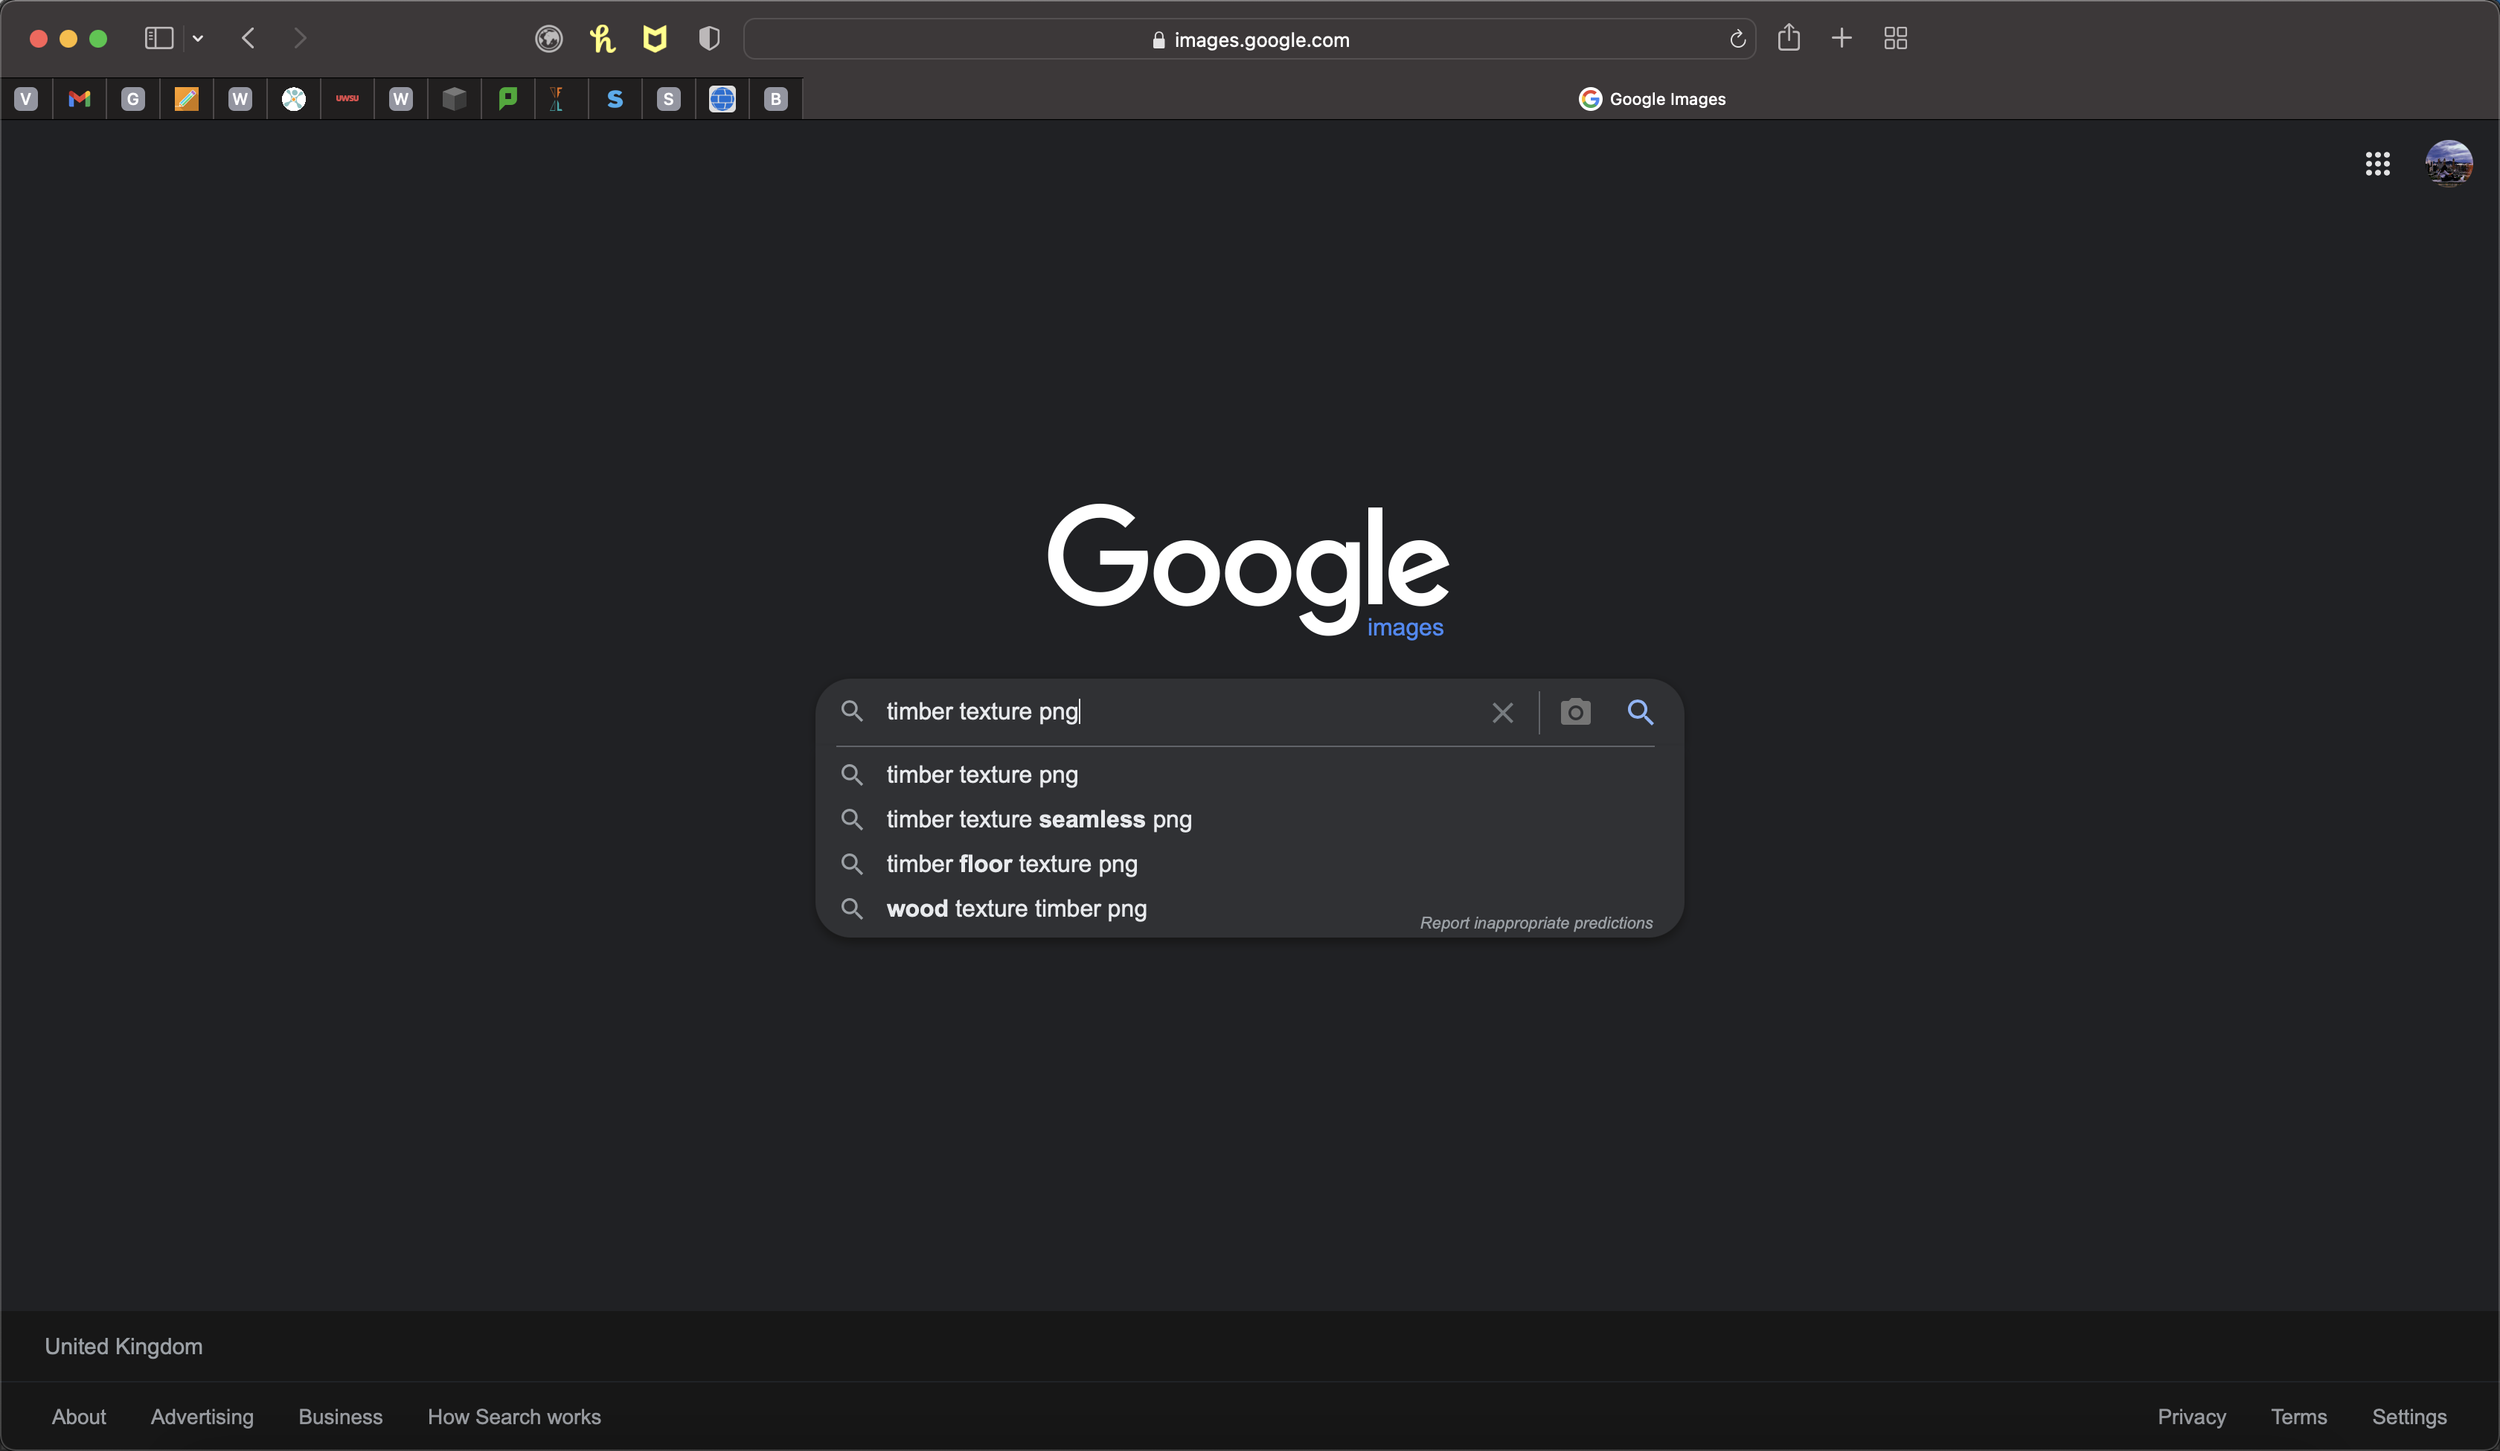
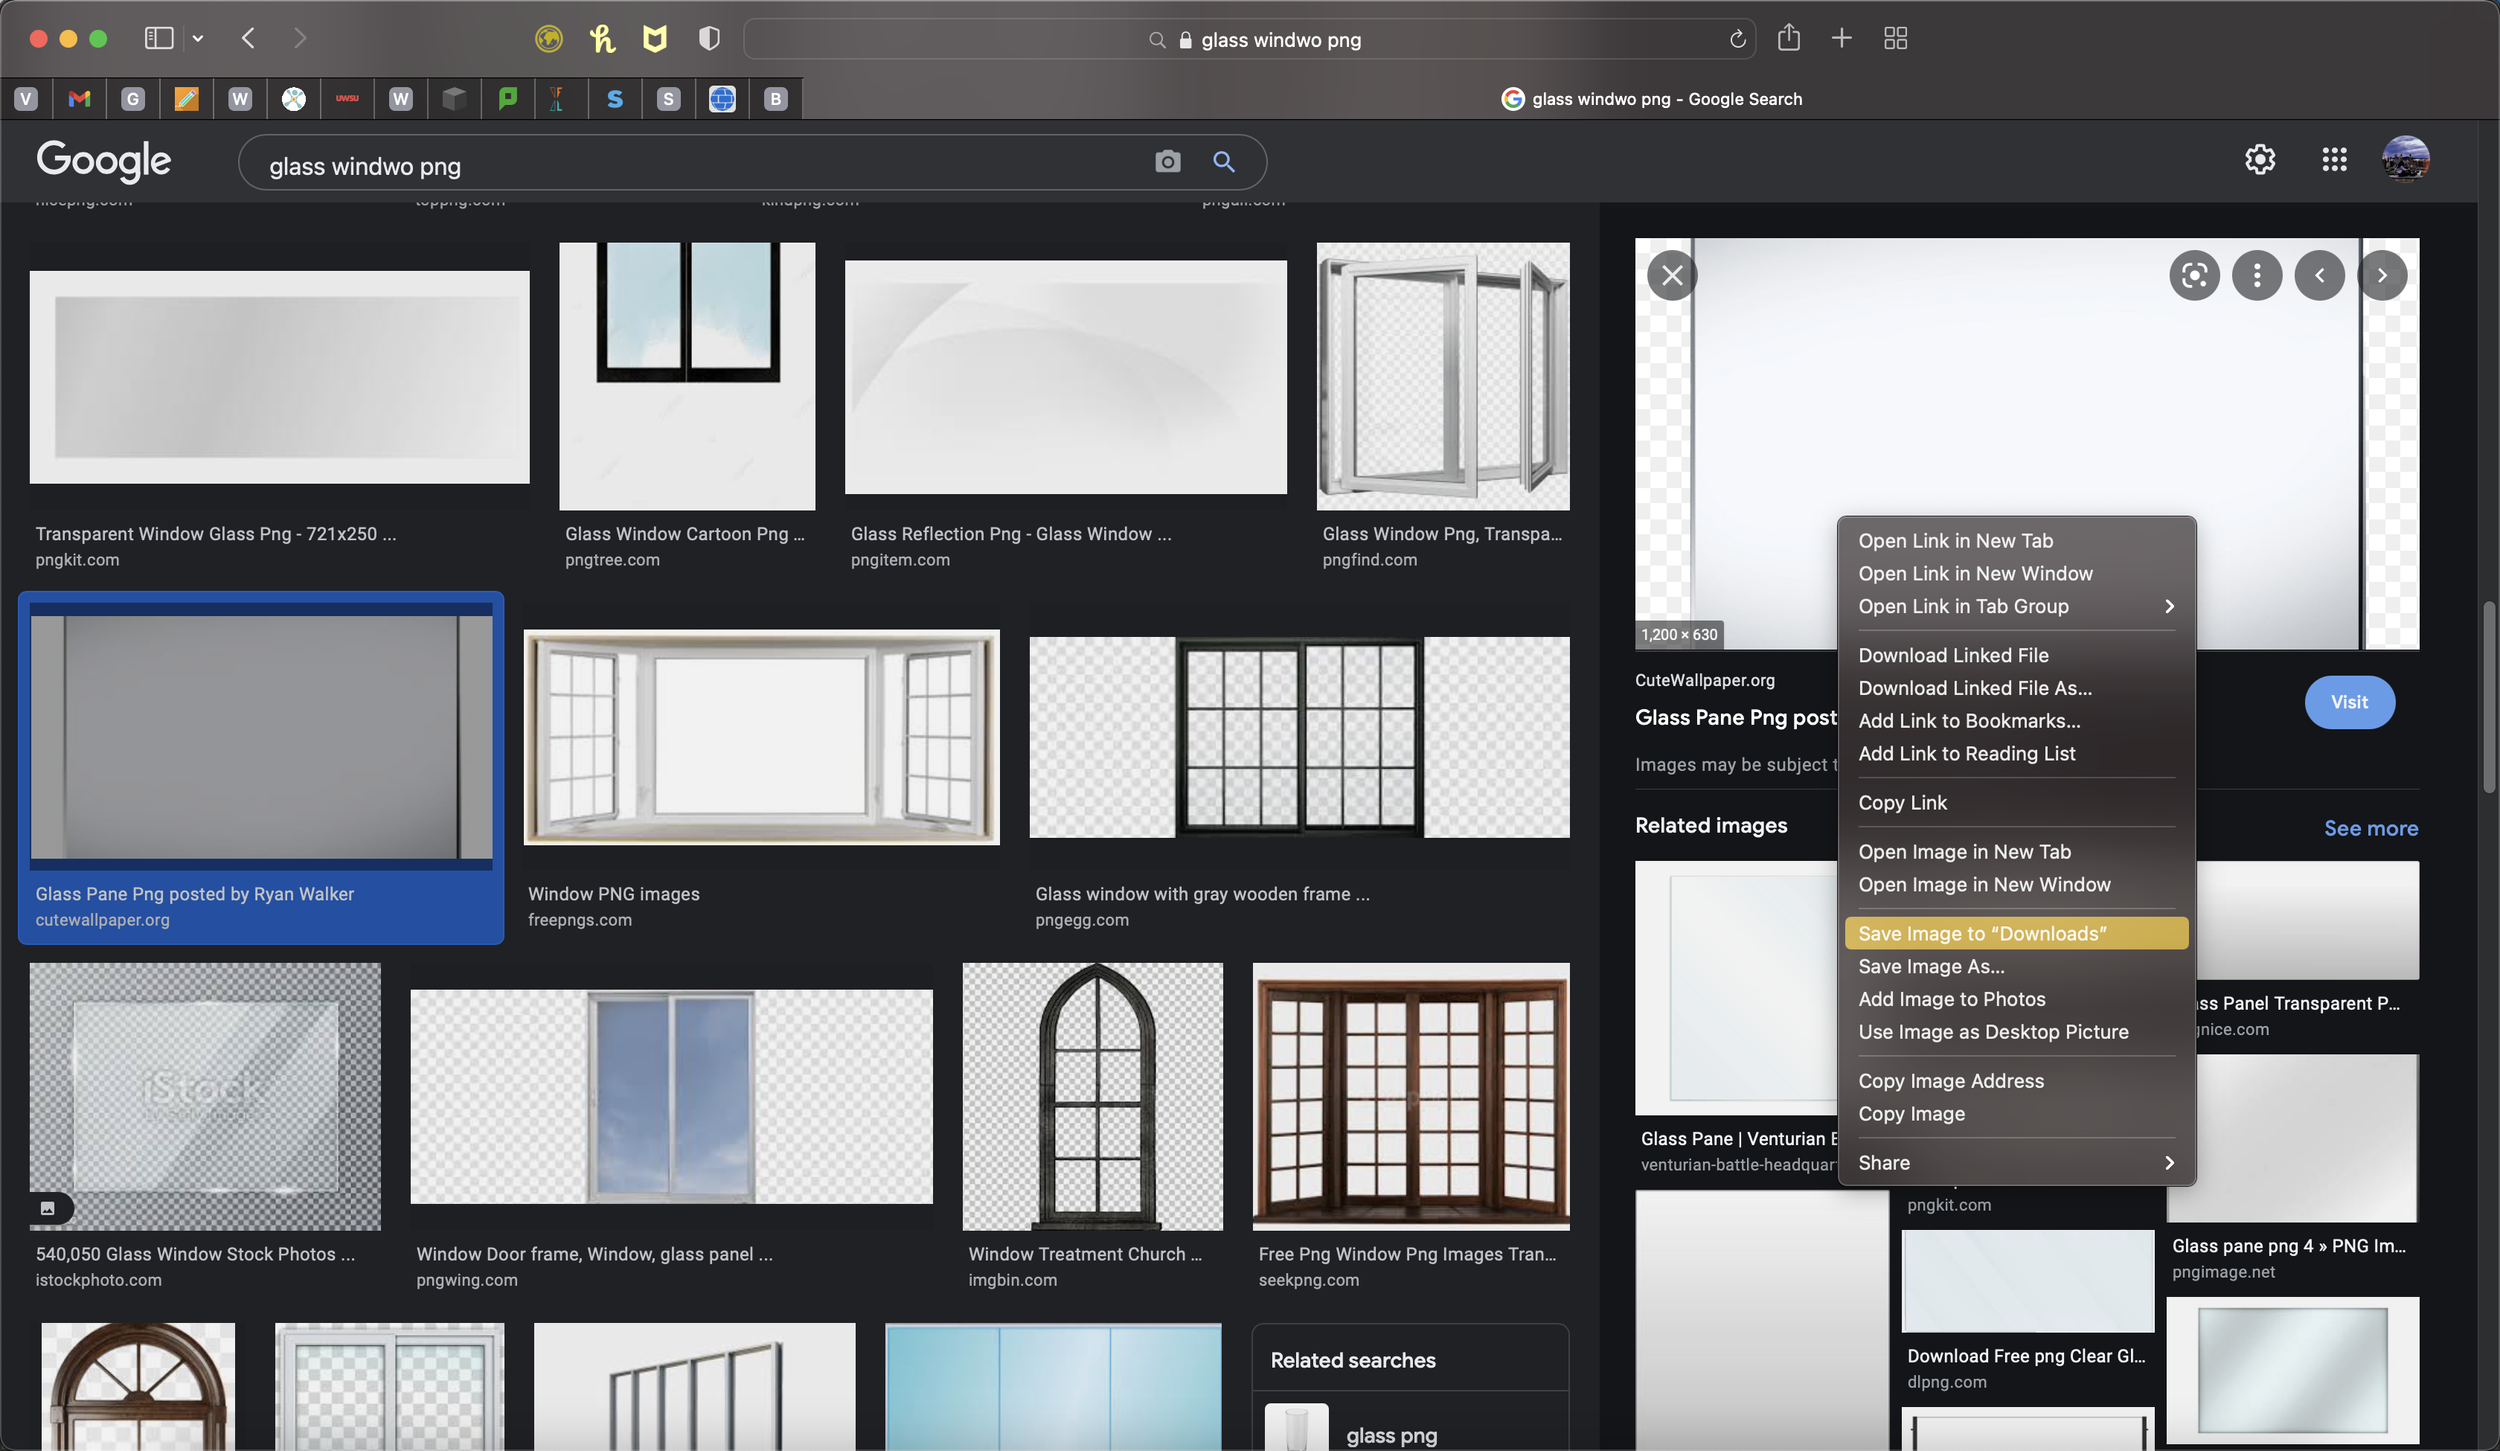
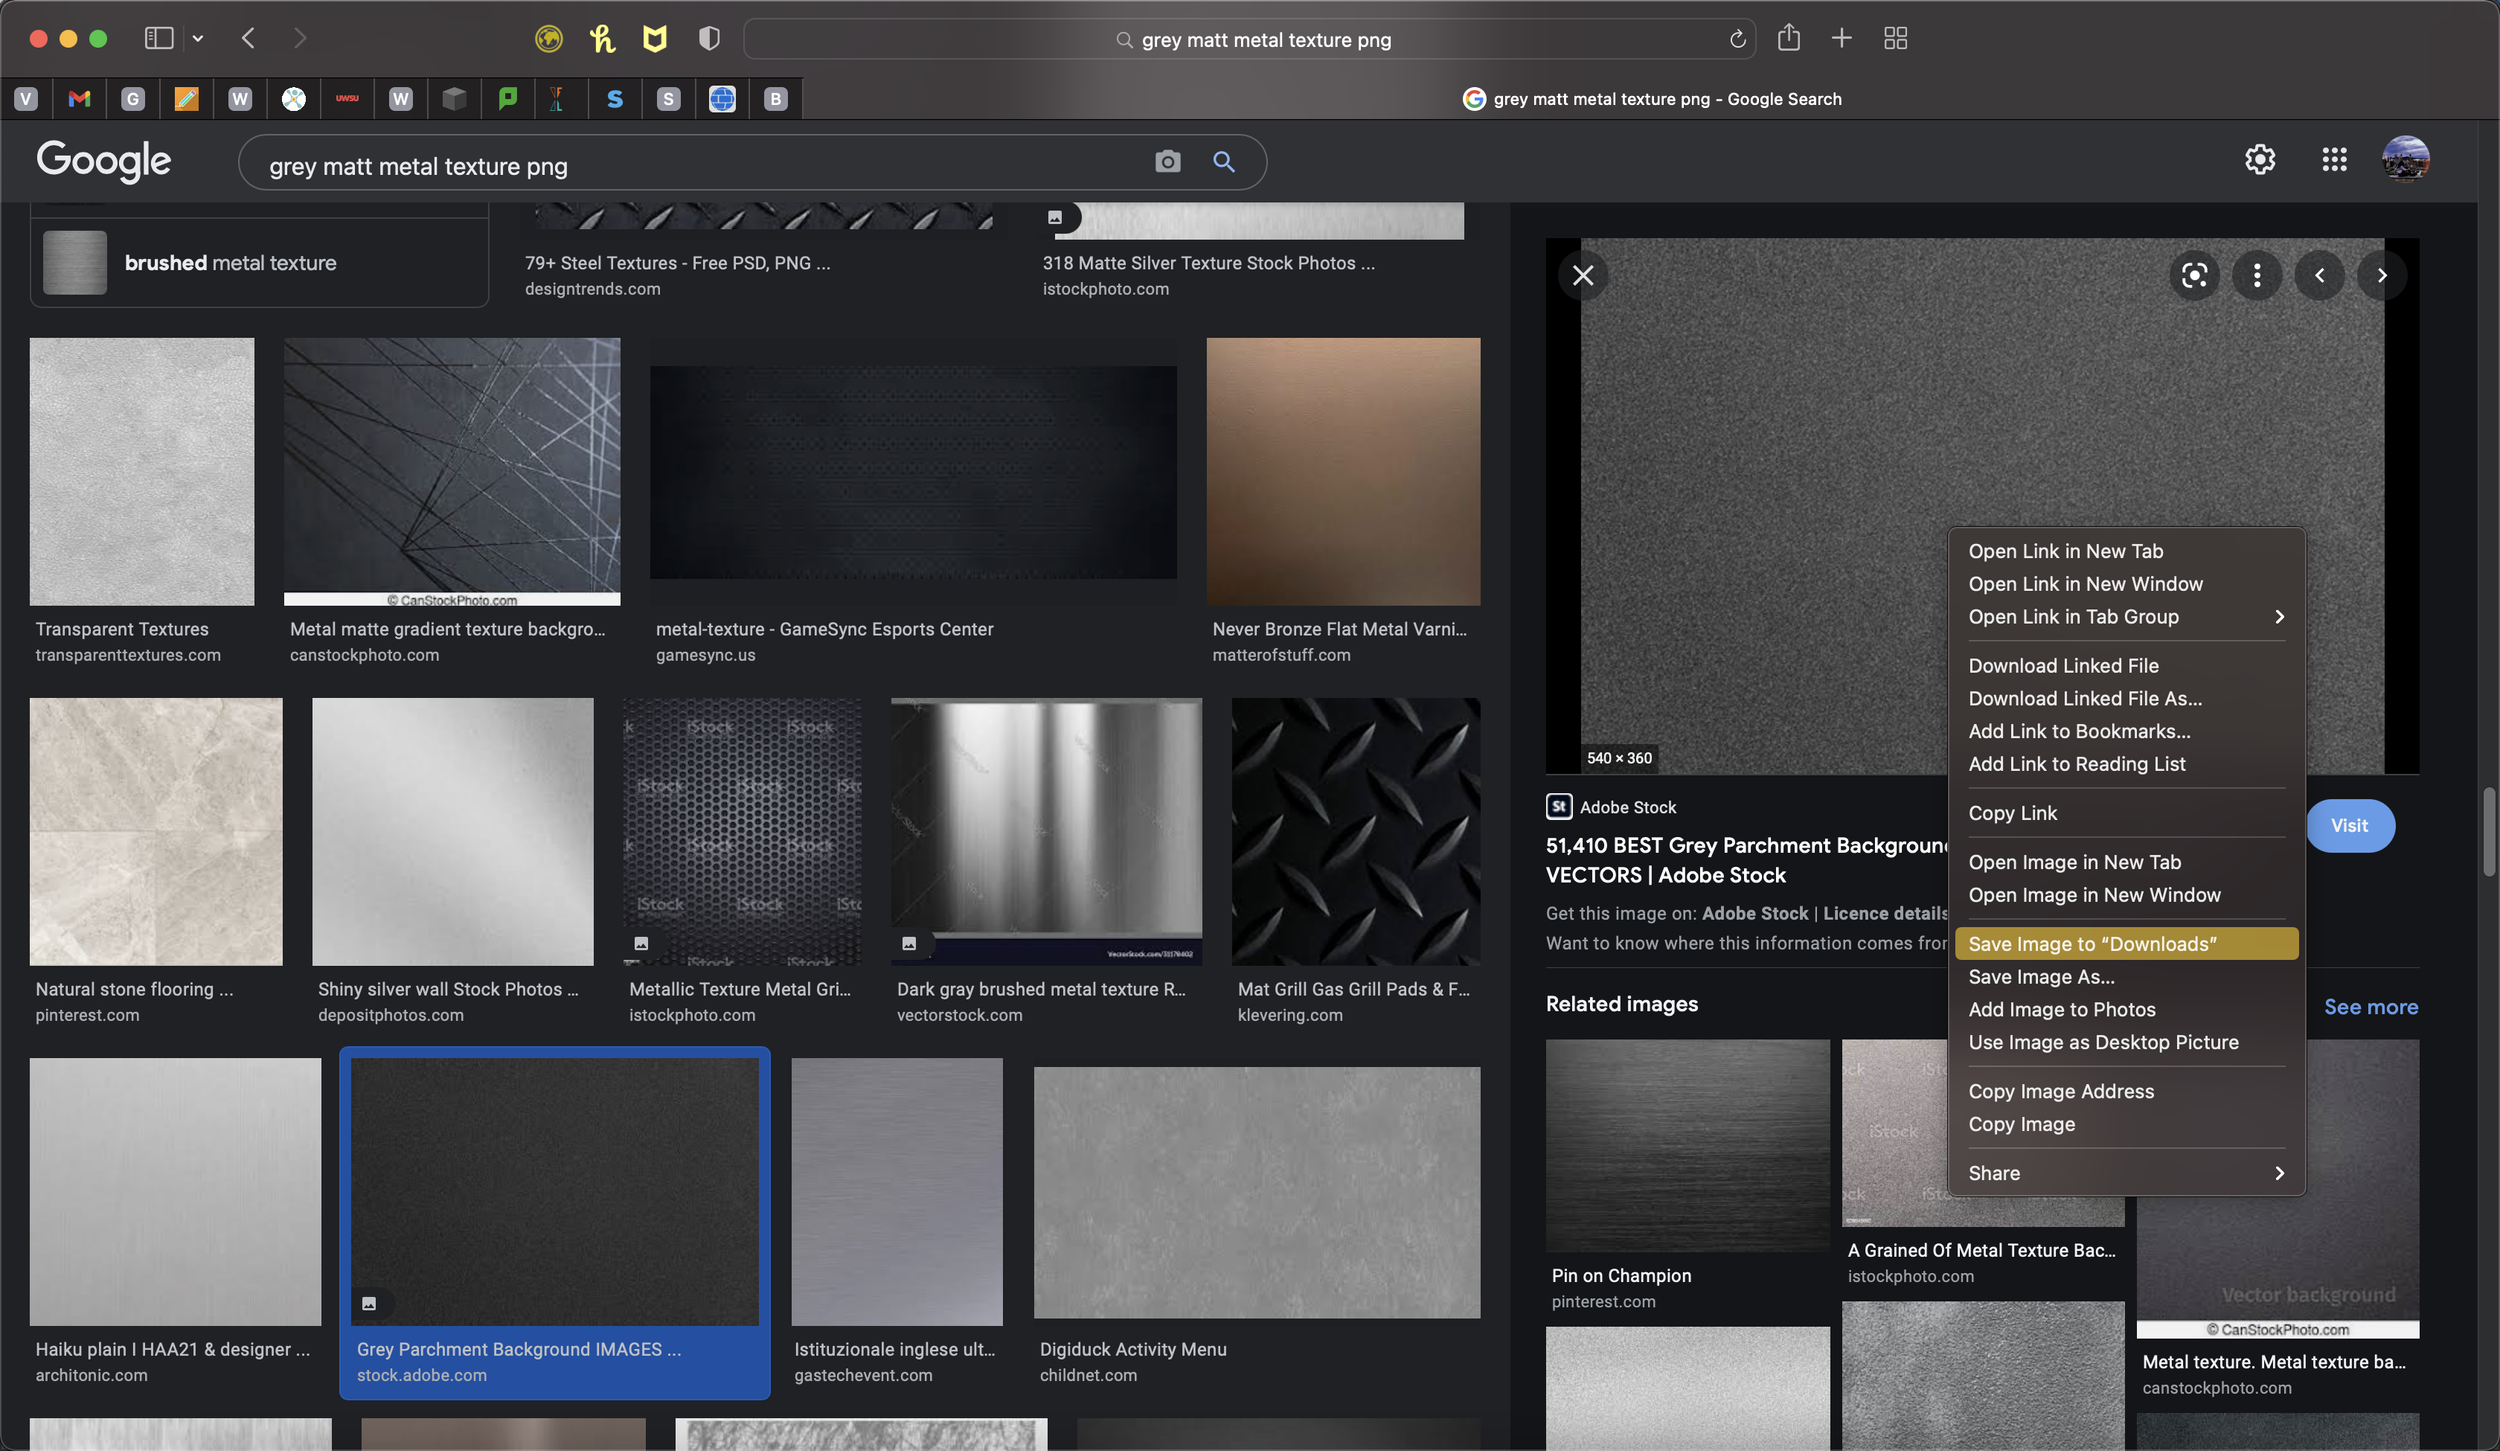
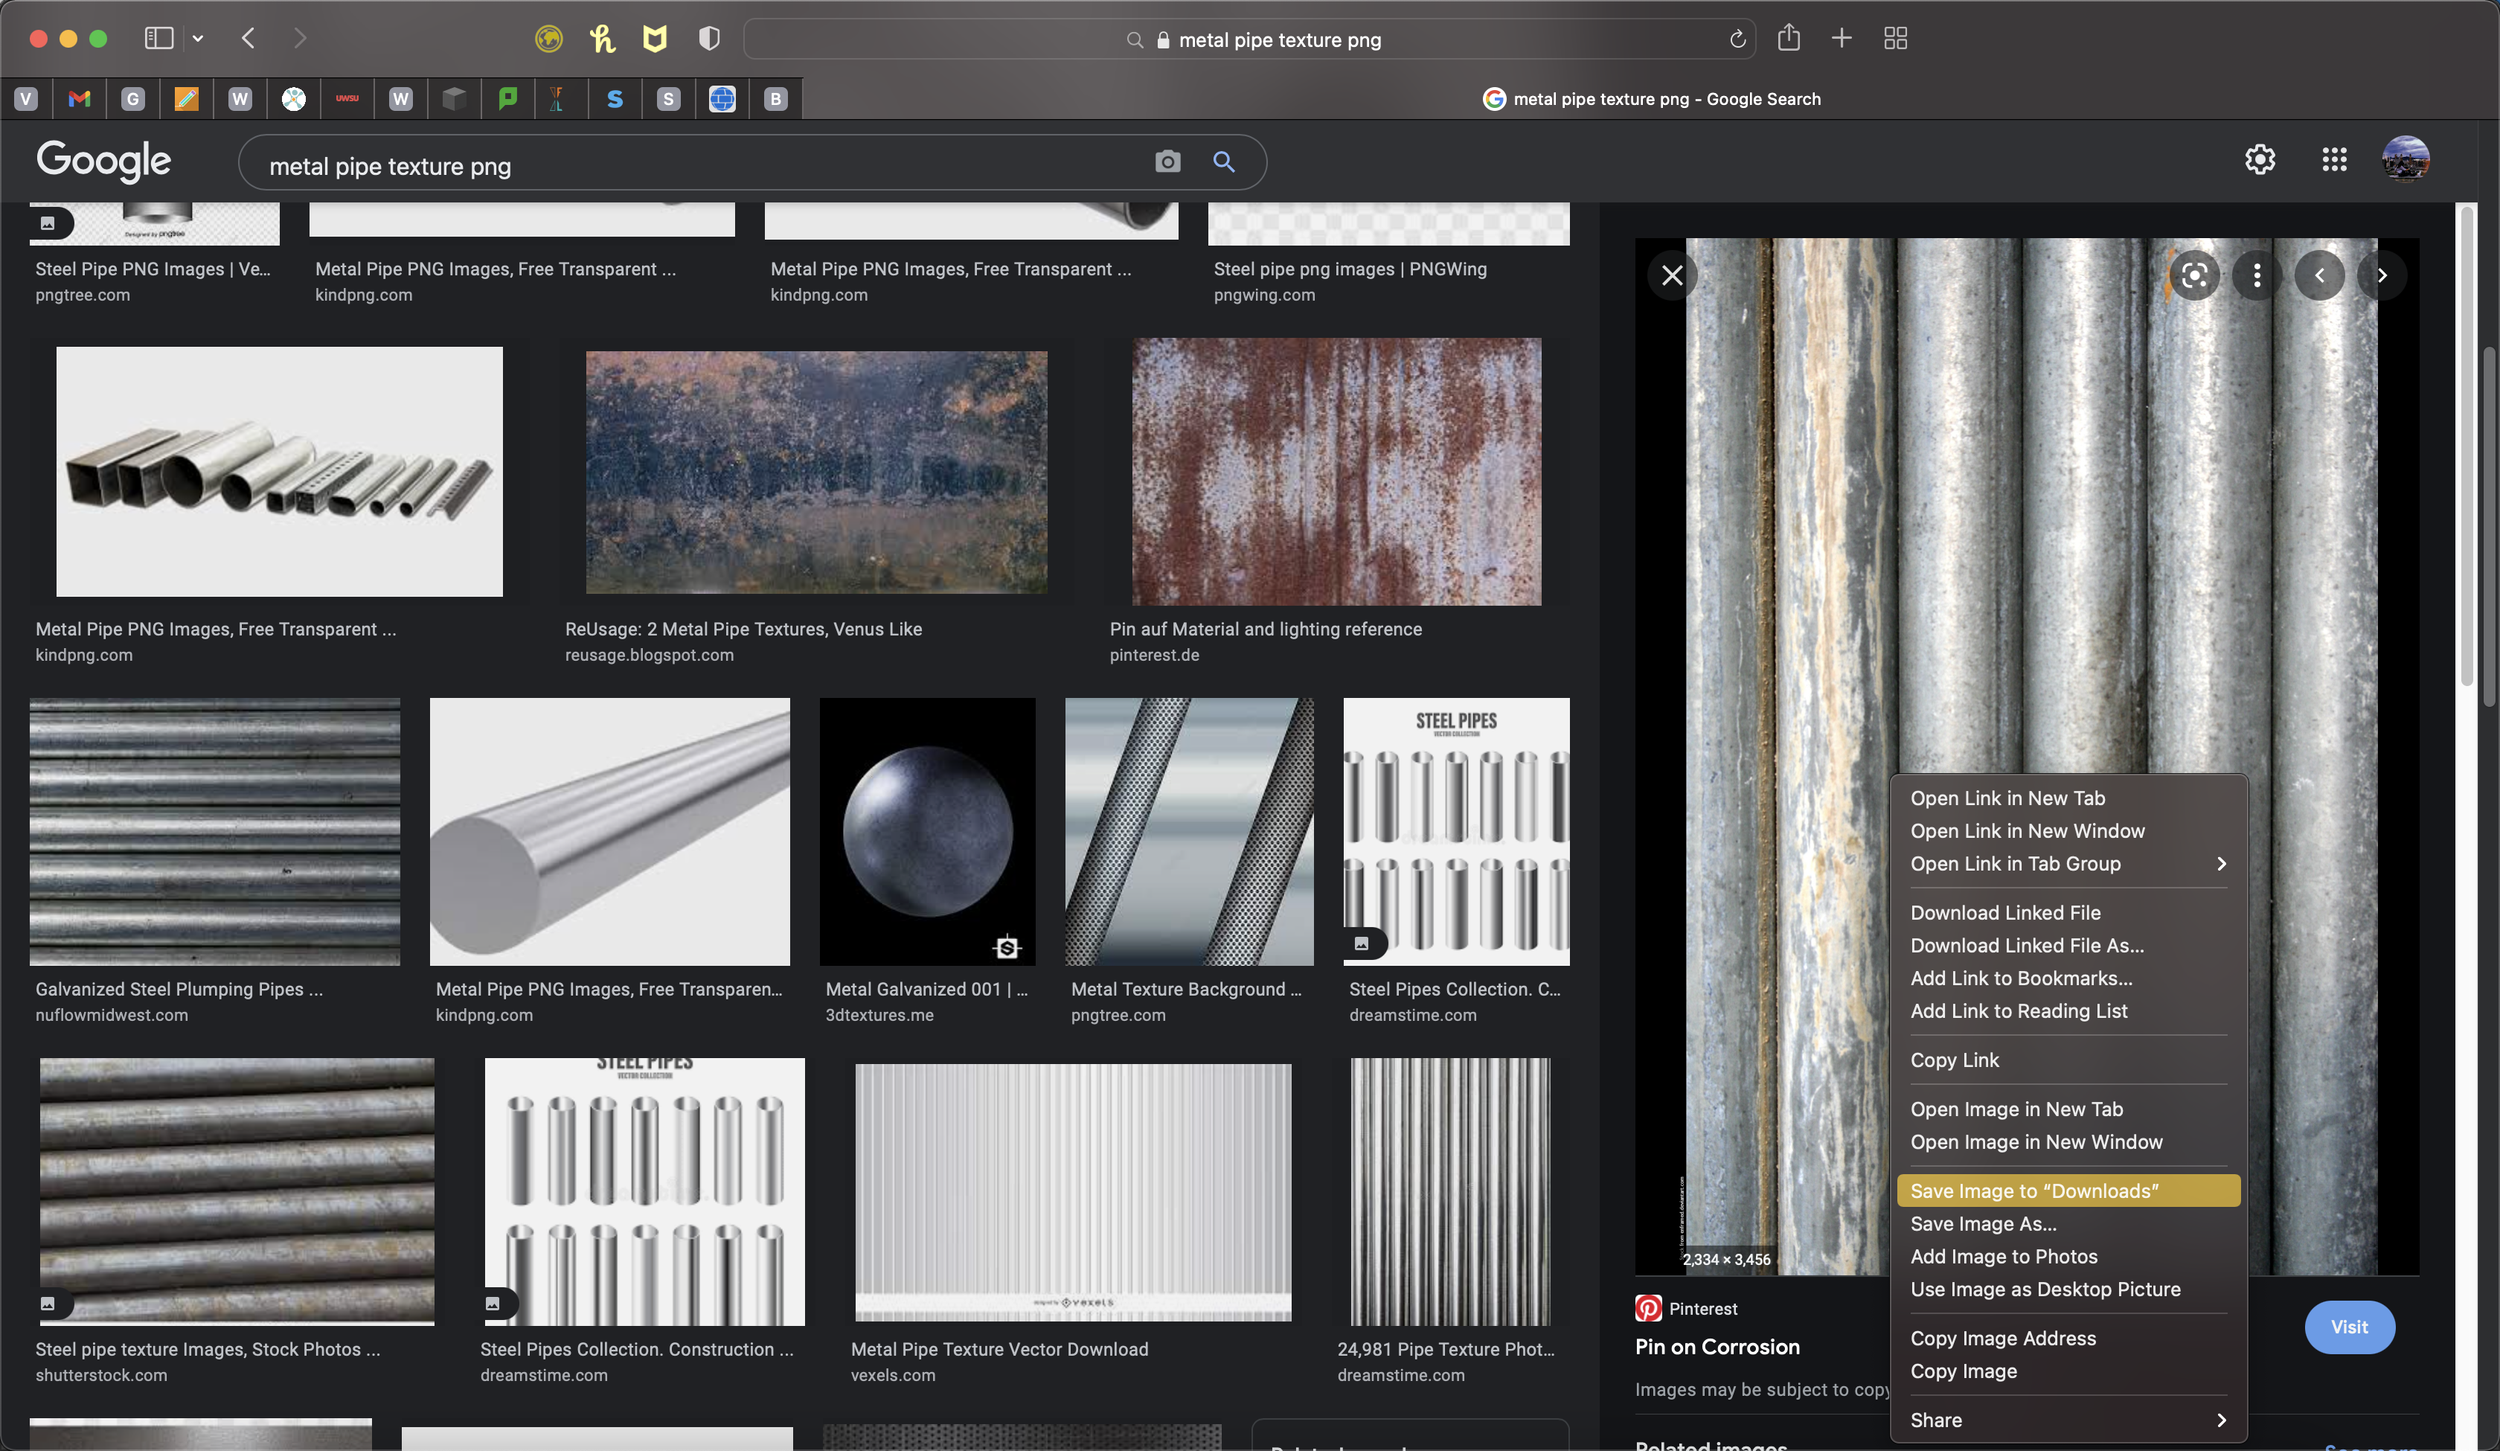
5. Texture Search
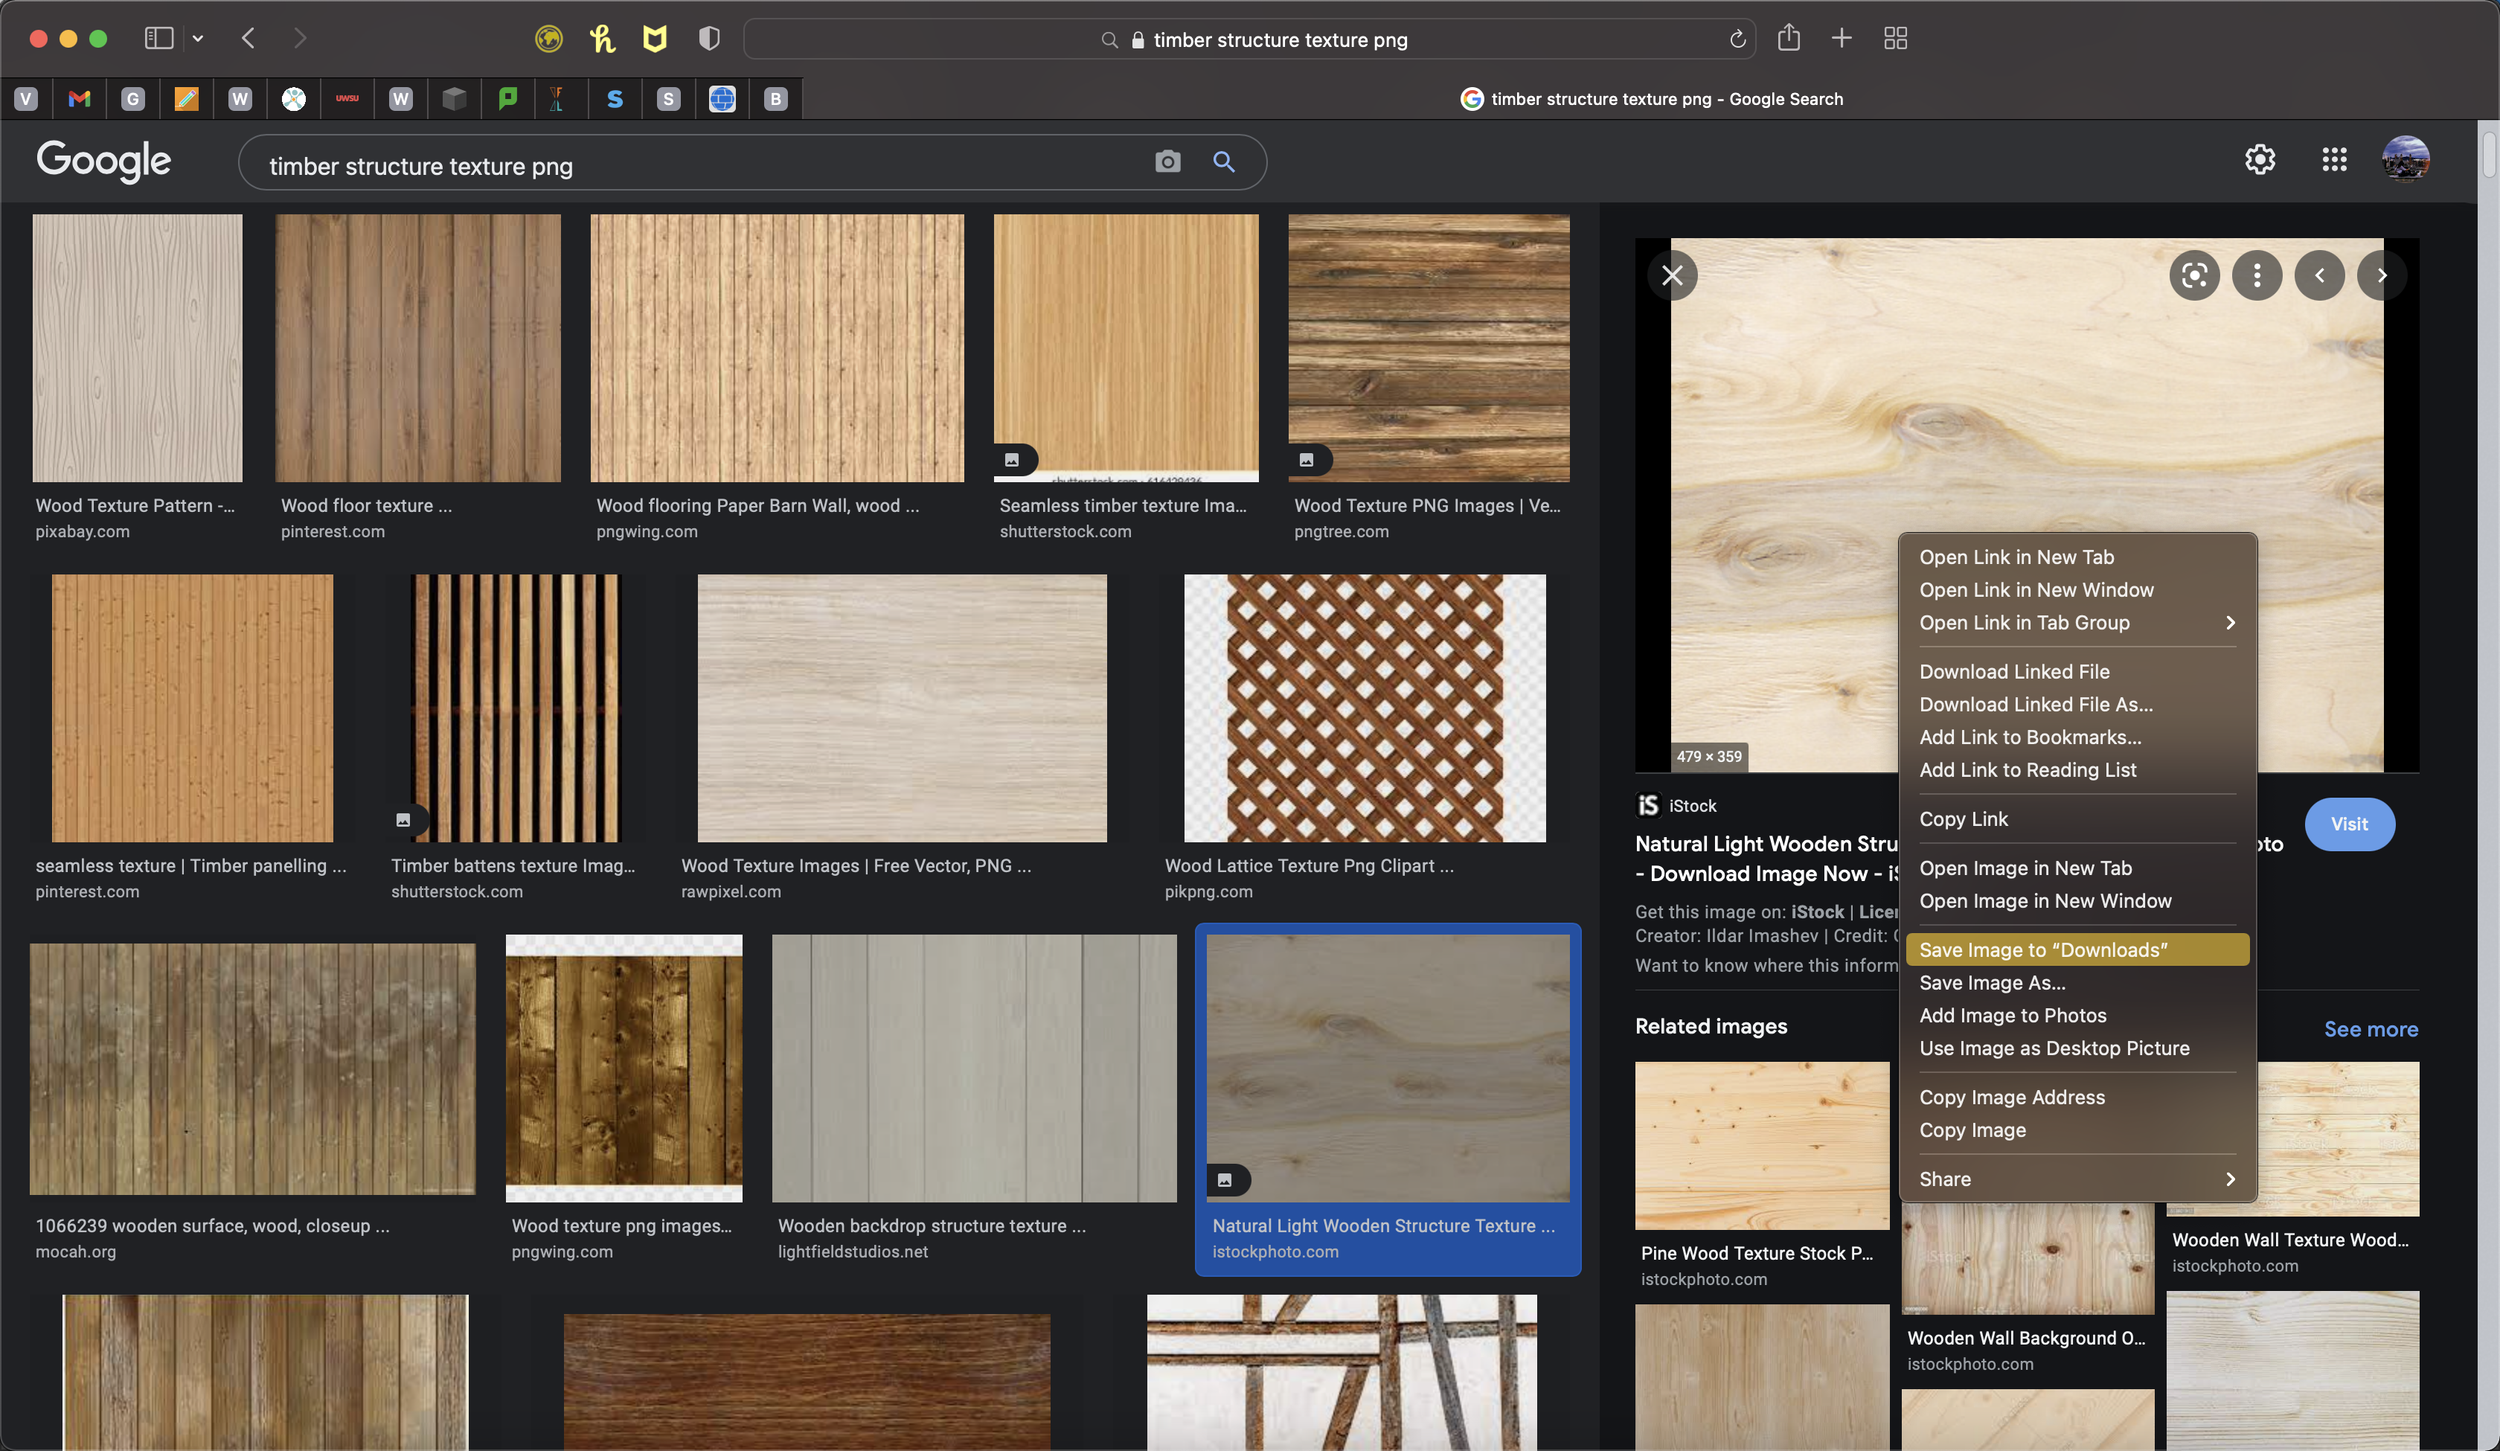
My first option for textures is Google Images and it's rare that I won't be able to find what I need on there. I tend to type ‘[type of texture] texture png’ just like the timber example down below and scroll through the options until I find something remotely close to what I want or anything that could potentially be edited to look like the texture I want. For this example, you can see the texture I have chosen. I have also downloaded the texture so I can drag it into the Photoshop file and also keep a backup.

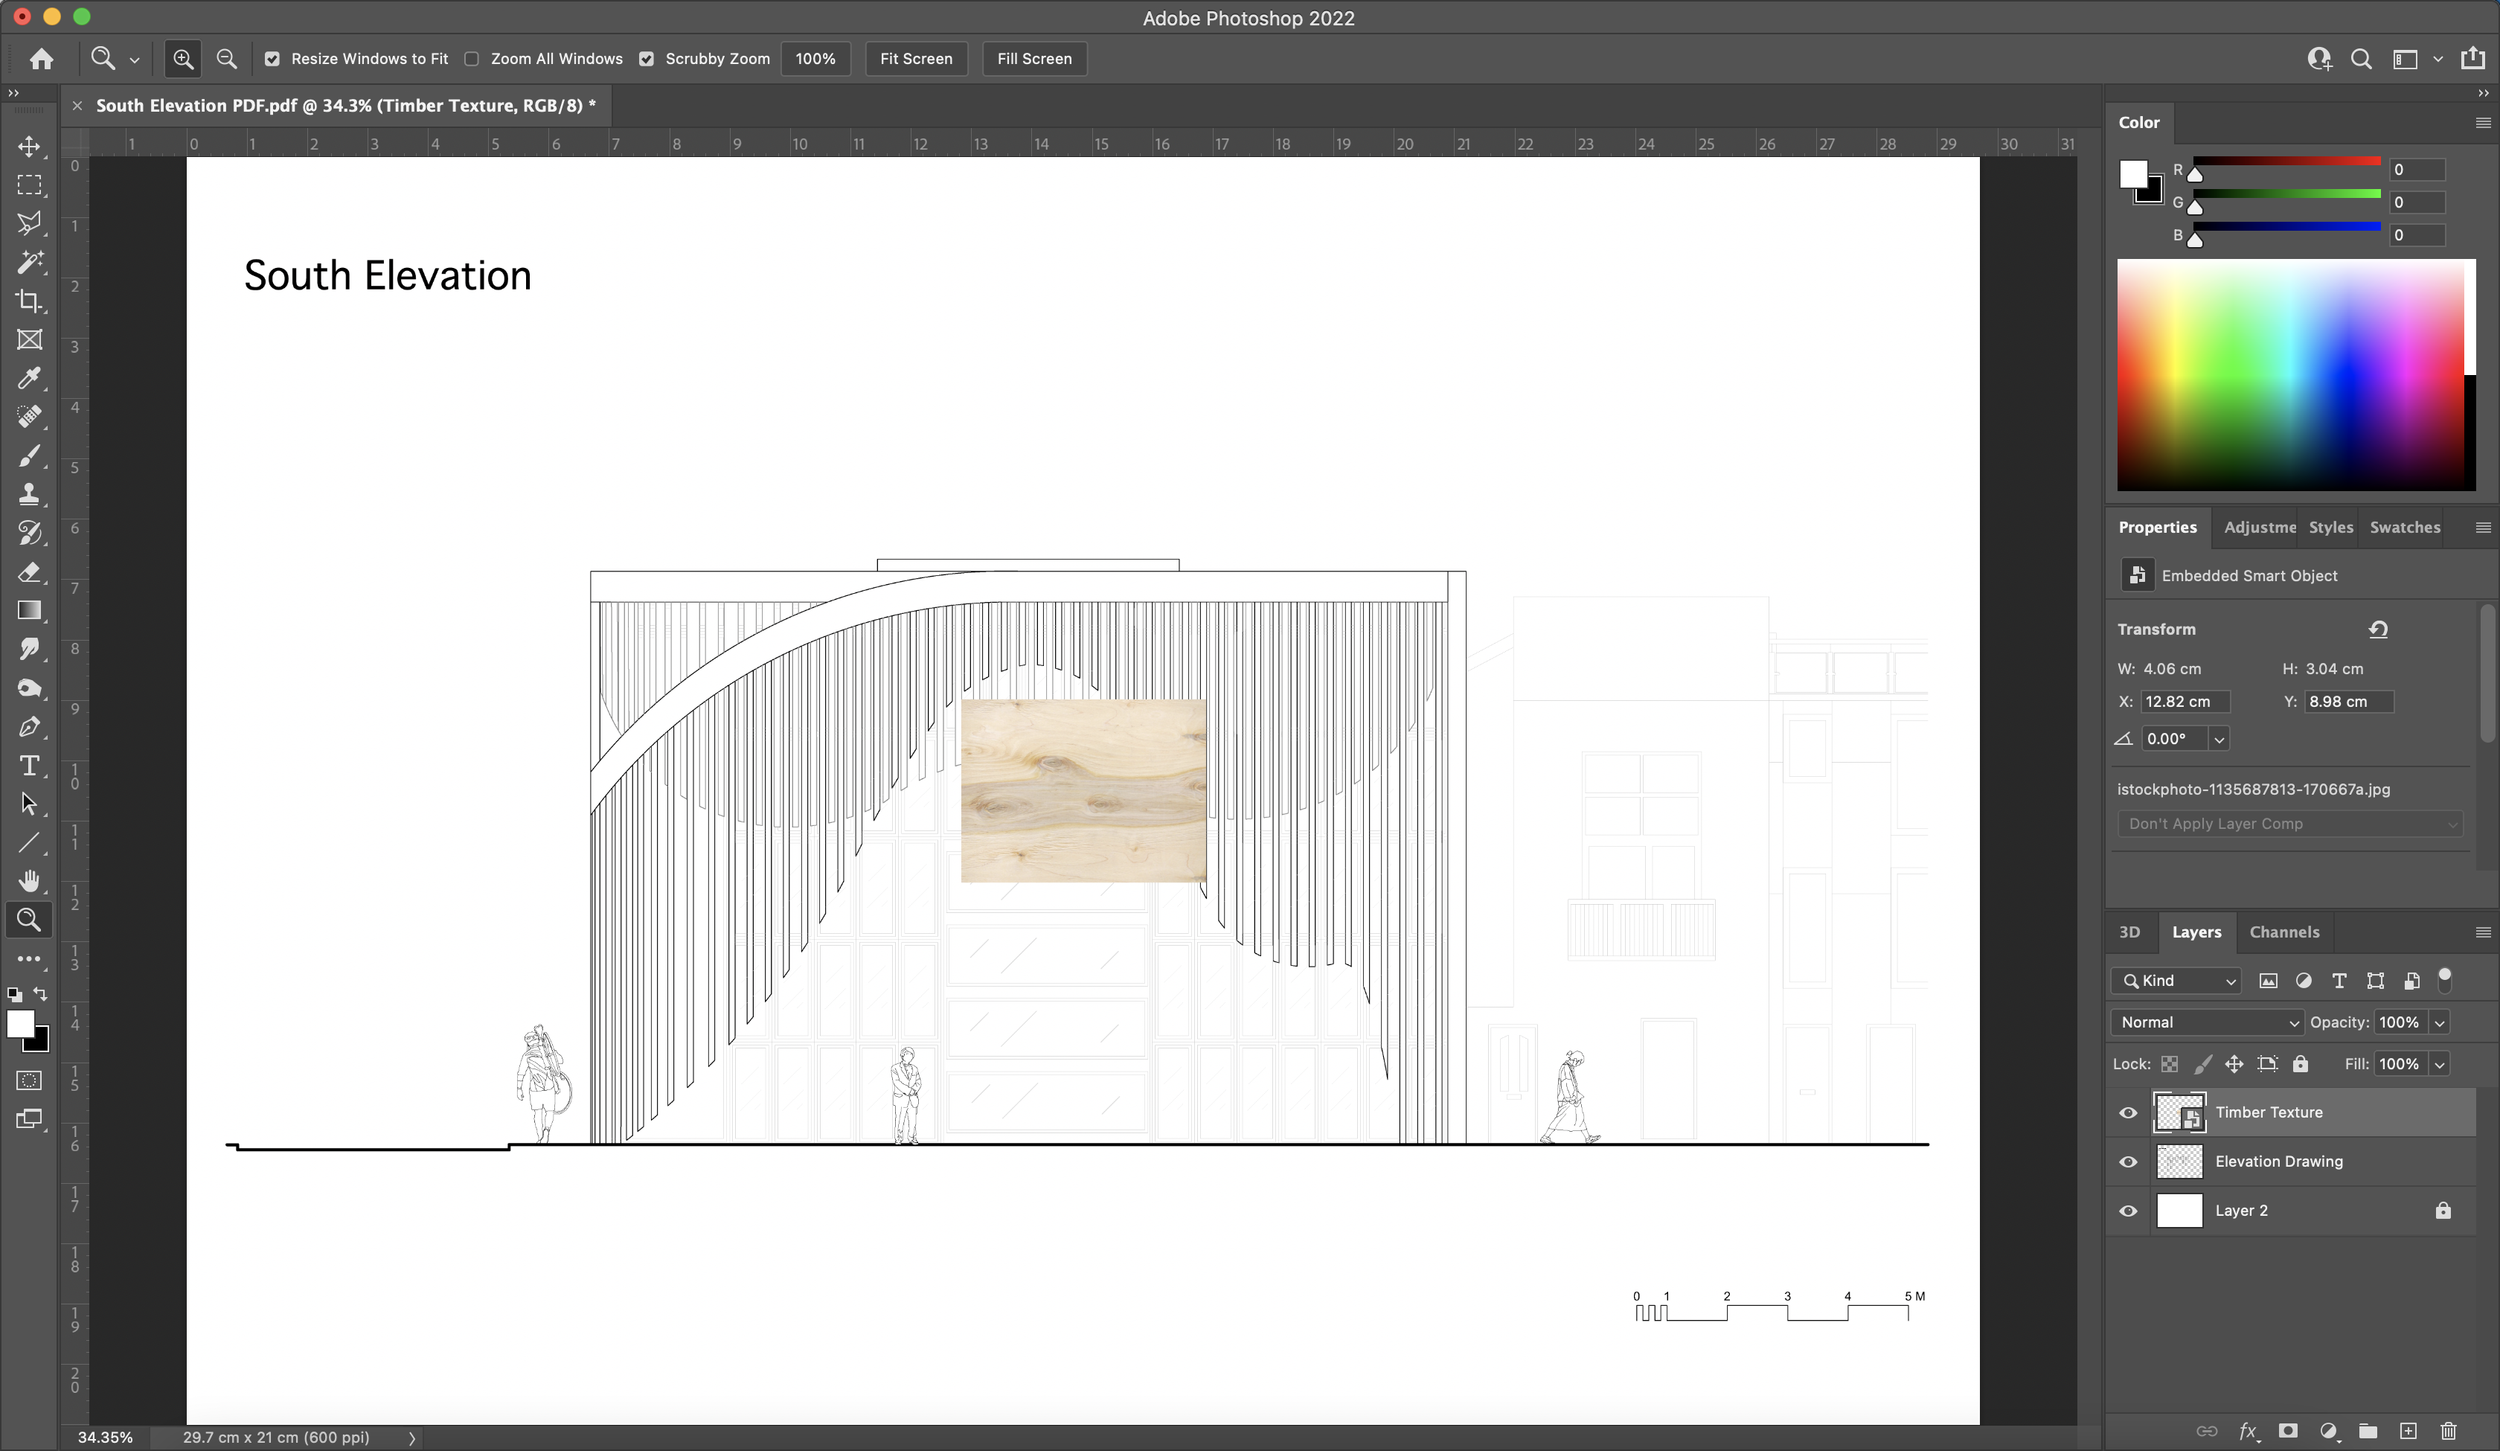


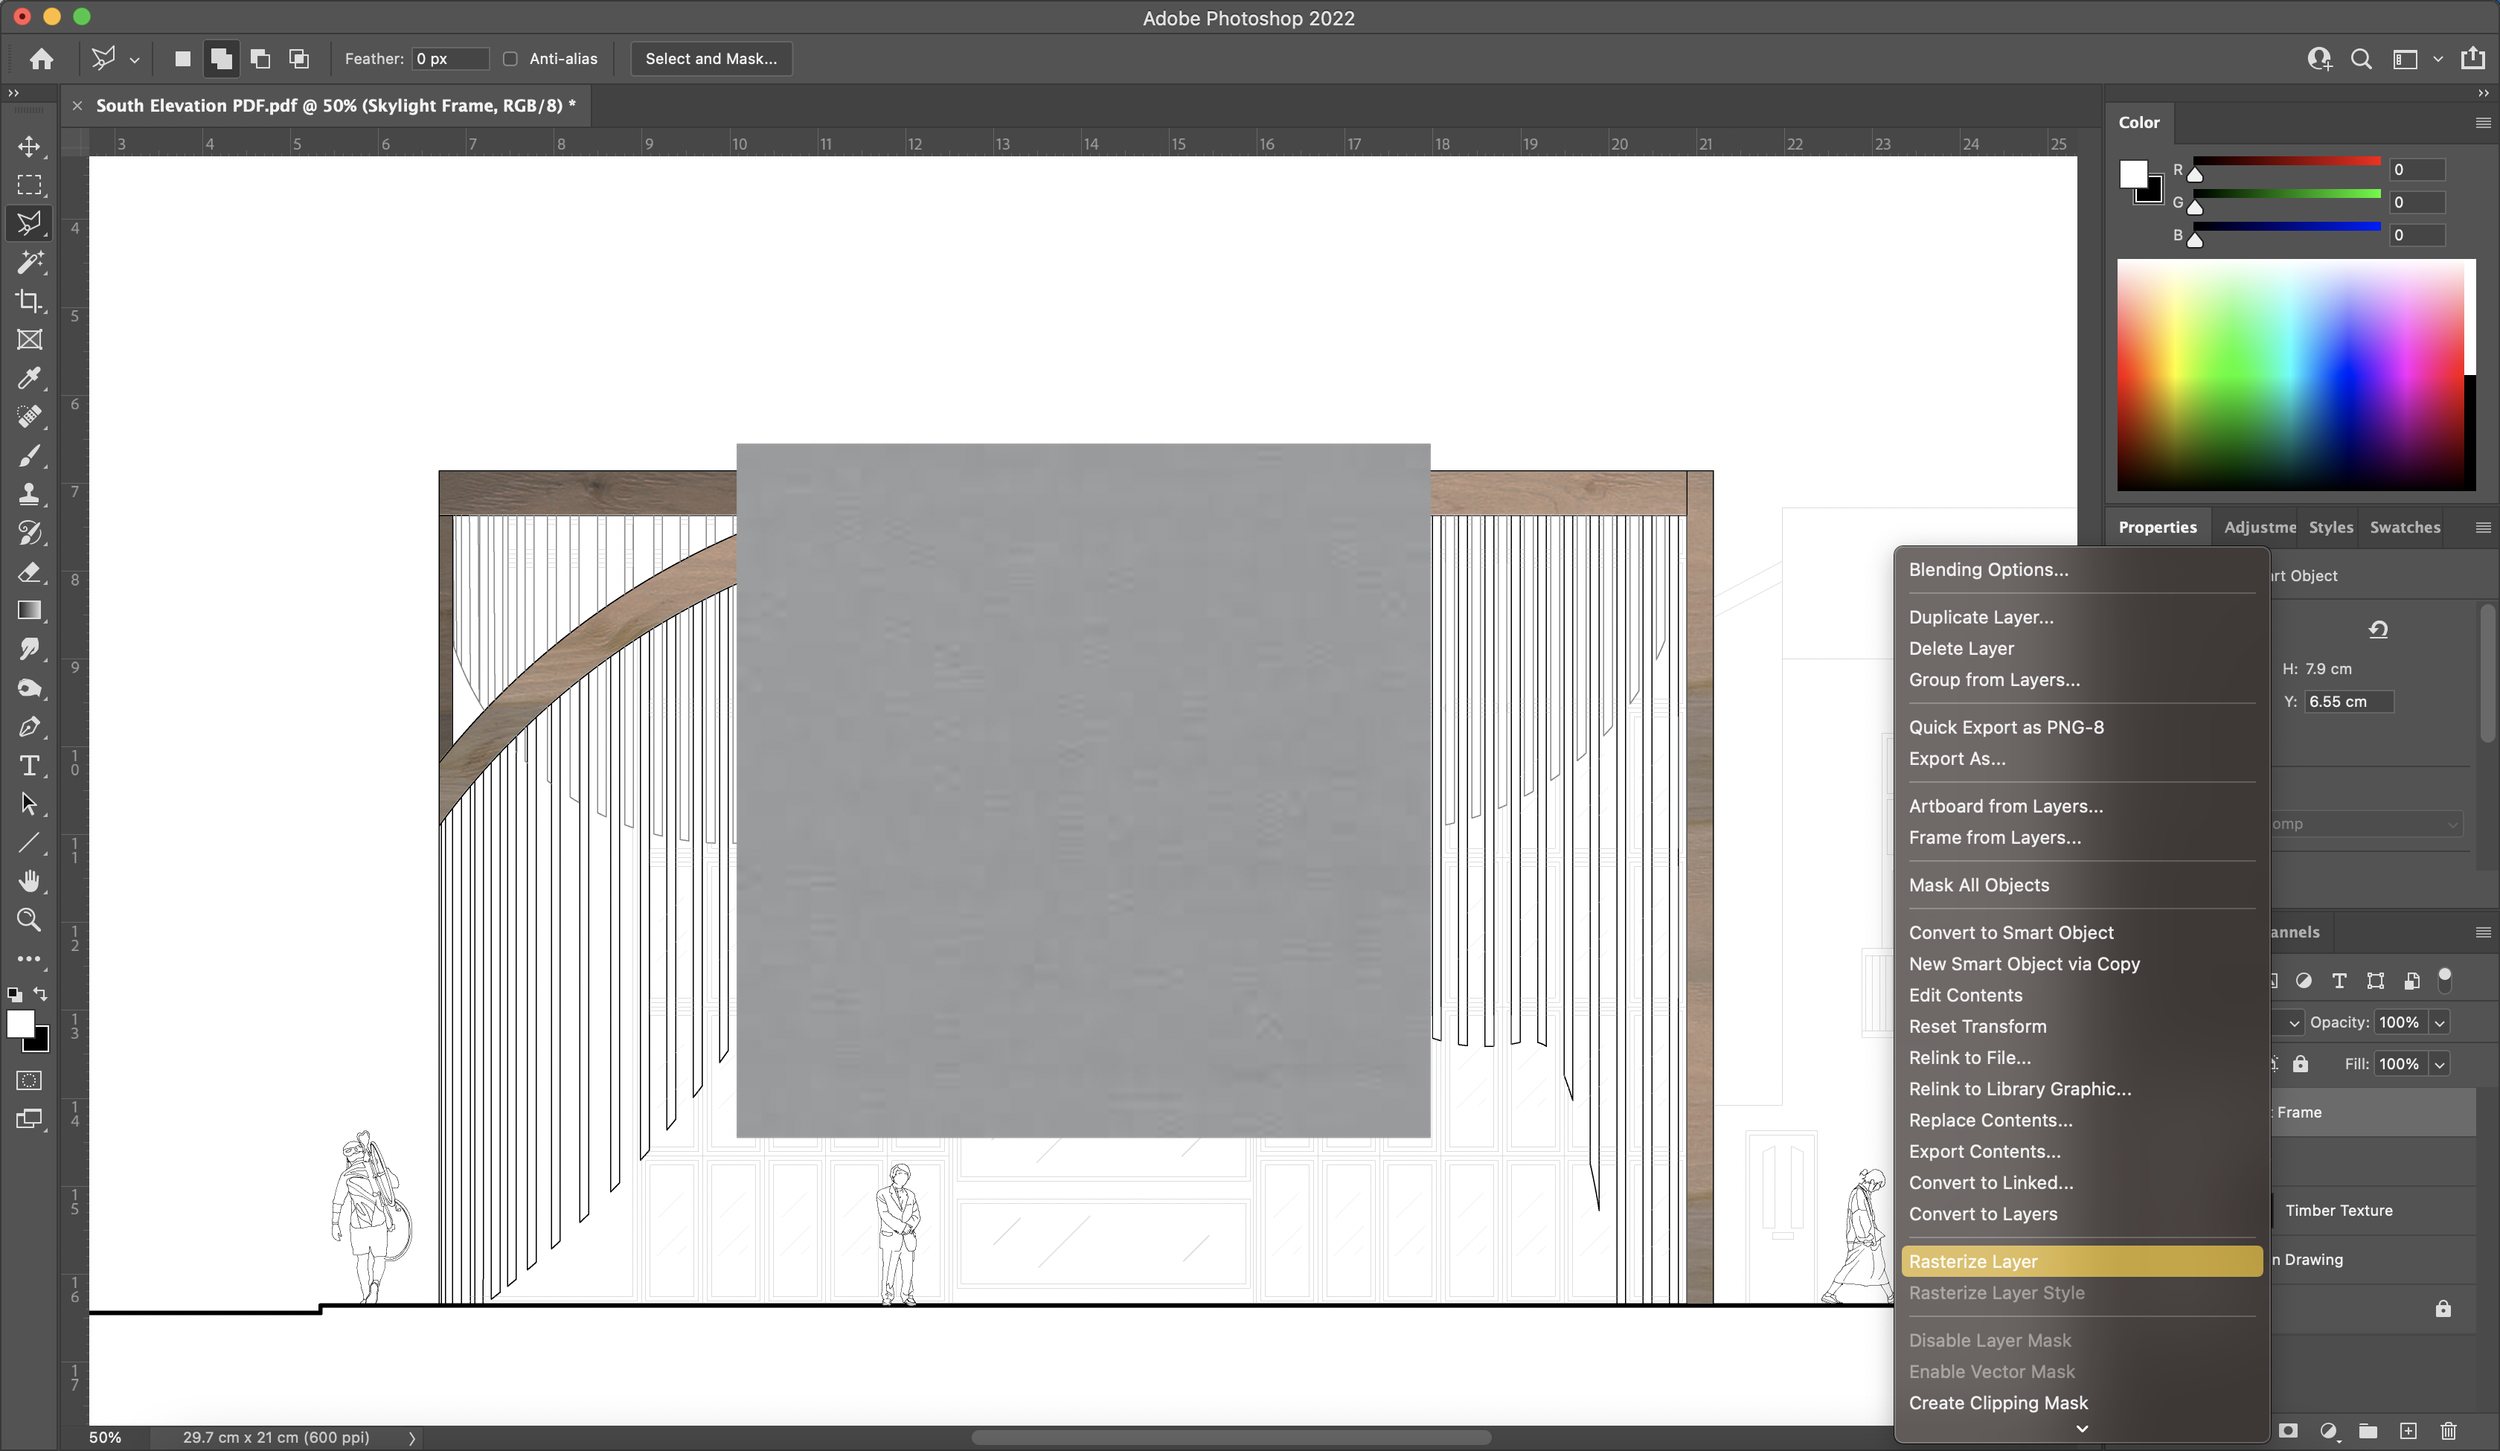
6. Rasterizing Smart Object Layers
When you import an image into Photoshop, the programme reads it as a smart object. In order to be able to edit the smart object, which in this case is my timber texture, I need to right-click on the layer and select ‘Rasterize Layer’. Now you will be able to change the brightness/contrast of the image and use any other editing tools to obtain the desired texture.


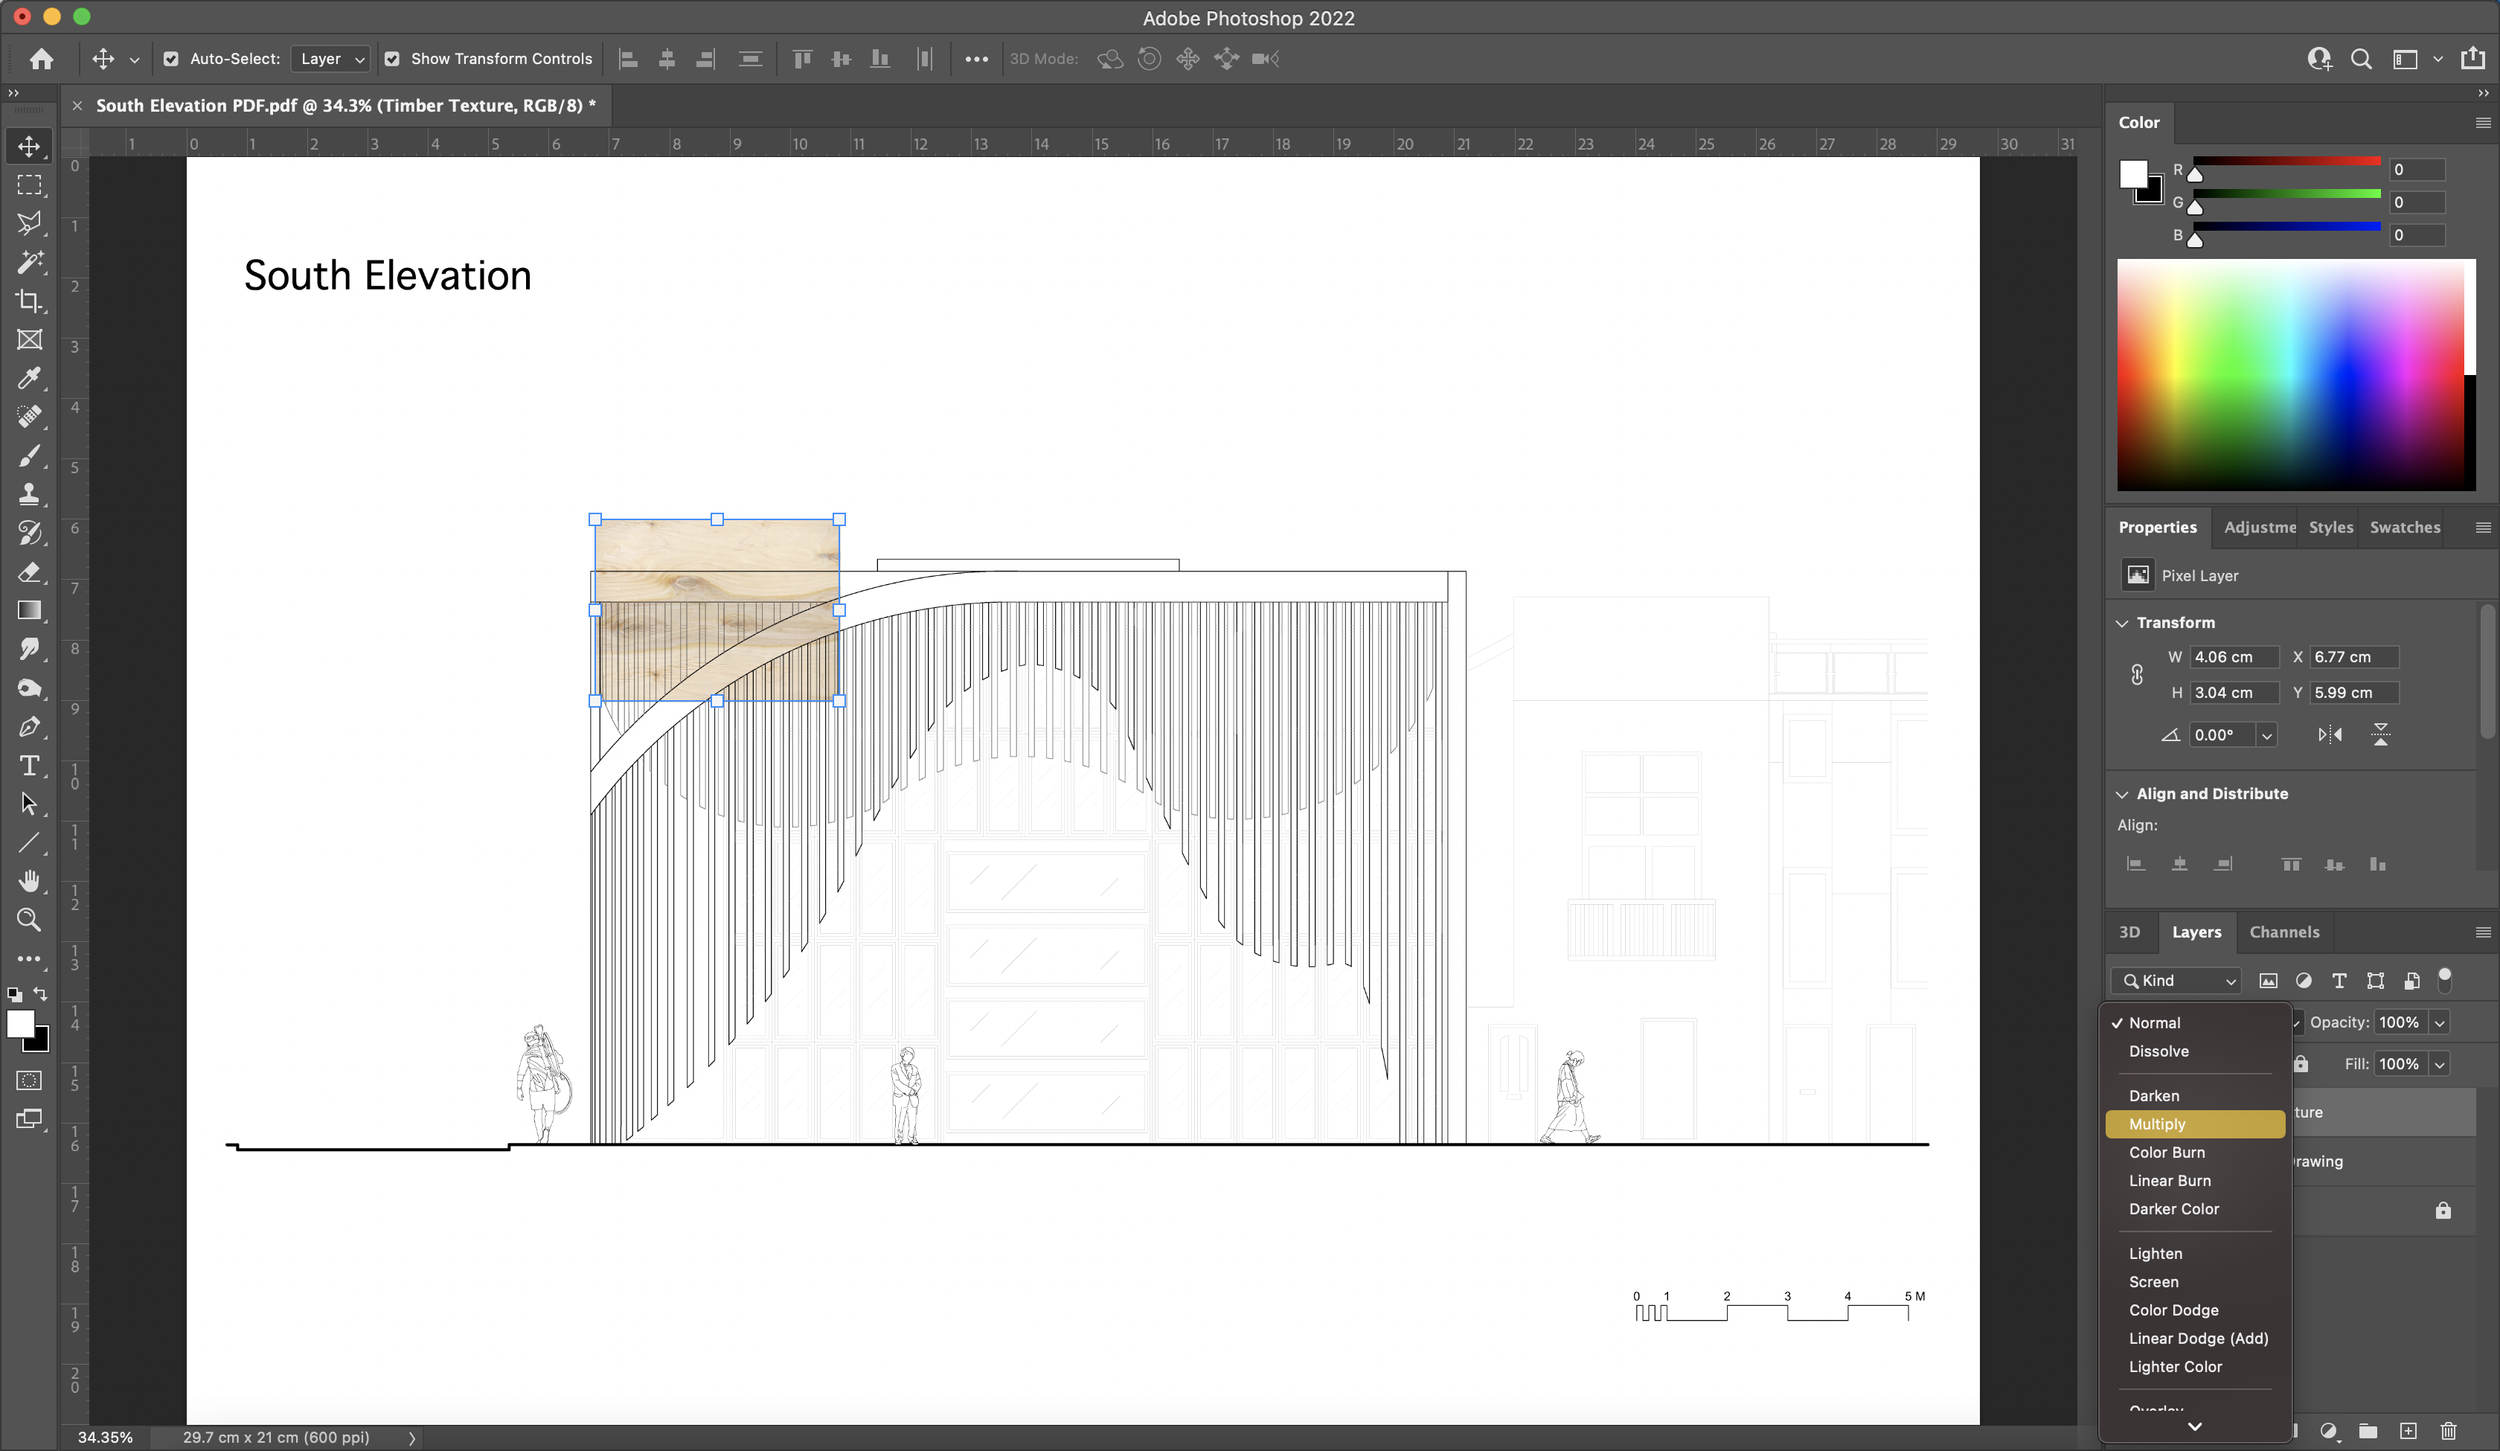
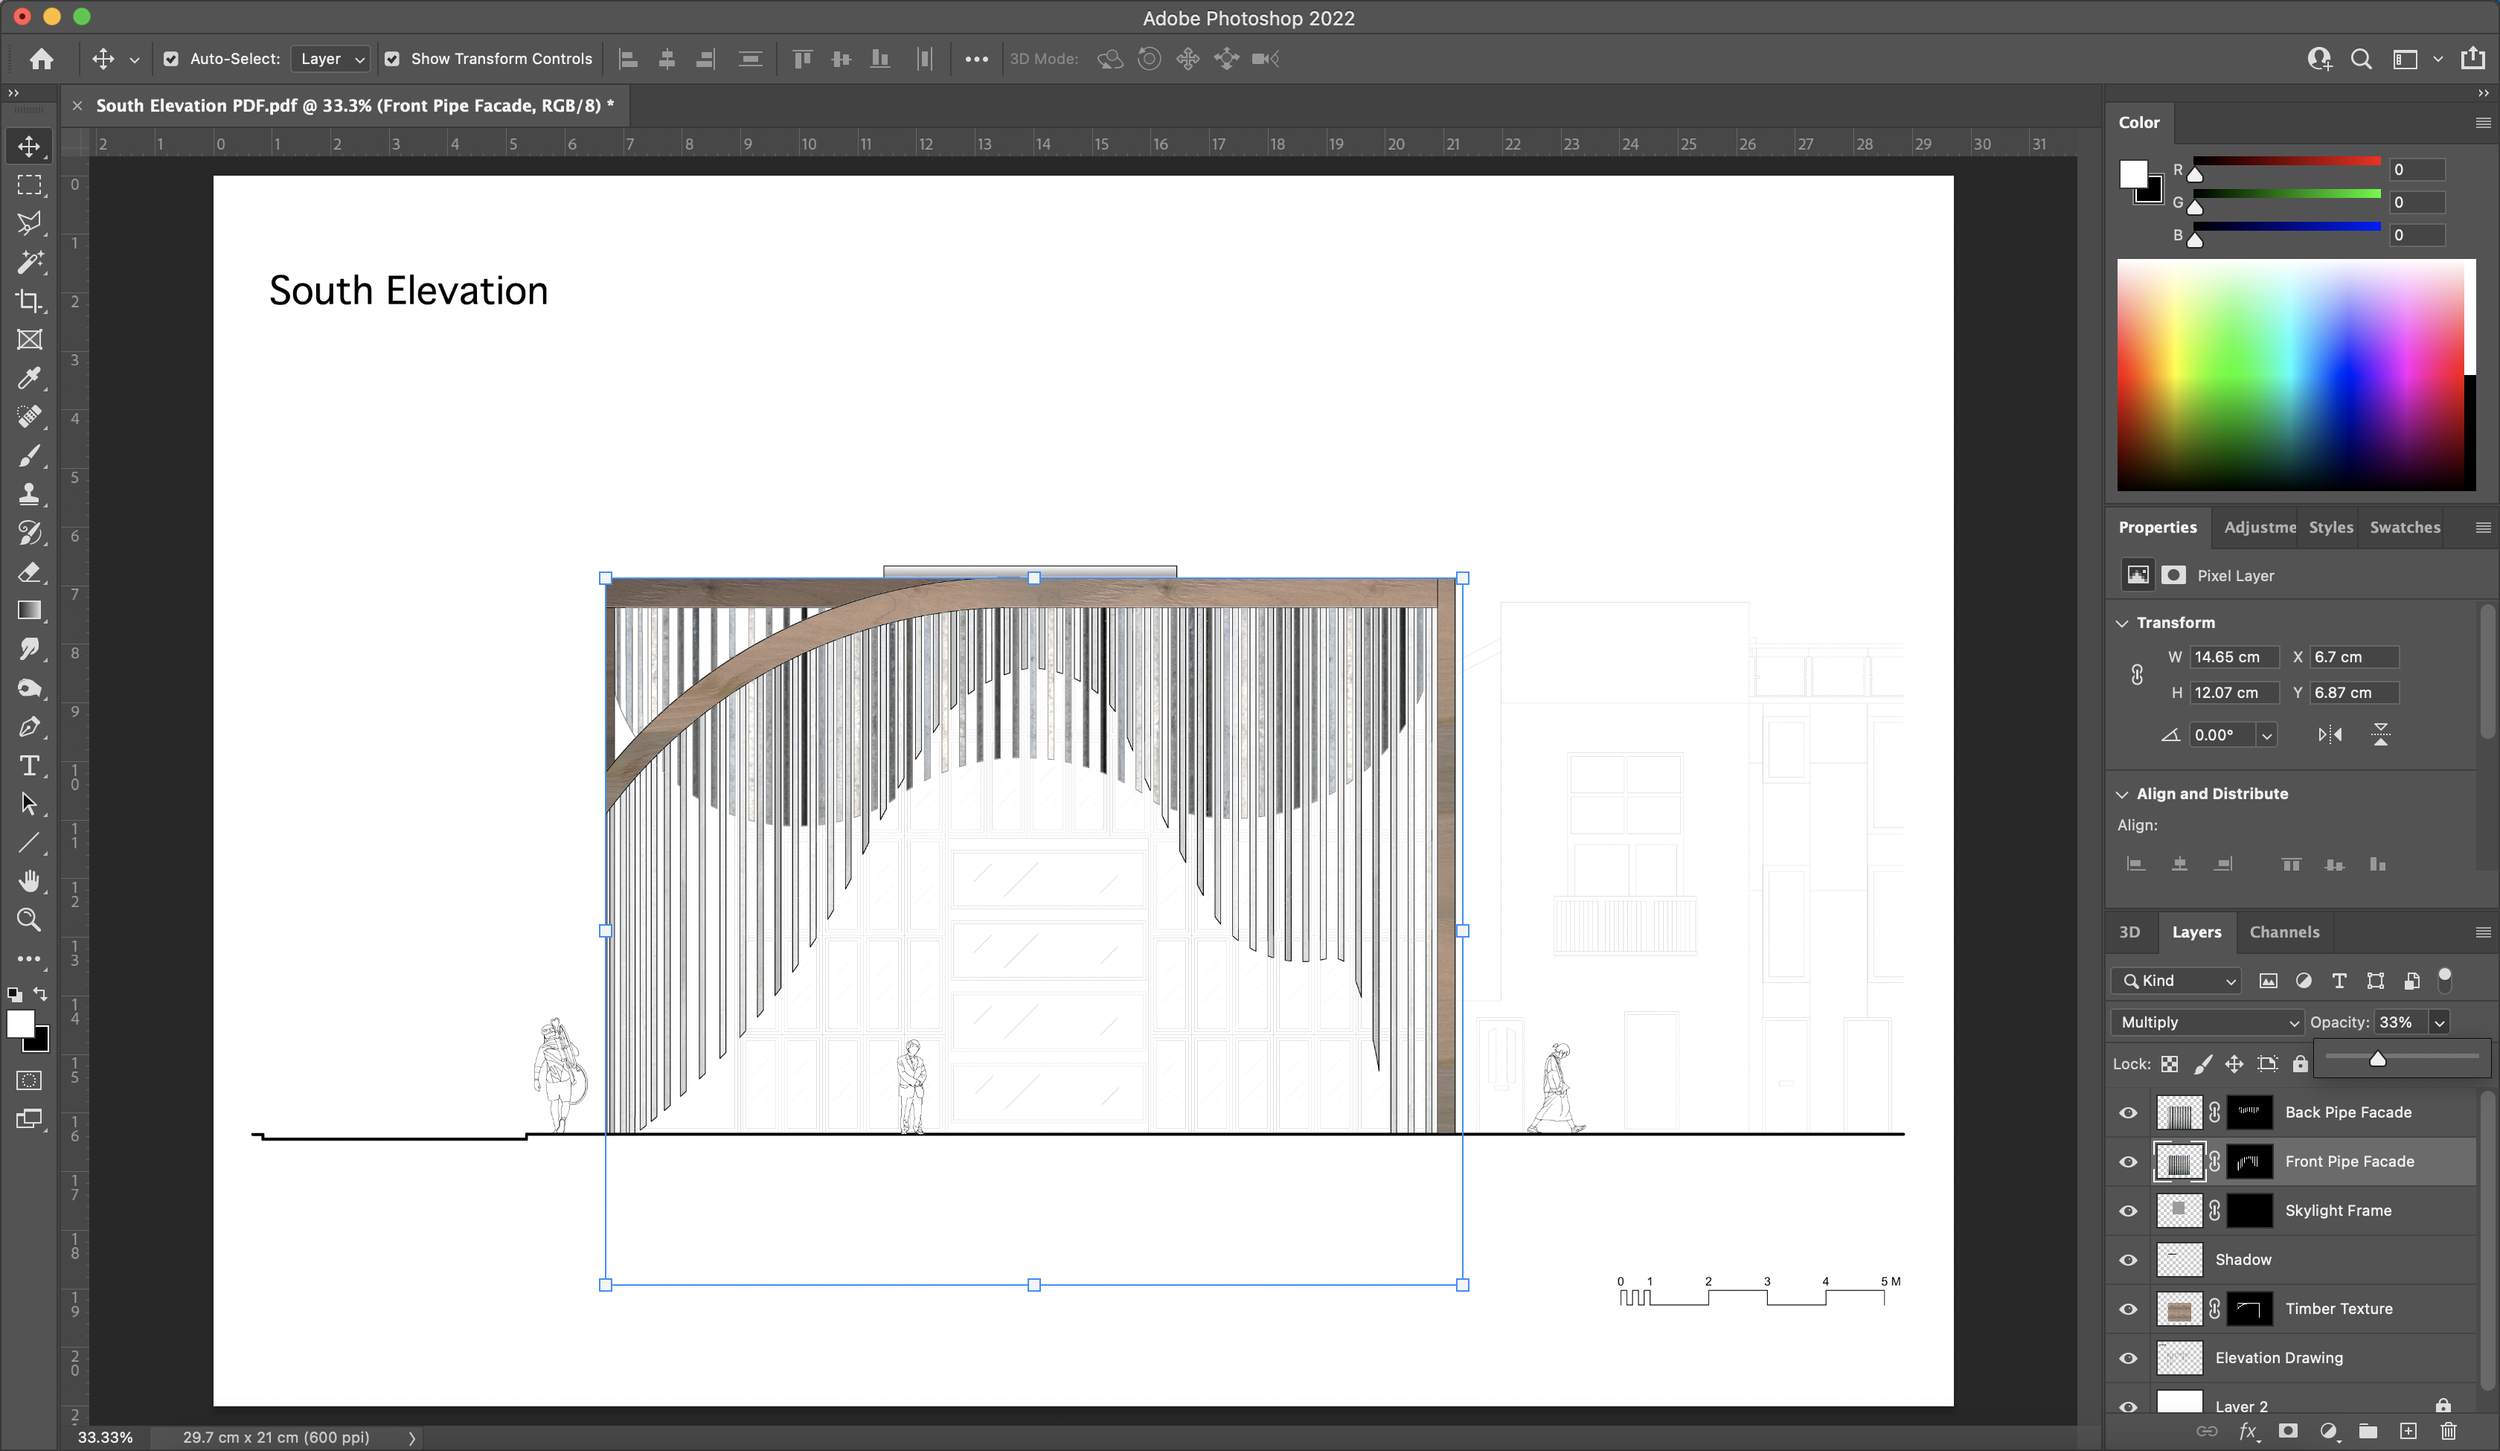
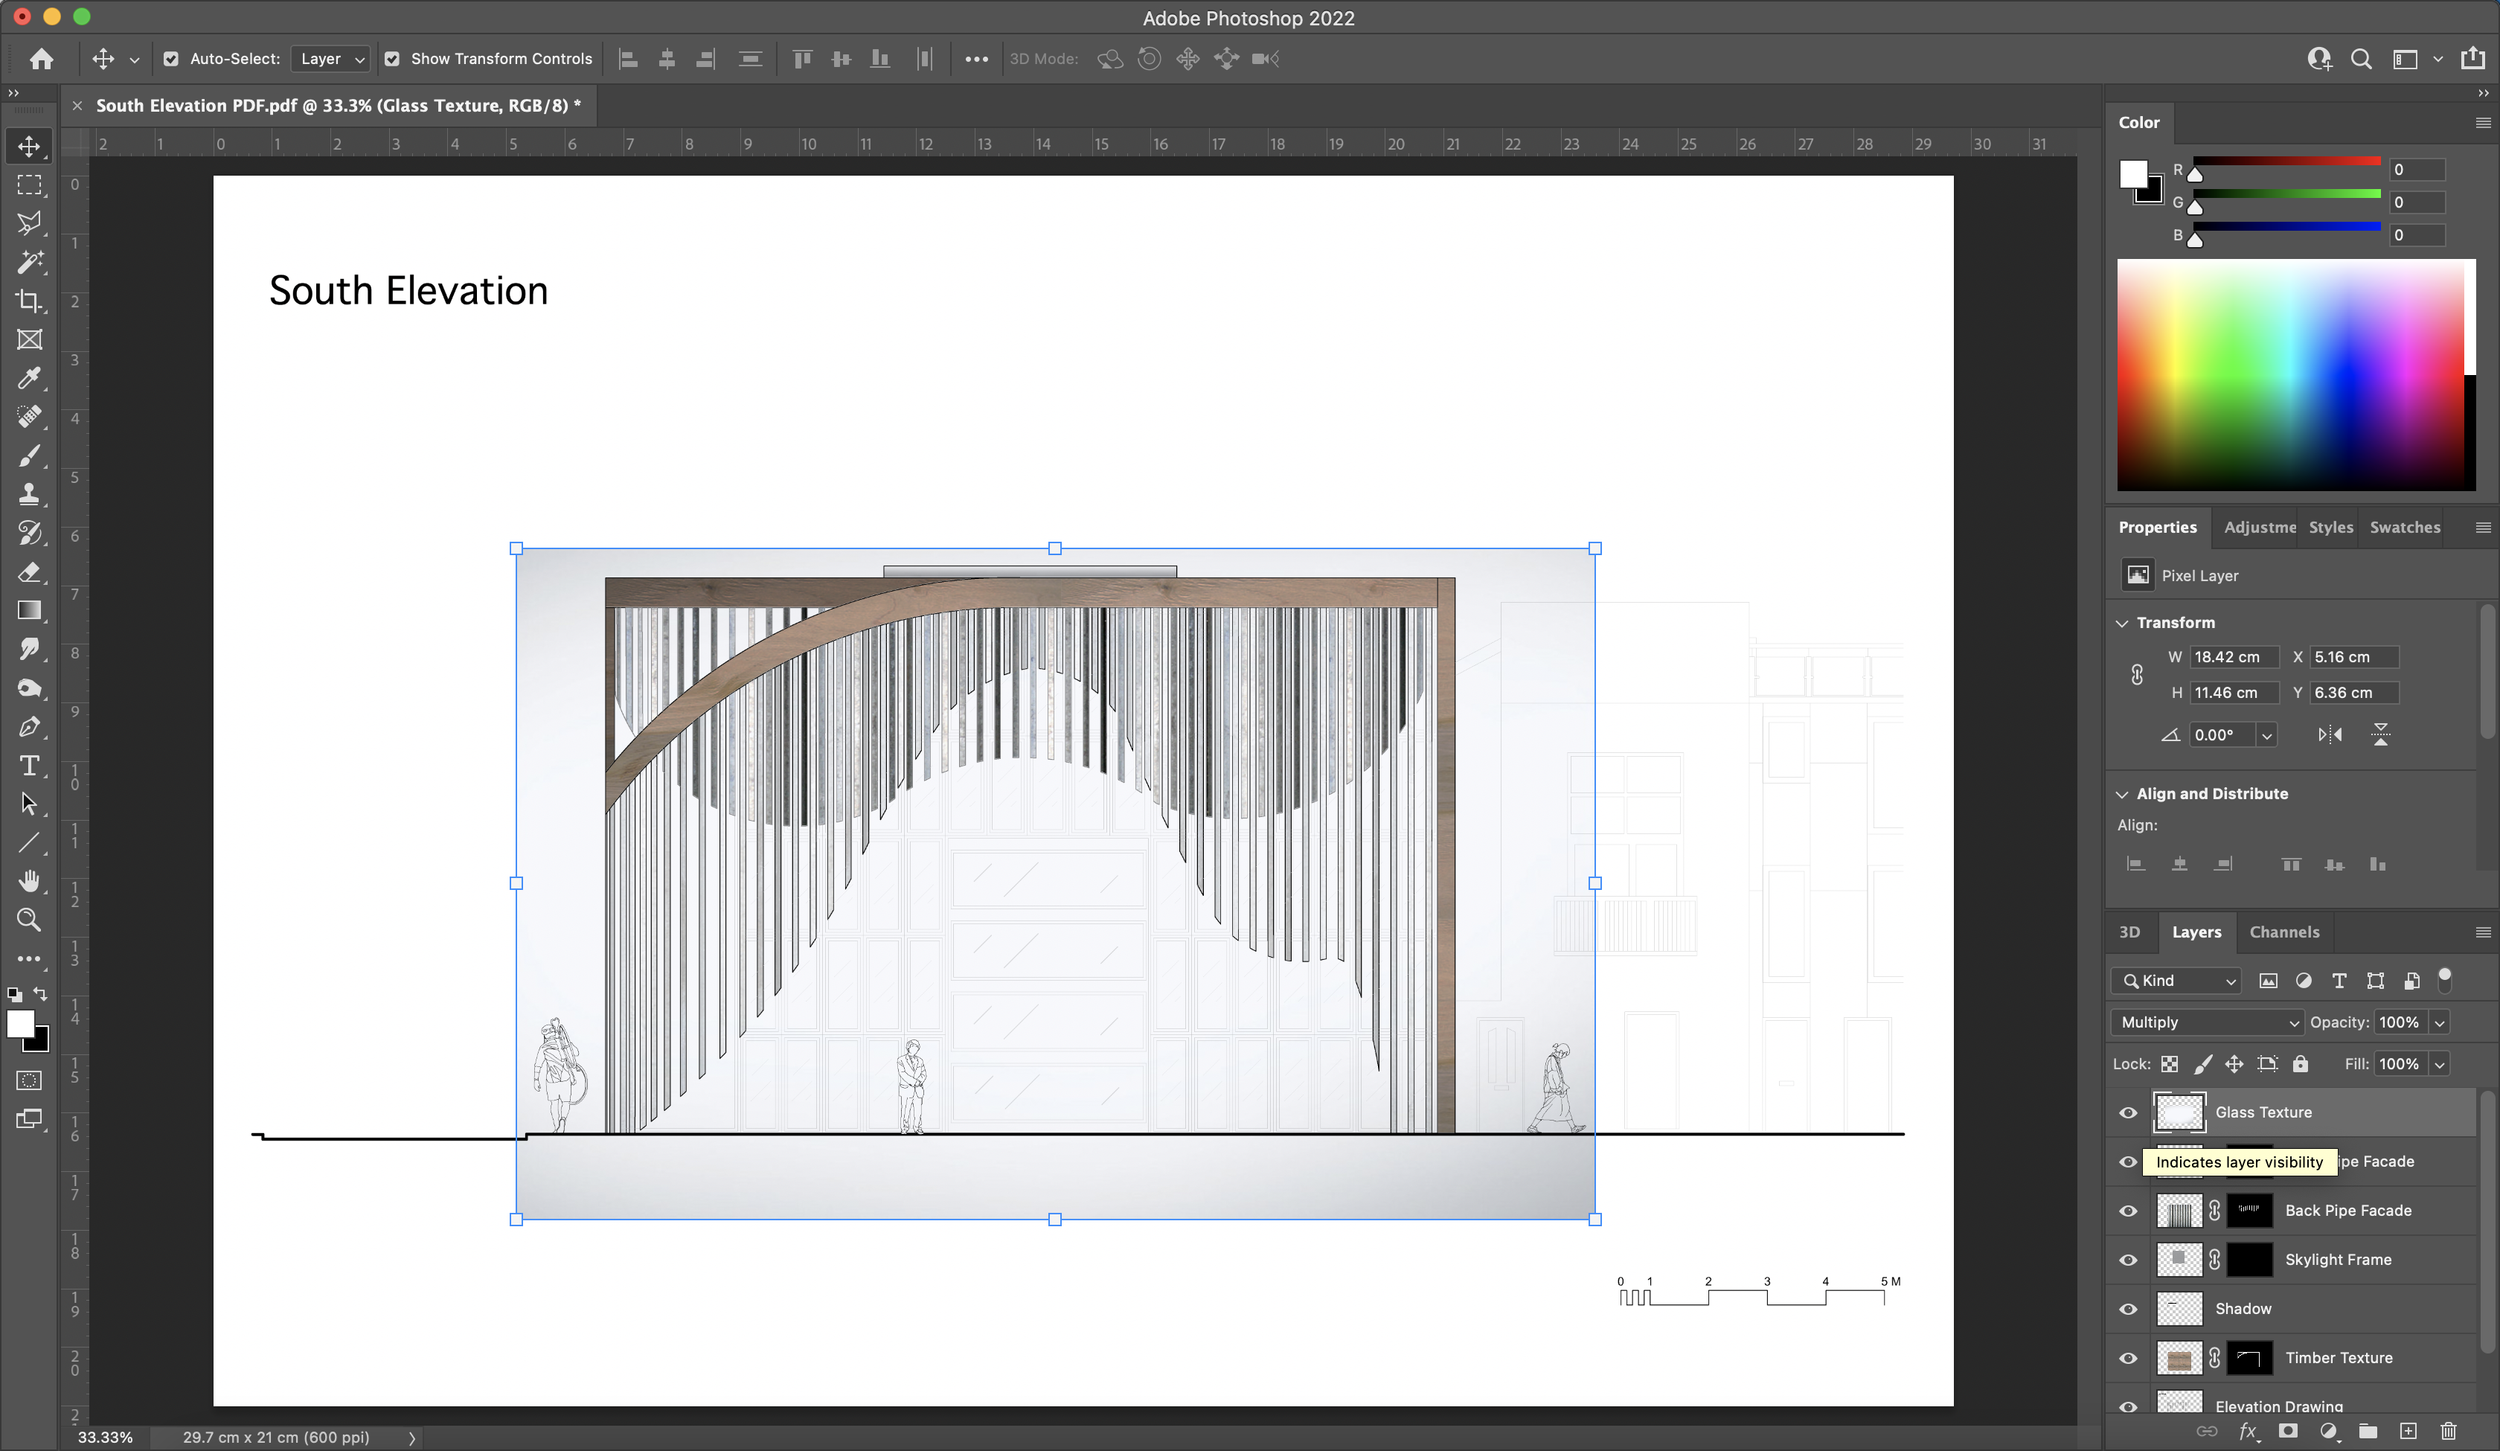
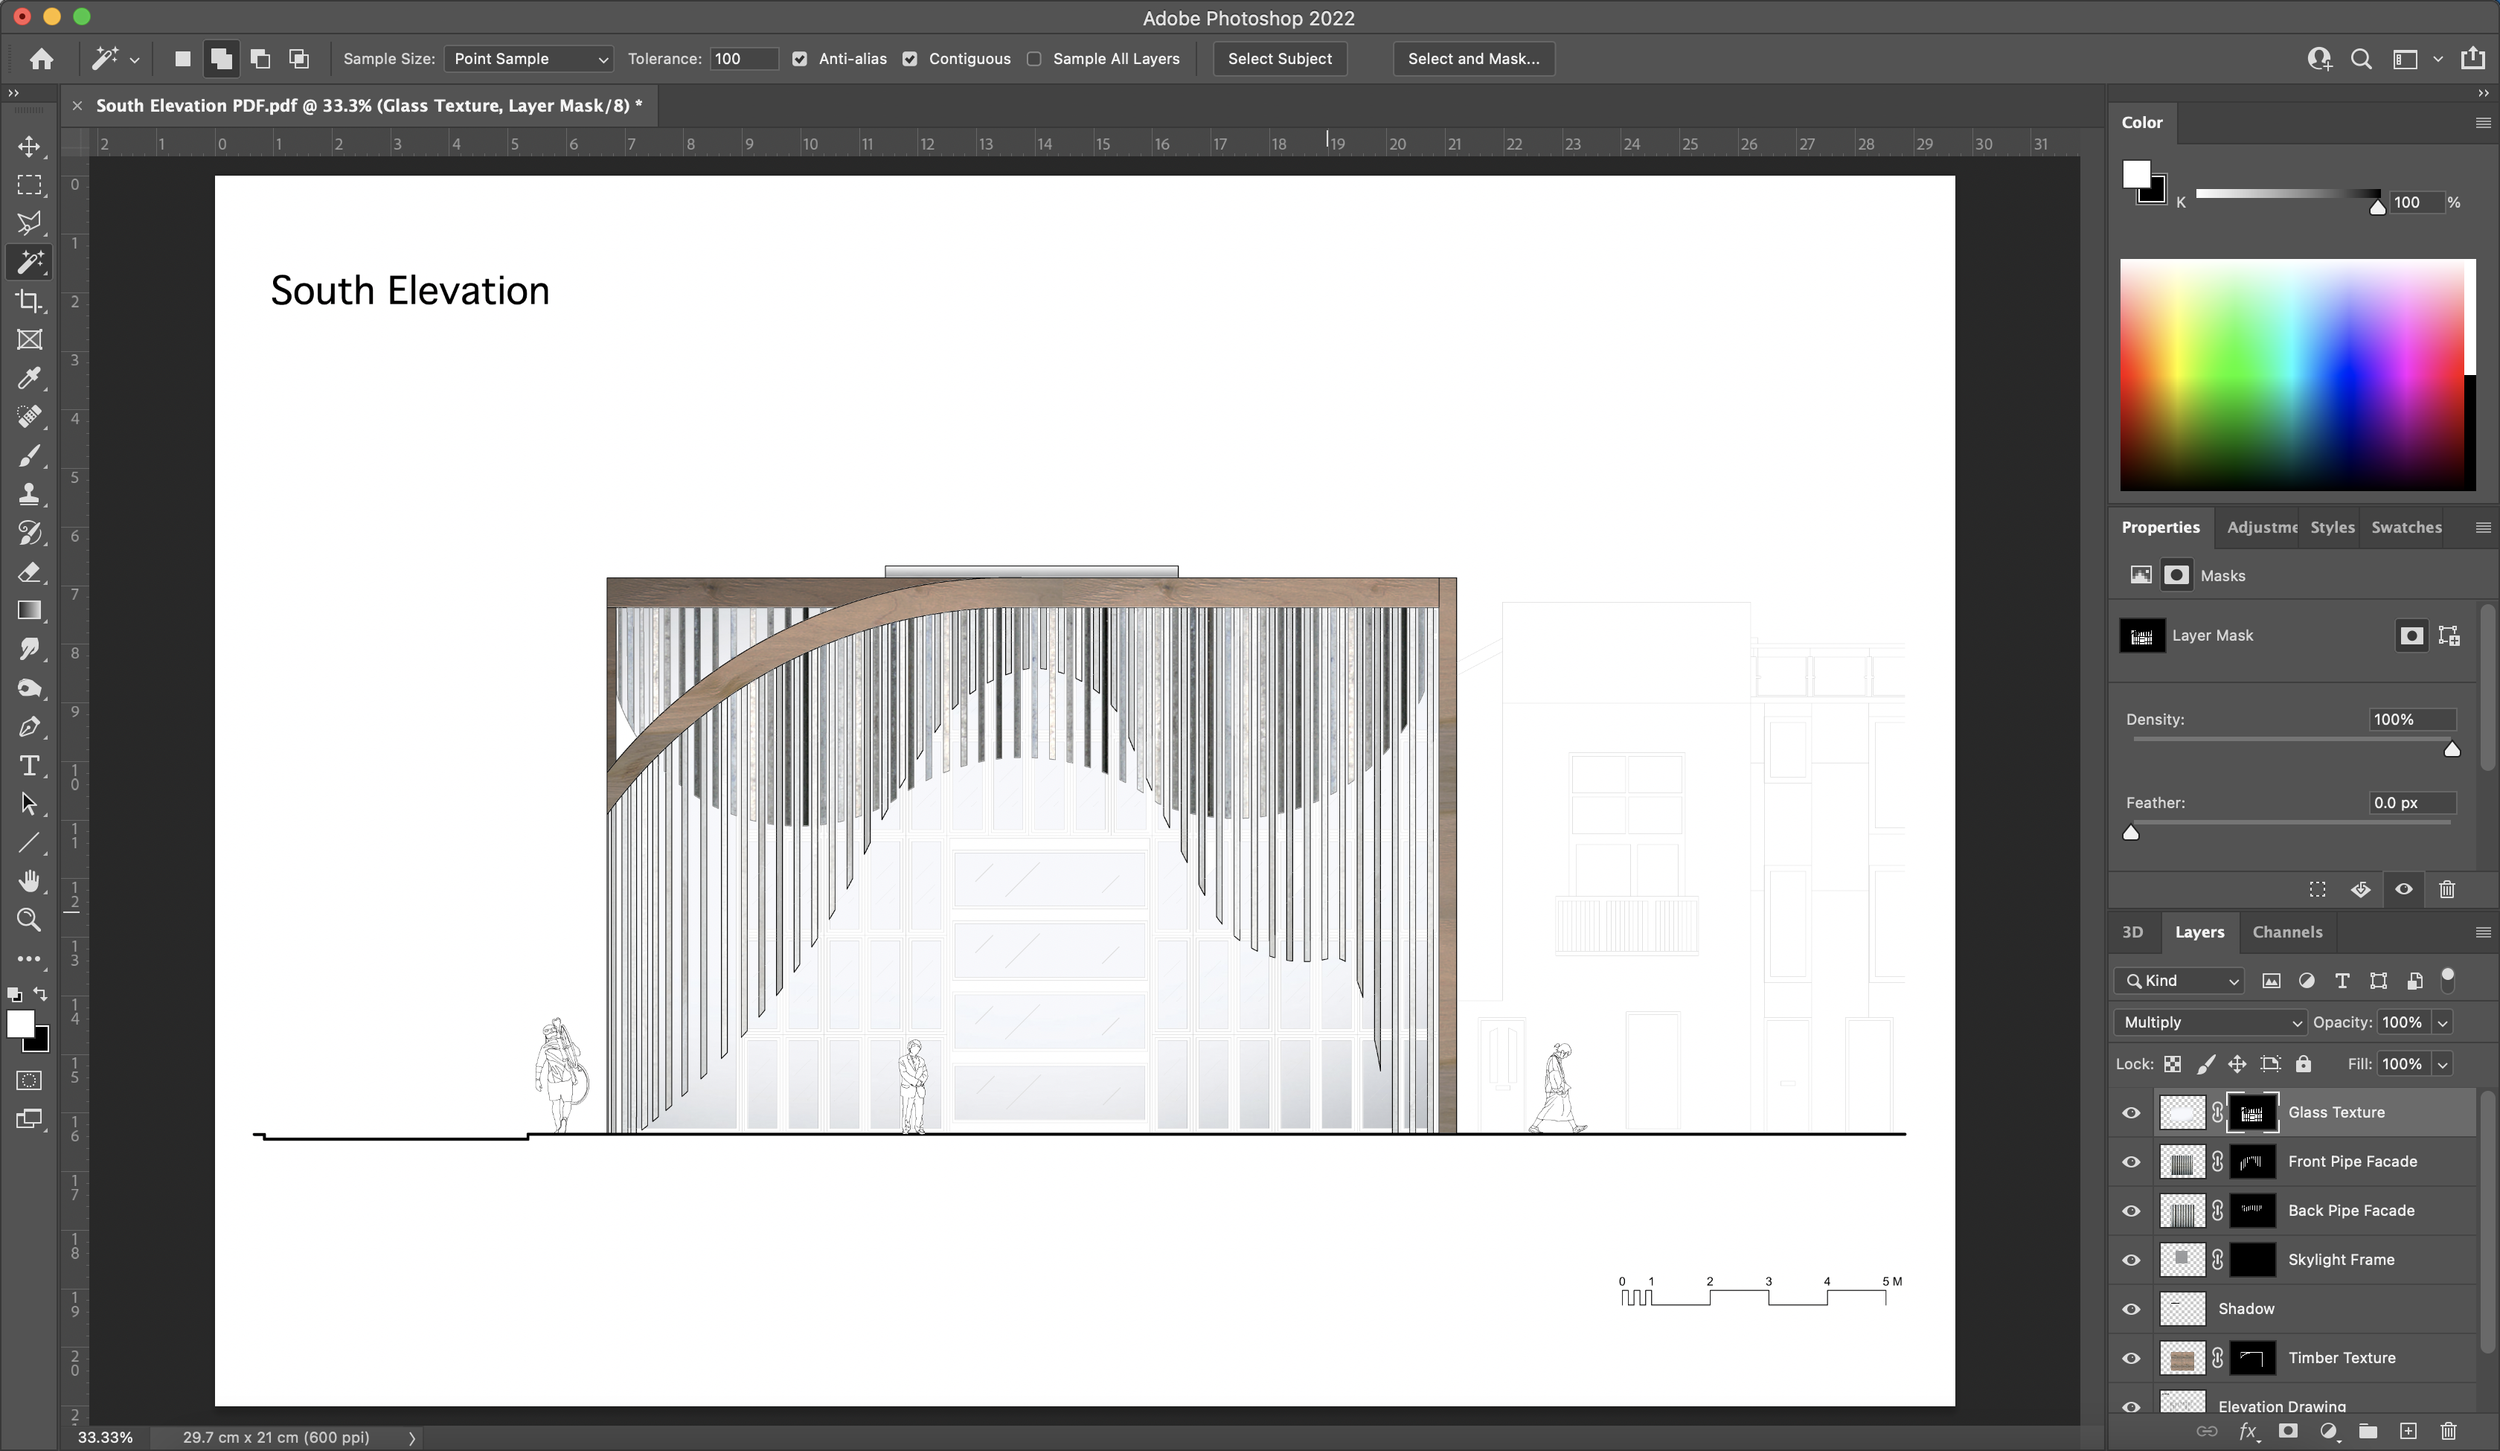
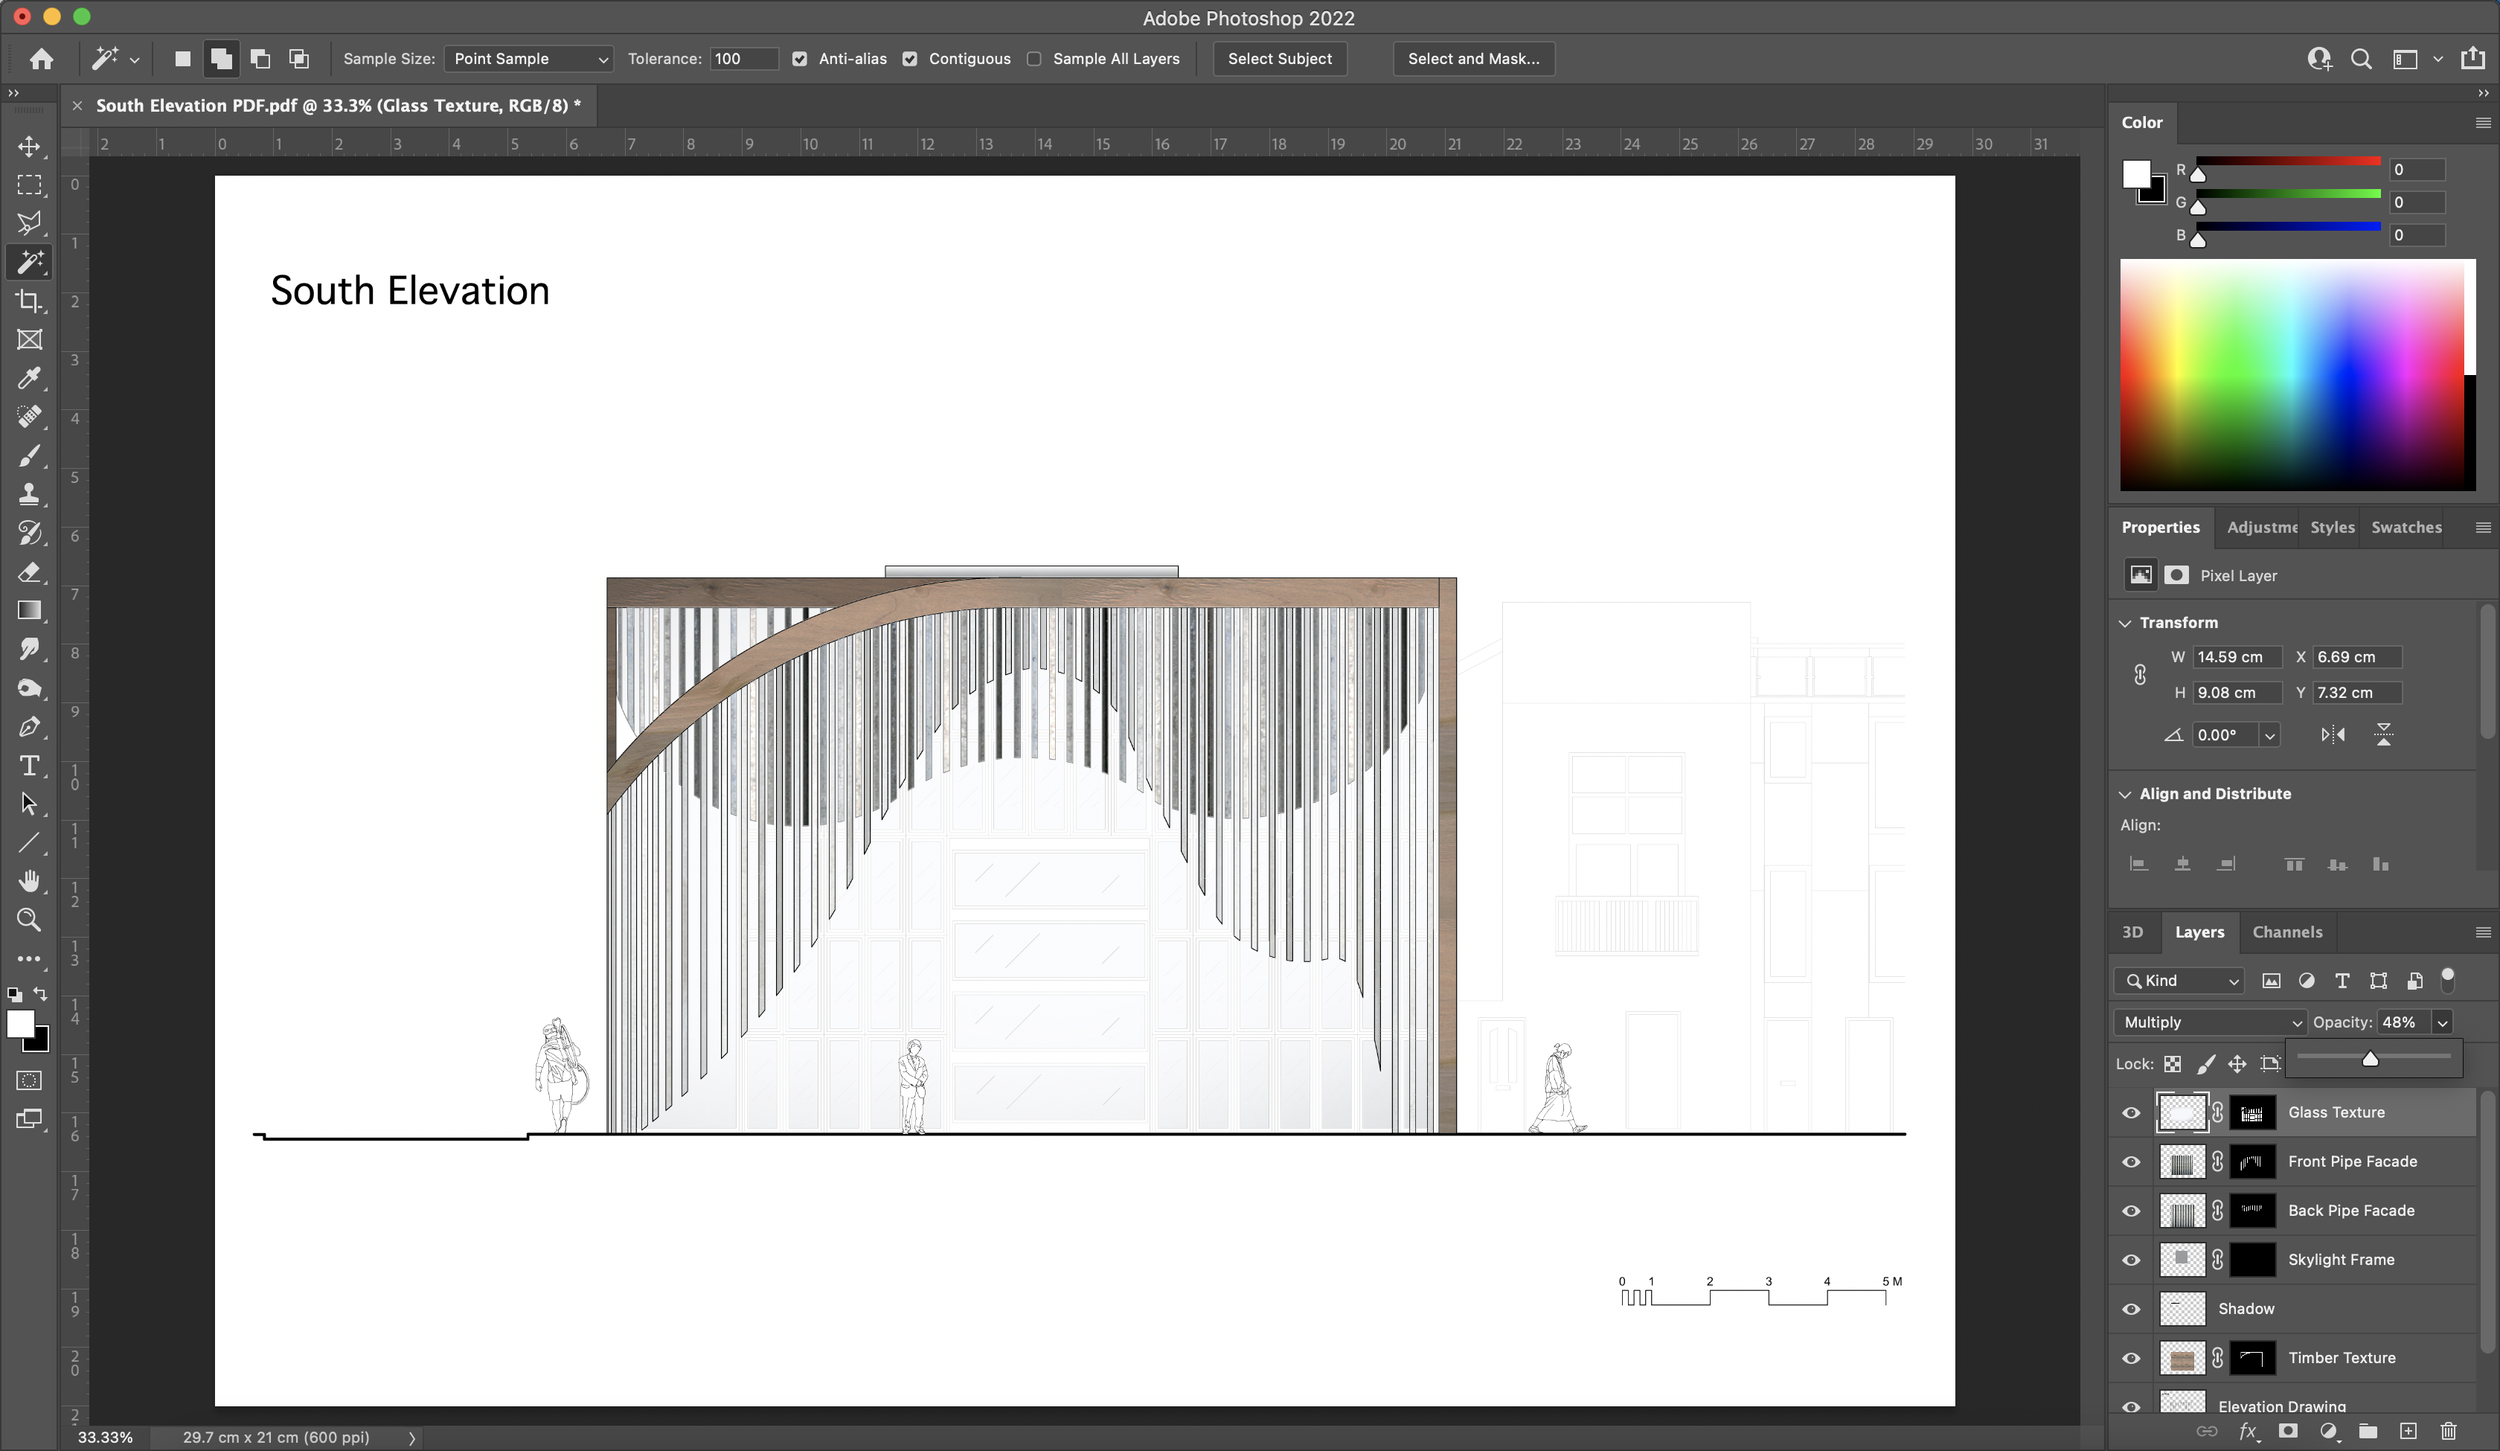
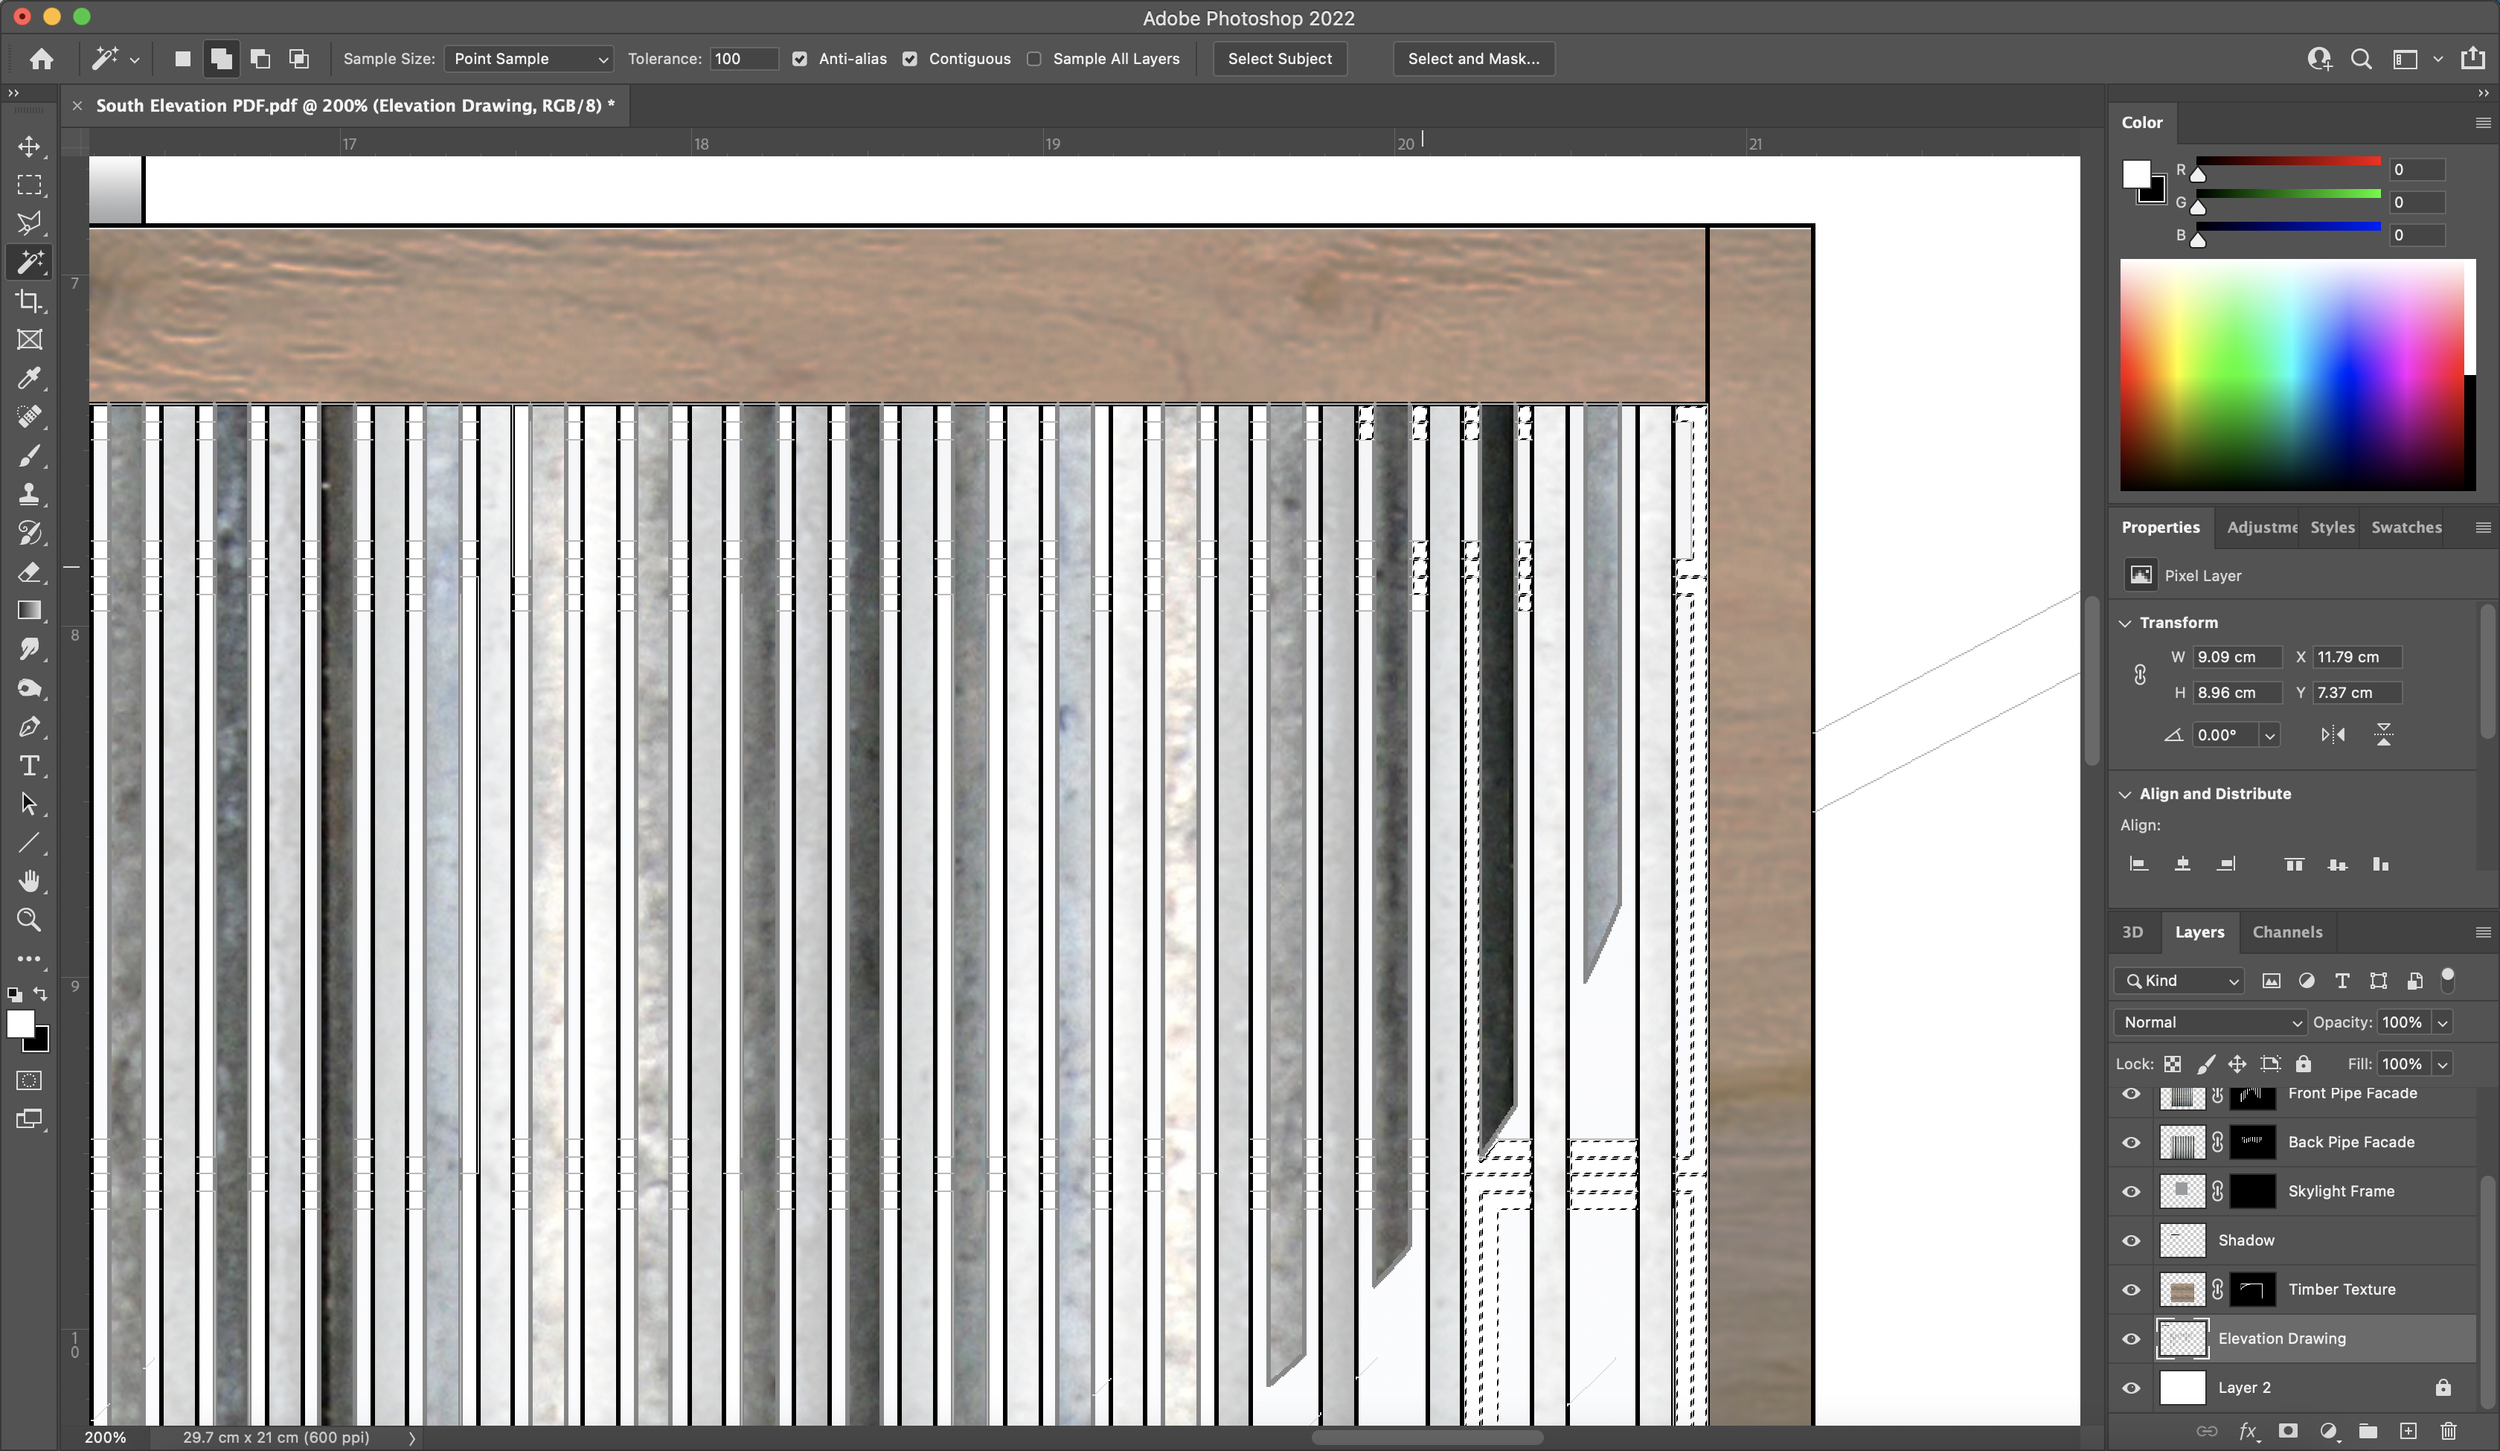
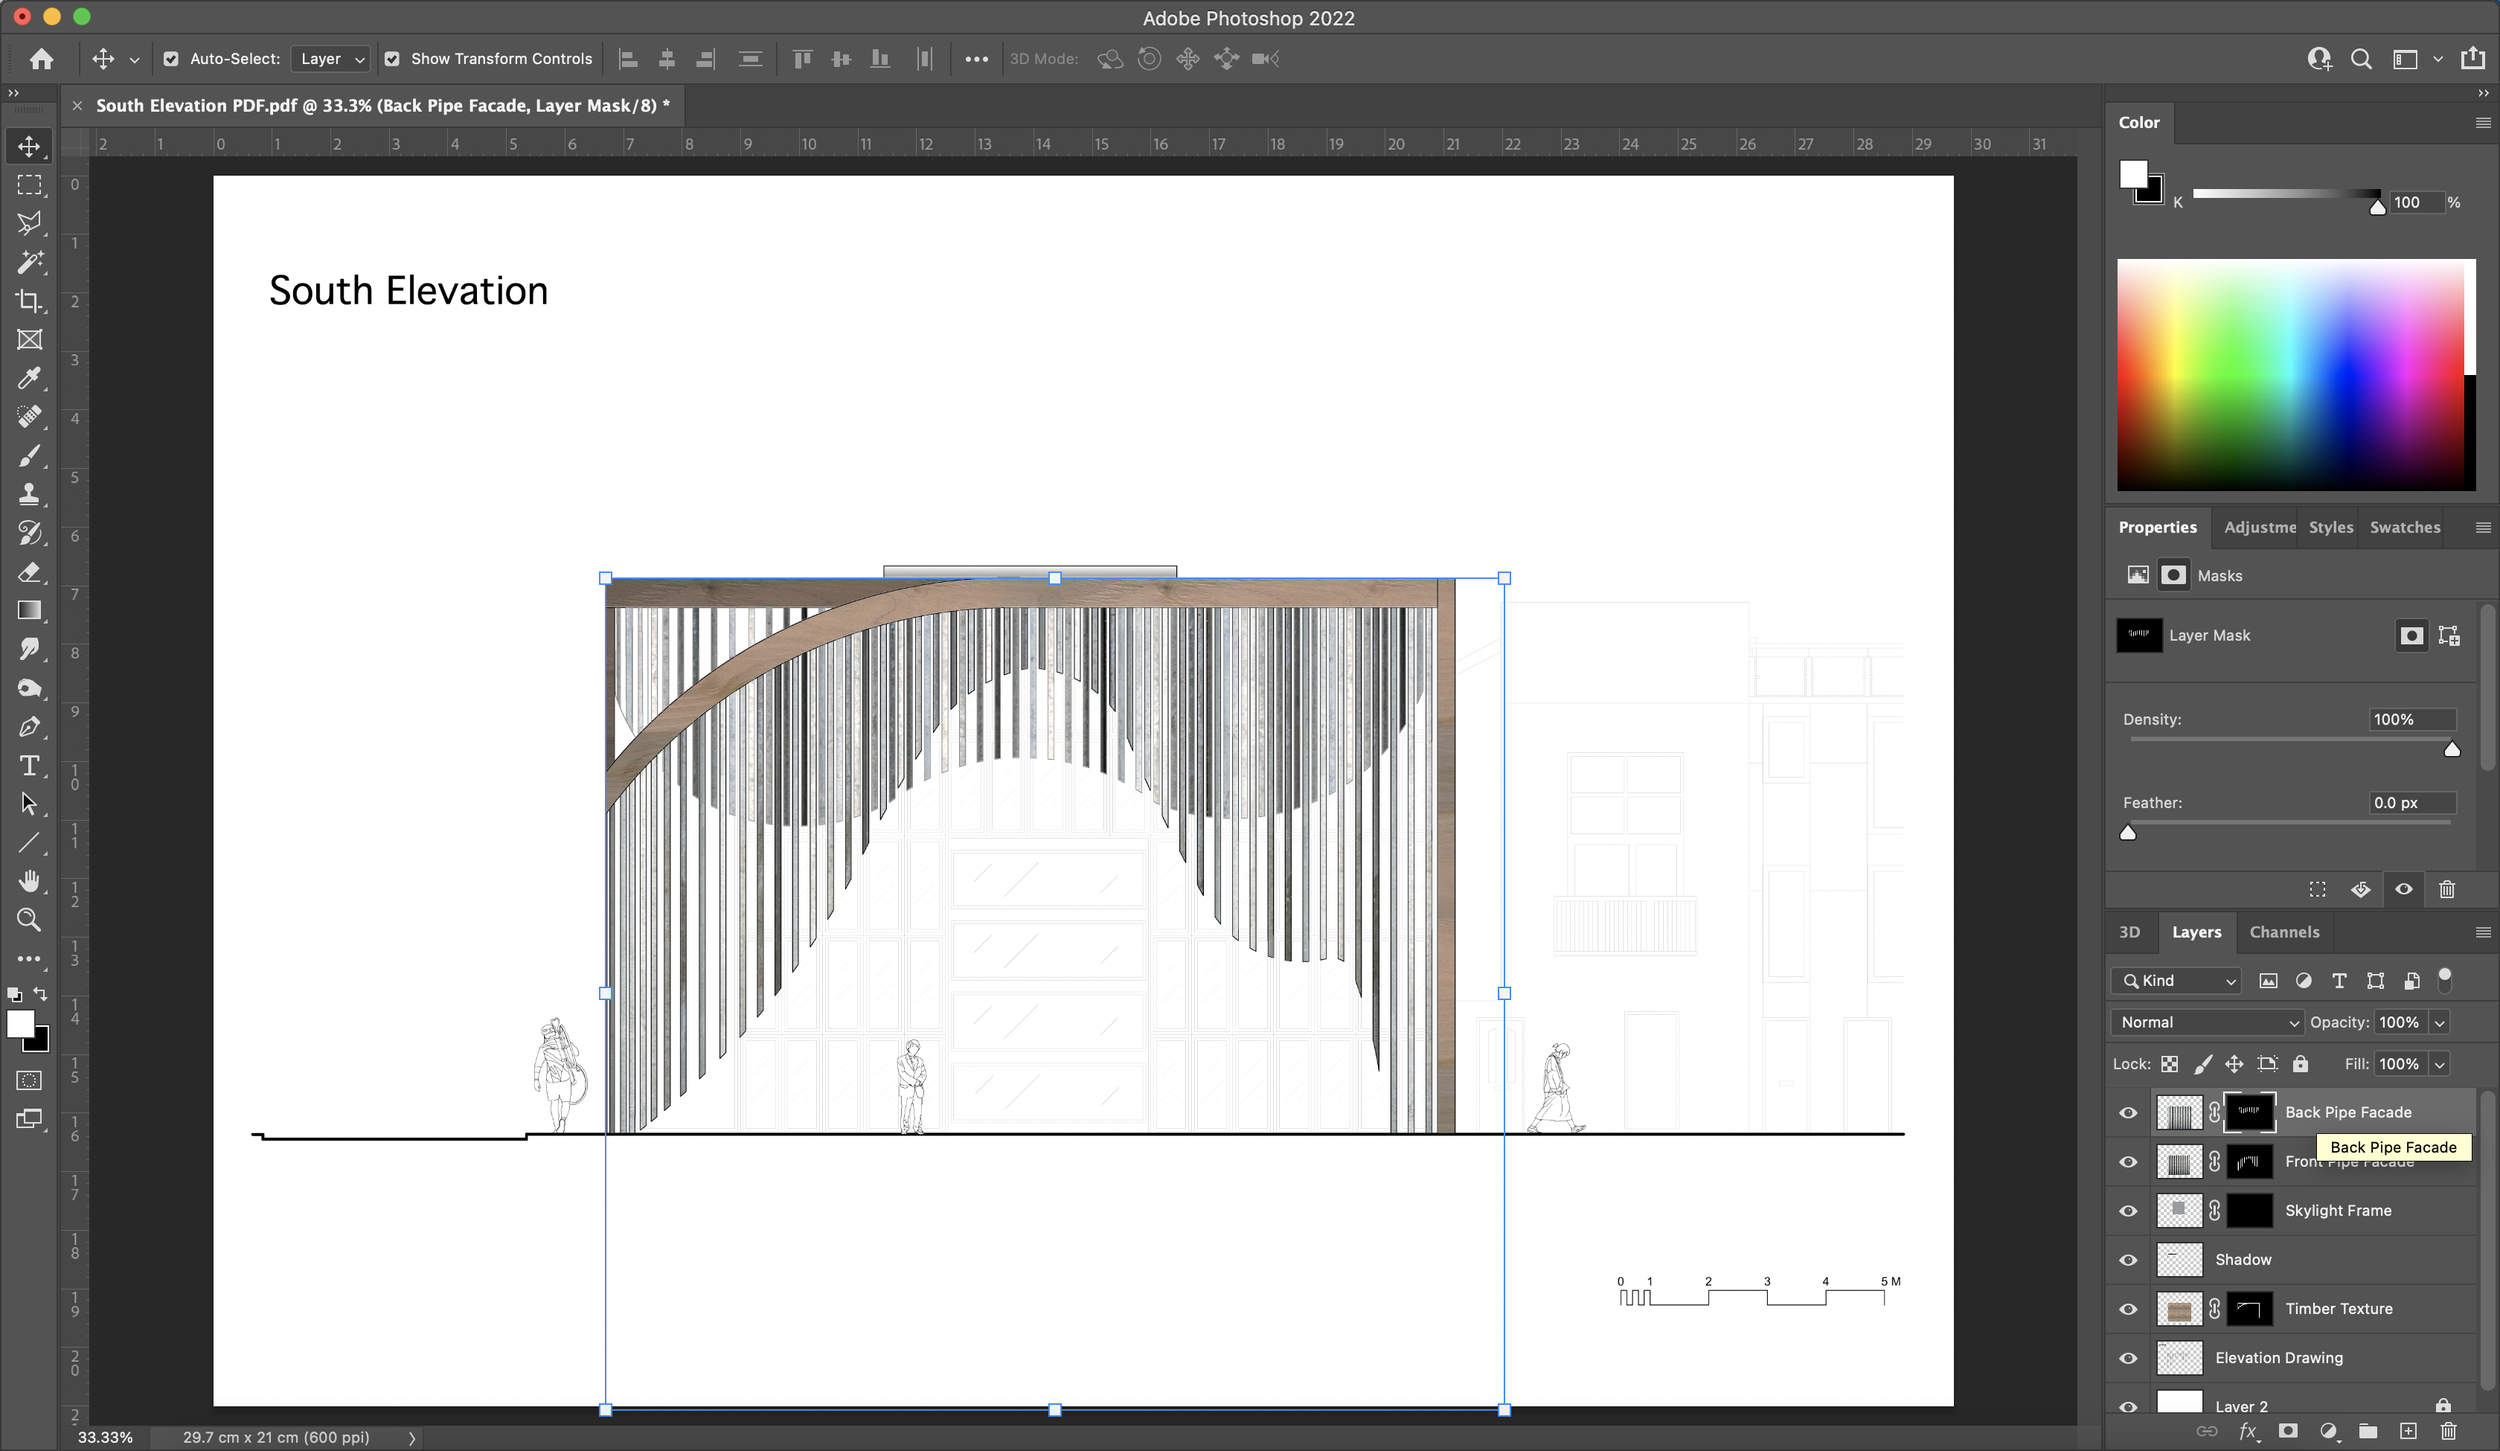
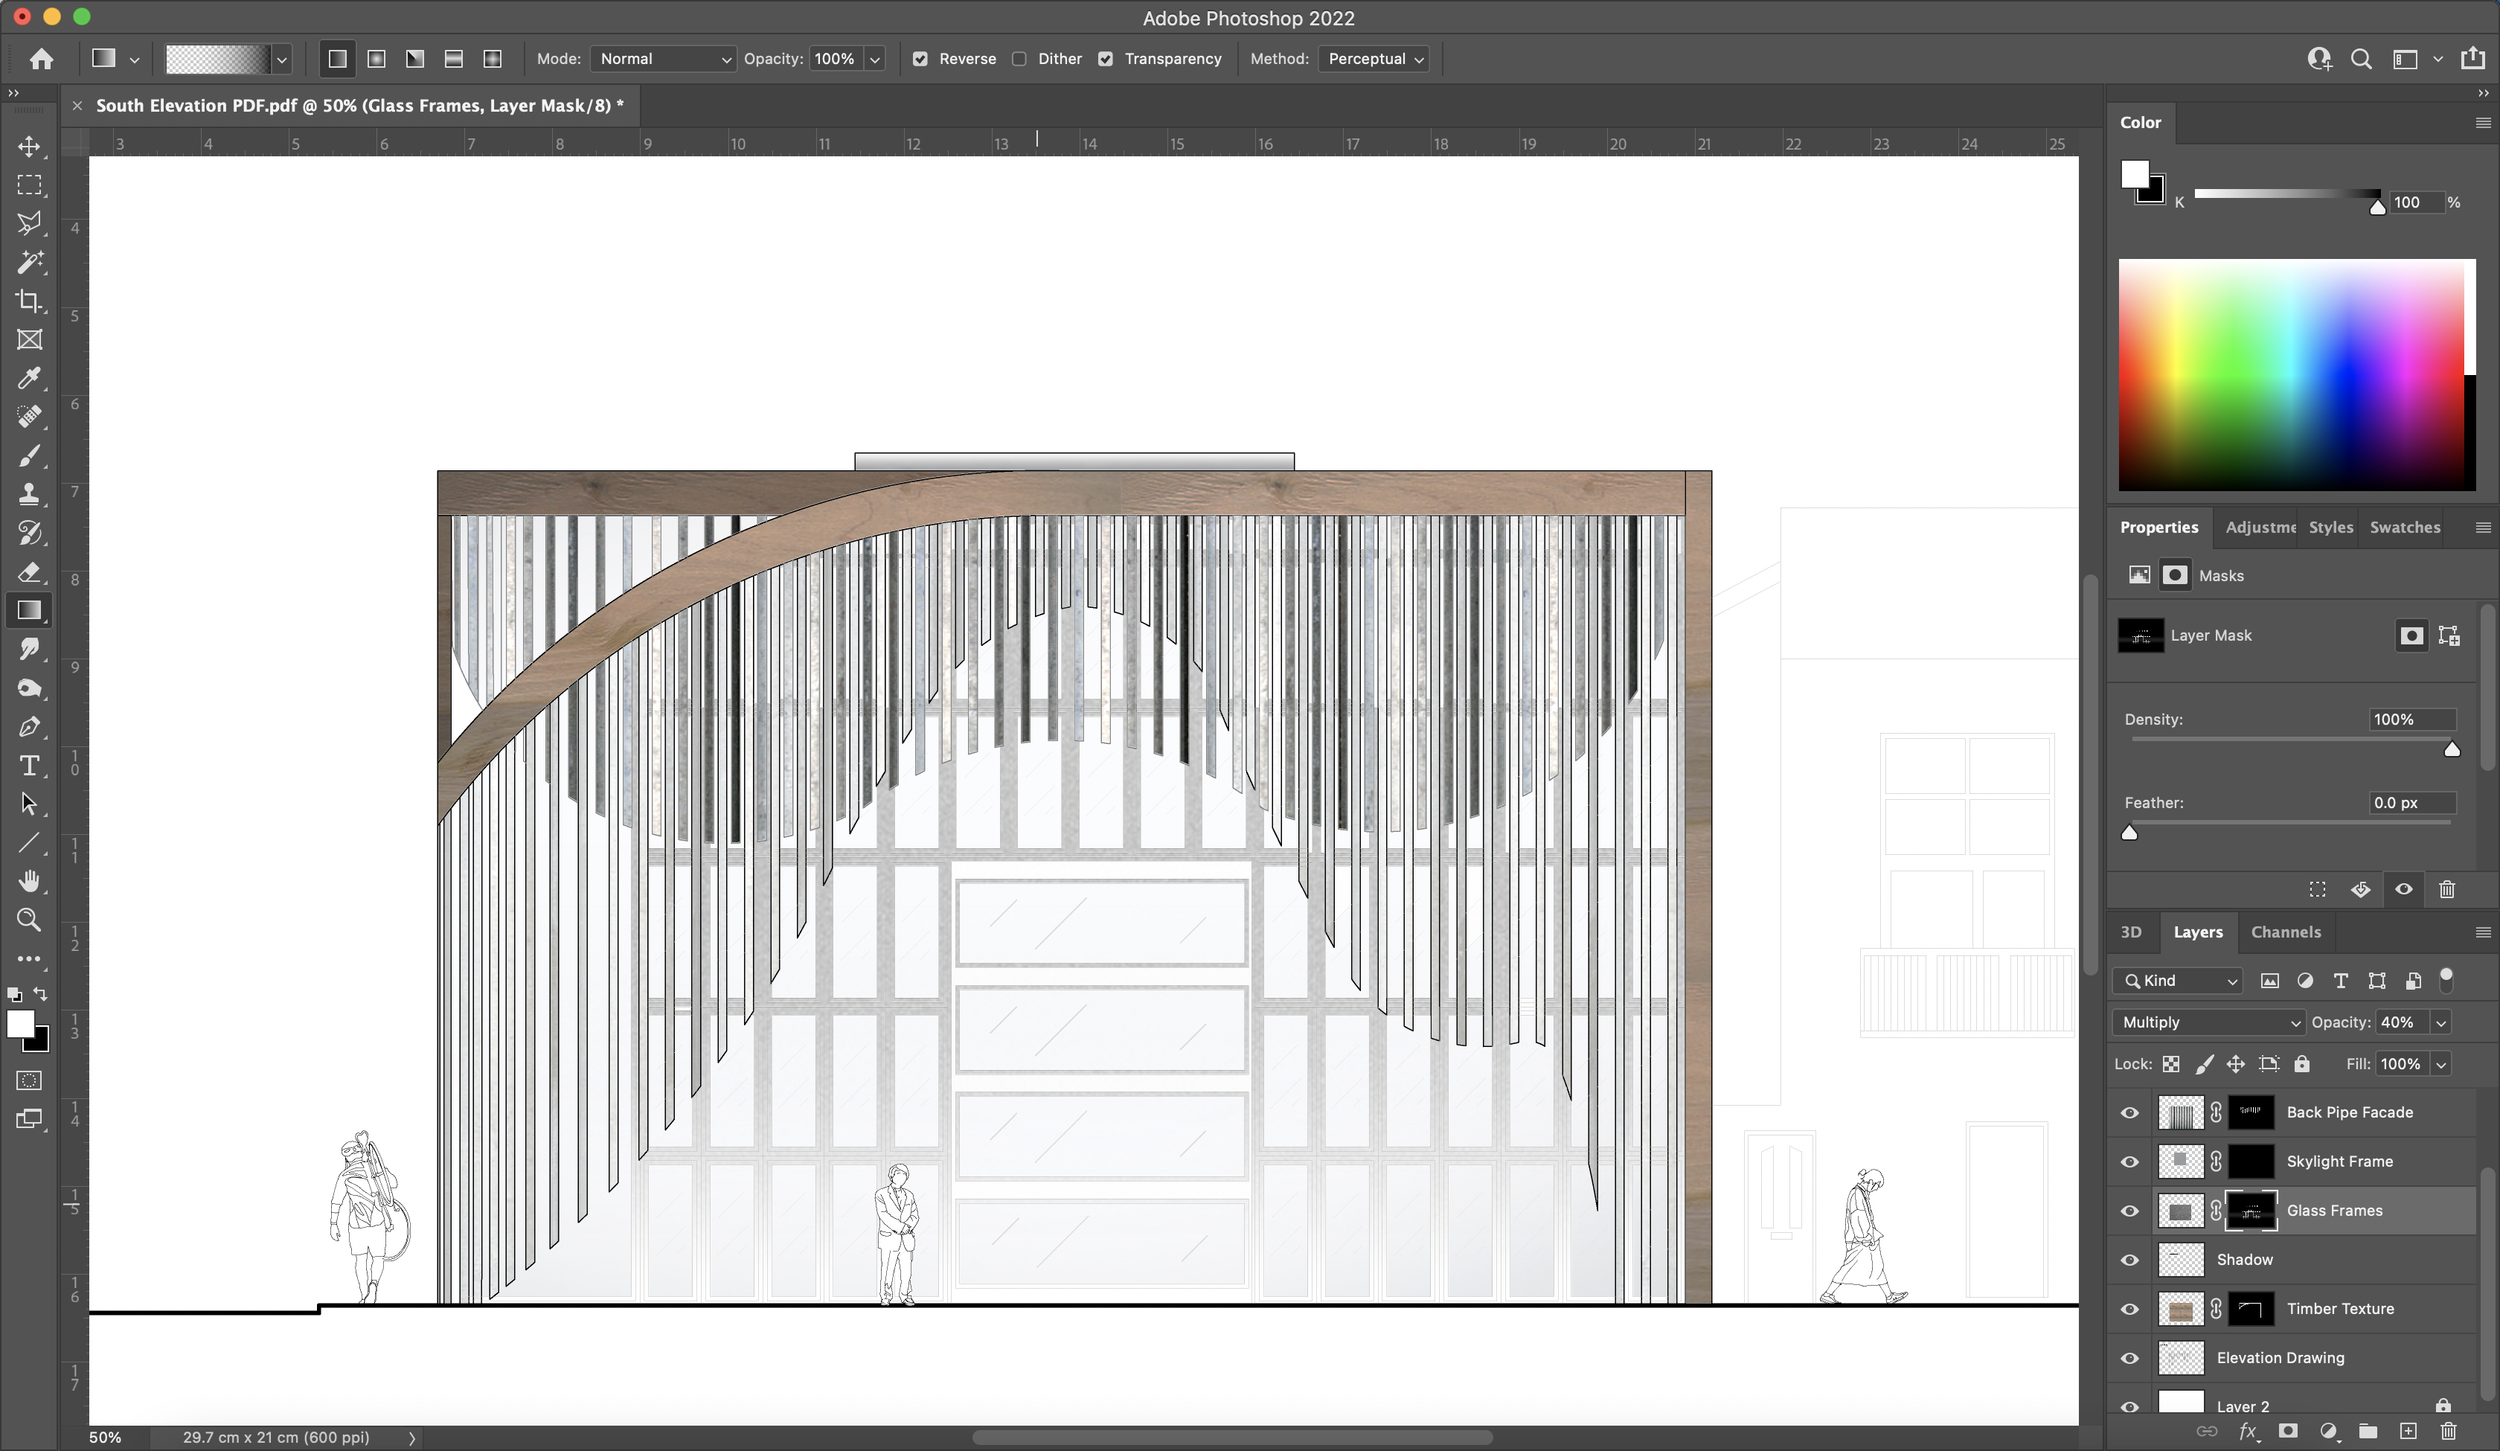
7. Multiply Blend Mode + Layering Materials
A tool that will come in really handy is the ‘multiply’ function which you will find under the drop-down menu in your layers window. This will allow you to see the material texture whilst being aware of the vector drawing behind as shown below. We’ll be using this blend mode function for all our texture layers in order to help align them over all areas of the vector drawing.

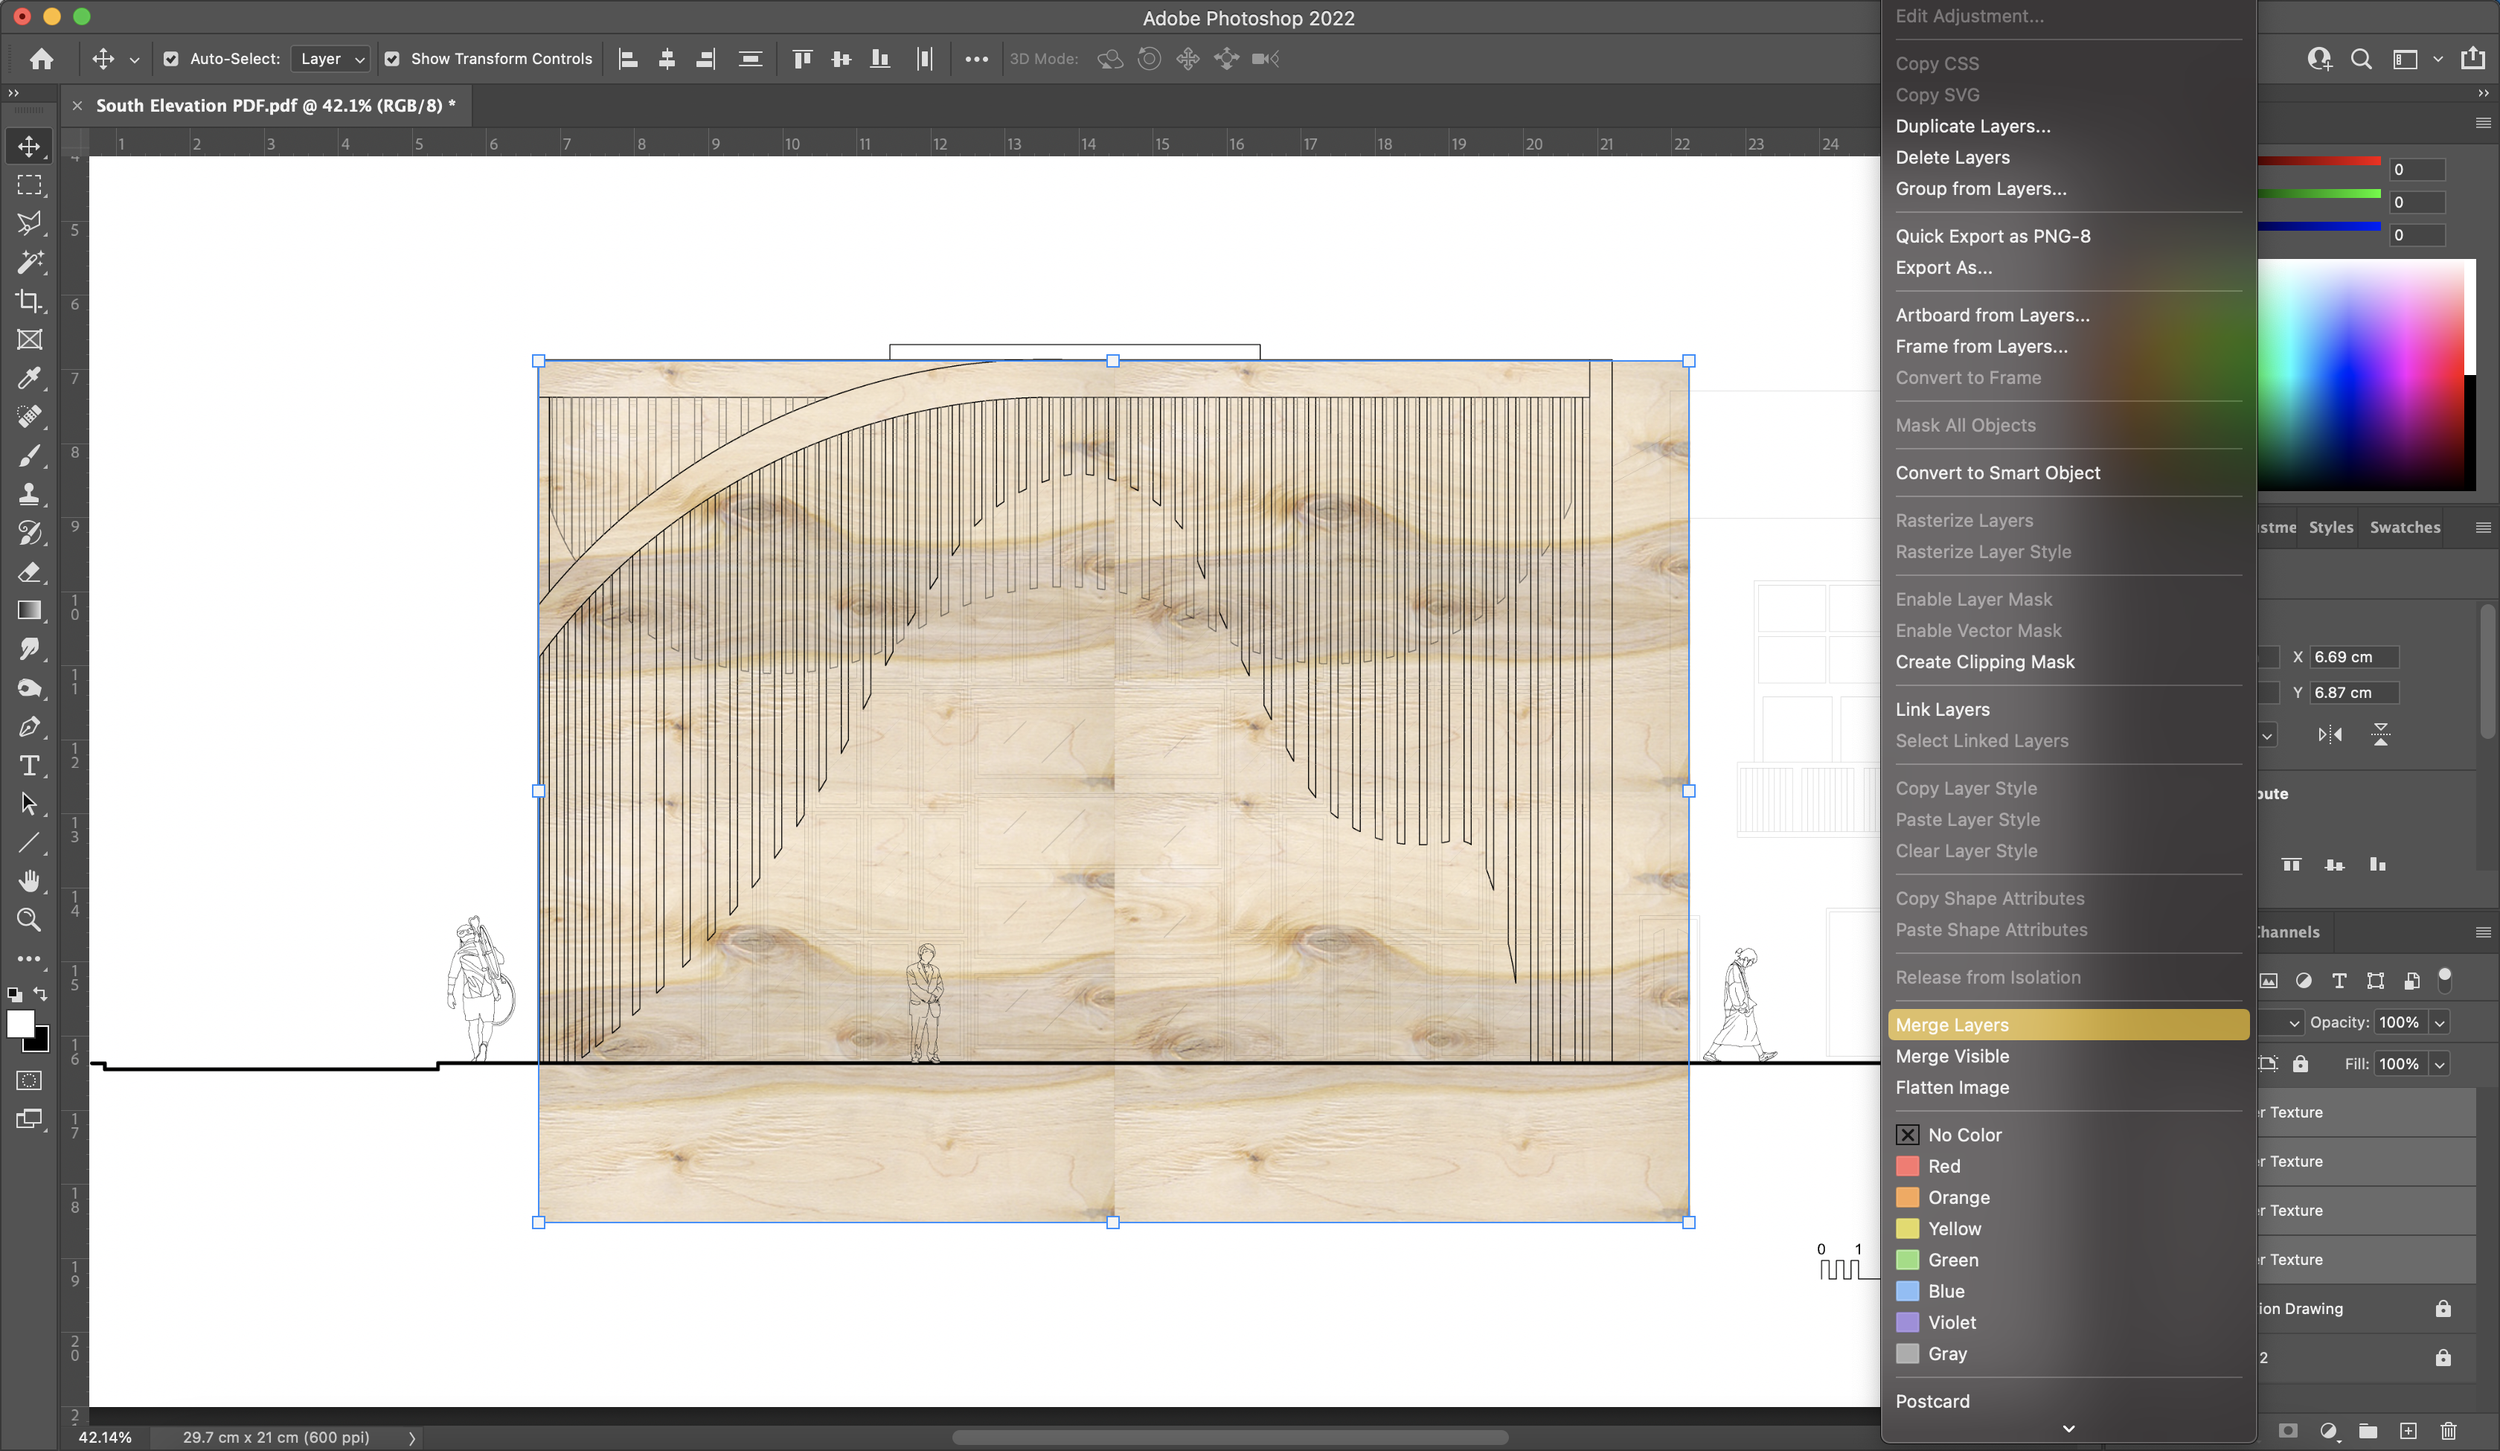
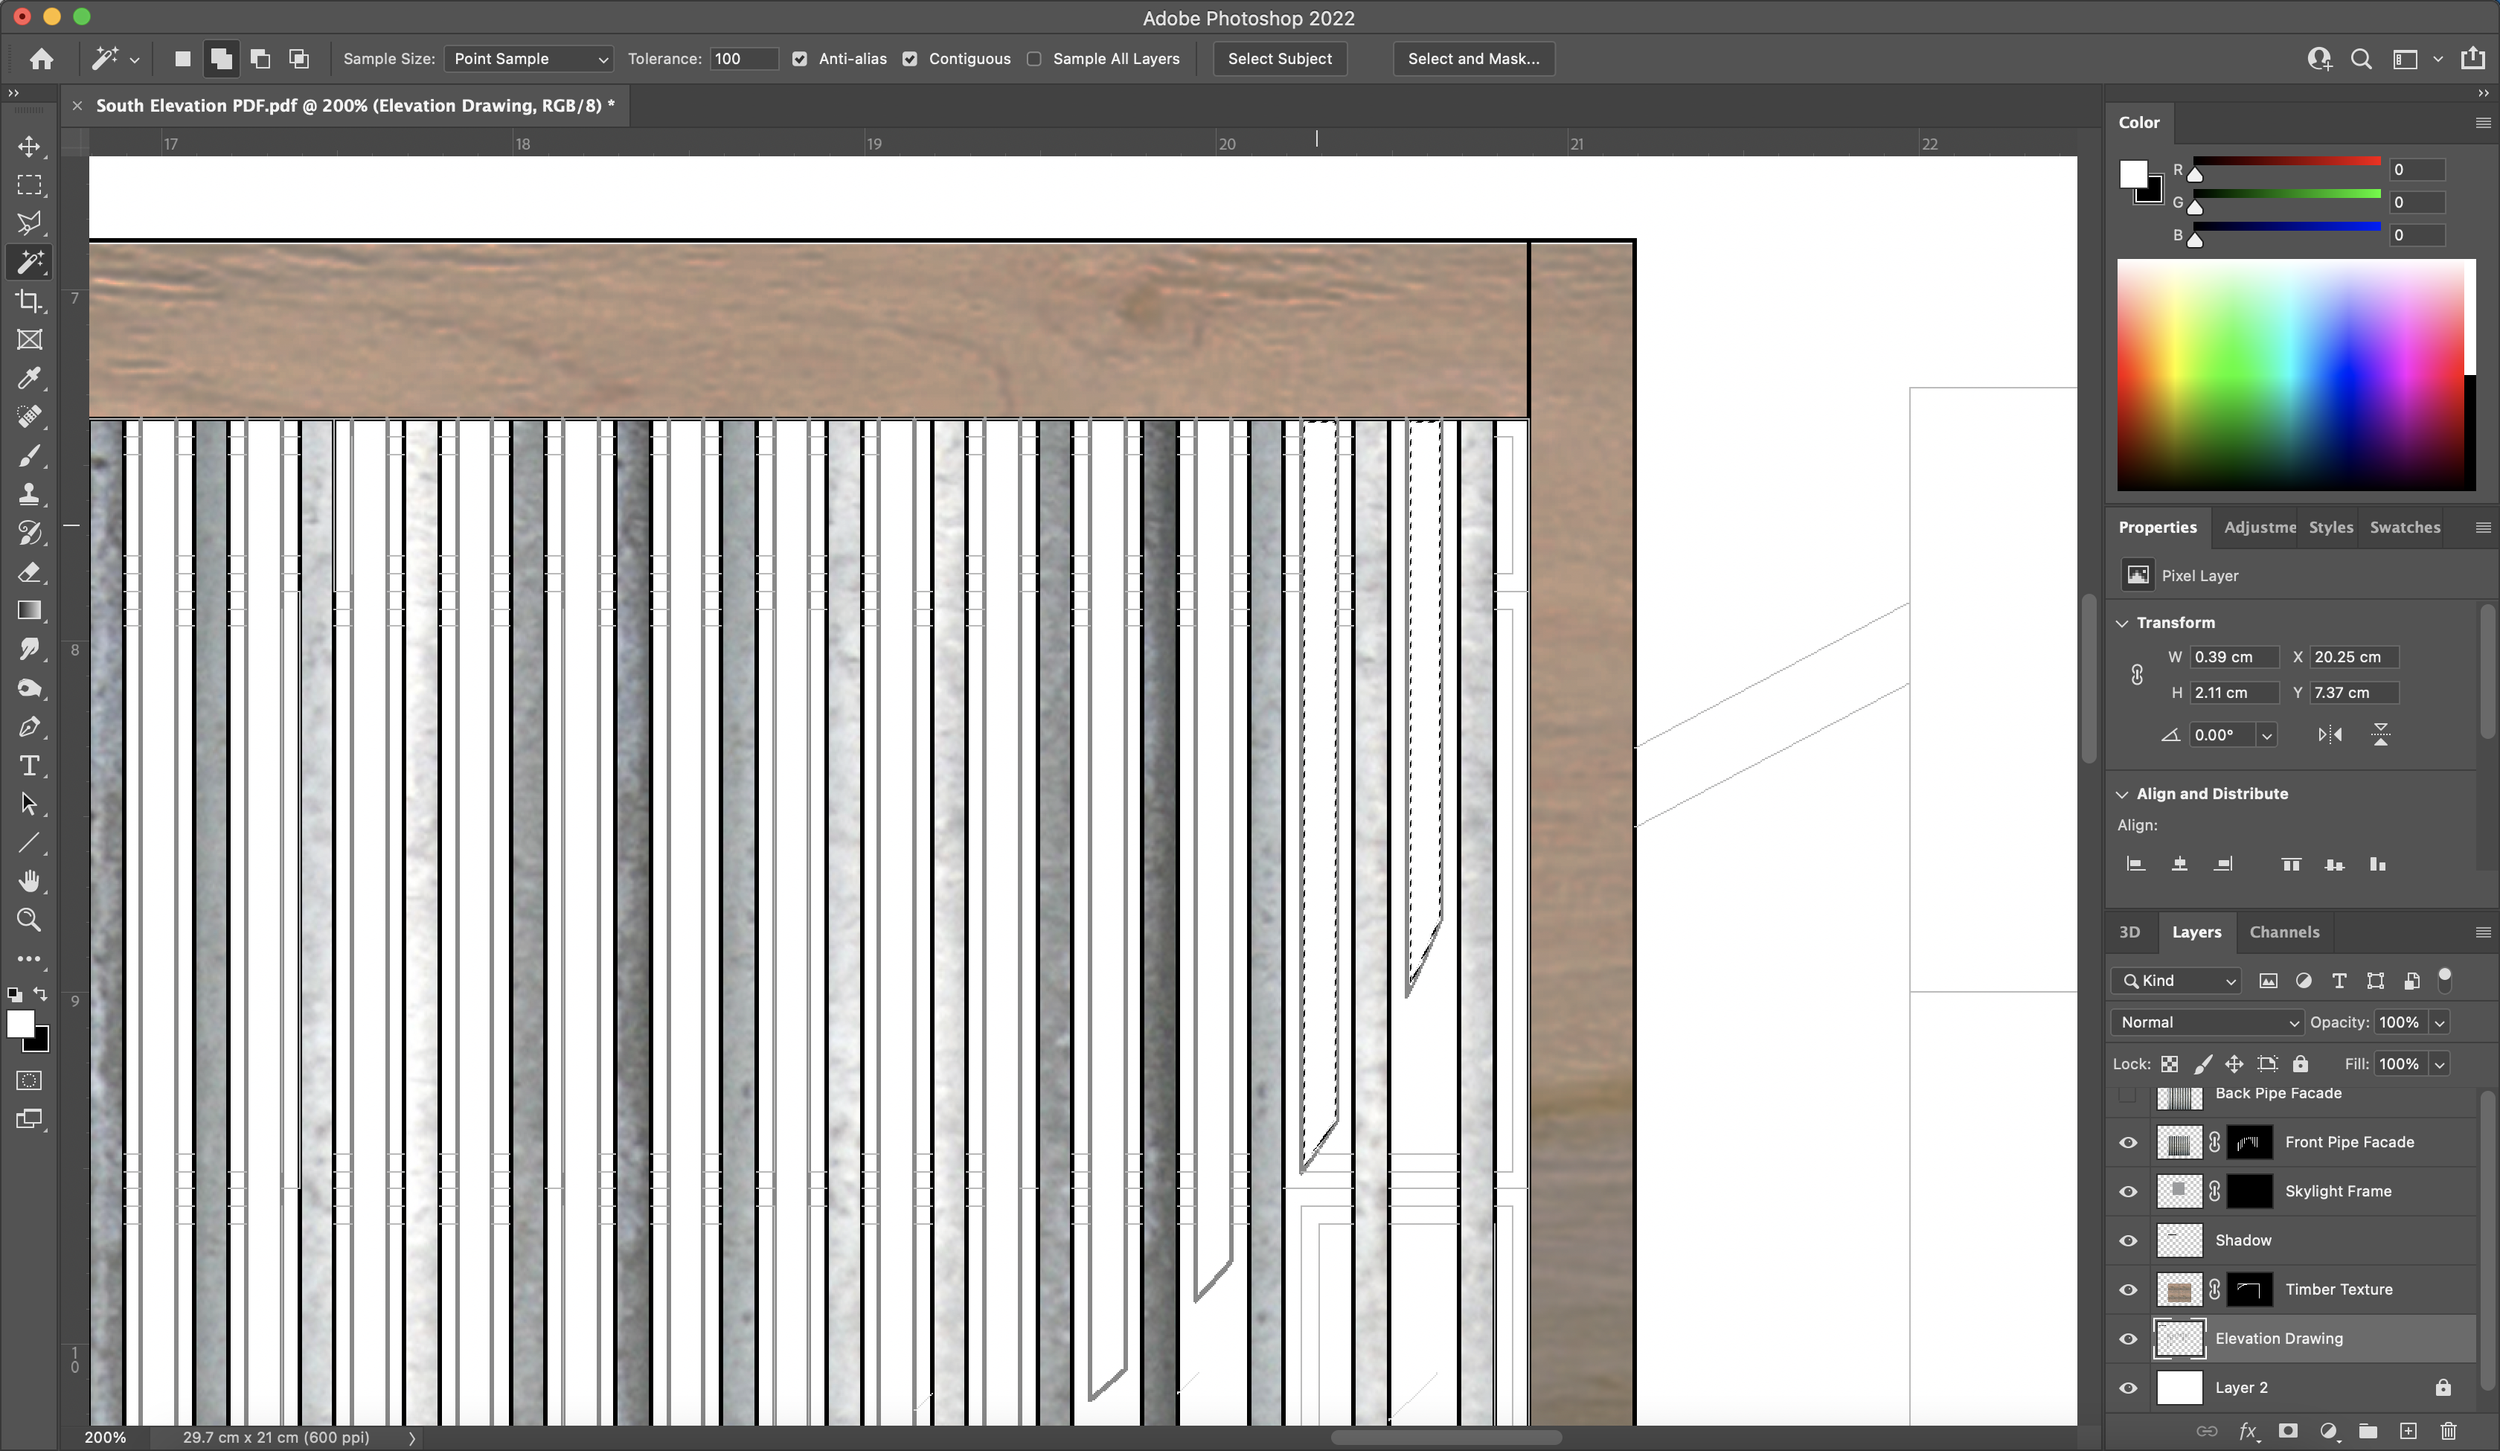
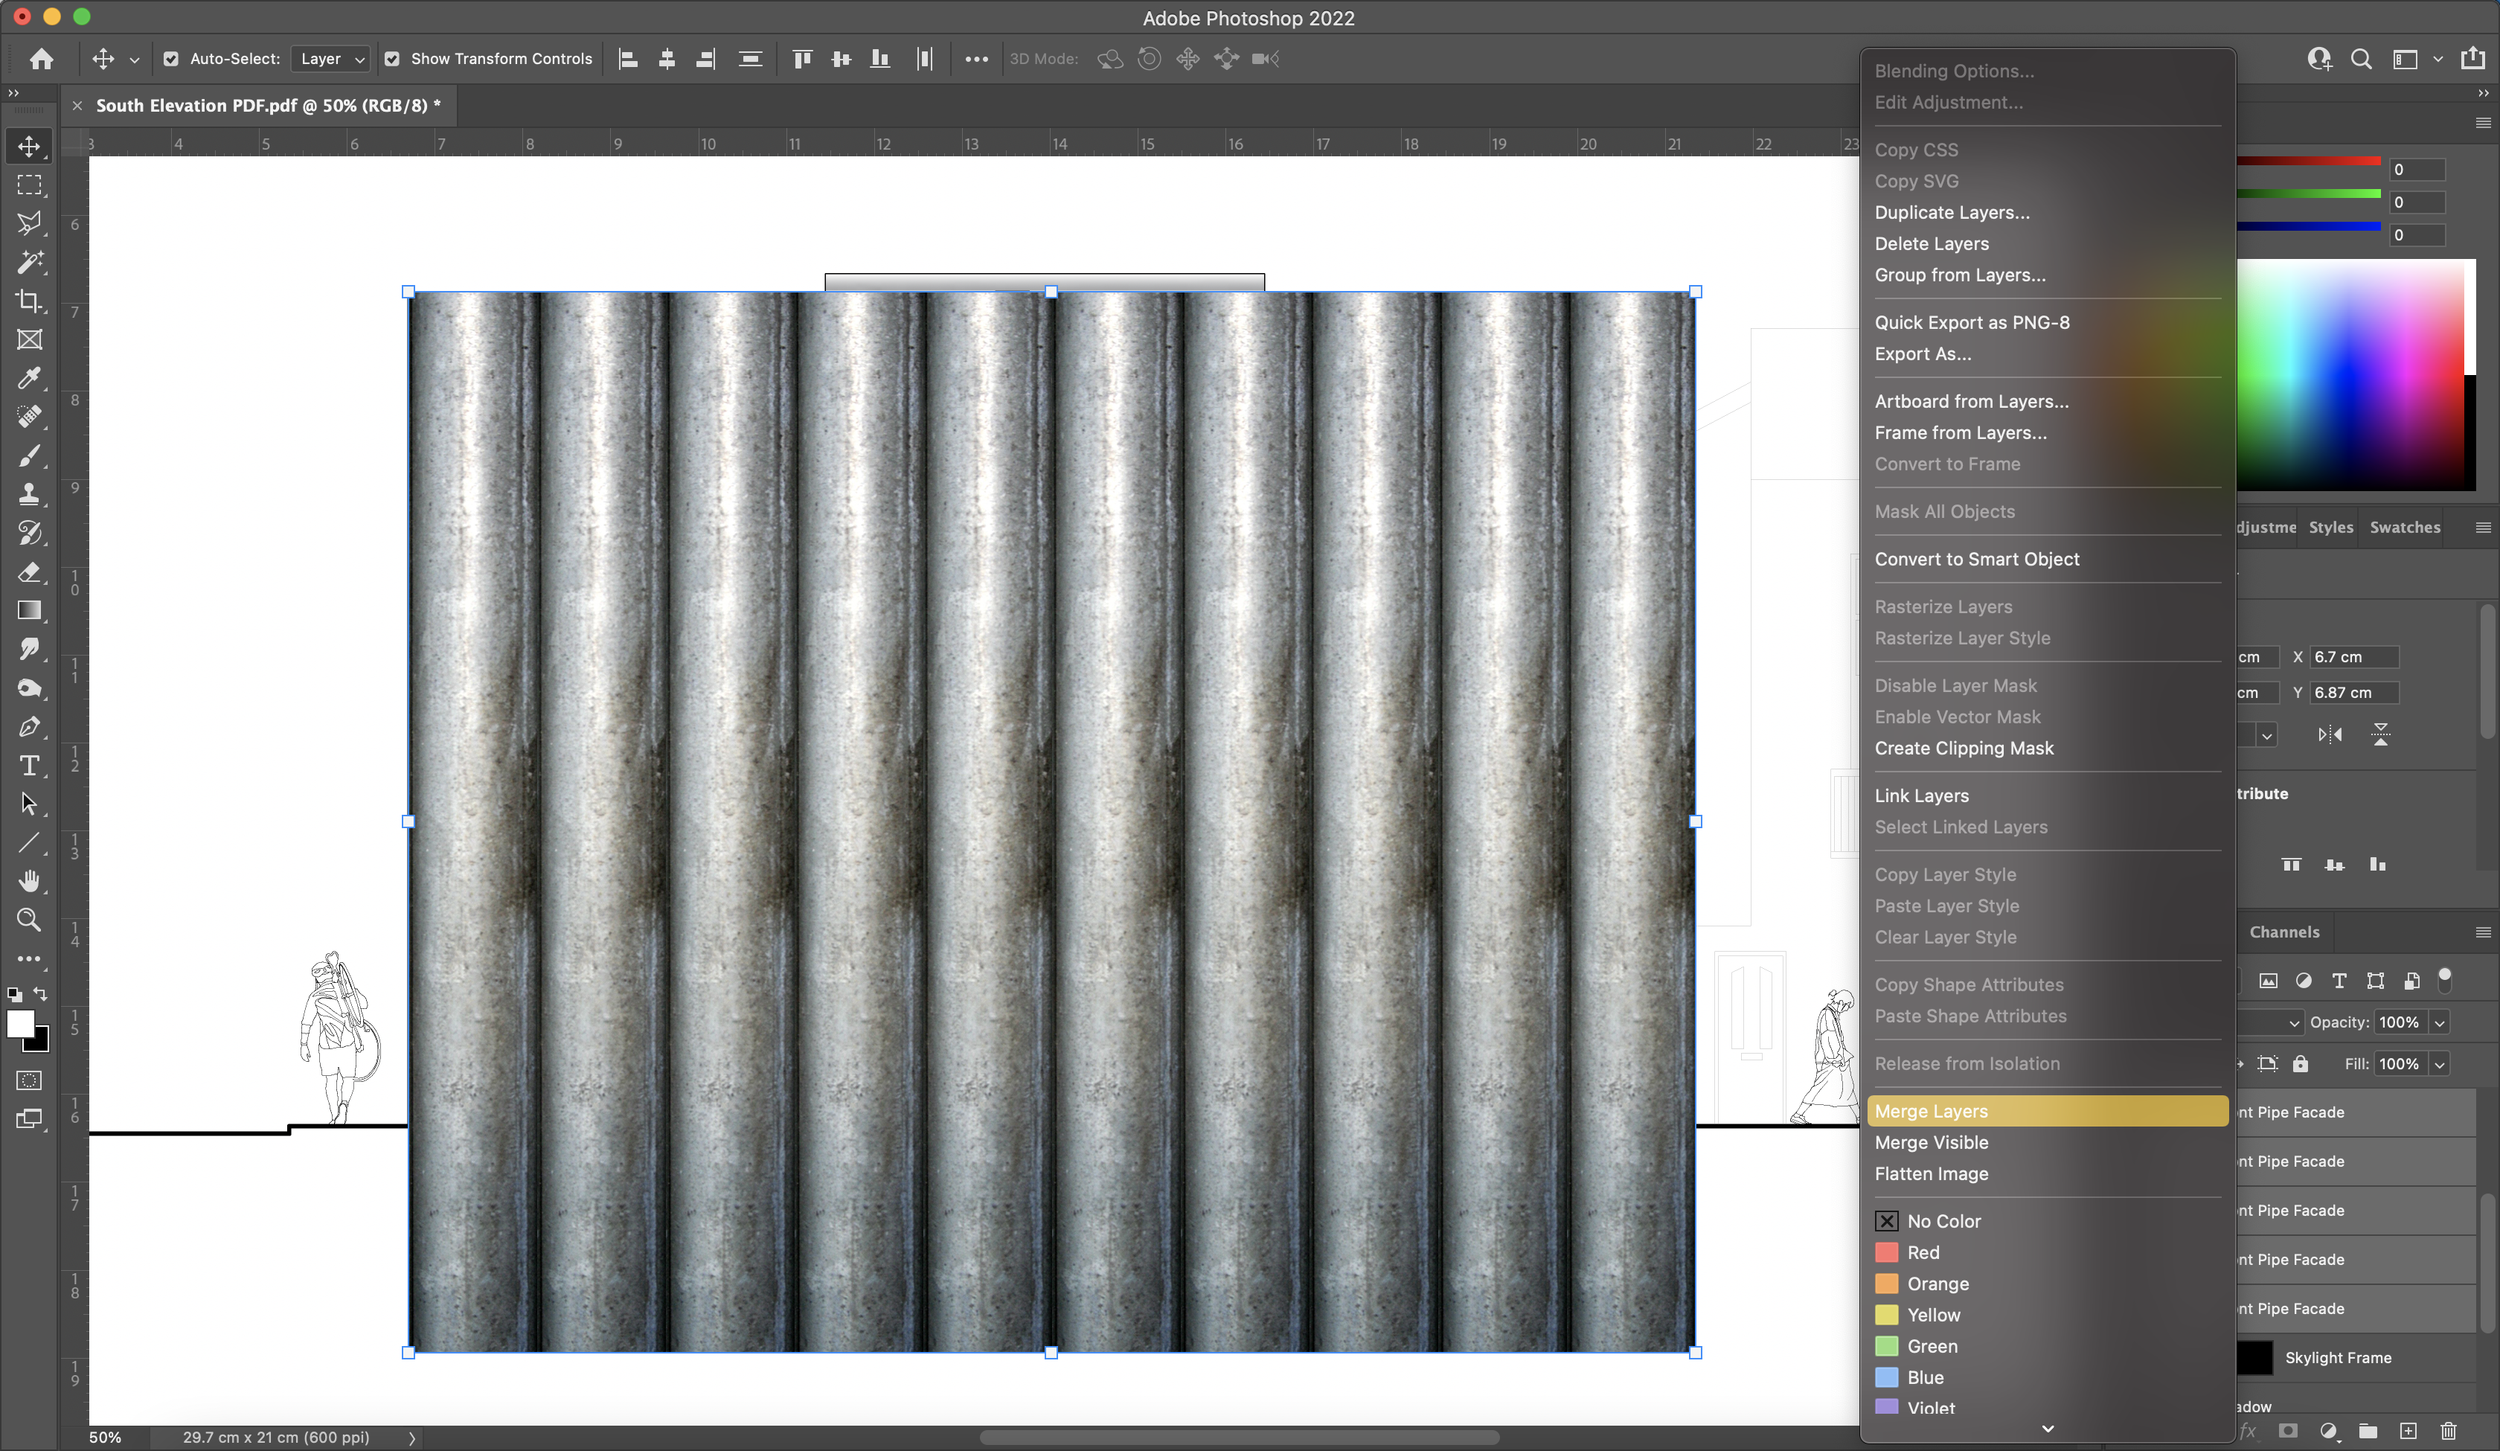
8. Duplicate + Merge
Duplicate the layer so it covers the whole area to which you want to apply your timber texture. Consequently, you end up with many layers of the same texture which can lower the performance whilst working on the Photoshop file. What you can do is select all the layers in the layers window and right-click to select the ‘Merge Layers’ option. This will join up all the textures into one single object under one single layer.


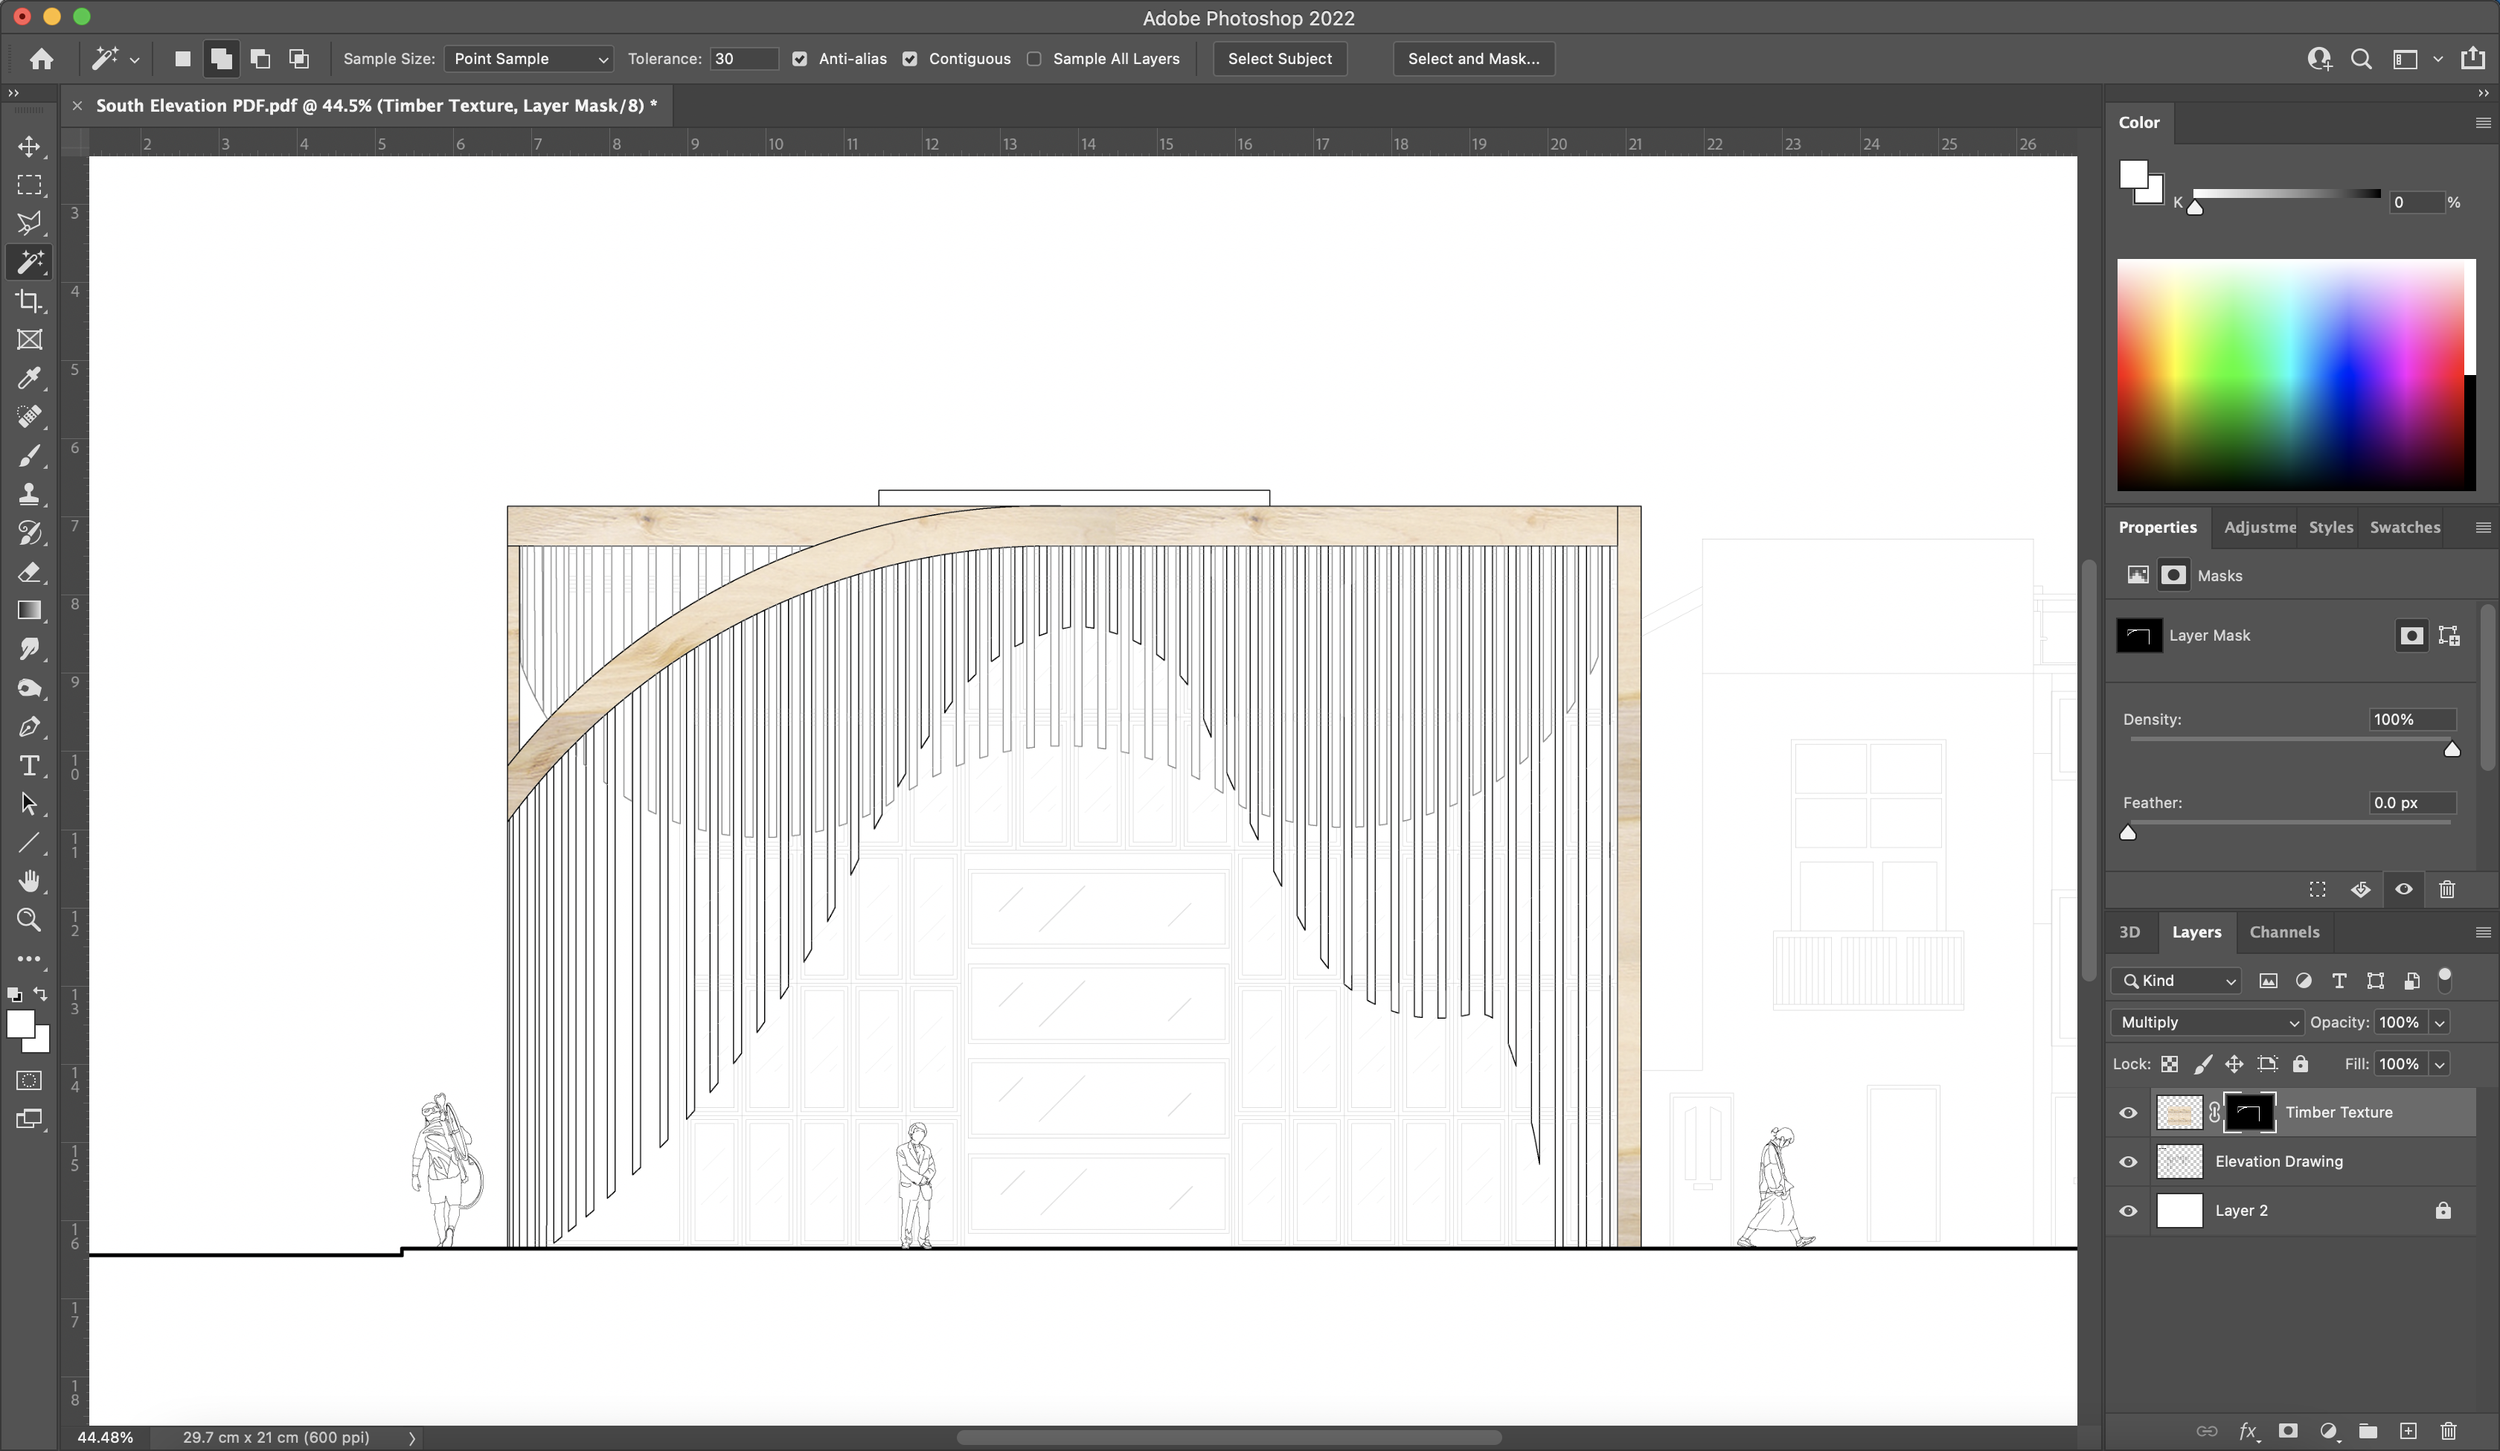
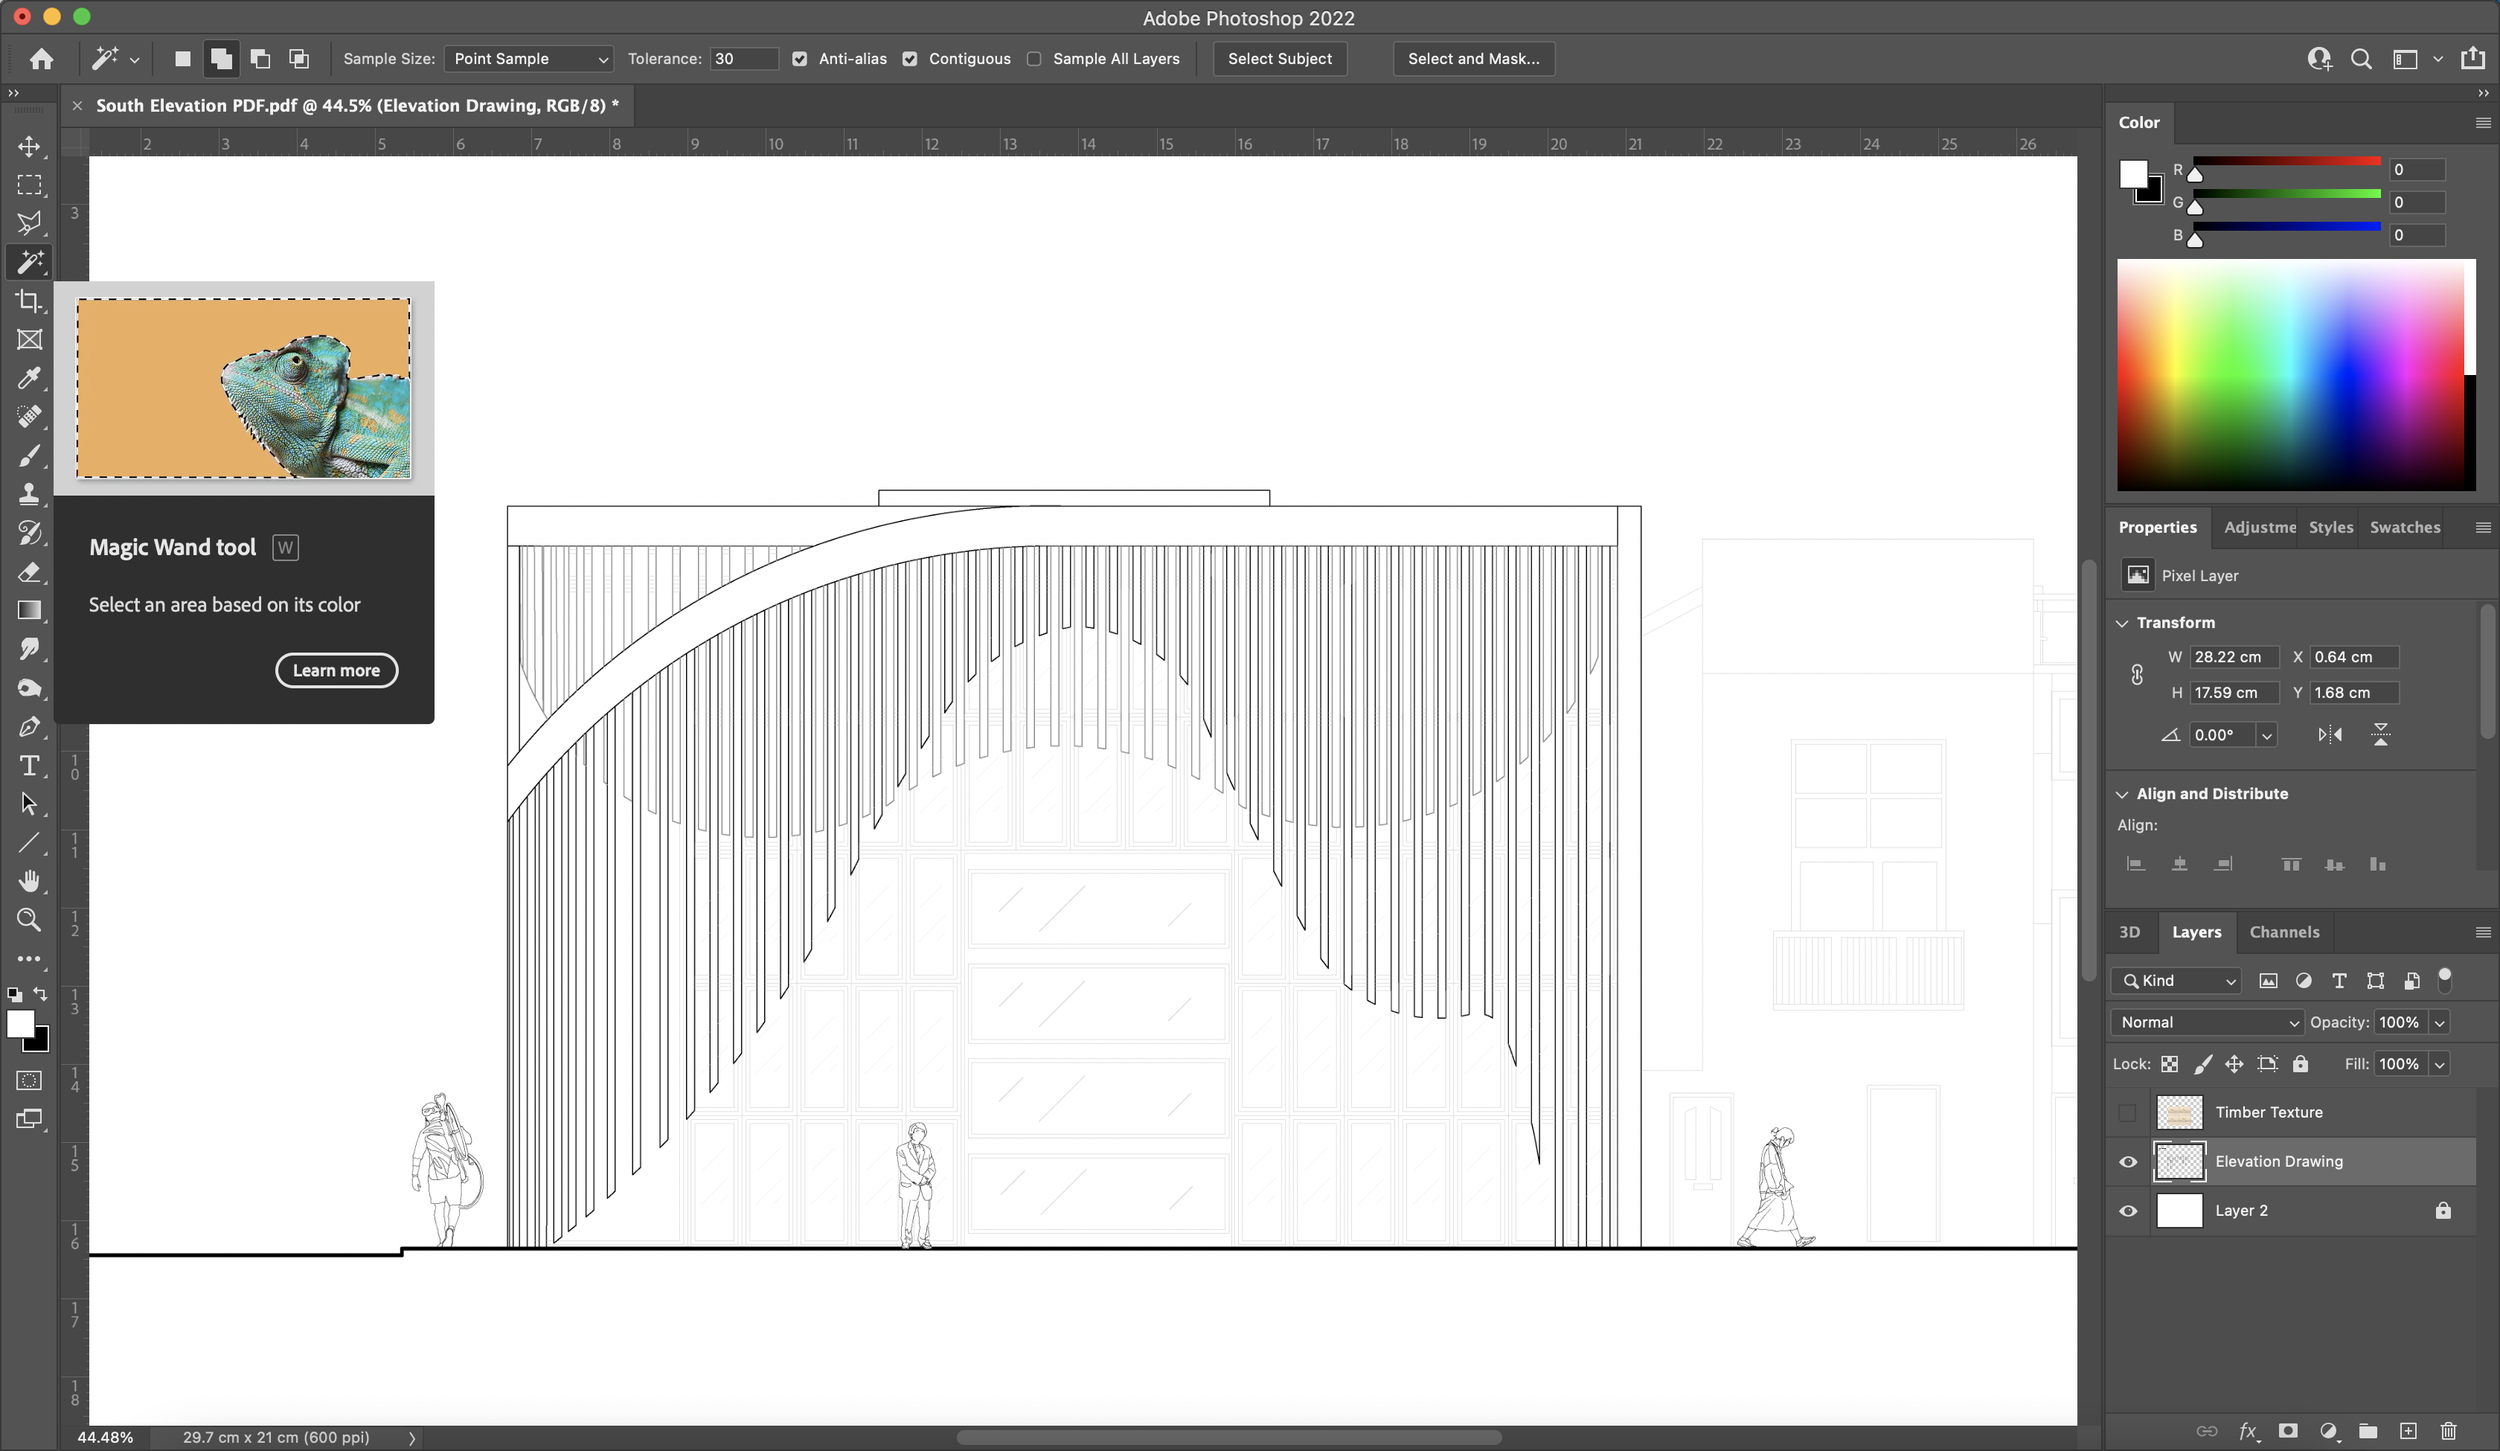
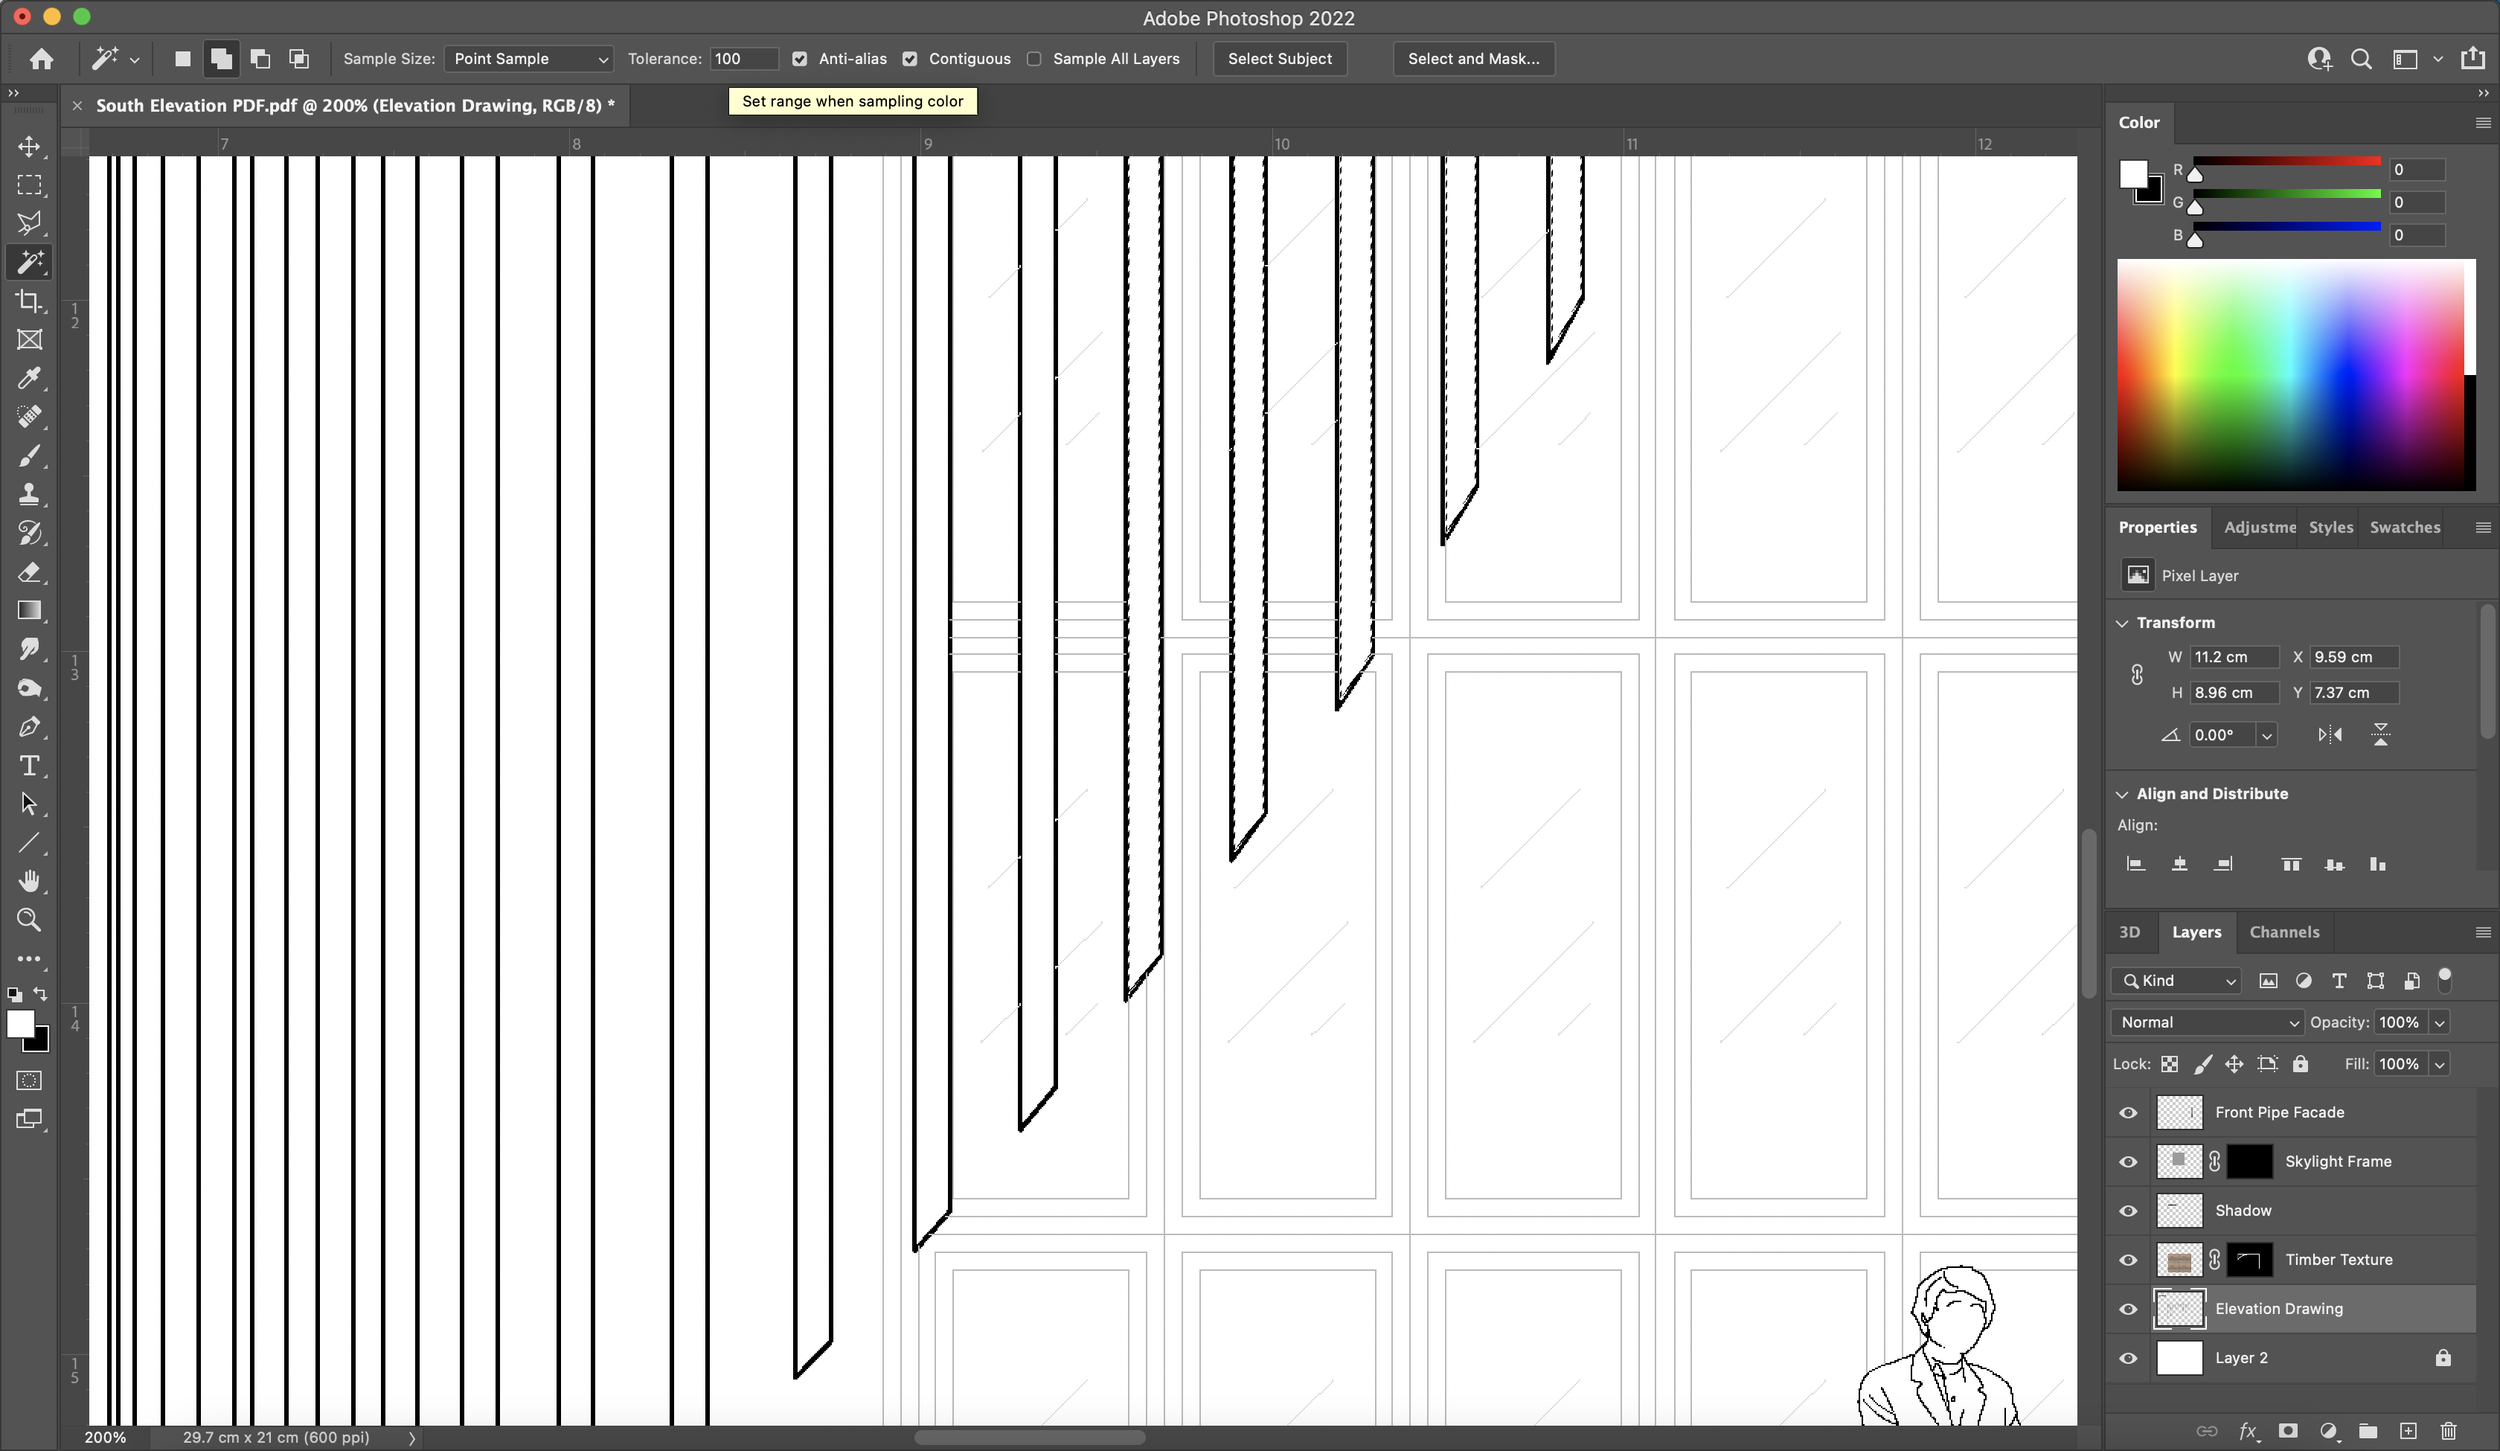
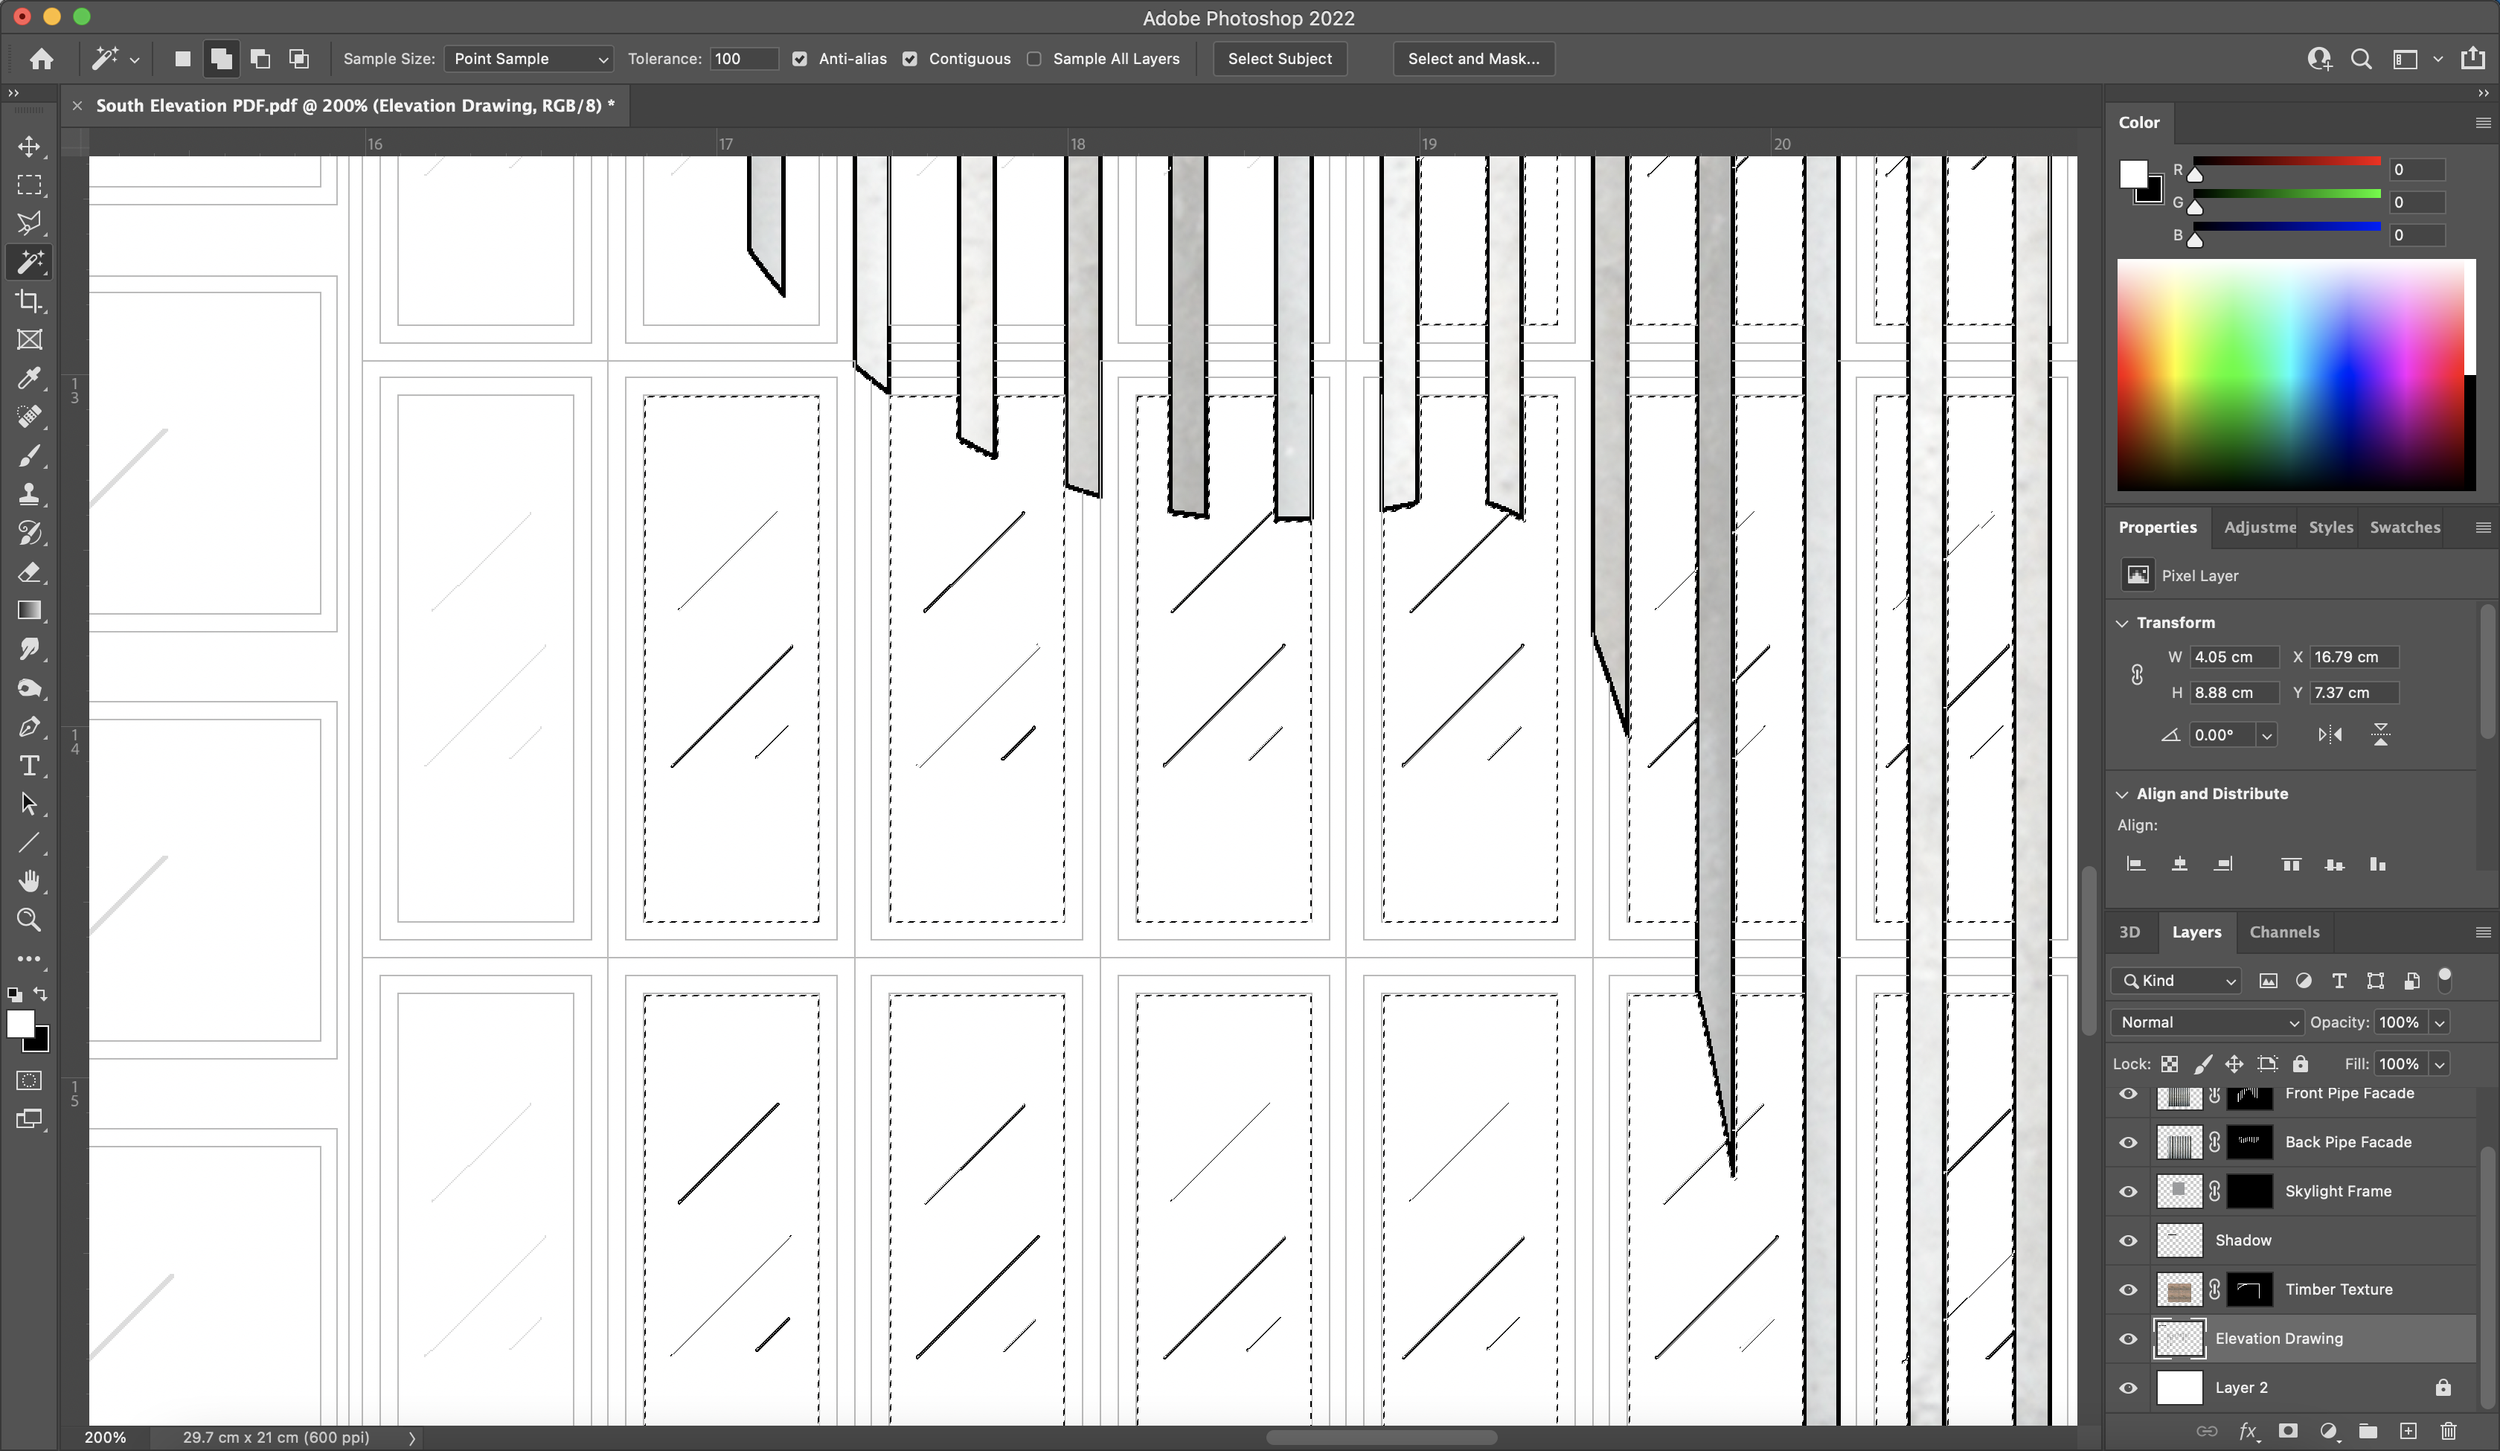
9. Selecting & Masking
To select the areas to which you want to apply the timber texture, or the texture of your choice, you can use the ‘Magic Wand Tool’ on the vector drawing layer. To make it easier to see what areas you select, you can switch off the visibility of the texture layer. Once all the areas you want to apply the texture to are selected, switch back to the texture layer and turn on the visibility. Then, whilst still being in a selection tool option, right-click the work window and select the ‘Select Inverse’ option.
At the bottom of the ‘Layers’ tab, you will see a rectangle with a circle icon next to the ‘fx’ option. This is the mask tool that we will be using to fill in areas with the textures which we have chosen. Click this option to apply the timber texture to the areas we have deselected.


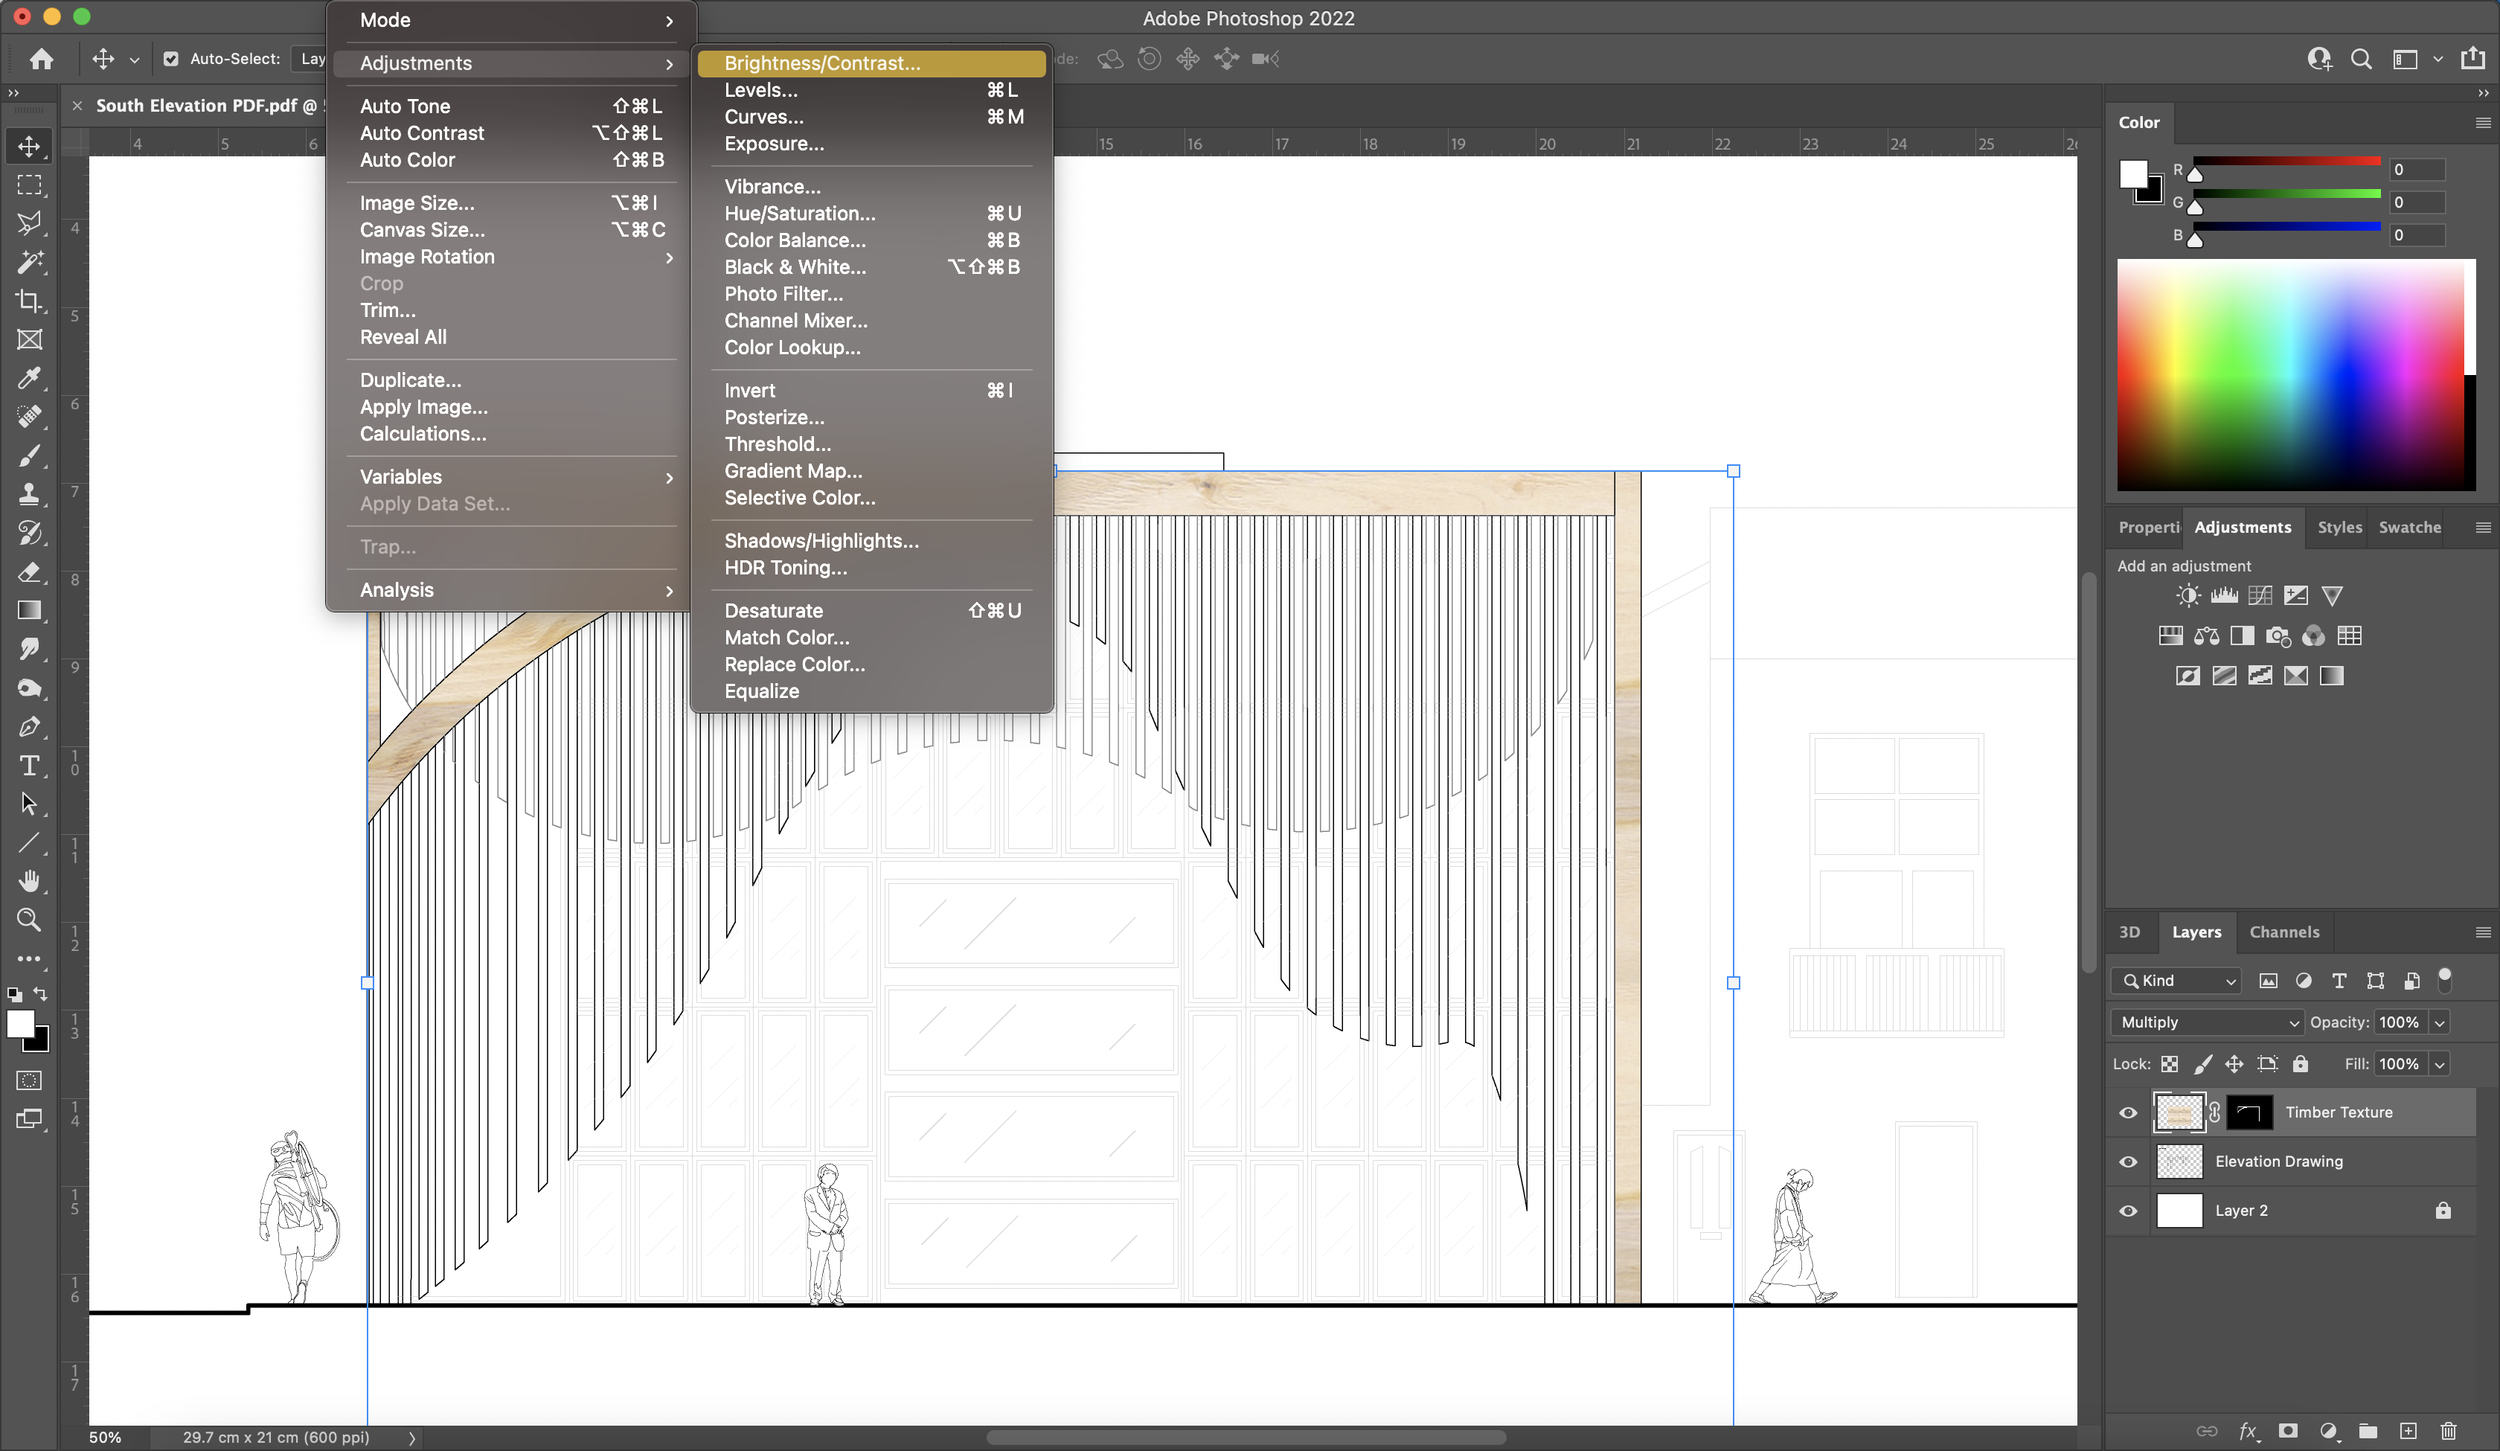
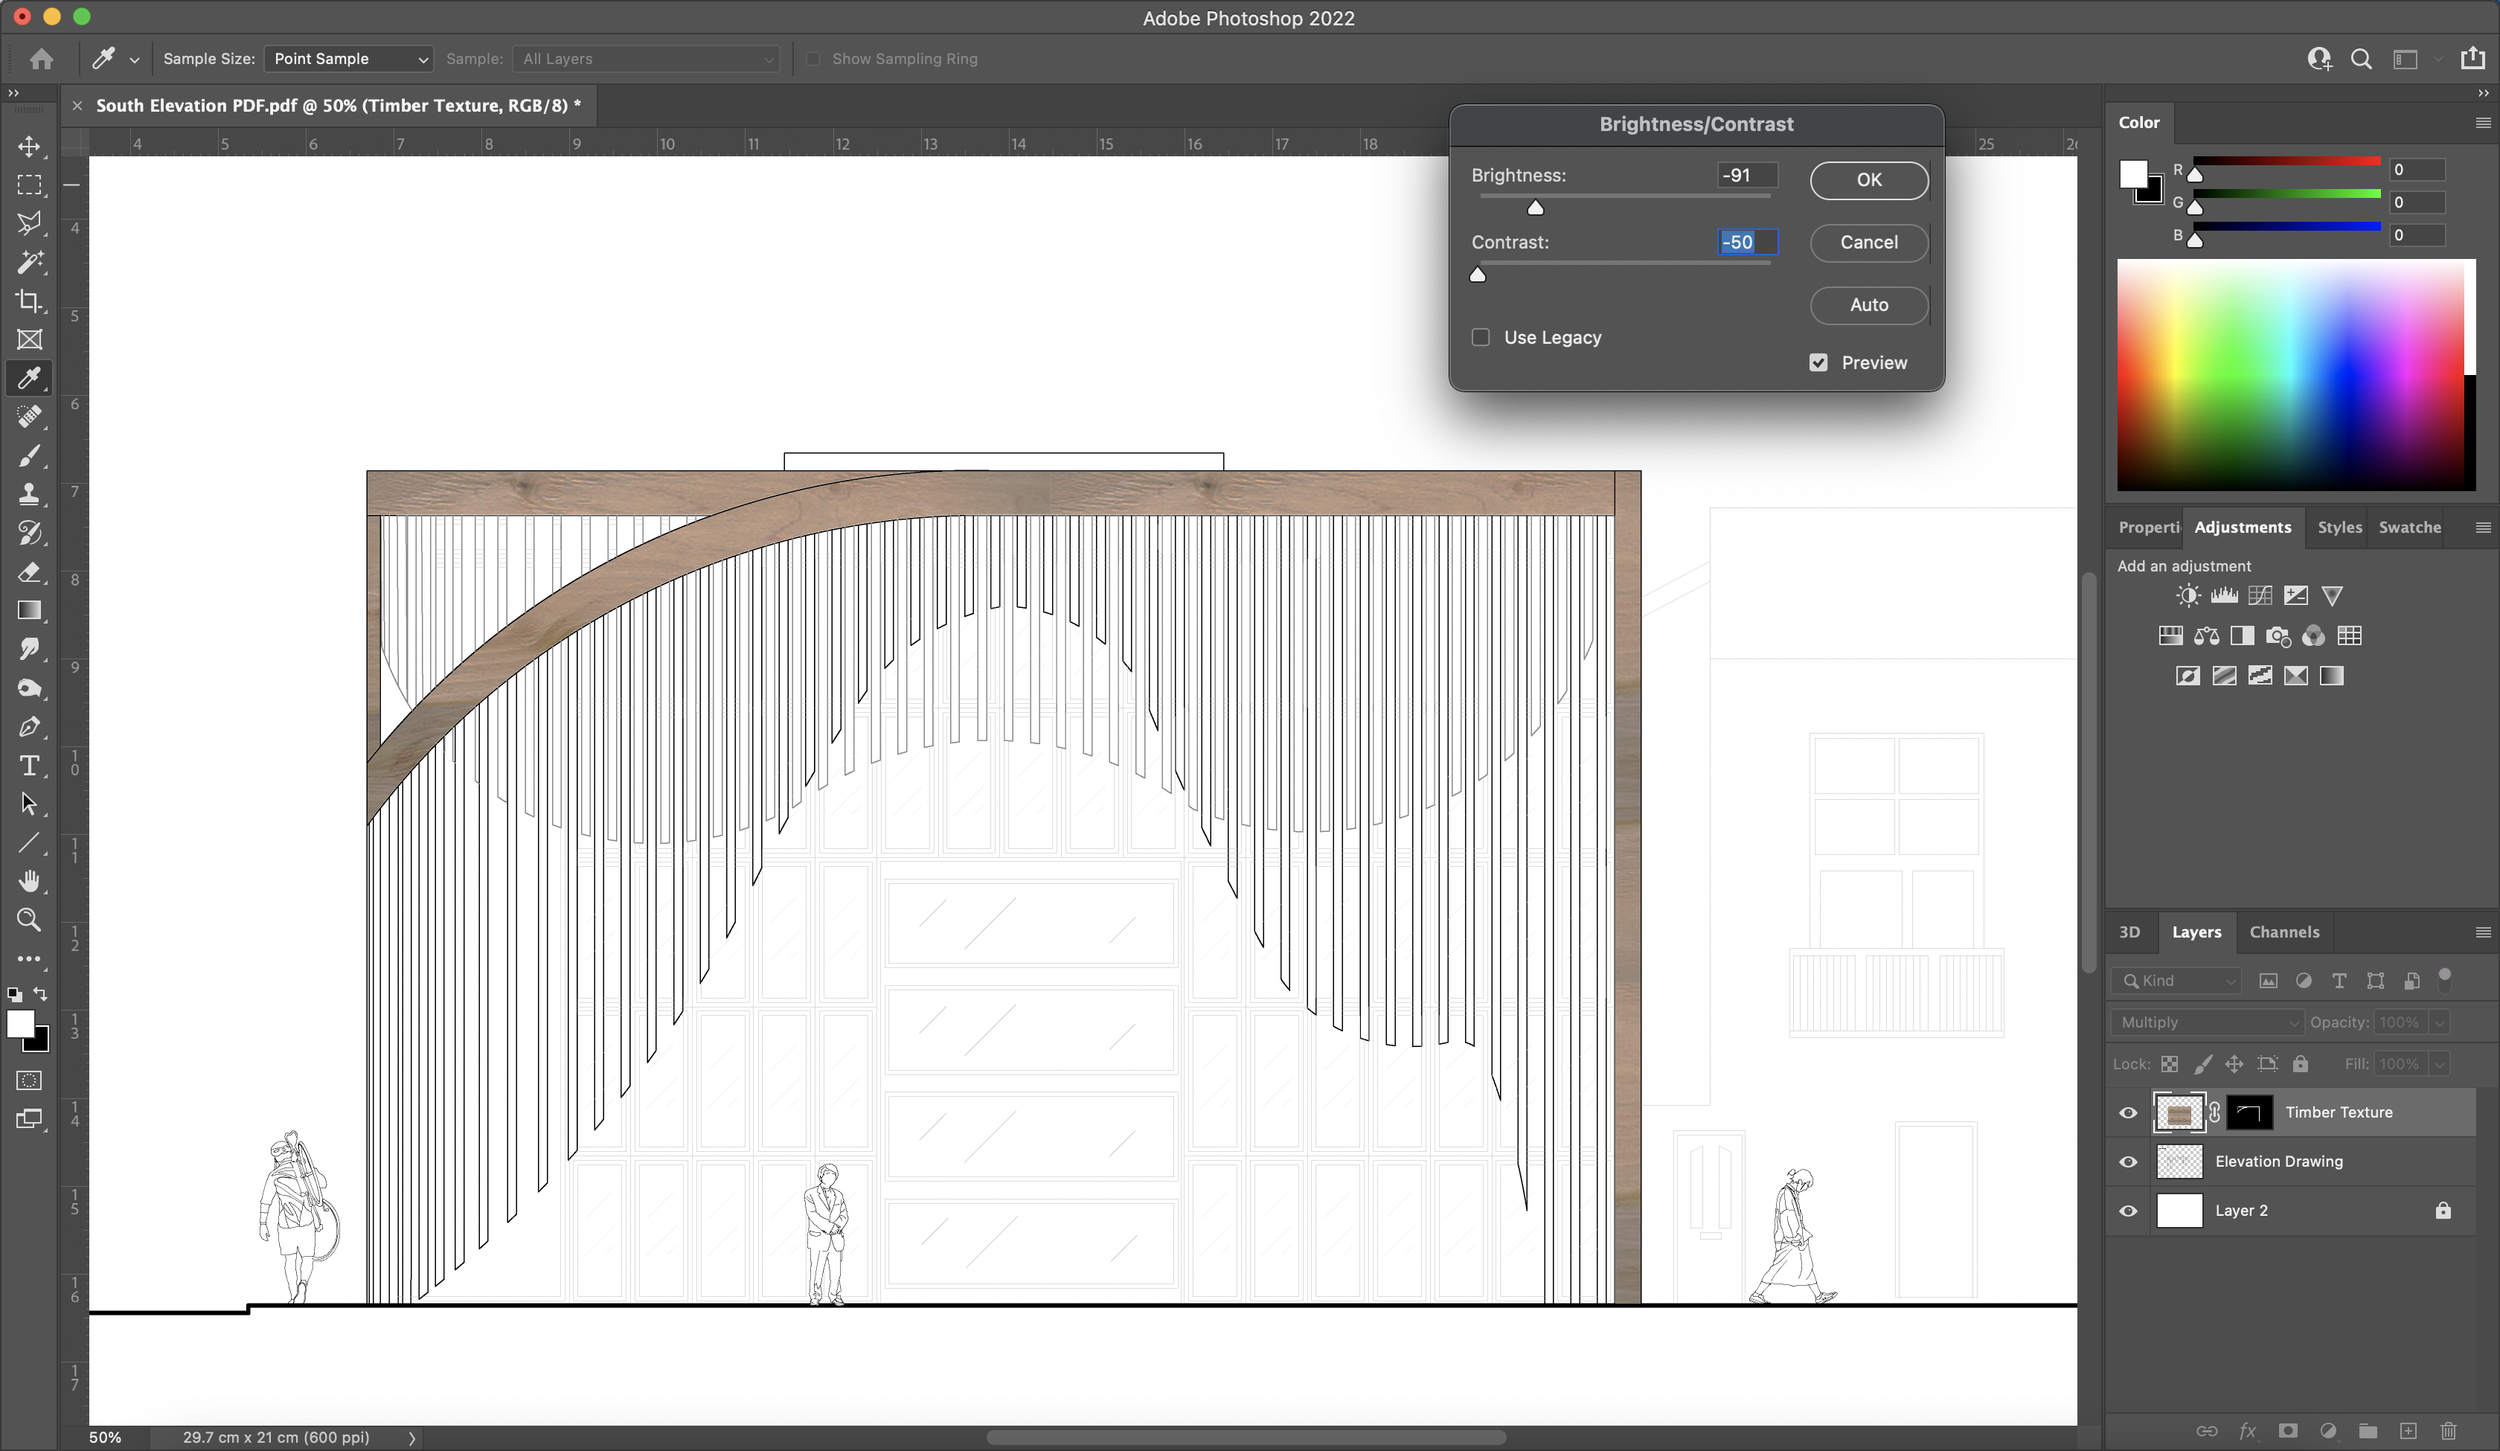
10. Using Adjustments
The adjustment options for textures will come in handy to edit brightness, contrast, hue, saturation, and so on. In this case, I wanted to change the tone of the wood so it was a little more rustic. To do this, go to ‘image -> adjustments -> brightness/contrast’ and play around with the toggles until you get the desired outcome.


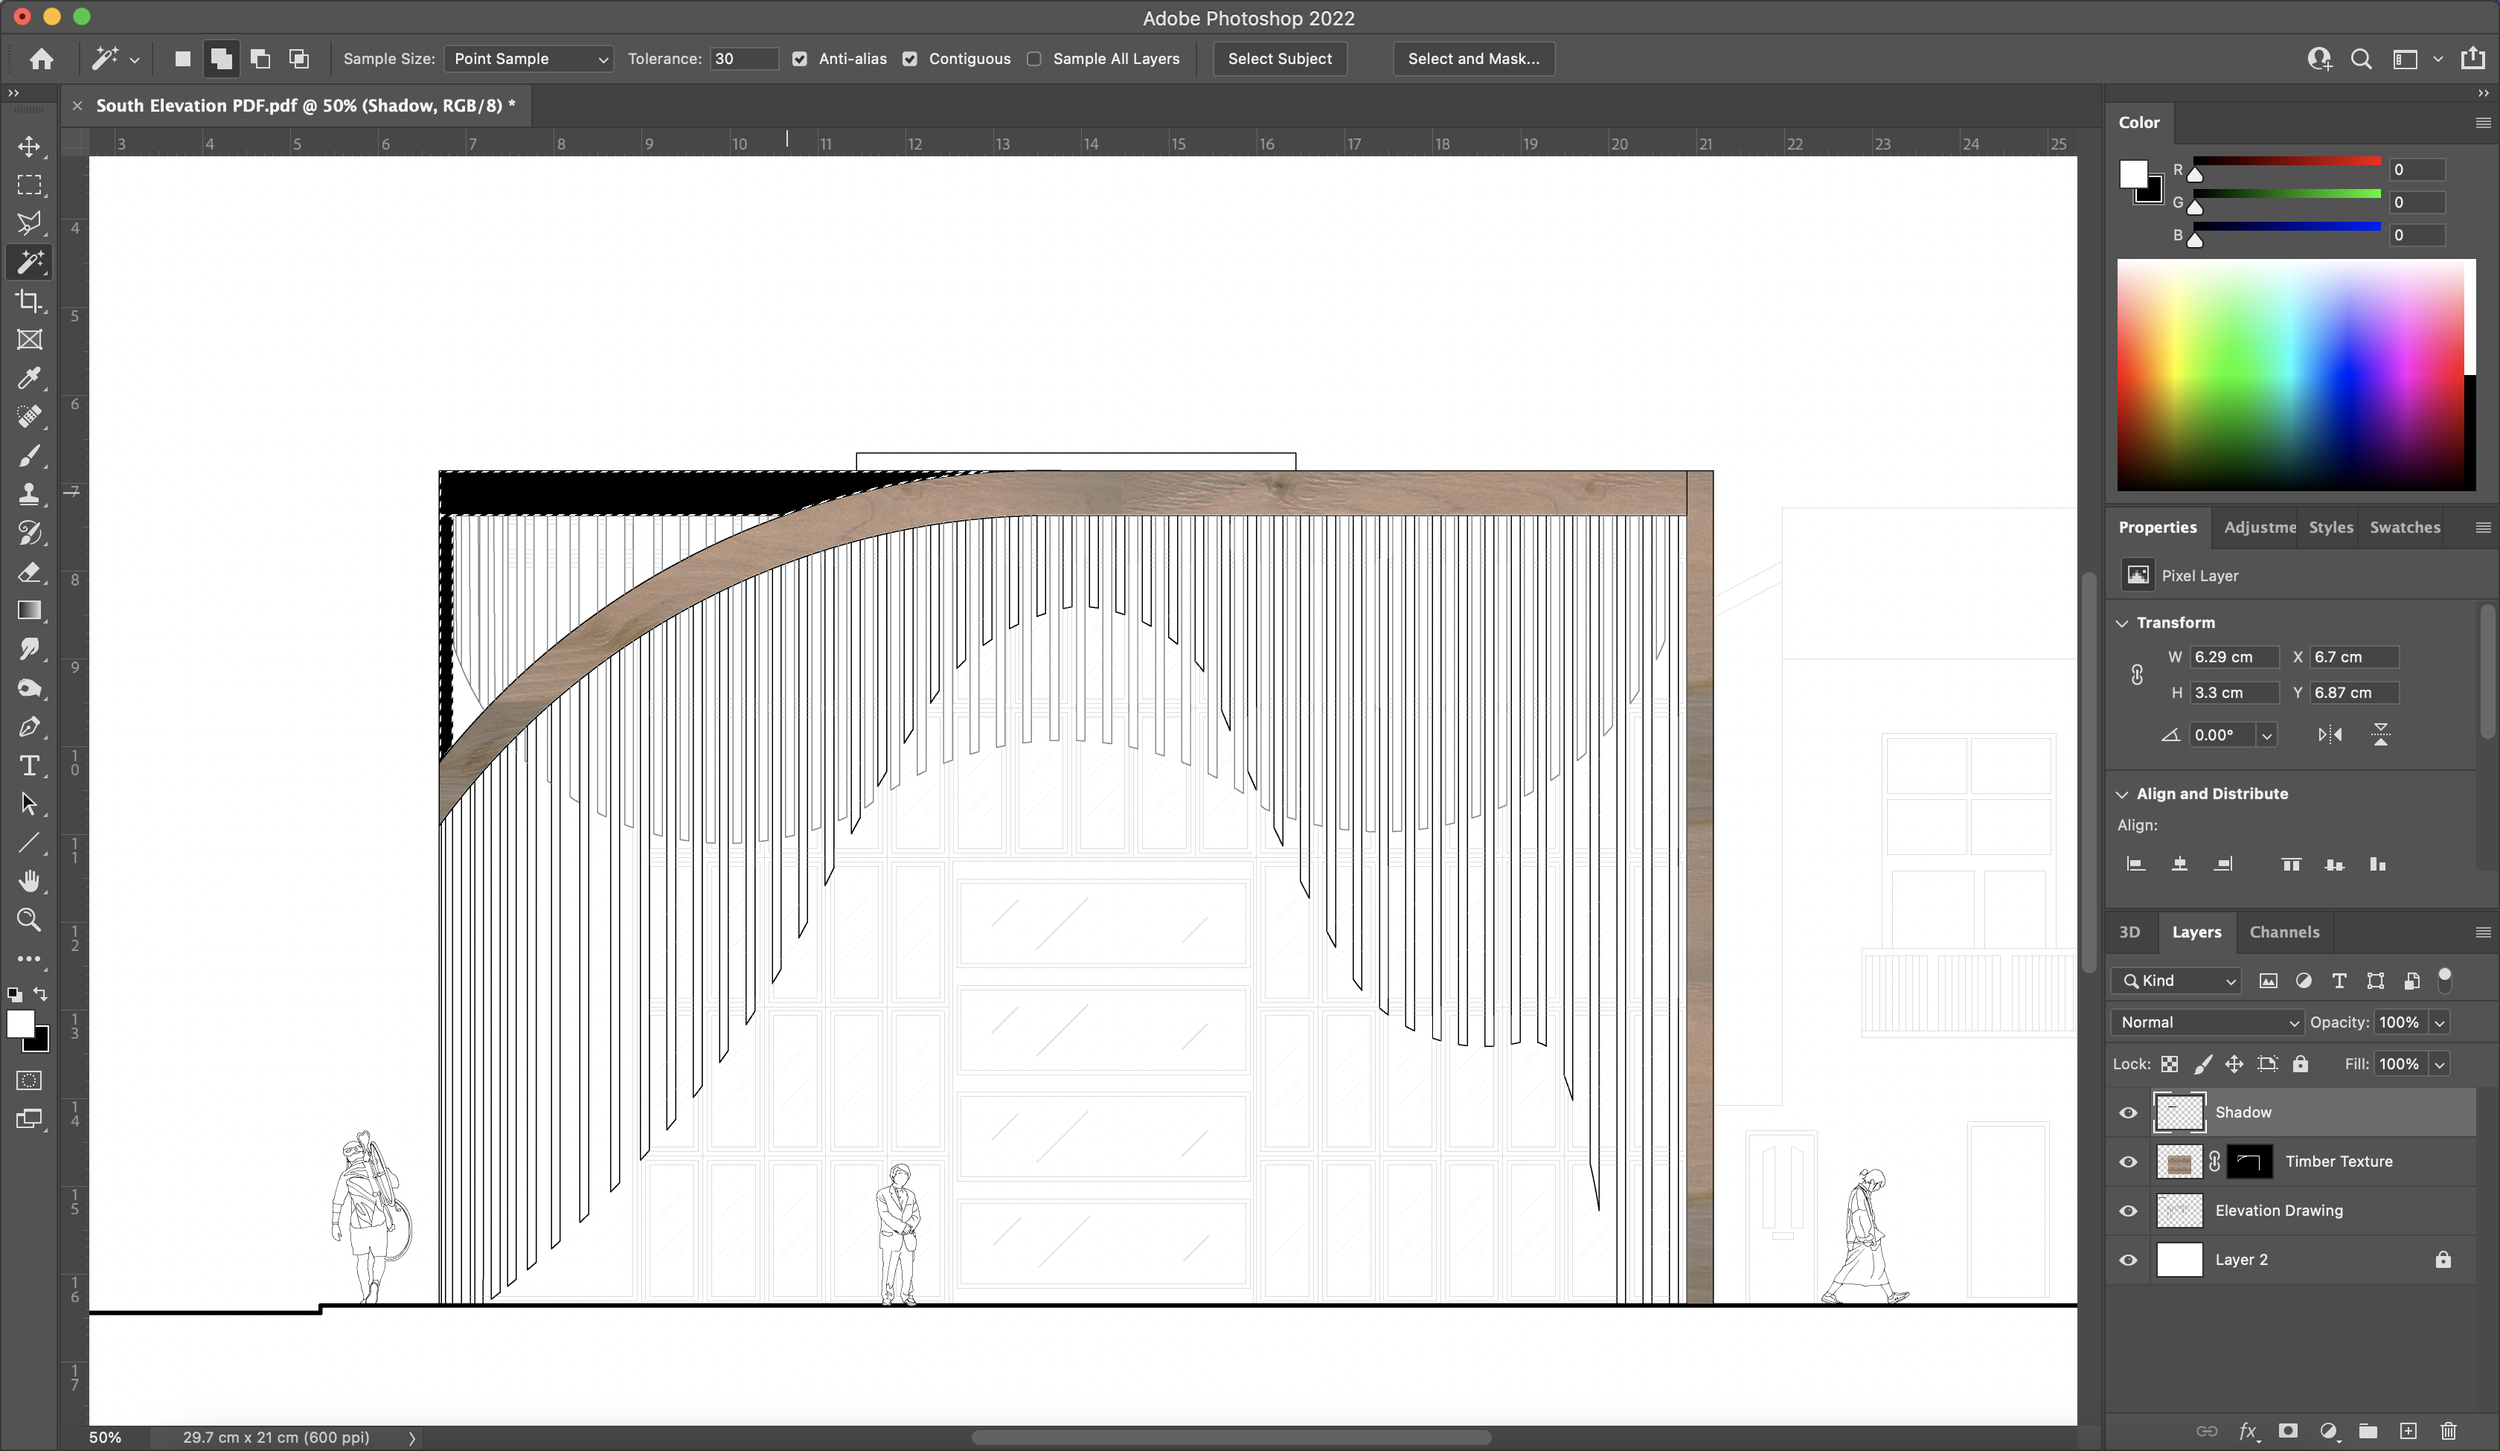
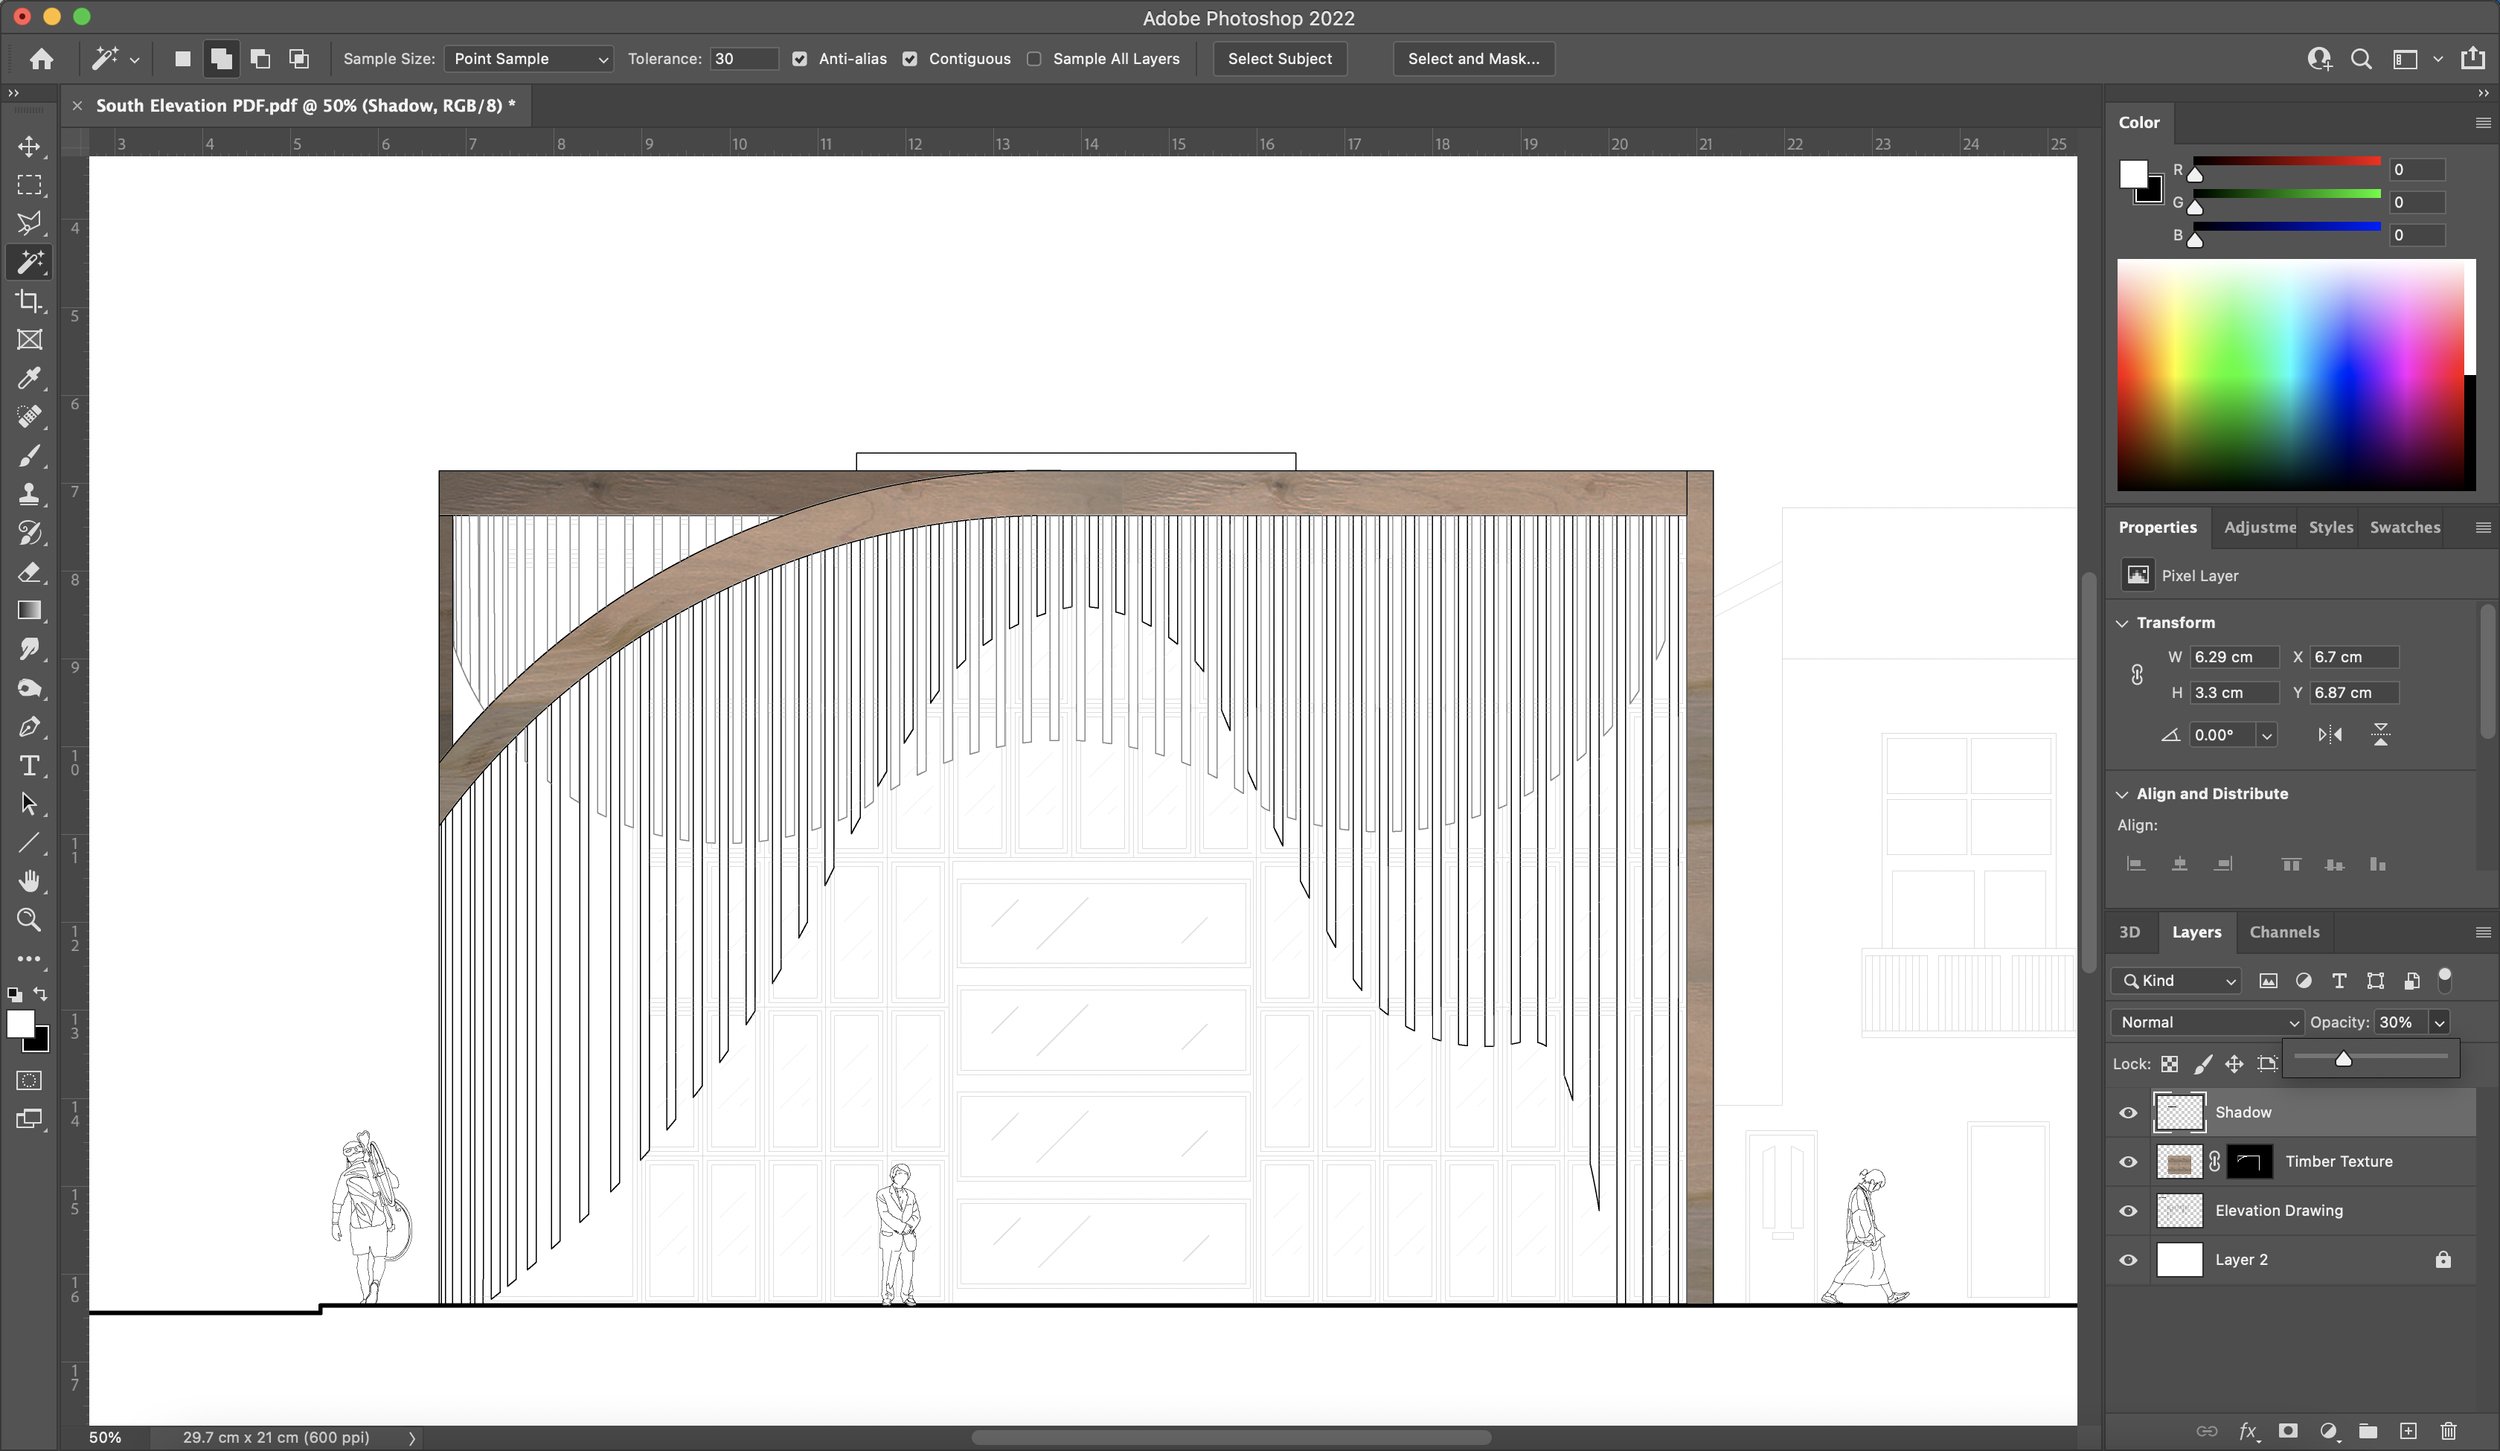
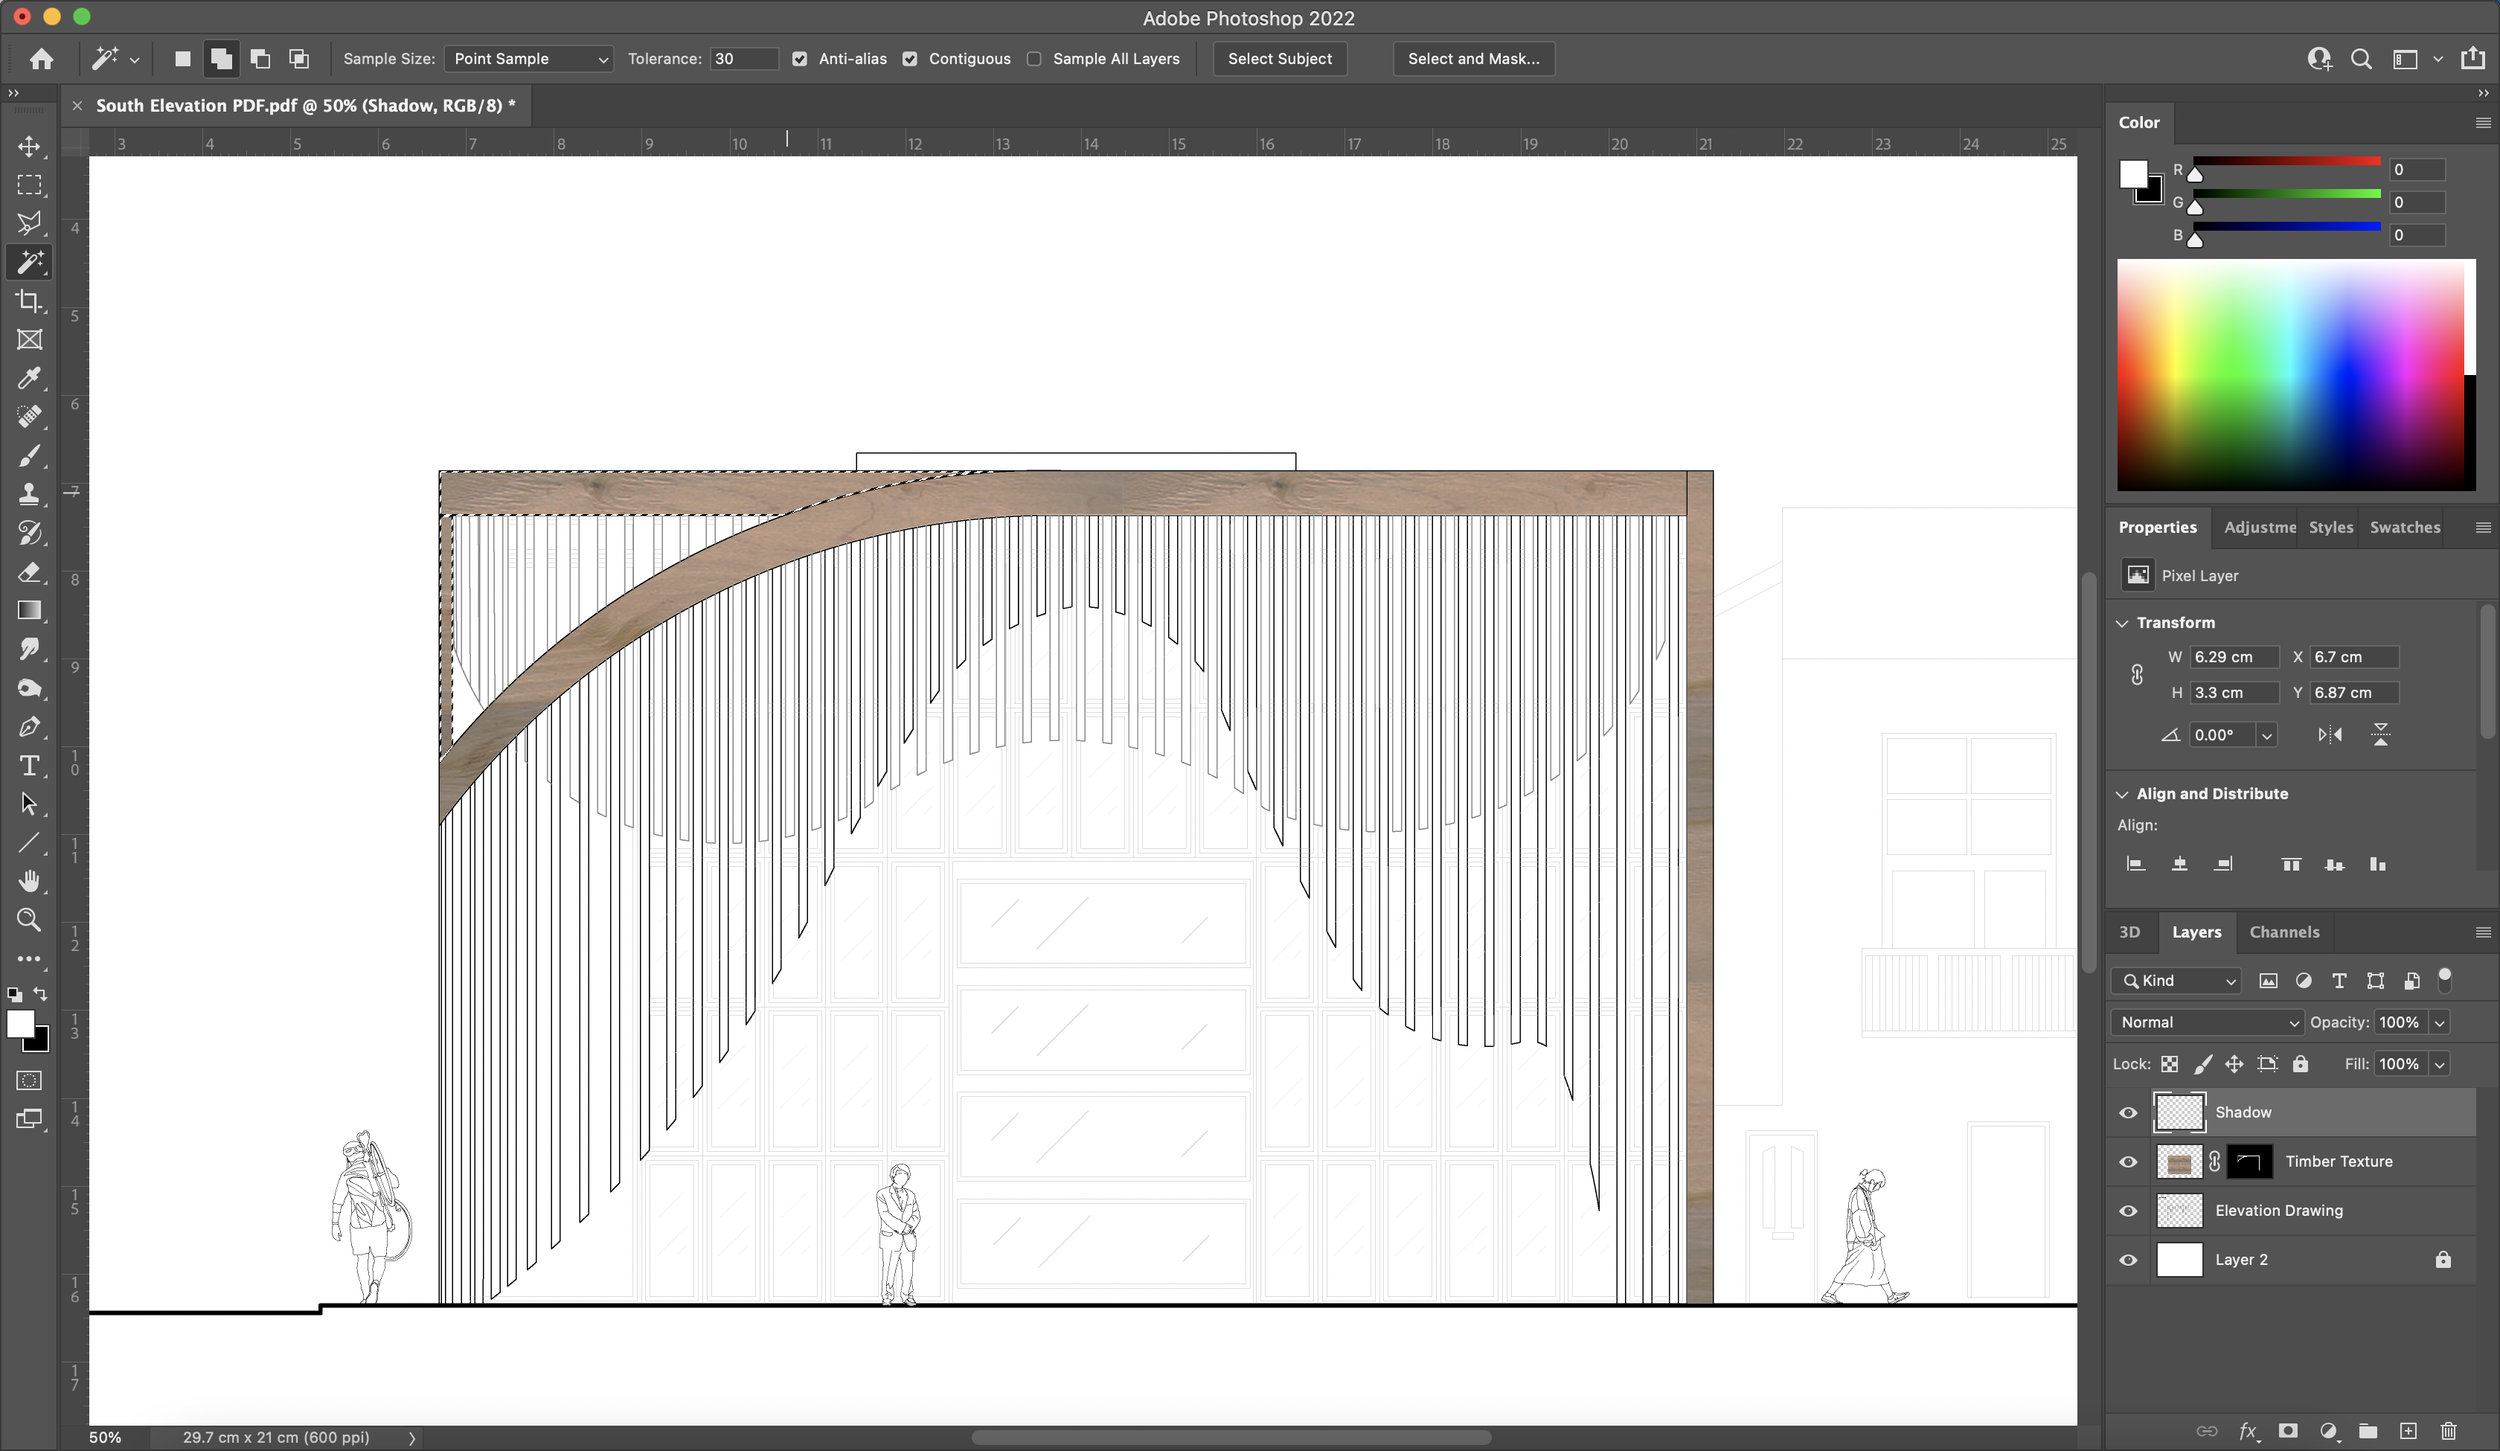
11. Shadows & Opacity
Remember to always make new layers for different components of your rendered orthographic. Create a new layer and make sure to rename it too. Using the magic wand tool on the orthographic drawing layer, select where you want to apply the shadow. Then, fill in the area with the background colour which should be selected as black. By simply using the opacity bar in the ‘Layers’ window, lower it to your desired level. You could also use the round paintbrush tool at a low flow percentage to draw in the shadows instead, depending on where and what it is being applied to.


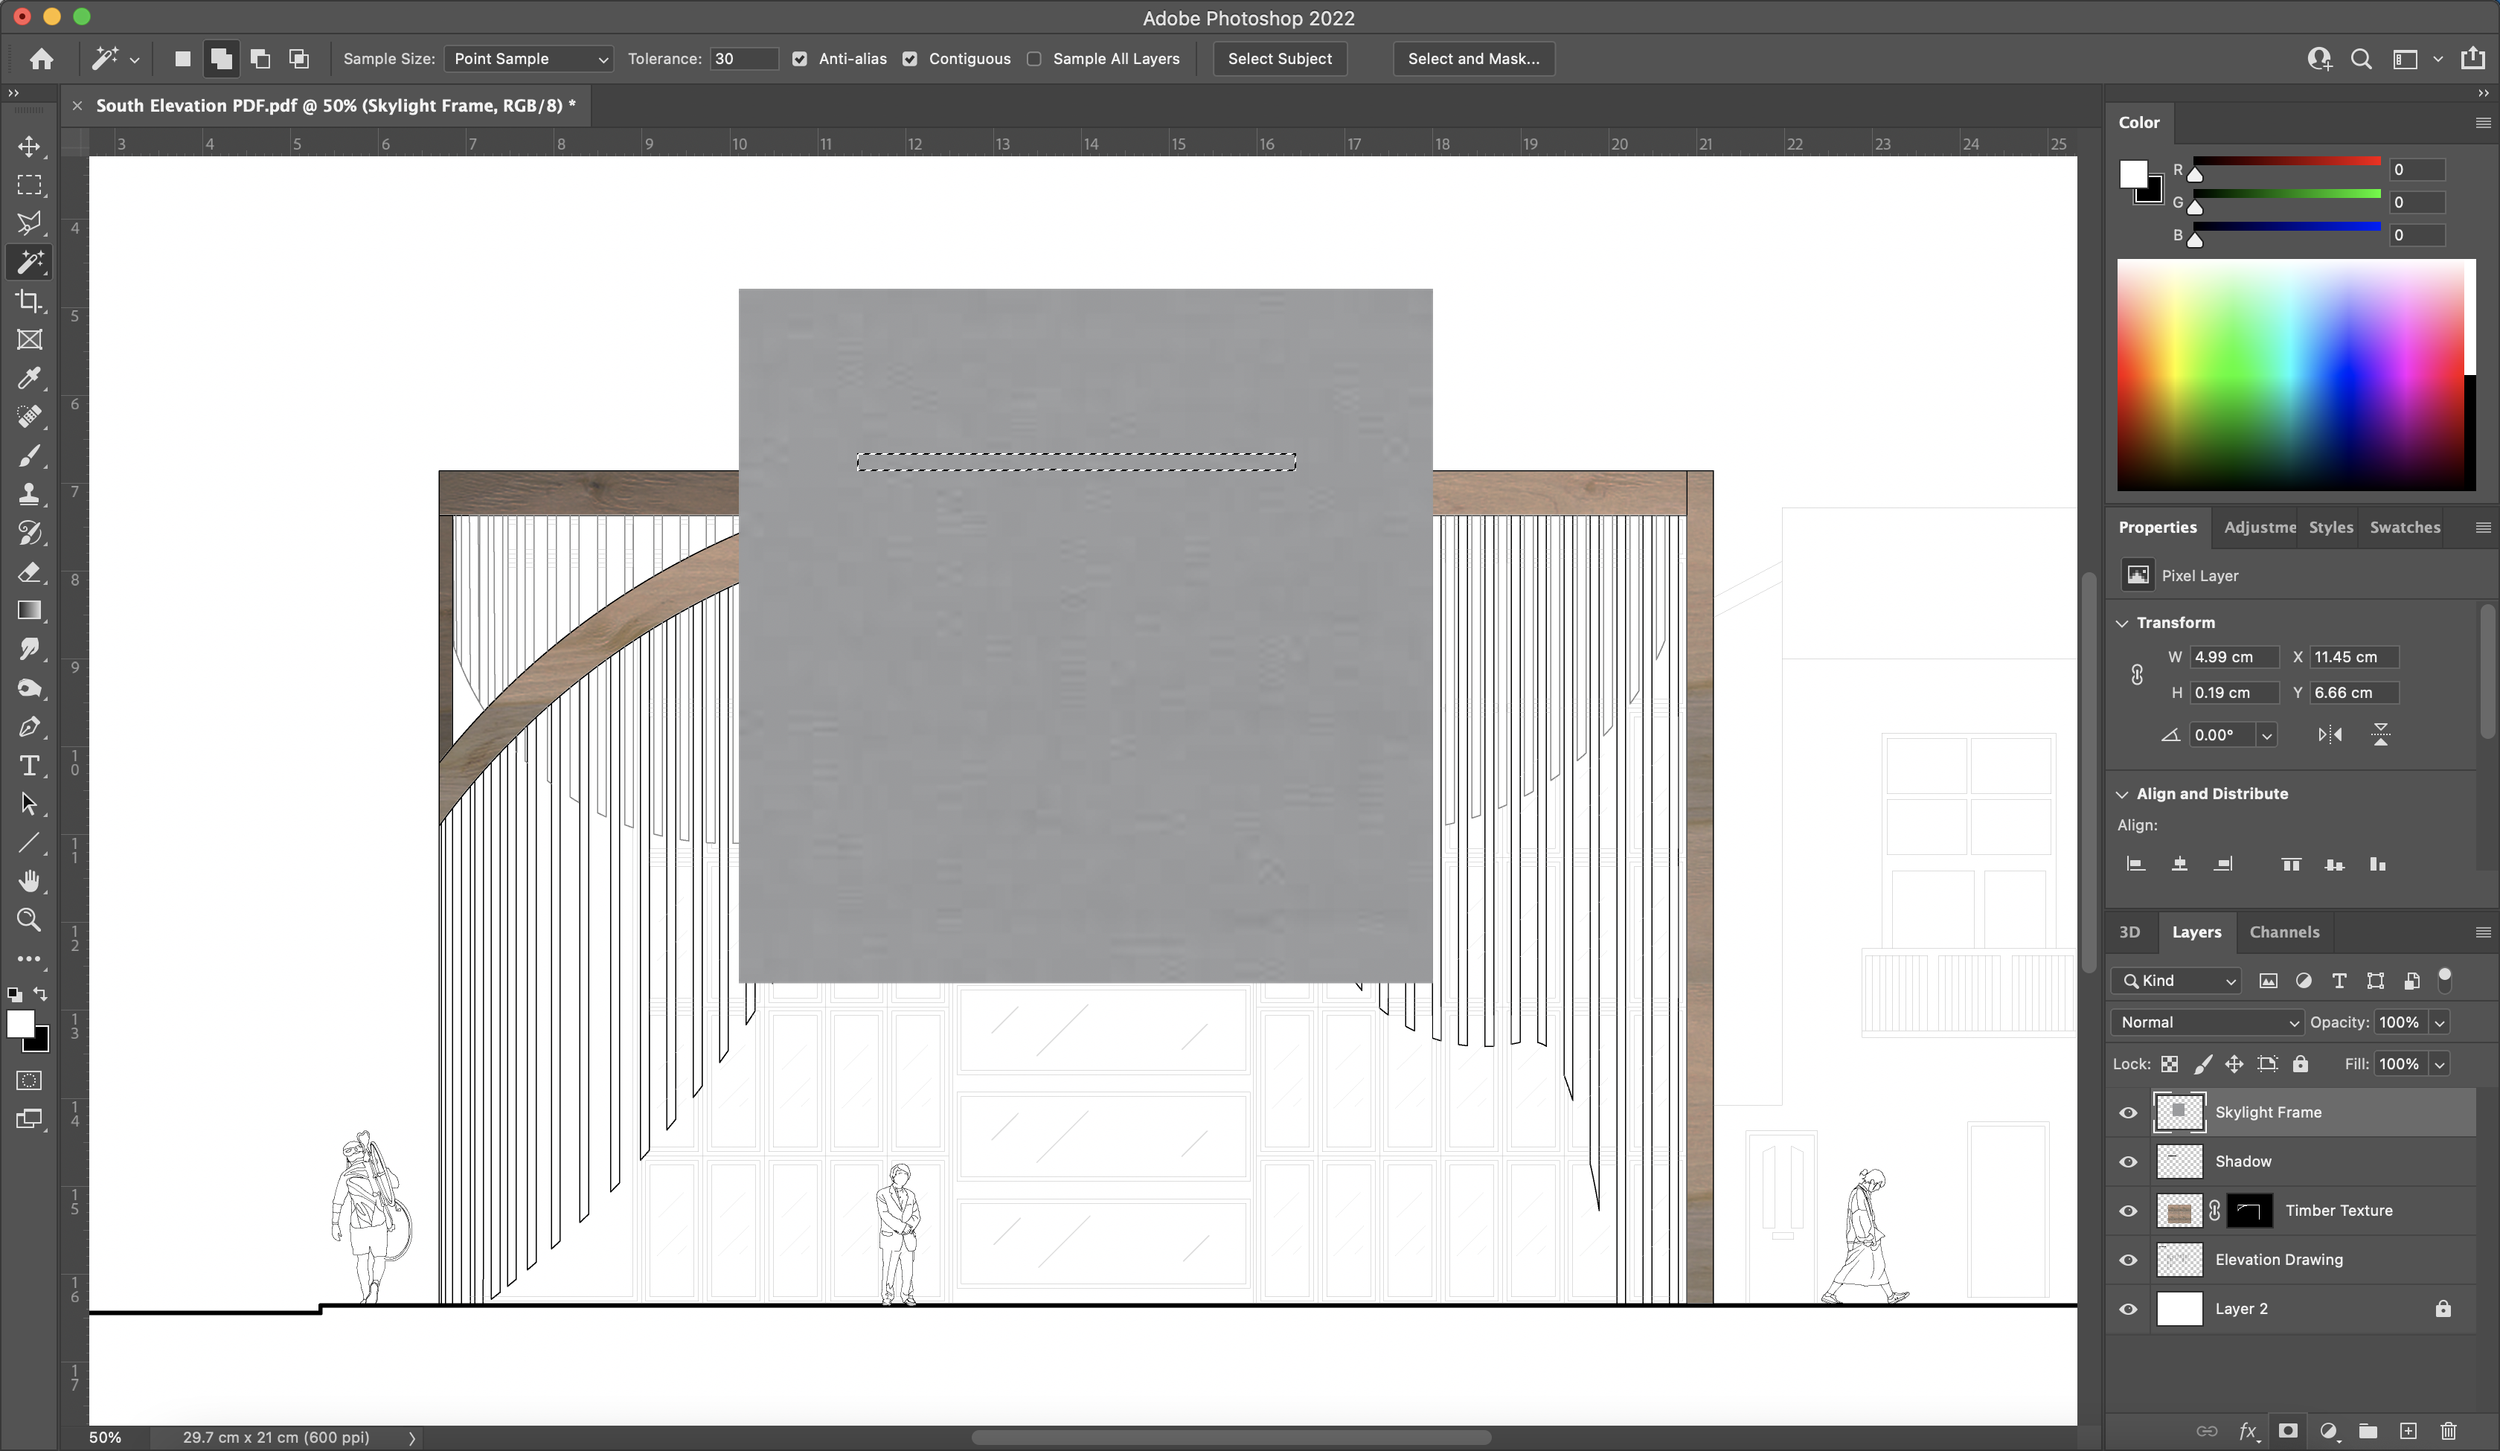
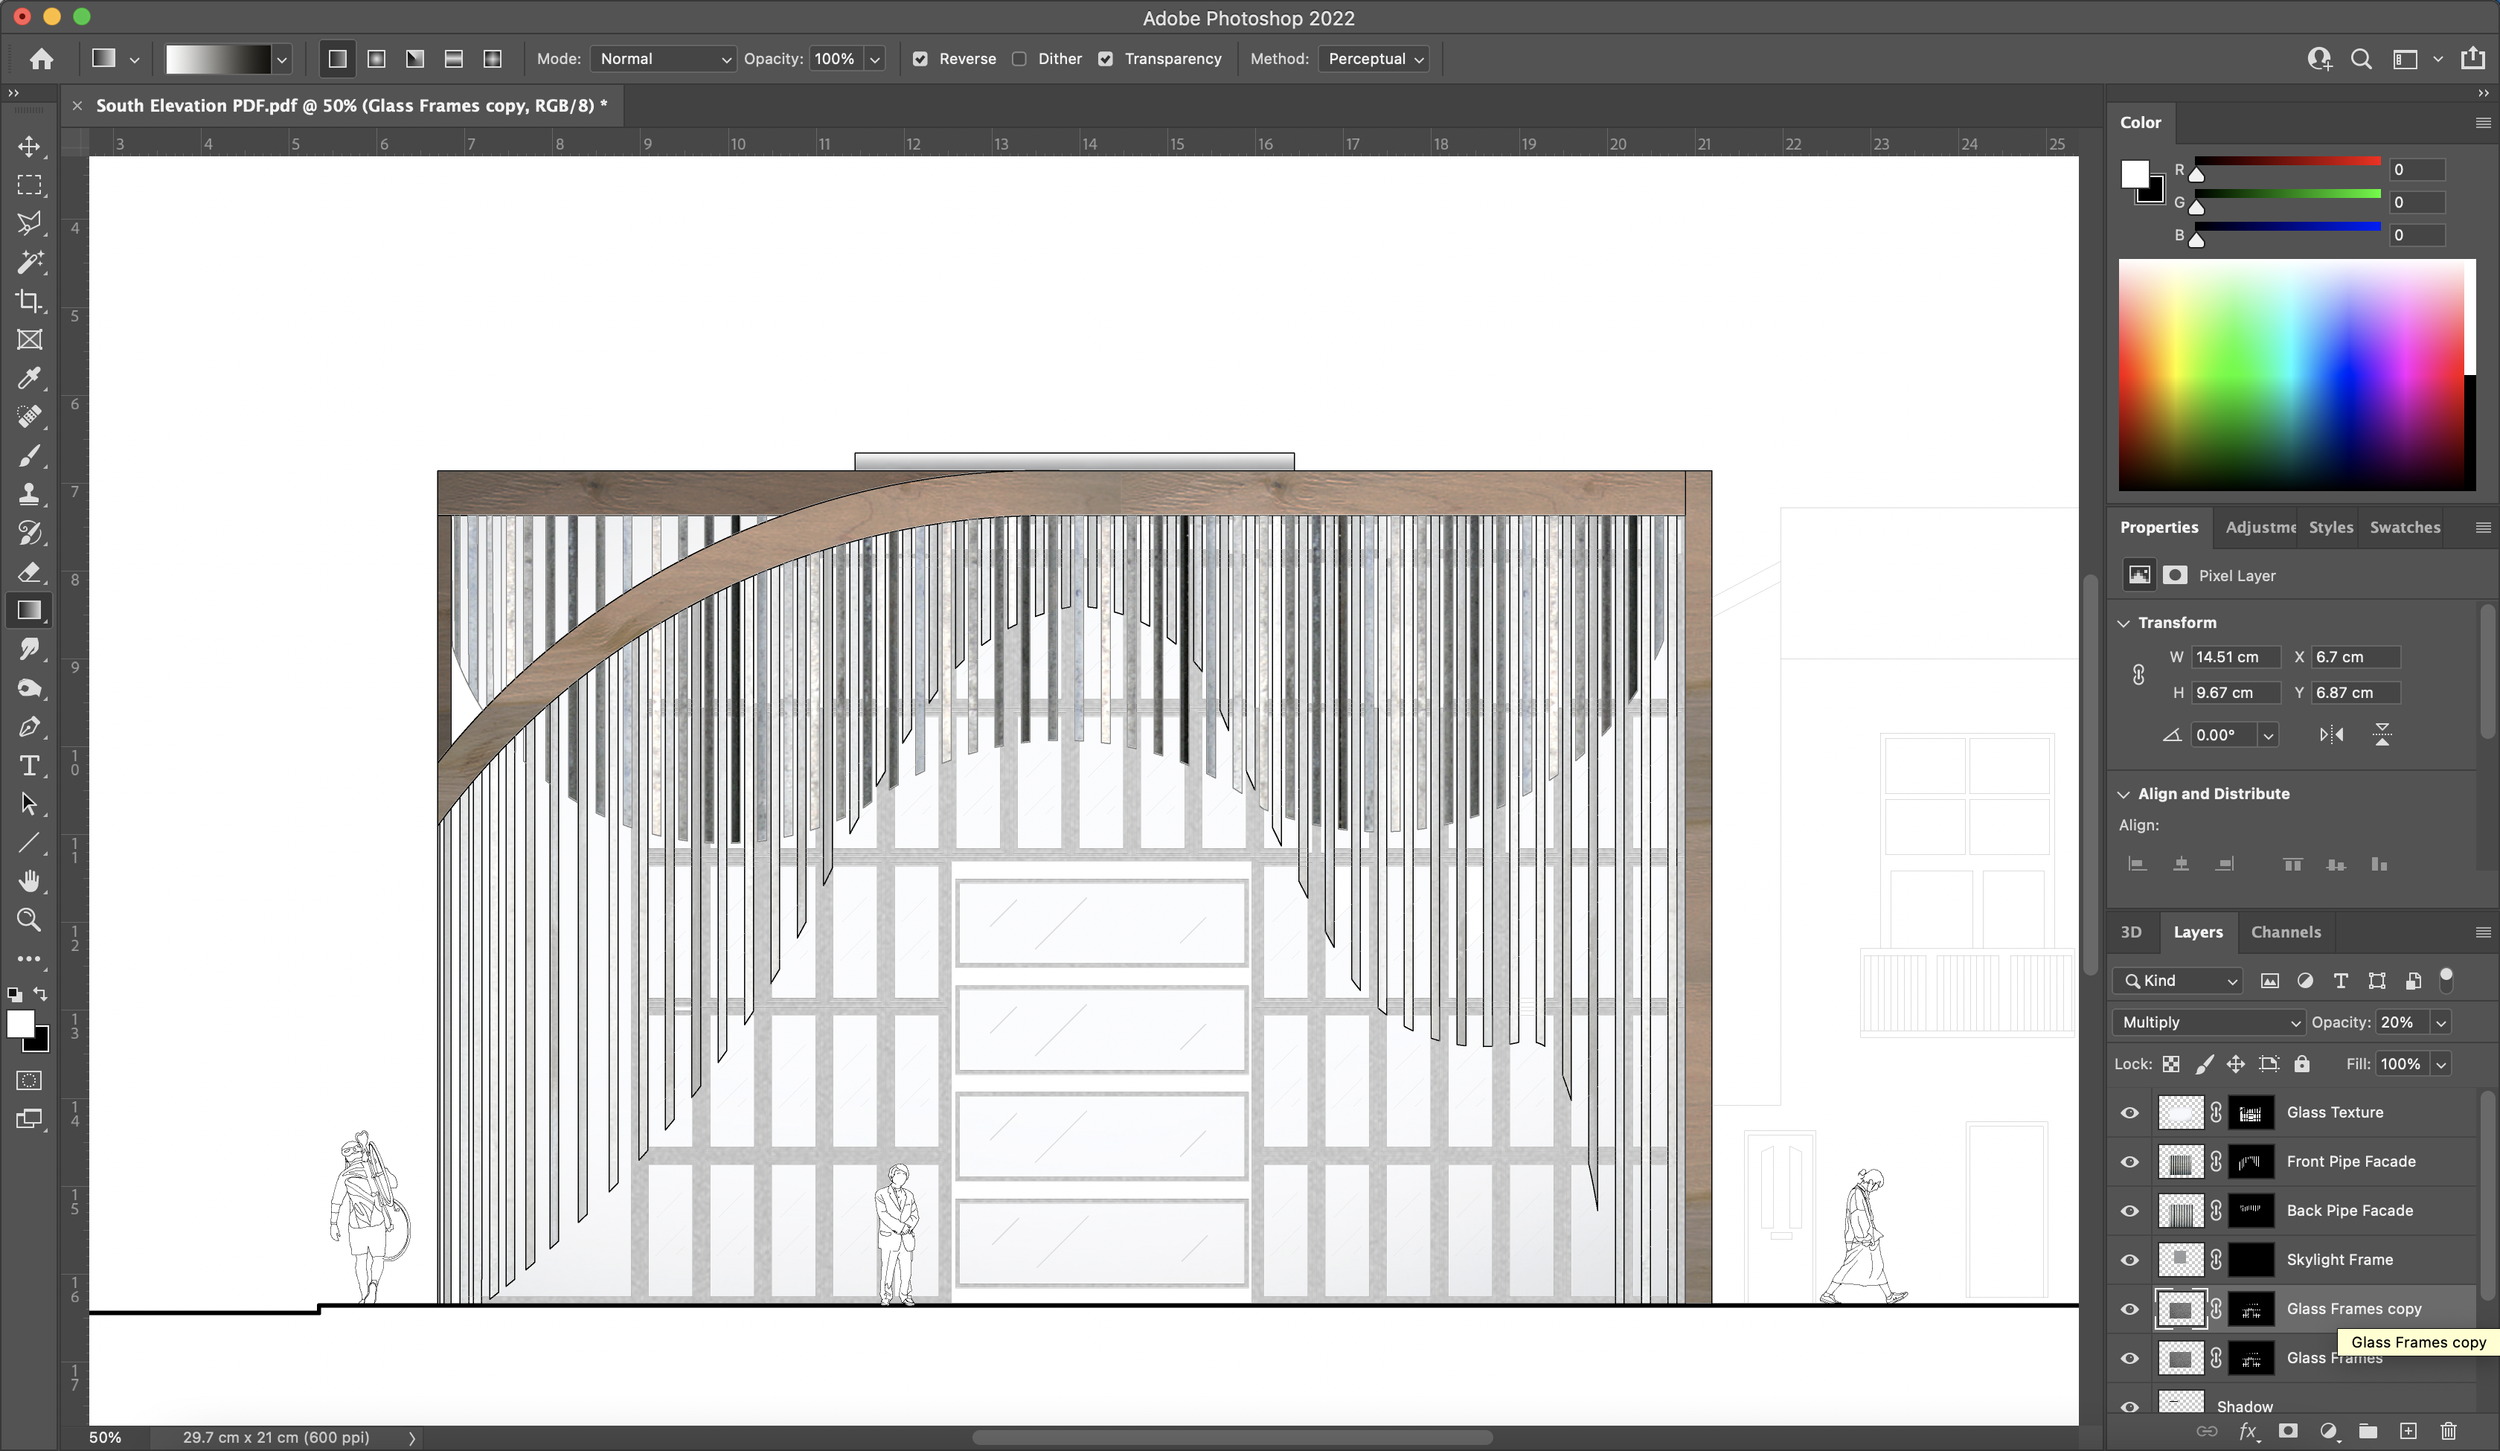
12. Repeating Steps 5-9 for other textures
Like we had done for the timber texture, I headed back over to Google Images to search for the skylight texture and pipe texture that I wanted and repeated the same process as the timber texture.
For the glass windows on the elevation, I found a window texture on Google Images and downloaded it. I imported it into Photoshop, enabled the multiply blend mode and masked the window areas like the previous steps. The same application was used for the window frames with a different texture found online.


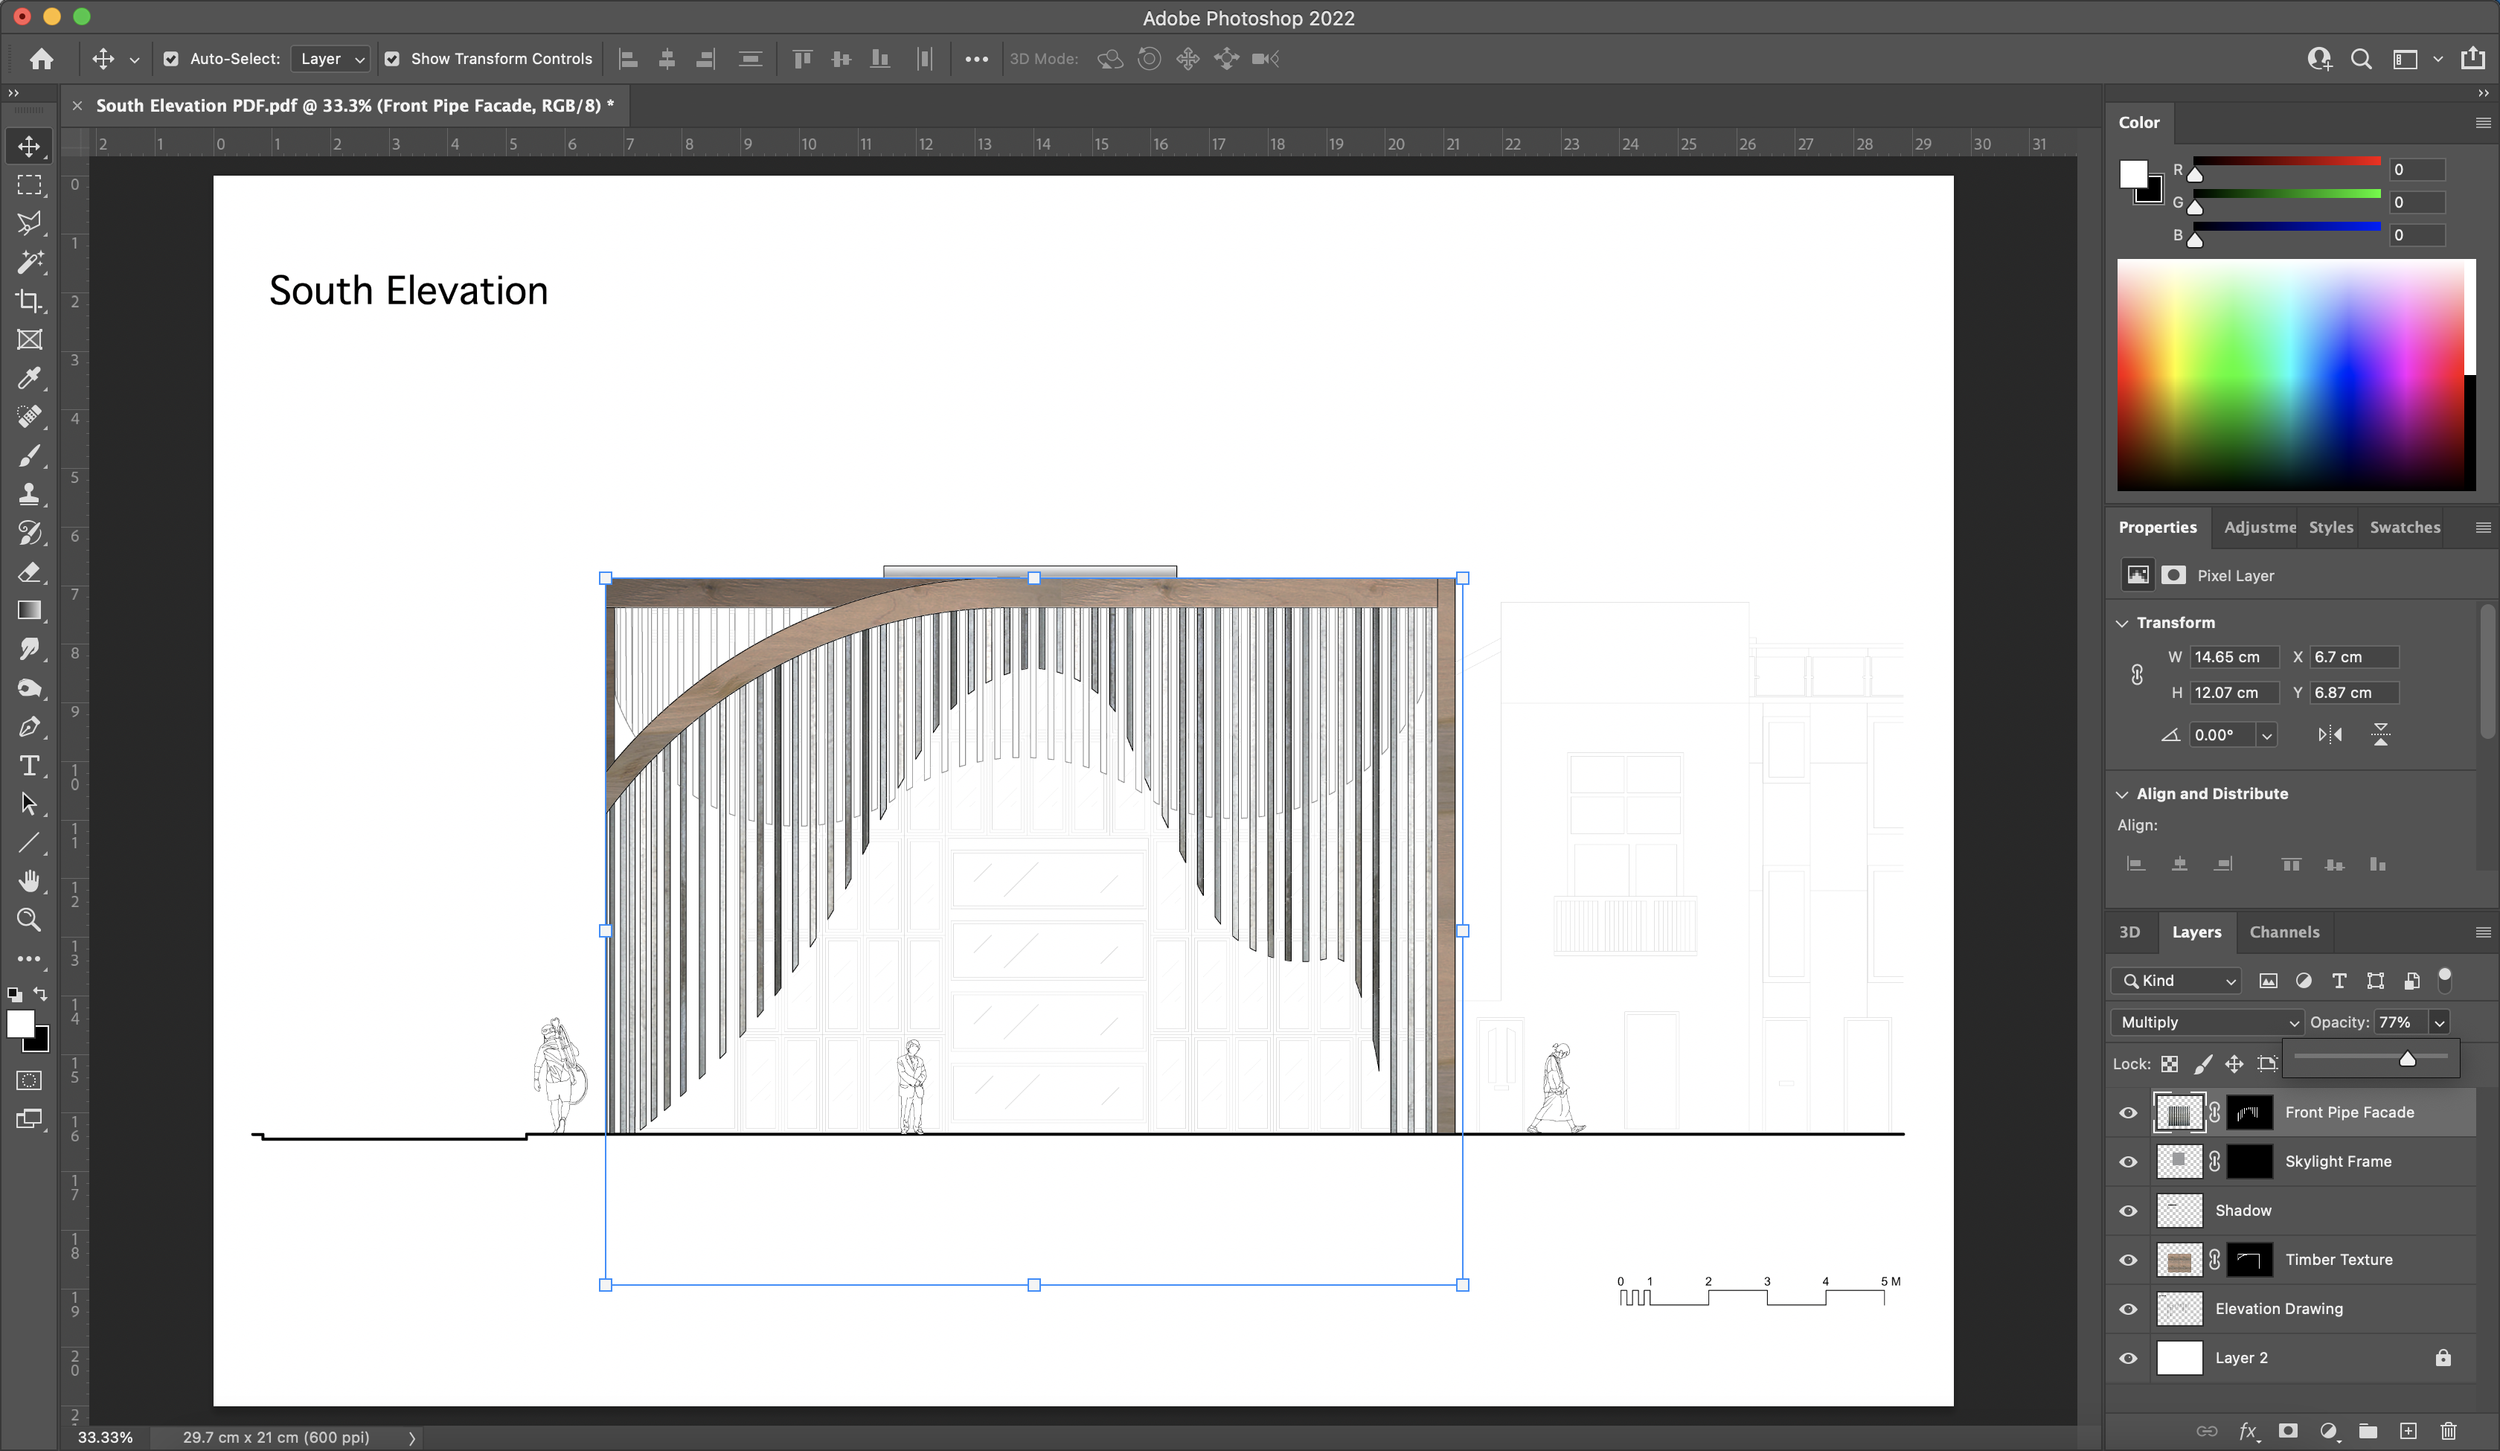

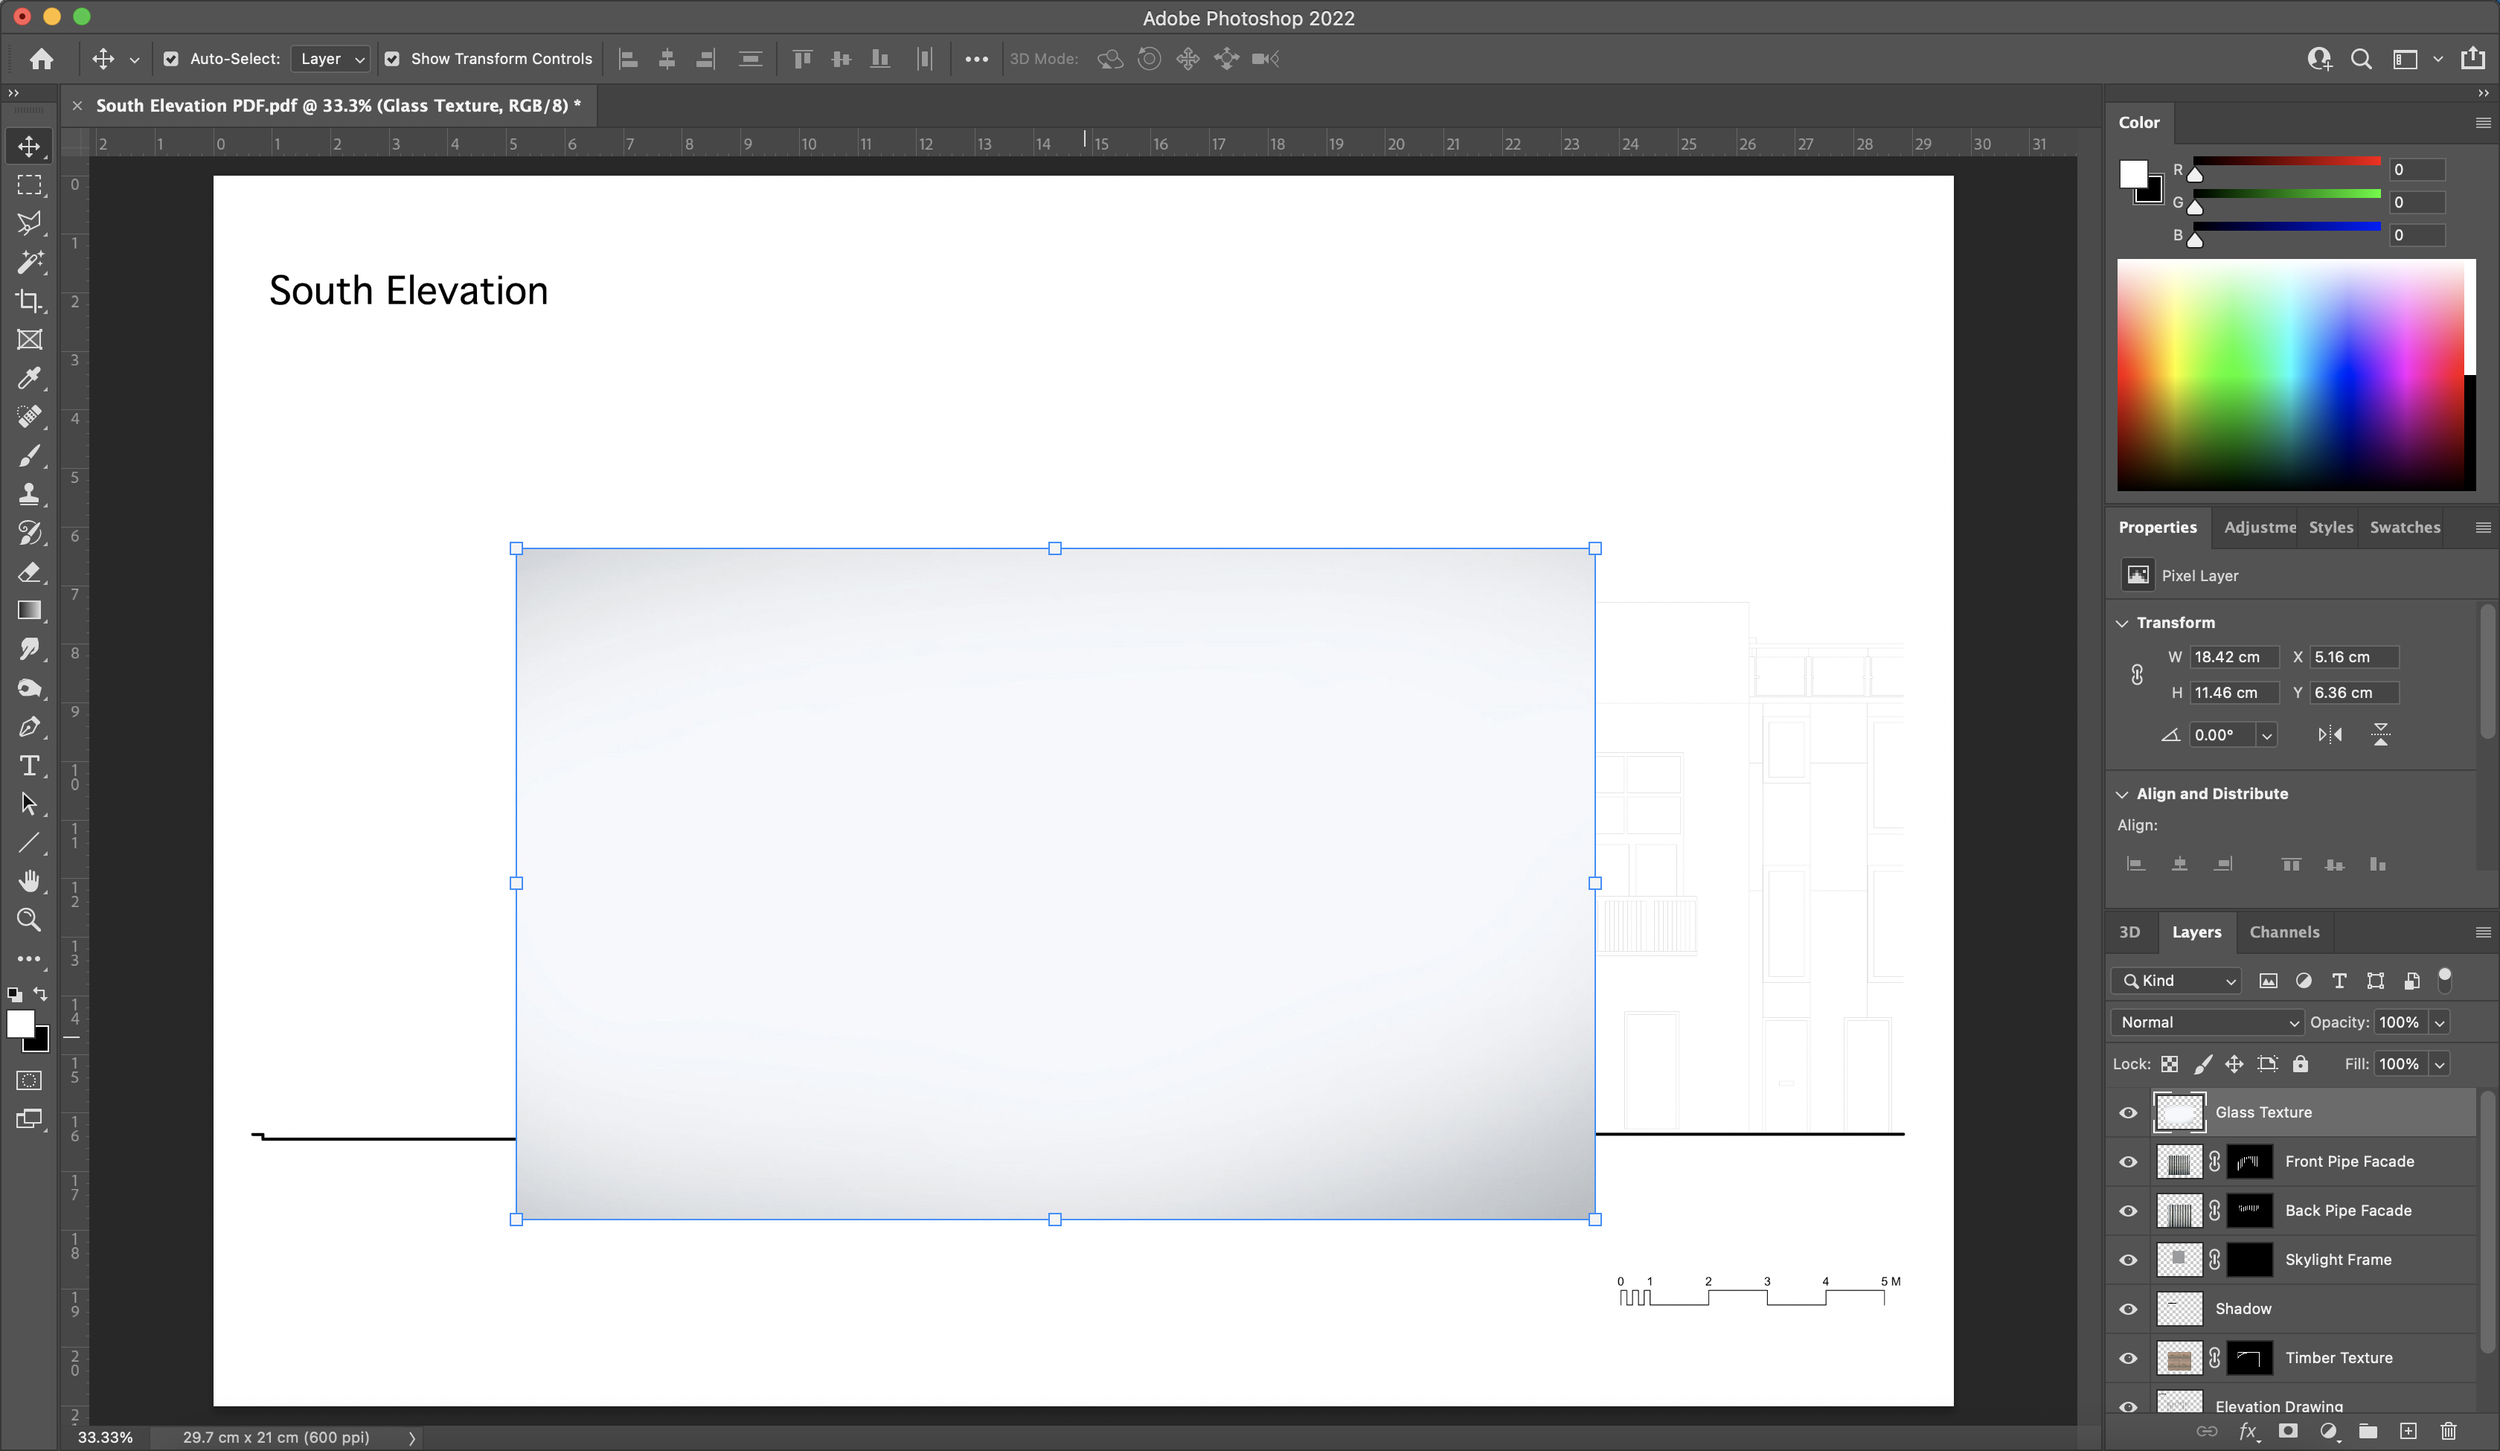


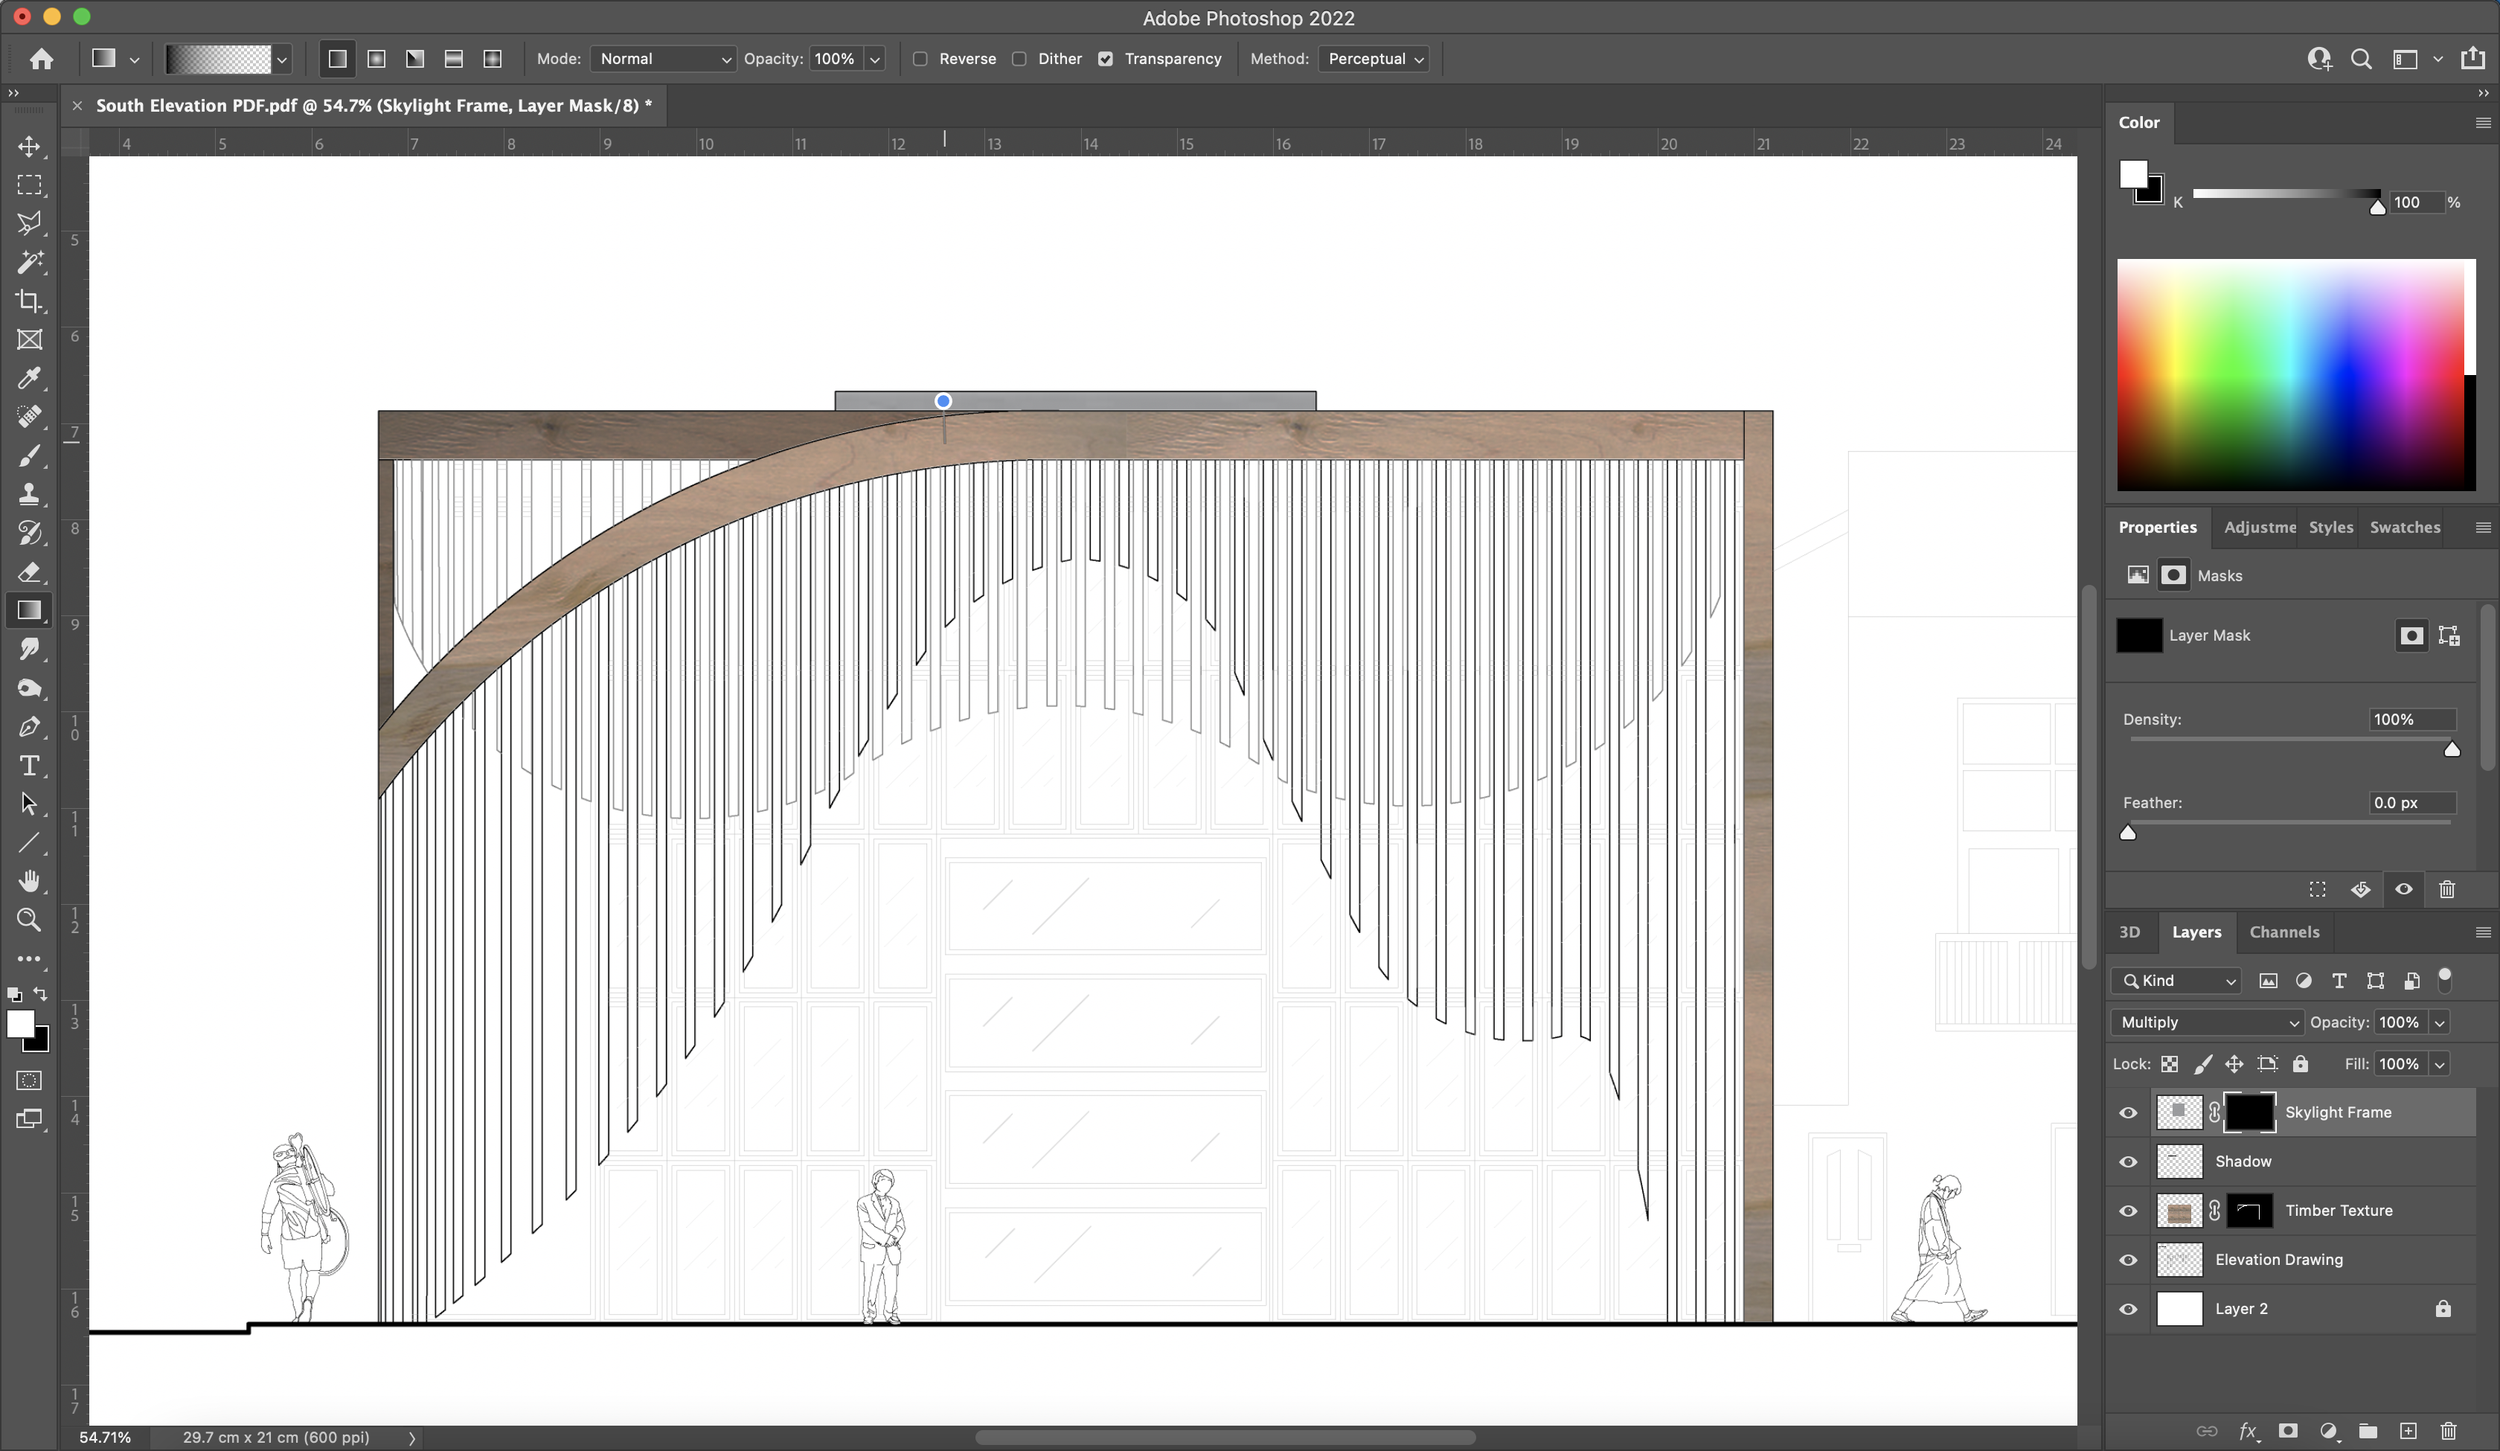


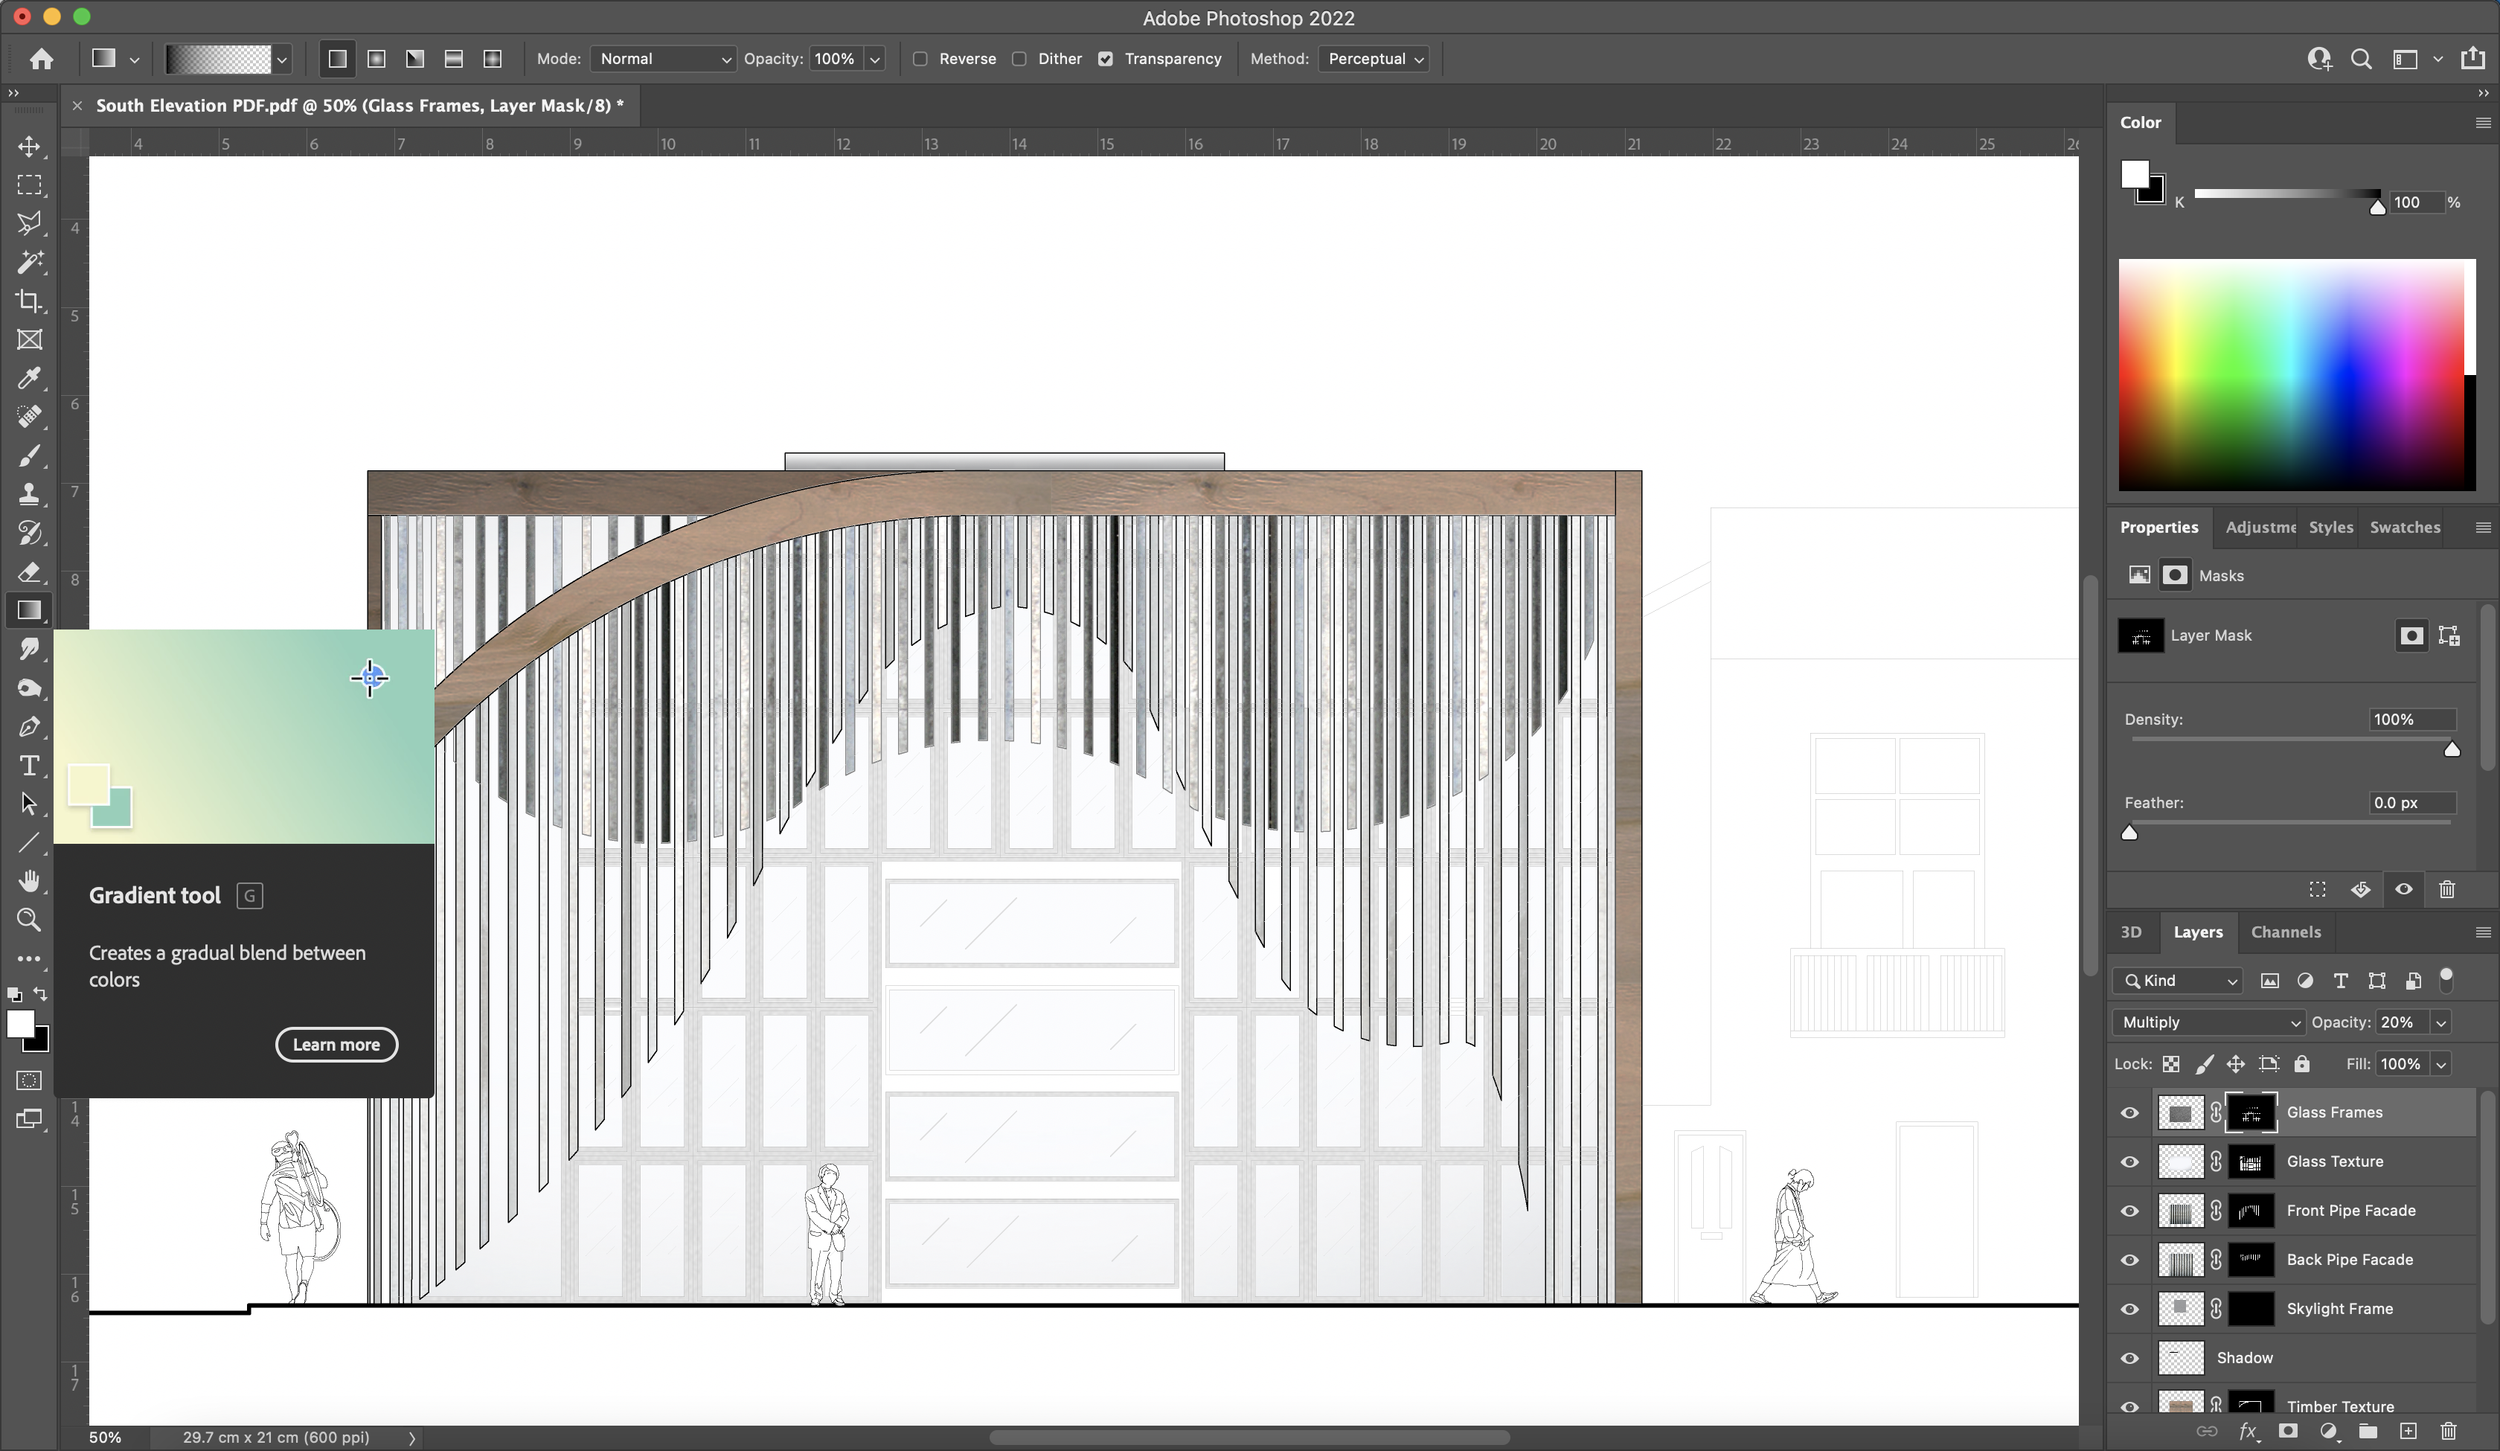
13. Gradient Tool
Another small touch that we can add to the window frames is a gradient. In the case of this proposal, the glass frames behind the proposal would technically receive less light. So, by using the gradient tool whilst still being on the mask layer, you can apply a gradient downwards which results in the screenshot below.


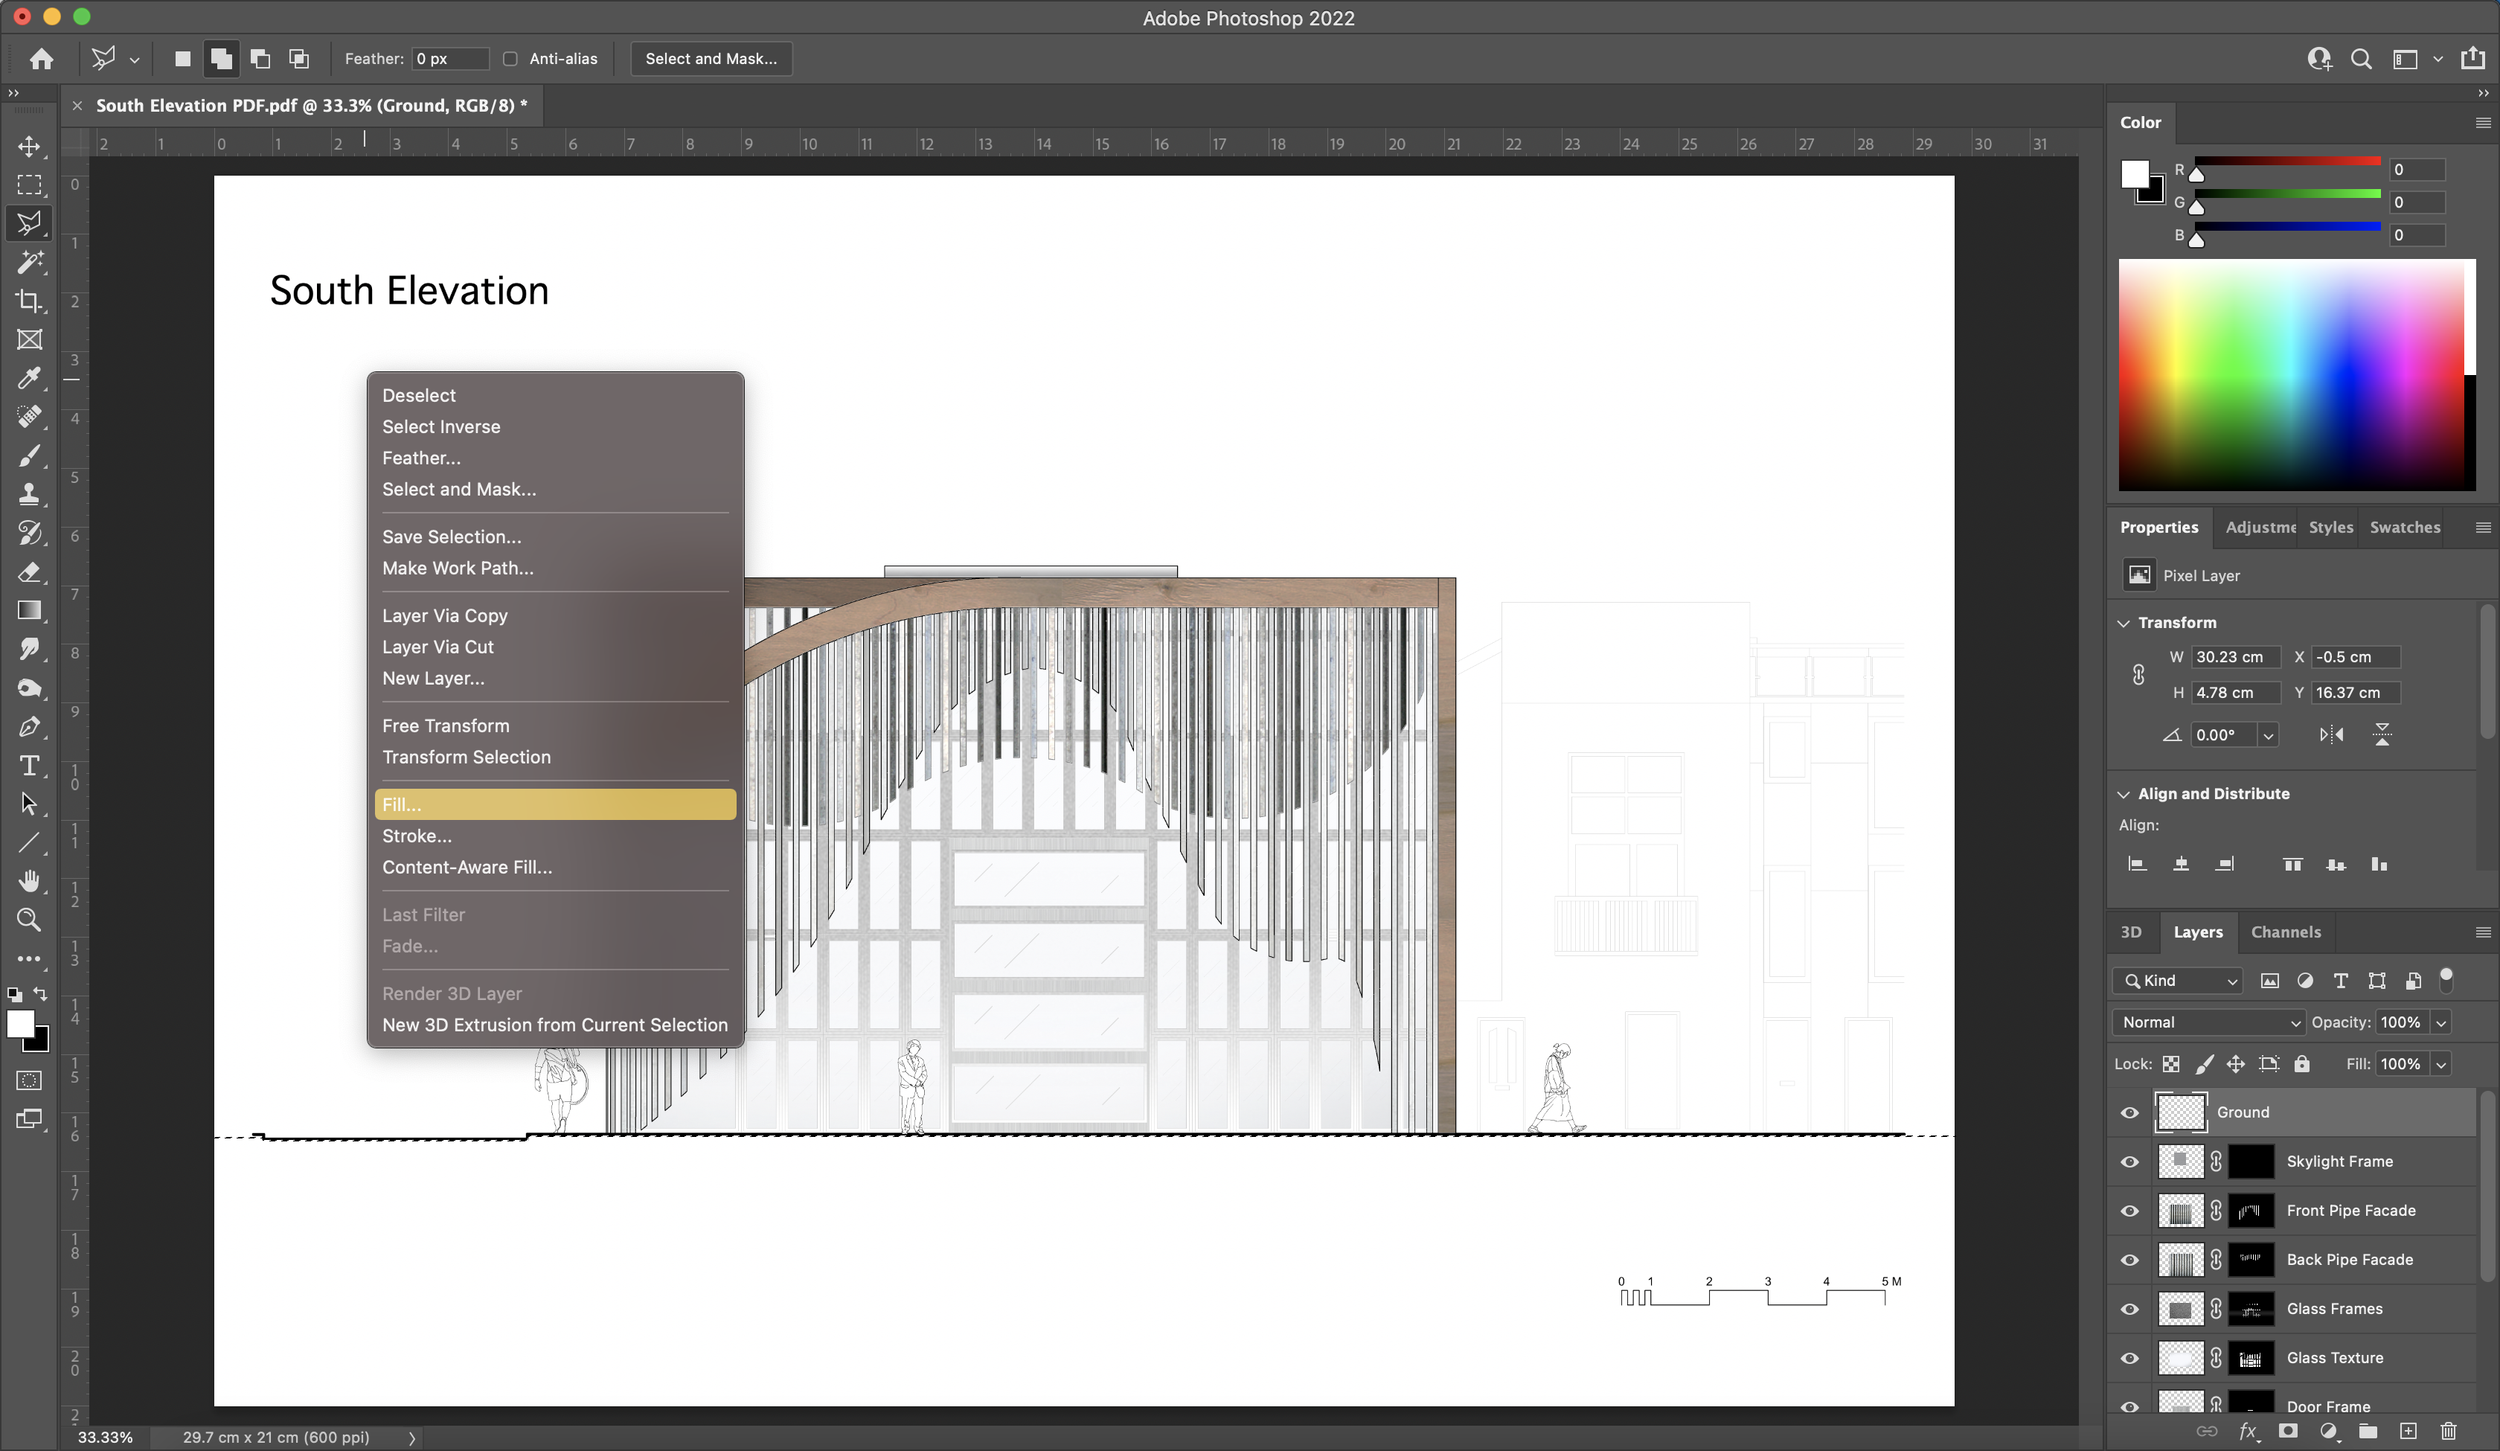
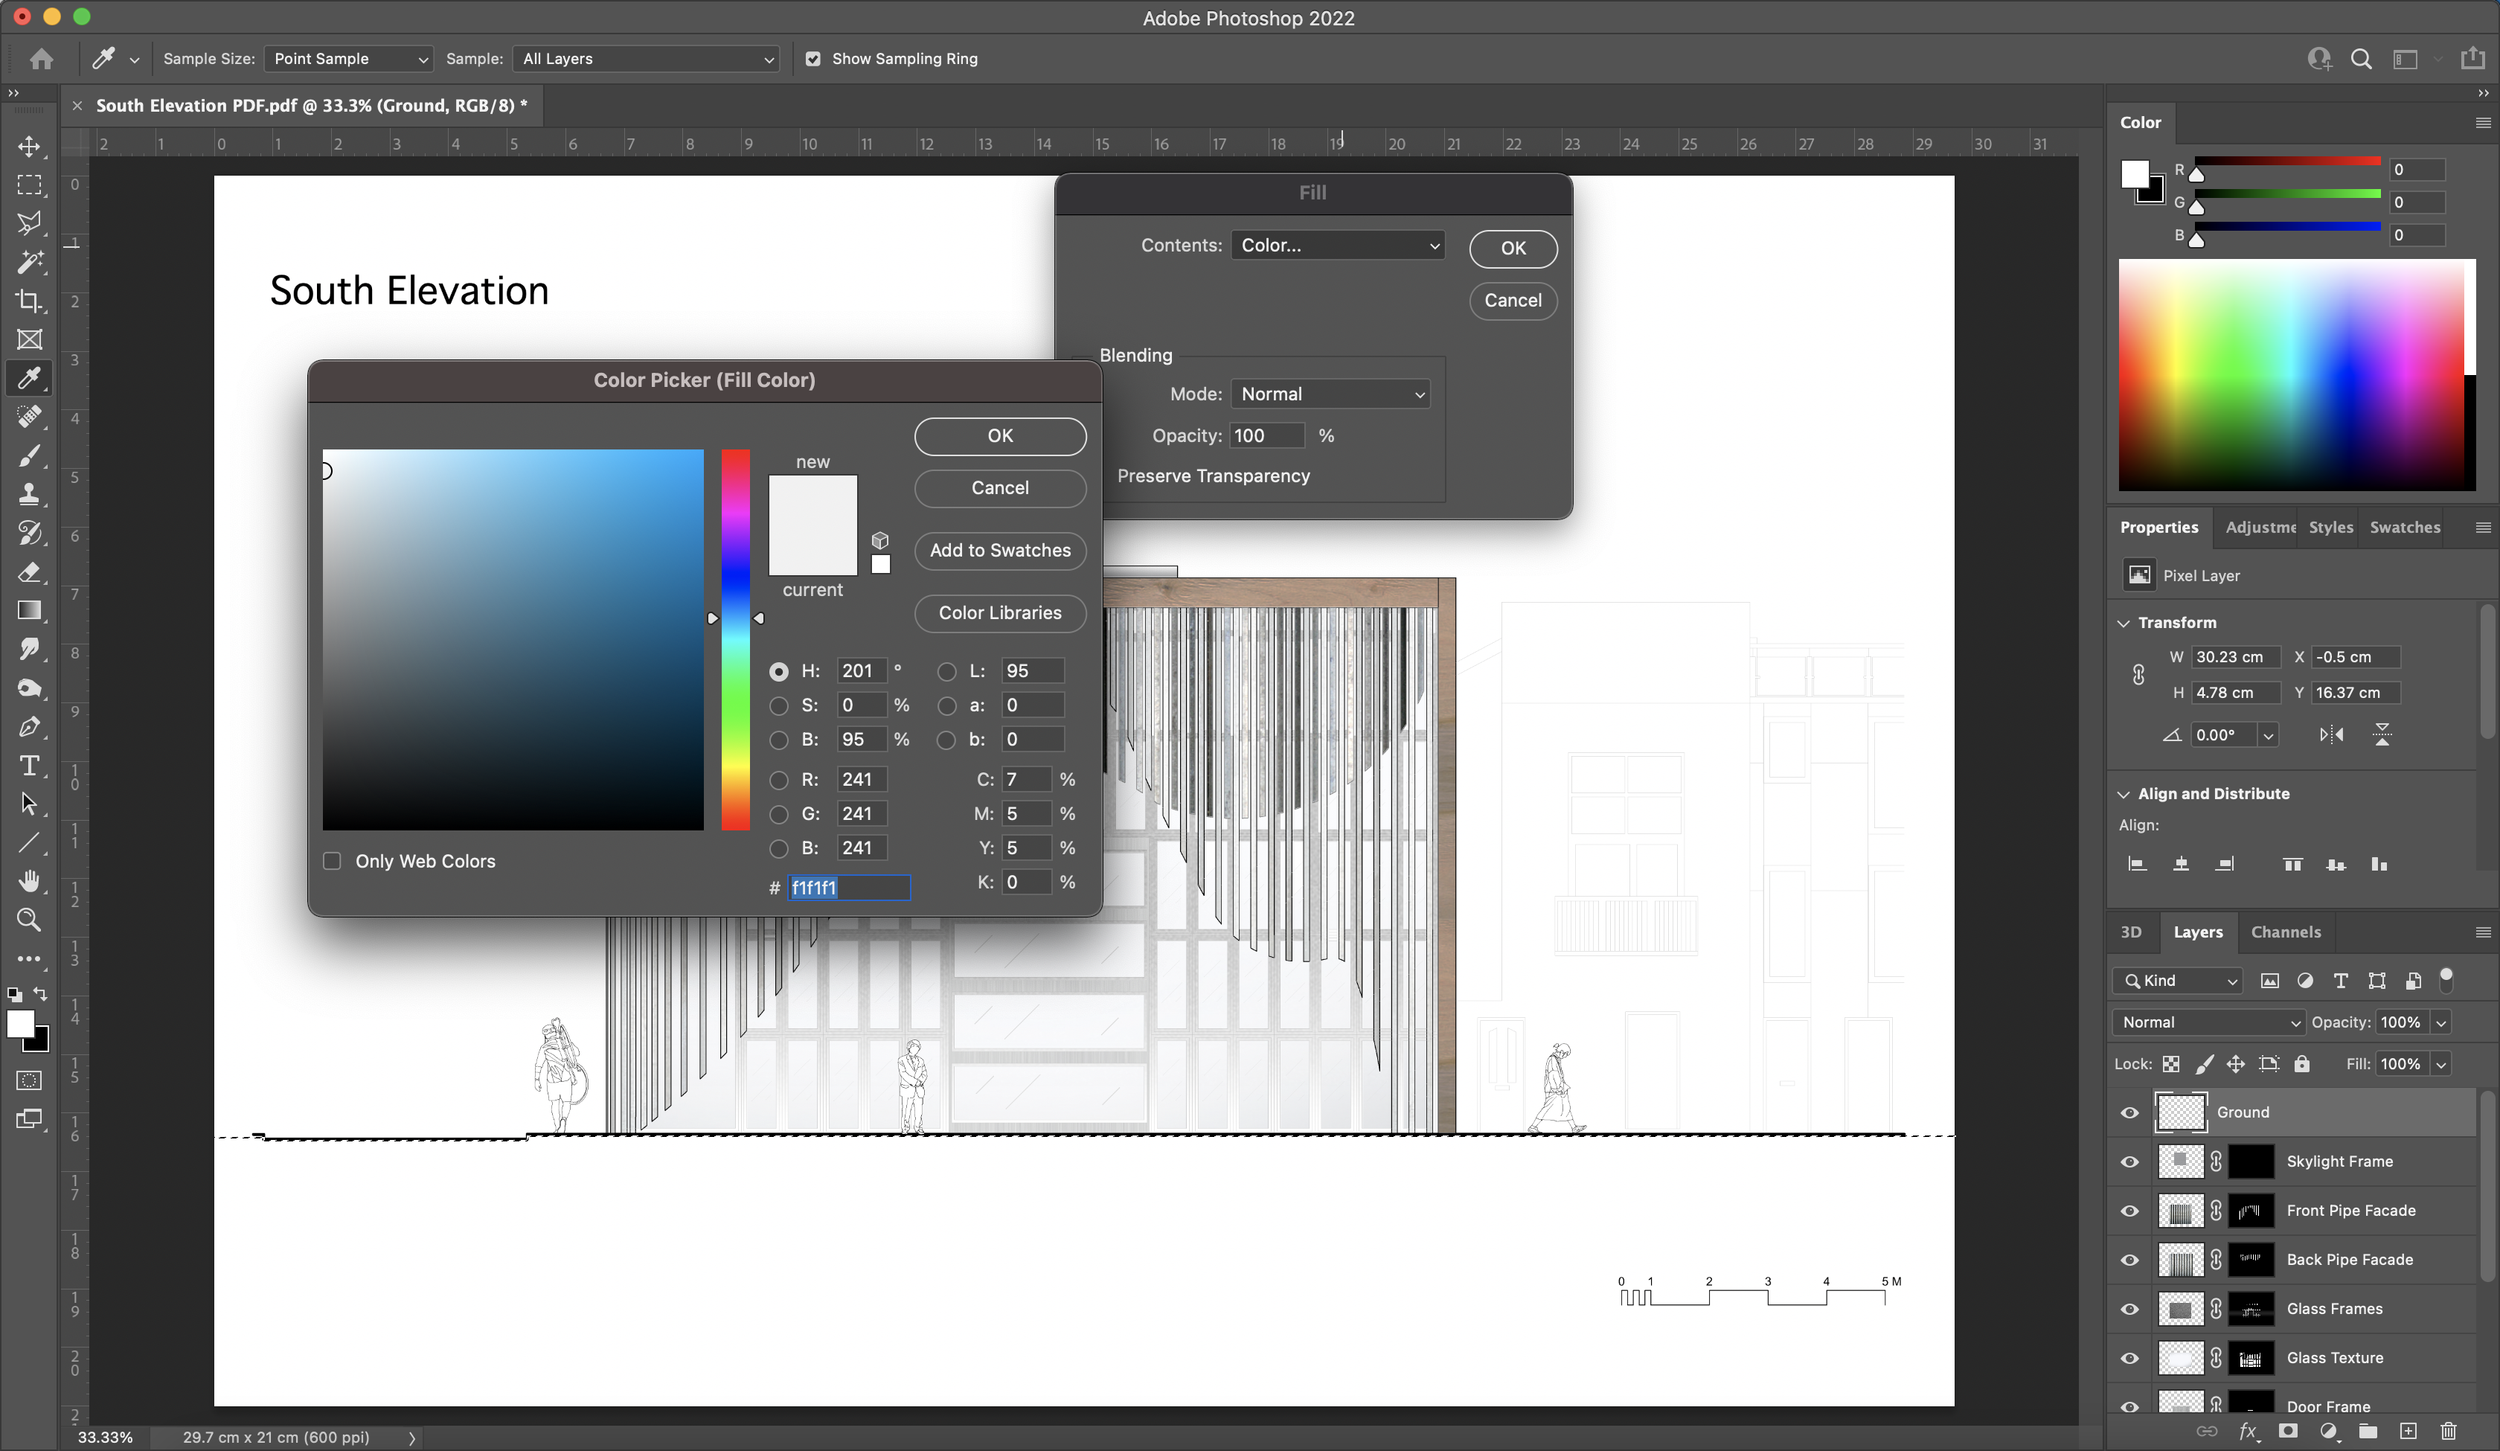
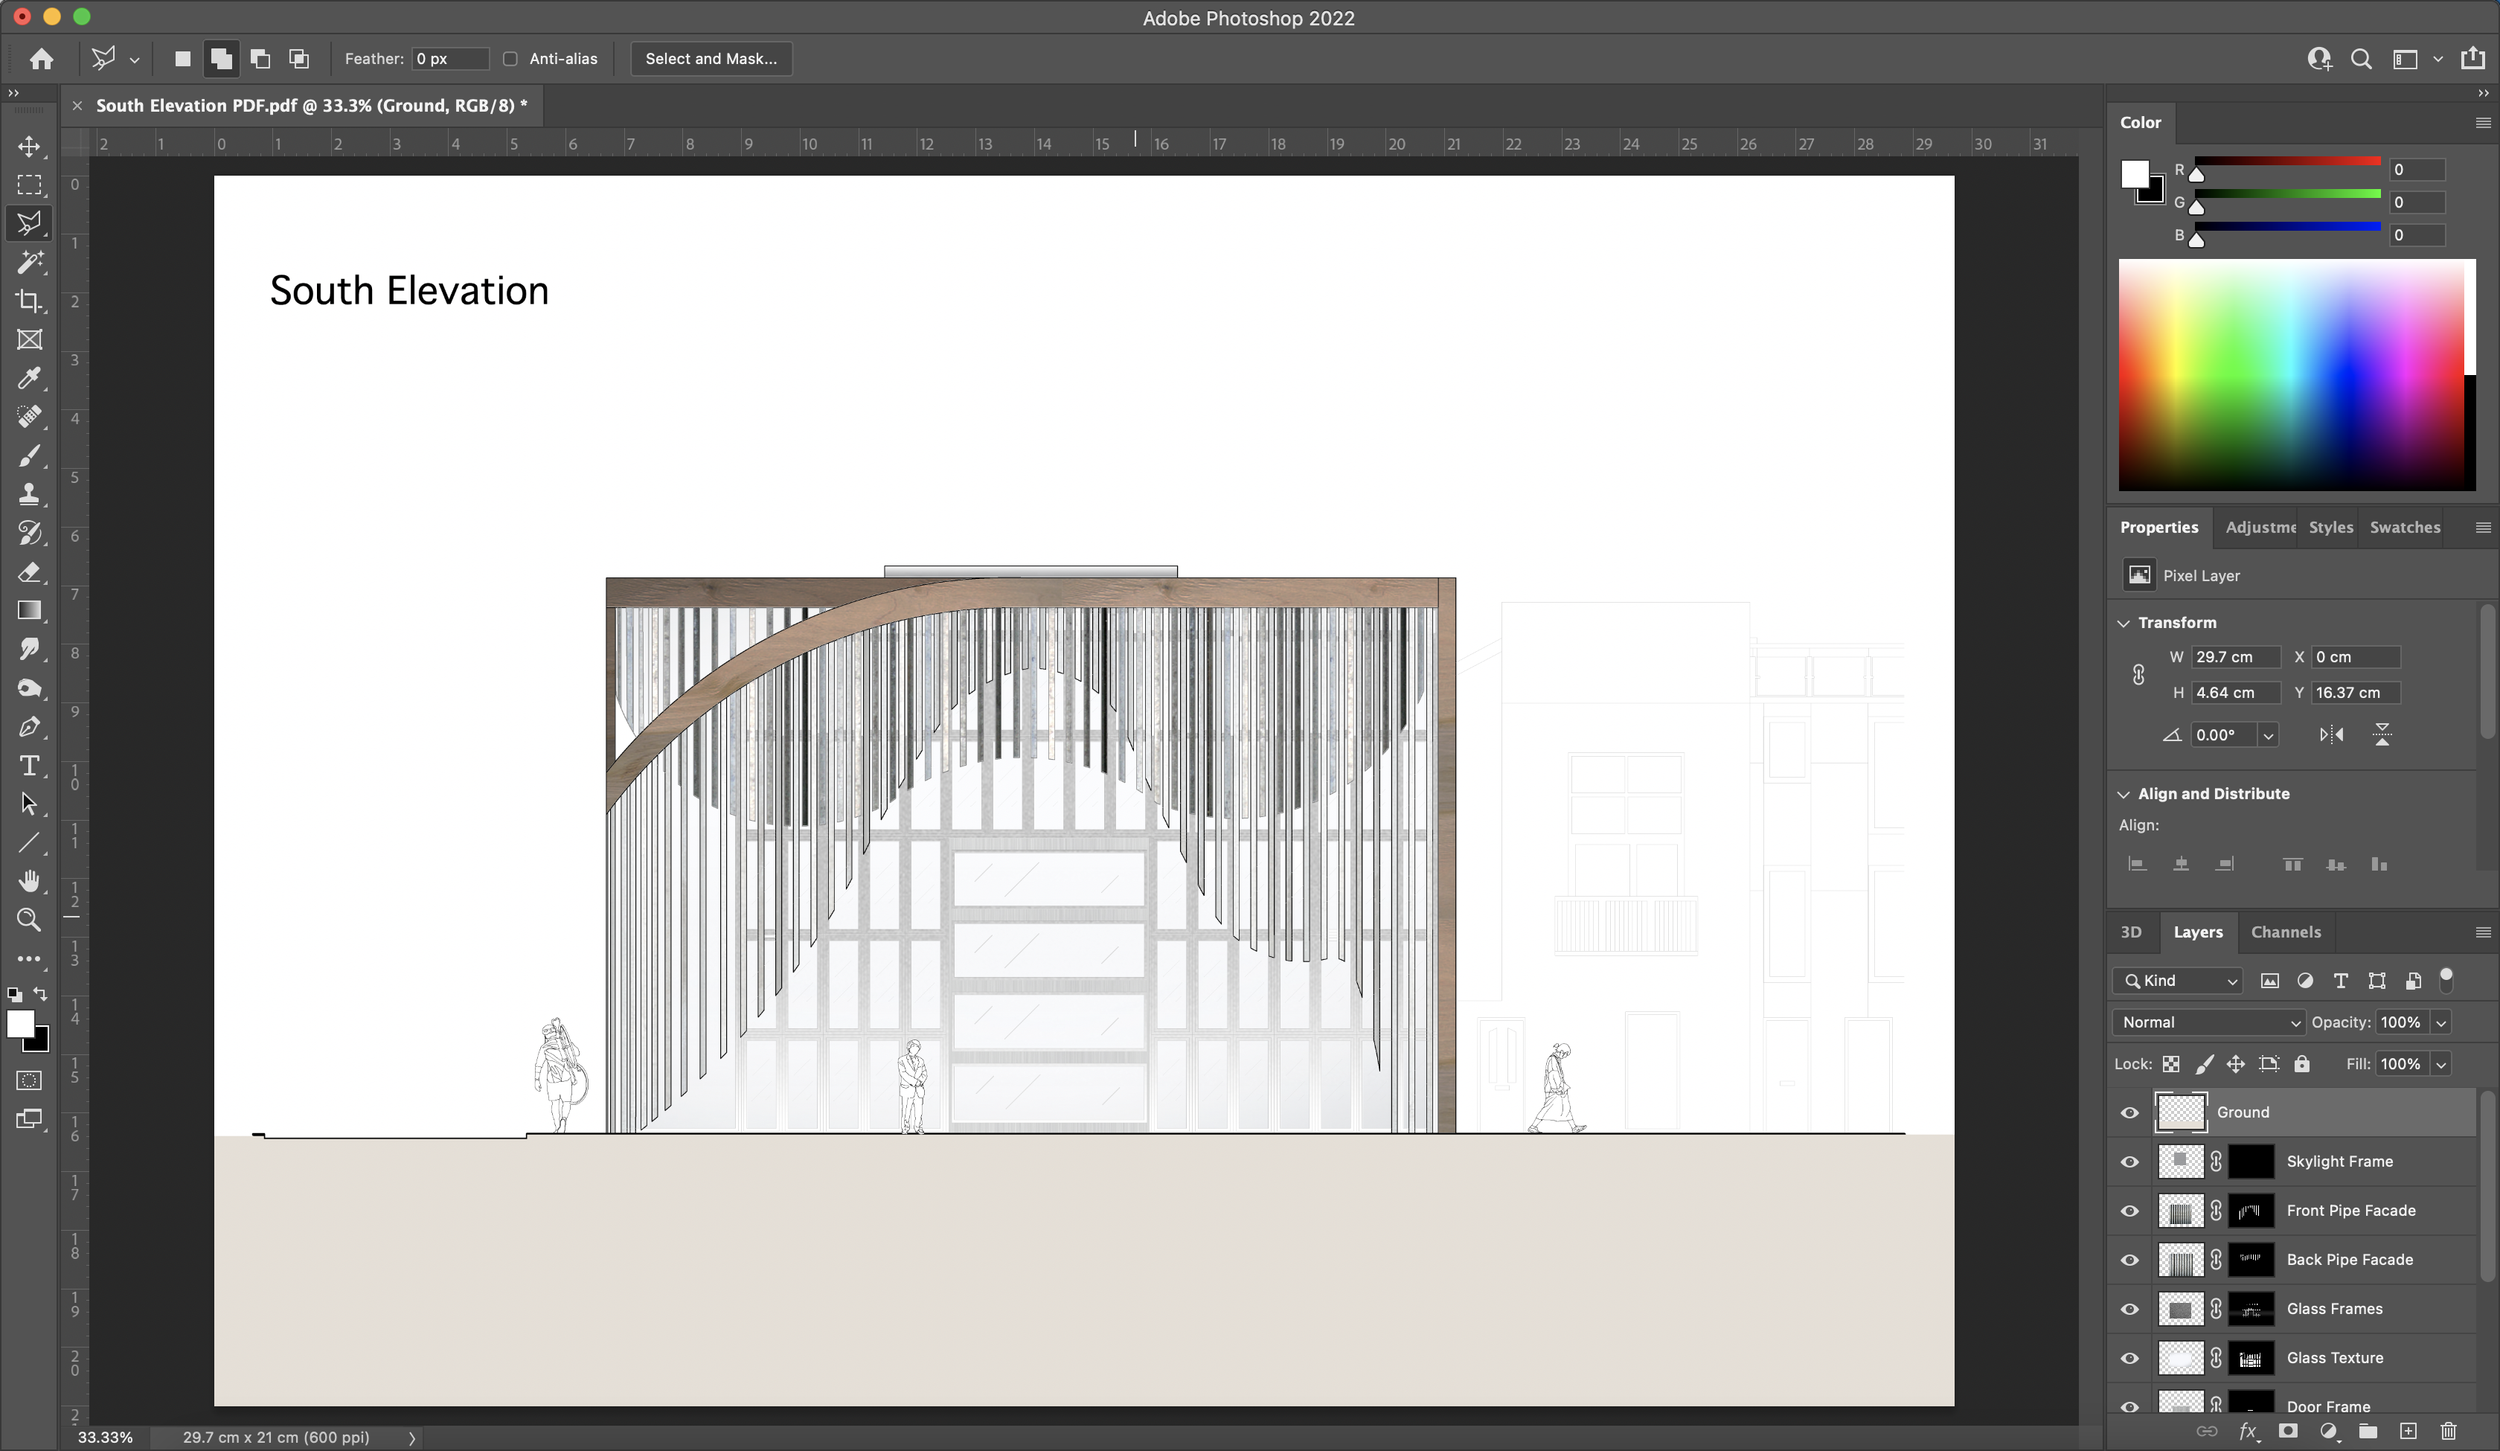
14. Solid Fill
Depending on your preference, you can also add a solid colour fill for below ground. You can use multiple different methods to do this. This could also be done using the ‘Live Paint’ function on Adobe Illustrator before moving the drawing to Photoshop. In this case, I have just selected below ground using the ‘Polygonal Lasso Tool’. I then right click on the work window to then select ‘Fill…’. This will trigger a fill window to pop up and from here you can choose what type of fill you would like to use. For this example I will be using a solid colour but you can opt for the different options on the drop down menu given in the window.


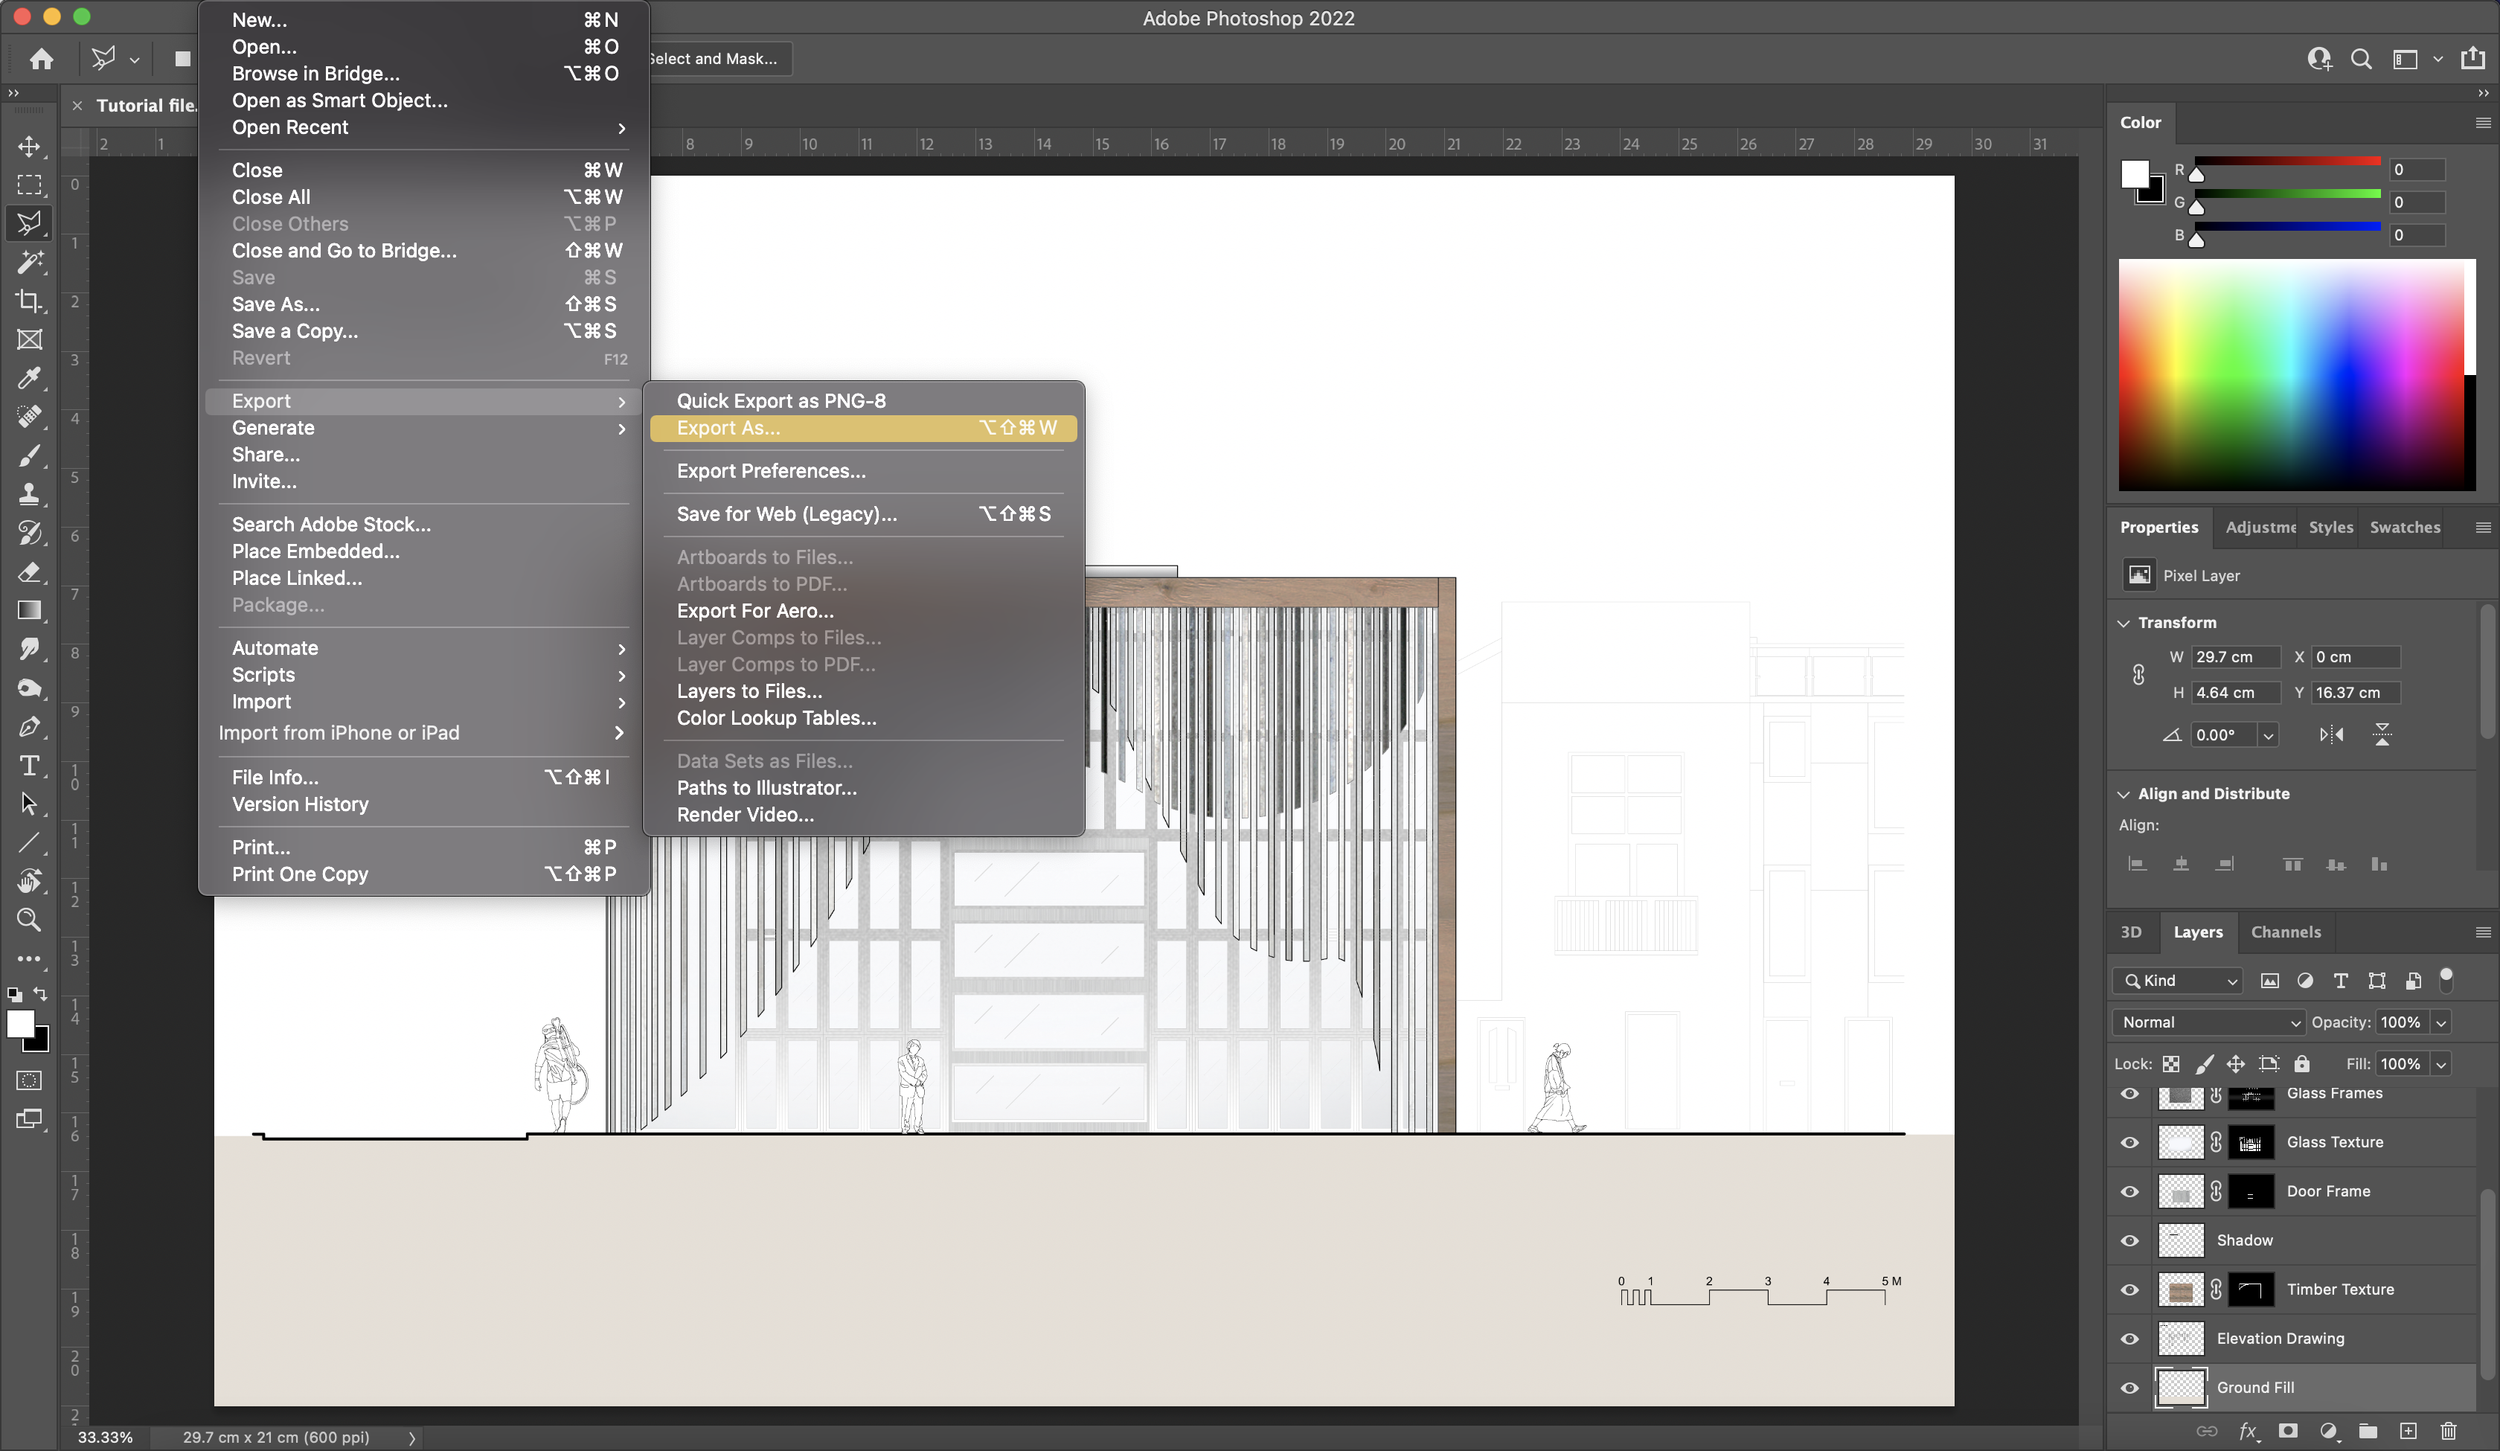
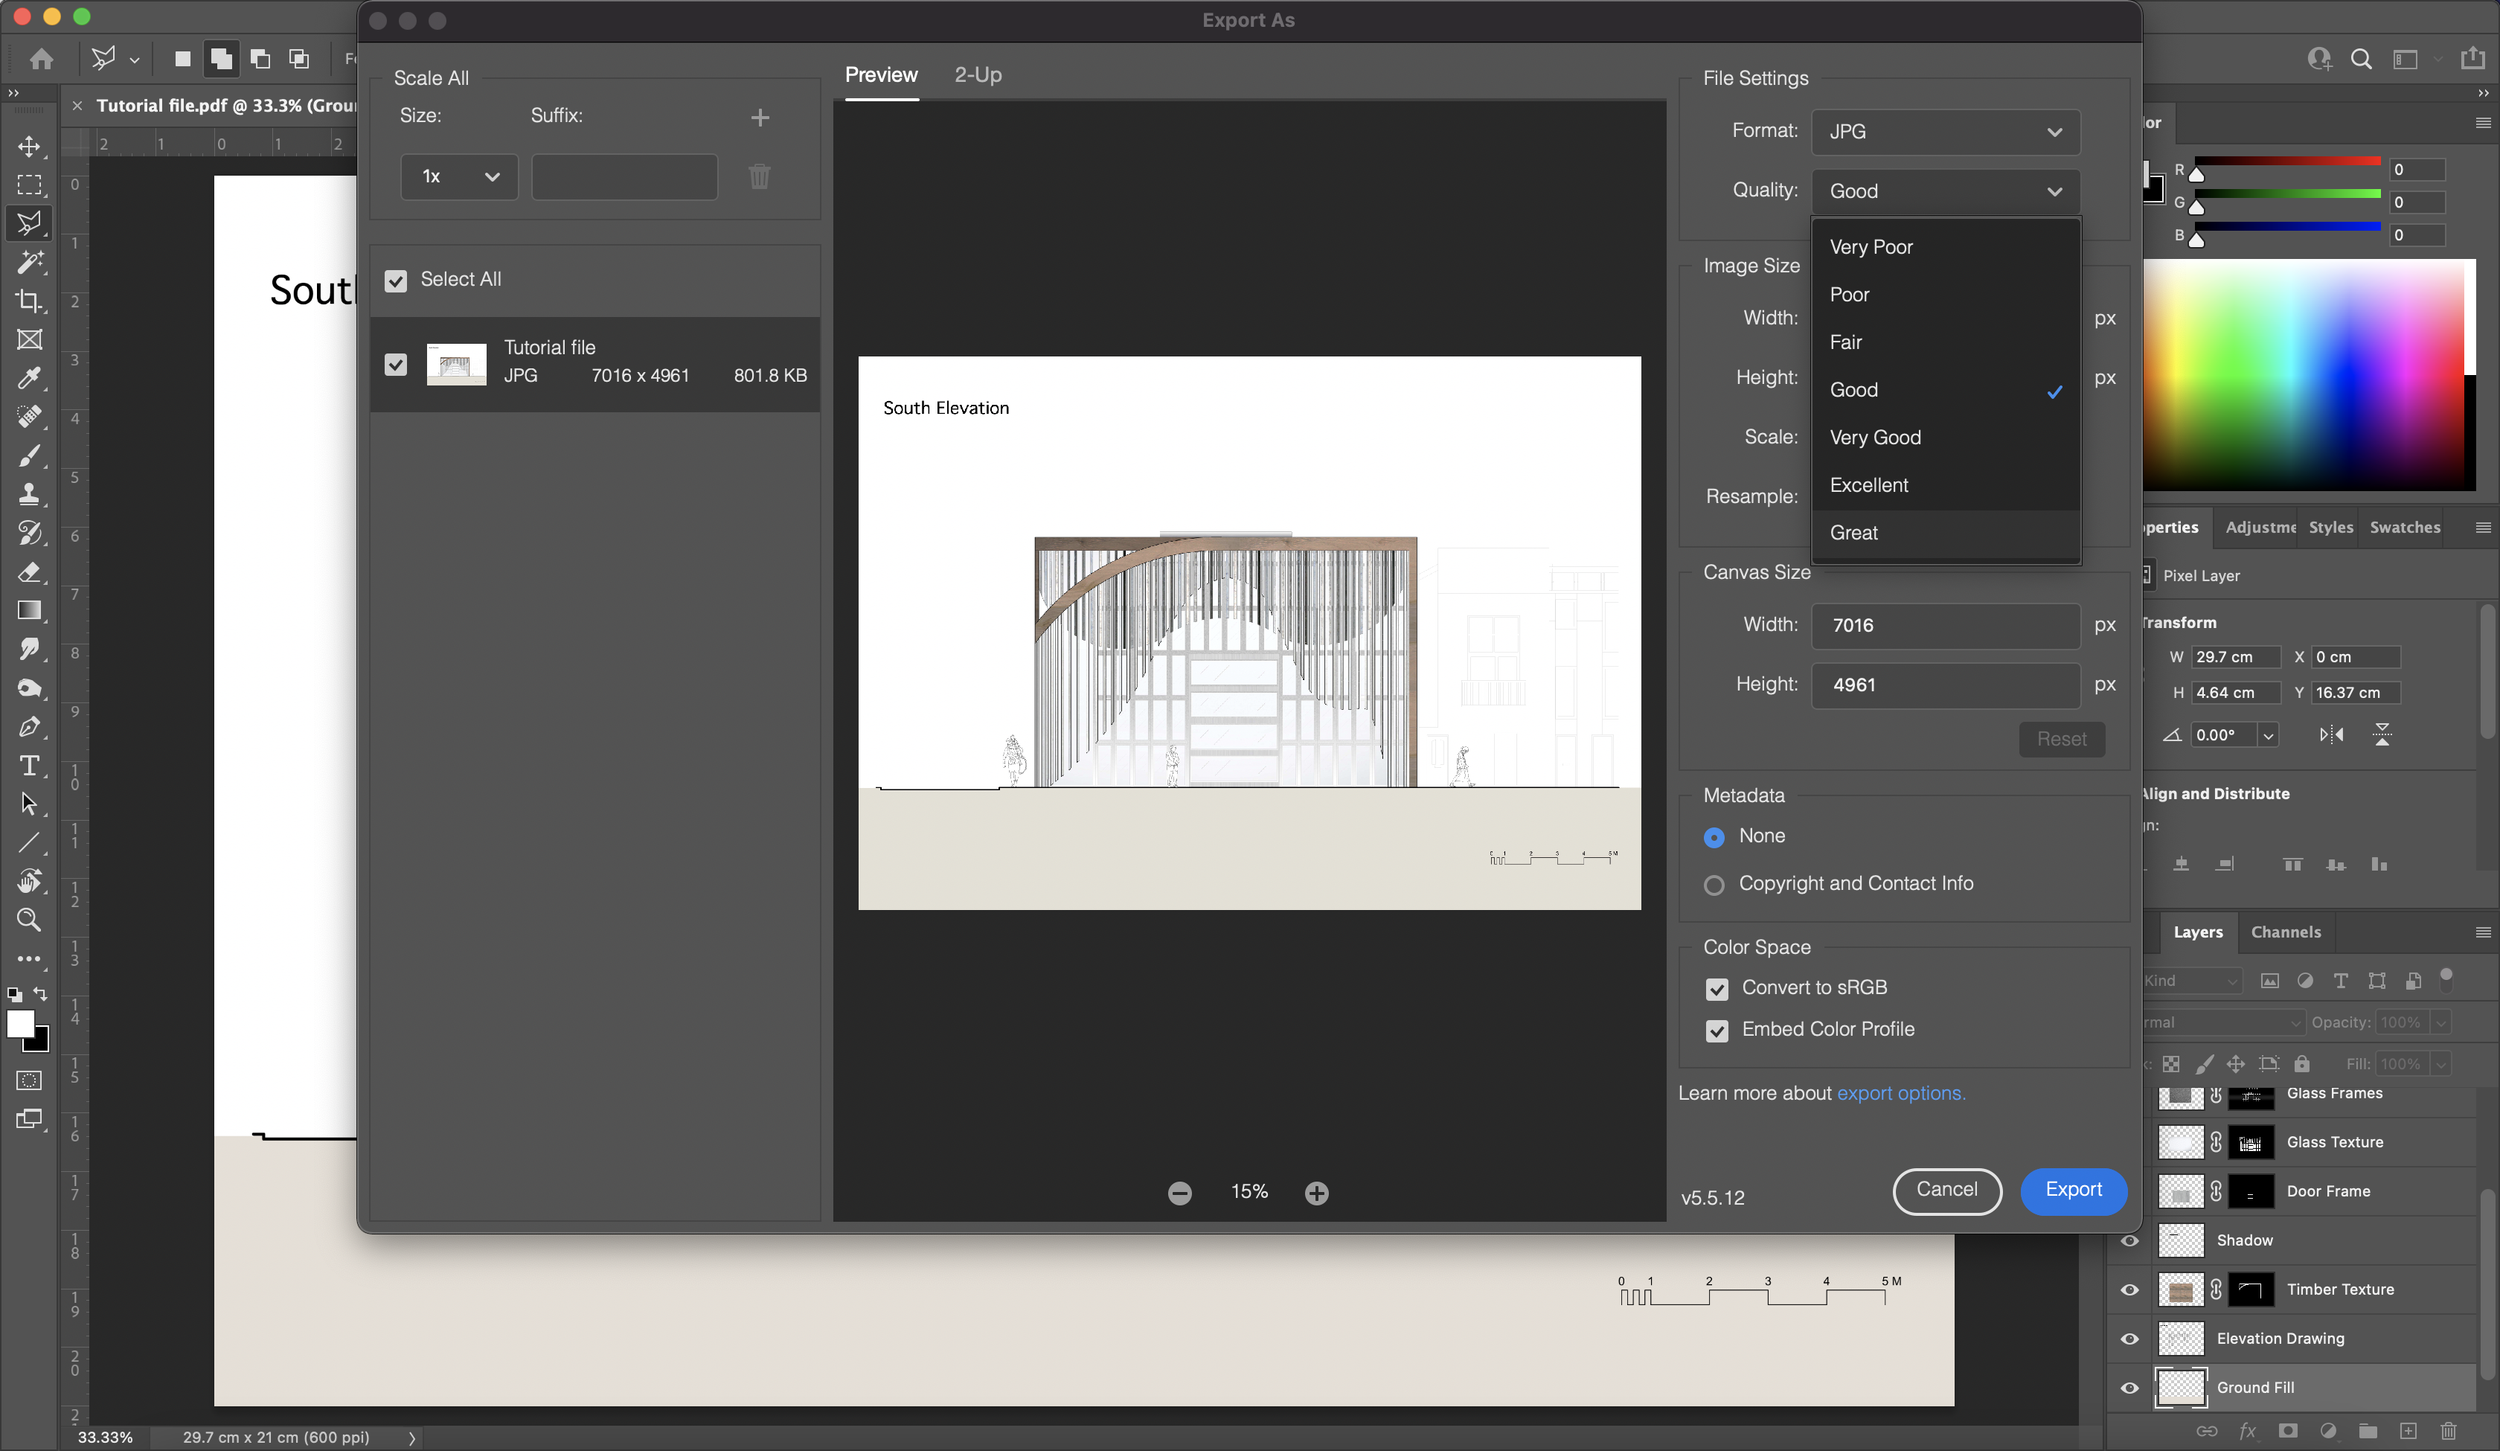
15. Export
To export your file, you will need to go to ‘File -> Export -> Export as…’ which will result in an export window to pop up. From here select your preferred file type. I tend to save my files as a JPEG with the highest quality option but this is not mandatory.


That brings us to the end of this tutorial. This is only one way of improving orthographics in Photoshop. You do not necessarily have to use Photoshop either. Softwares such as Procreate and Illustrator.
Make sure to be back same time next week for a brand new blog post. Craving for more? Check out our Instagram page where we post every Monday!