
Collaging in Adobe Photoshop
Hi guys! It’s Elif here, welcome back to another weekly post! This post is all about collaging in Adobe Photoshop. Post-production software can be incredibly powerful in designing an image once you’ve gained experience and understood how to use all the tools and features. I’m going to explain how you can create simple collages by introducing three tools that can get you started on making either a realistic or conceptual collage.
The first thing to consider before you start collaging is, what are you trying to show. Depending on the type of collage you are creating you might be trying to show the atmosphere of a space, how light interacts in your design, a key concept or a final visual. This will make your collage clear as a powerful representation. Once you’ve decided on that, start brainstorming and selecting a few key elements that you want to include in your collage. This doesn't necessarily mean you need to know what the final outcome looks like, but deciding on a few components such as the type of people or the location in your collage is important. Once you’ve done this, create a file with all the main images you want to include. Sourcing these images before getting started can save a lot of time. Collating a quick mood board can show you if all your chosen components work together to create a cohesive representation, and can provide a good foundation for the composition of your collage.
Photoshop has many tools and commands you can use to enhance and improve your collages, but we want to share three basic tools that have made significant improvements to our own work.
Free Transform Tool
The ‘Free Transform’ tool allows you to apply transformations like rotating, scaling, skewing, distorting and perspective in one continuous operation. It’s one of the most used commands when collaging.

[1] Select an object and use the command Ctrl + T
This will put the object in a free transform mode. You then need to right click on the image to access the column. The column contains all the basic tools to modify the image.
Drop Shadows
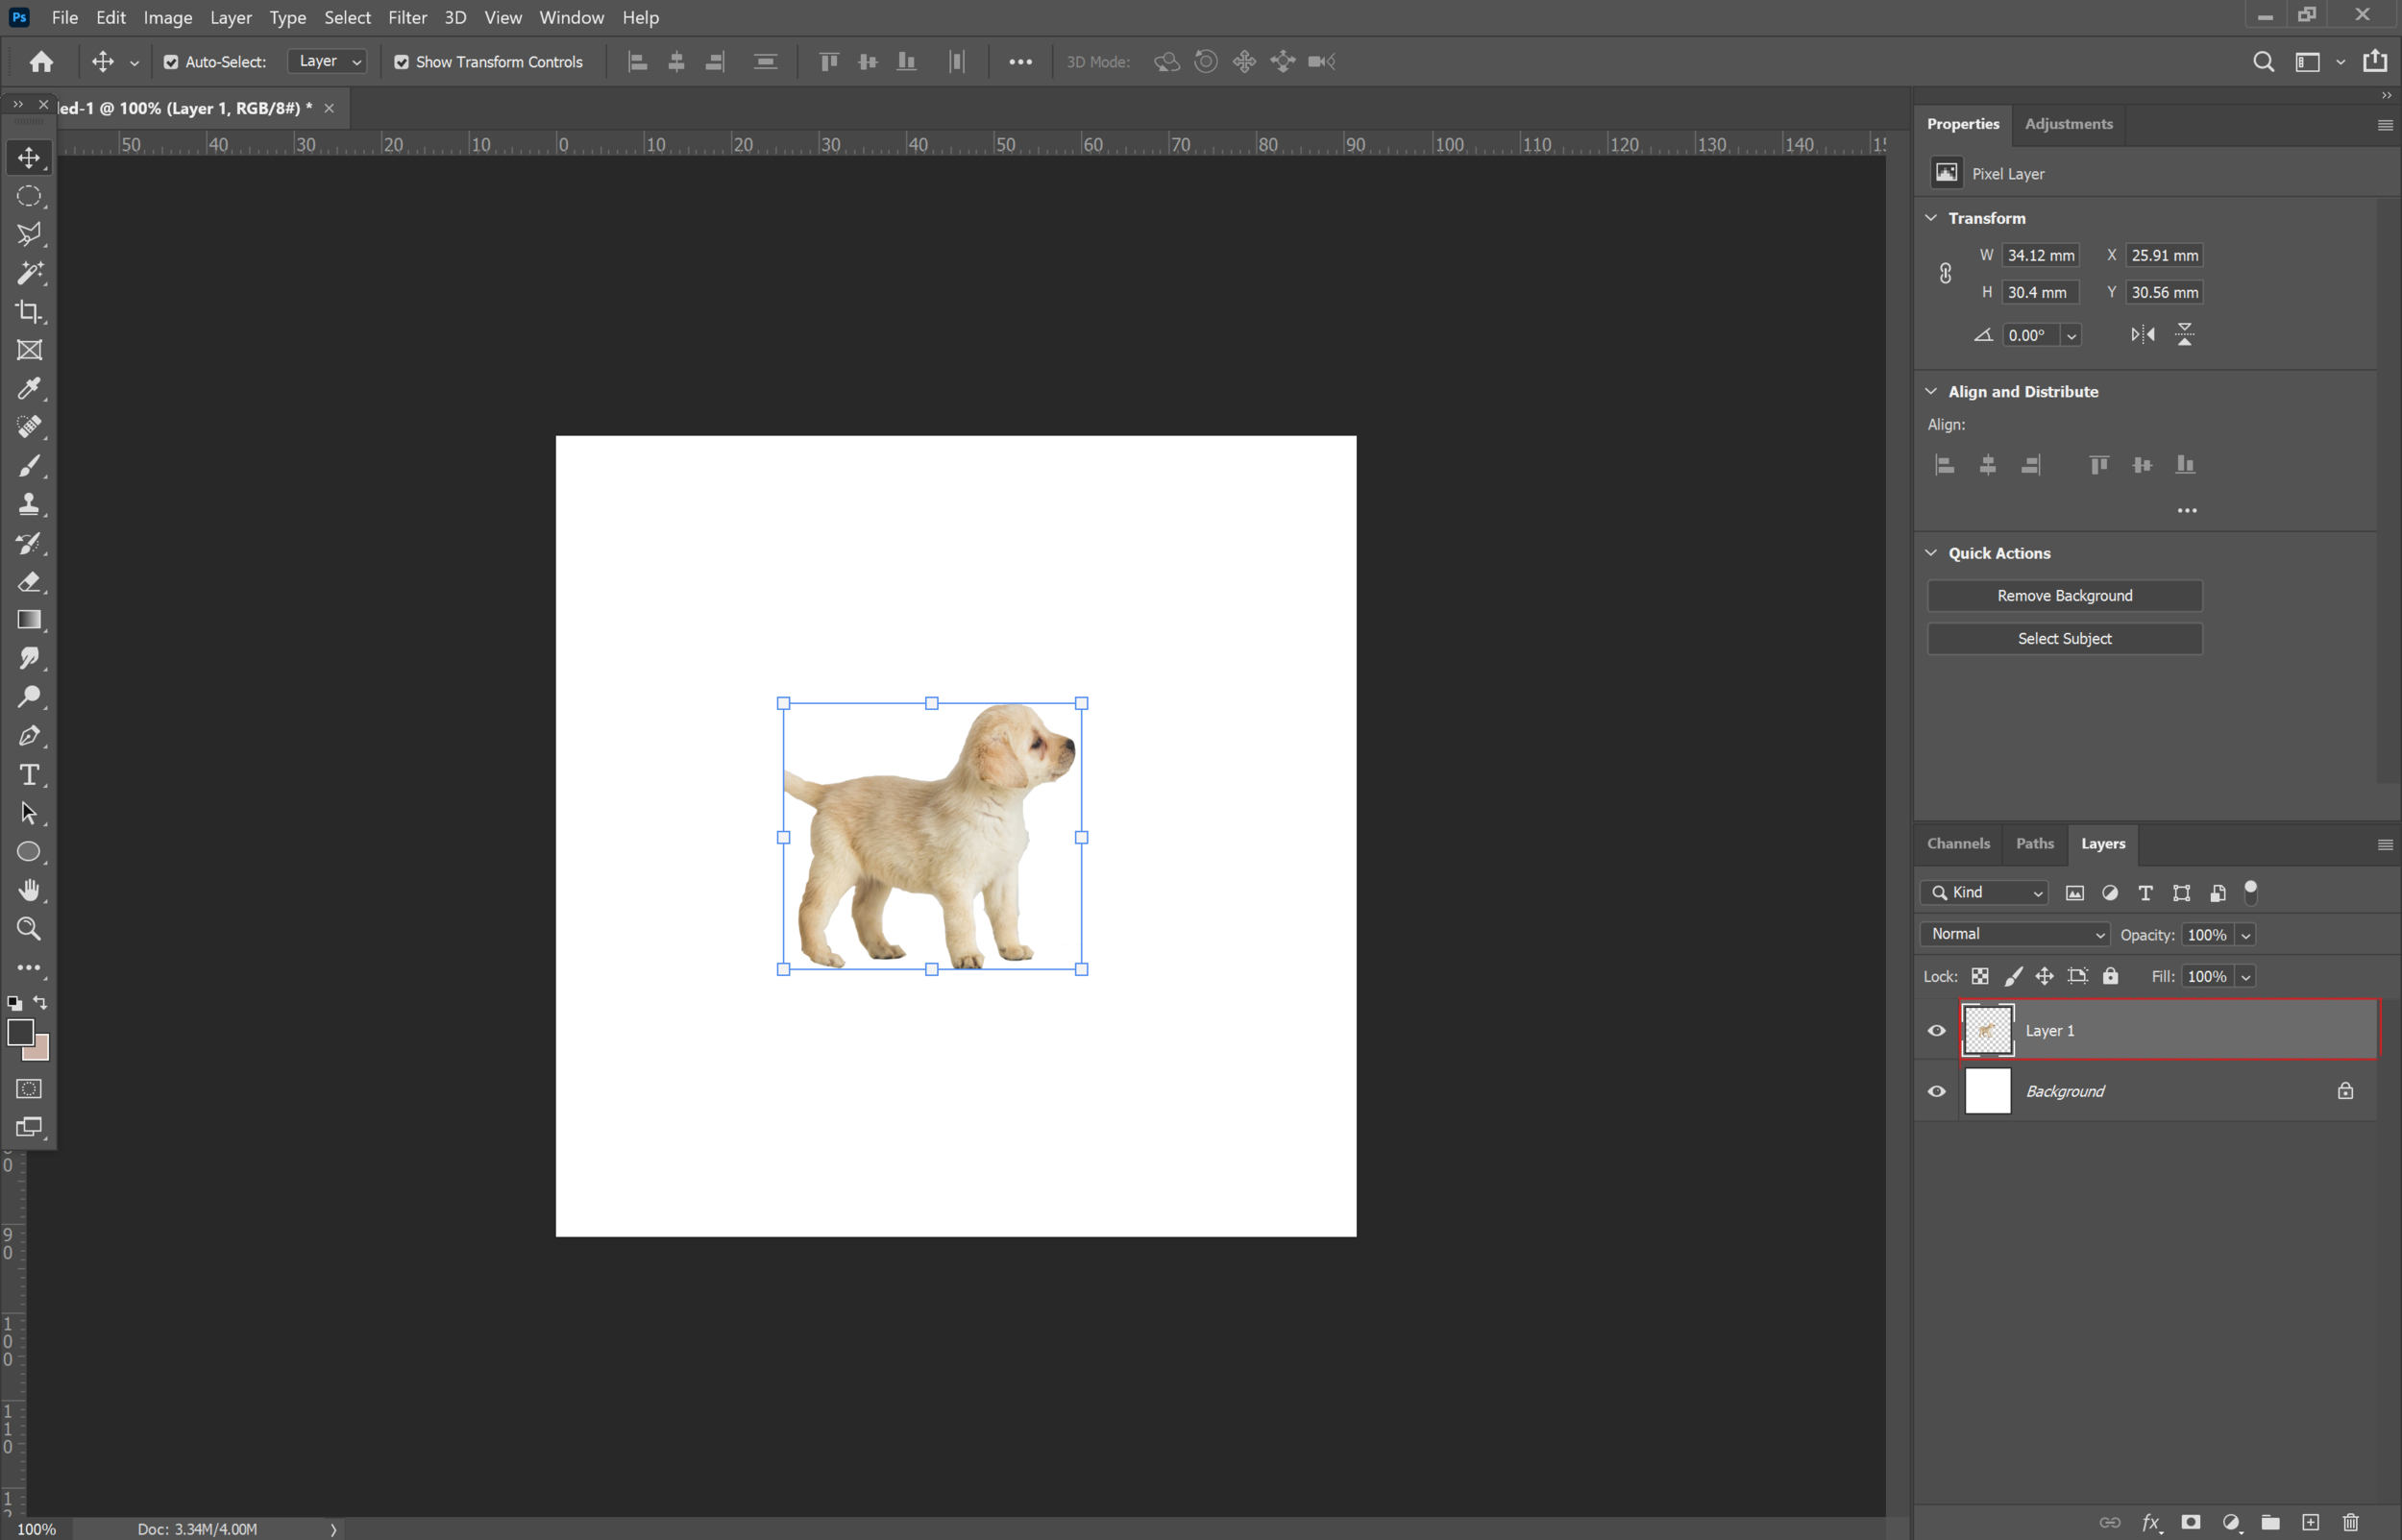
To make an image or an object realistic you have to place shadows created by the light source in your collage. To do this you can use a feature called drop shadows. Firstly, select the layer to which you want to apply the drop shadow [2] and double click to open the layer style window [3]. Select the tab in the left hand column that says ‘Drop Shadow’. This will open a panel with options that you can adjust specifically to your preferences [4]. Firstly make sure the shadow colour is black so it’s visible. By adjusting the ‘Distance’ you can see the shape and placement of the shadow. Personally, I use the distance tool to separate the shadow from beneath the image [5]. I don't use the distance to determine where I want the shadow to be as I will be separating it onto a separate layer in the next few steps.


You can use the ‘Size’ option to increase or decrease the size of the shadow. Increasing the size reduces the intensity of it. The two images show the difference between a relatively low size and a higher size.


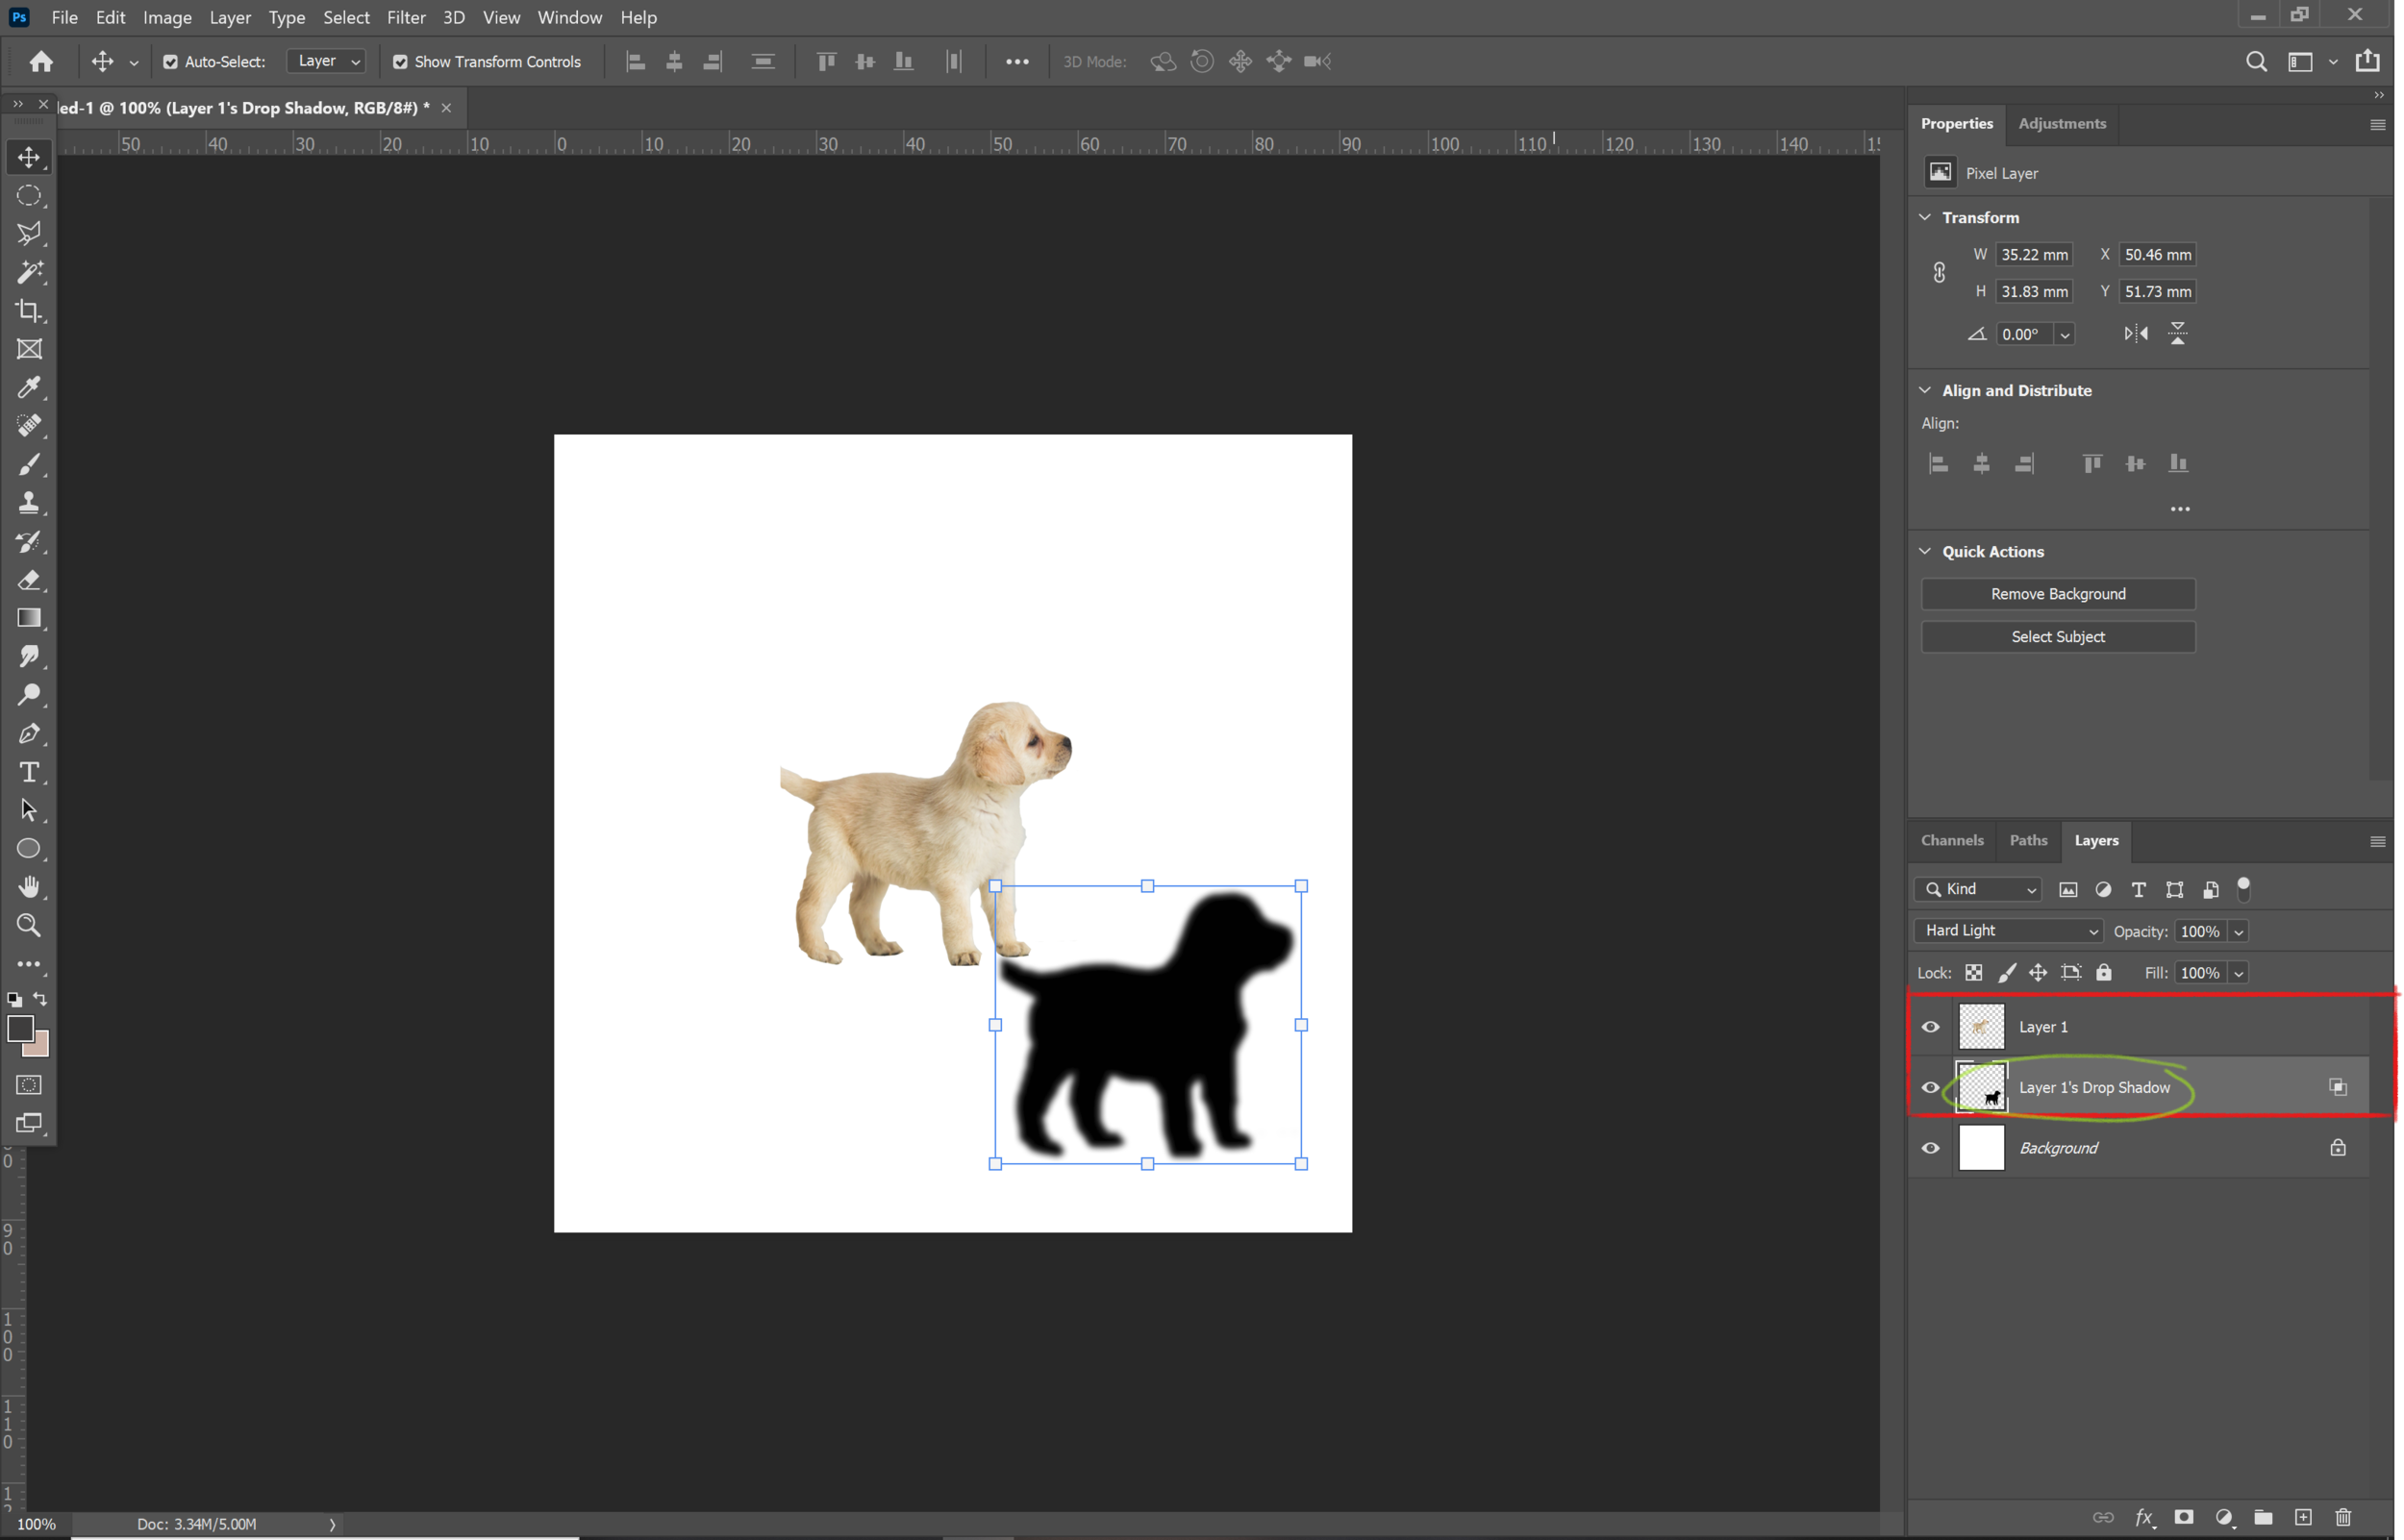
Once you have created the drop shadow, it’s time to separate it from the object and create a new layer. To do this you right click on the drop shadow feature under the layer of the object. This opens a panel of options from which you pick ‘Create Layer’ [6]. Right click on Drop Shadow > Create Layer.
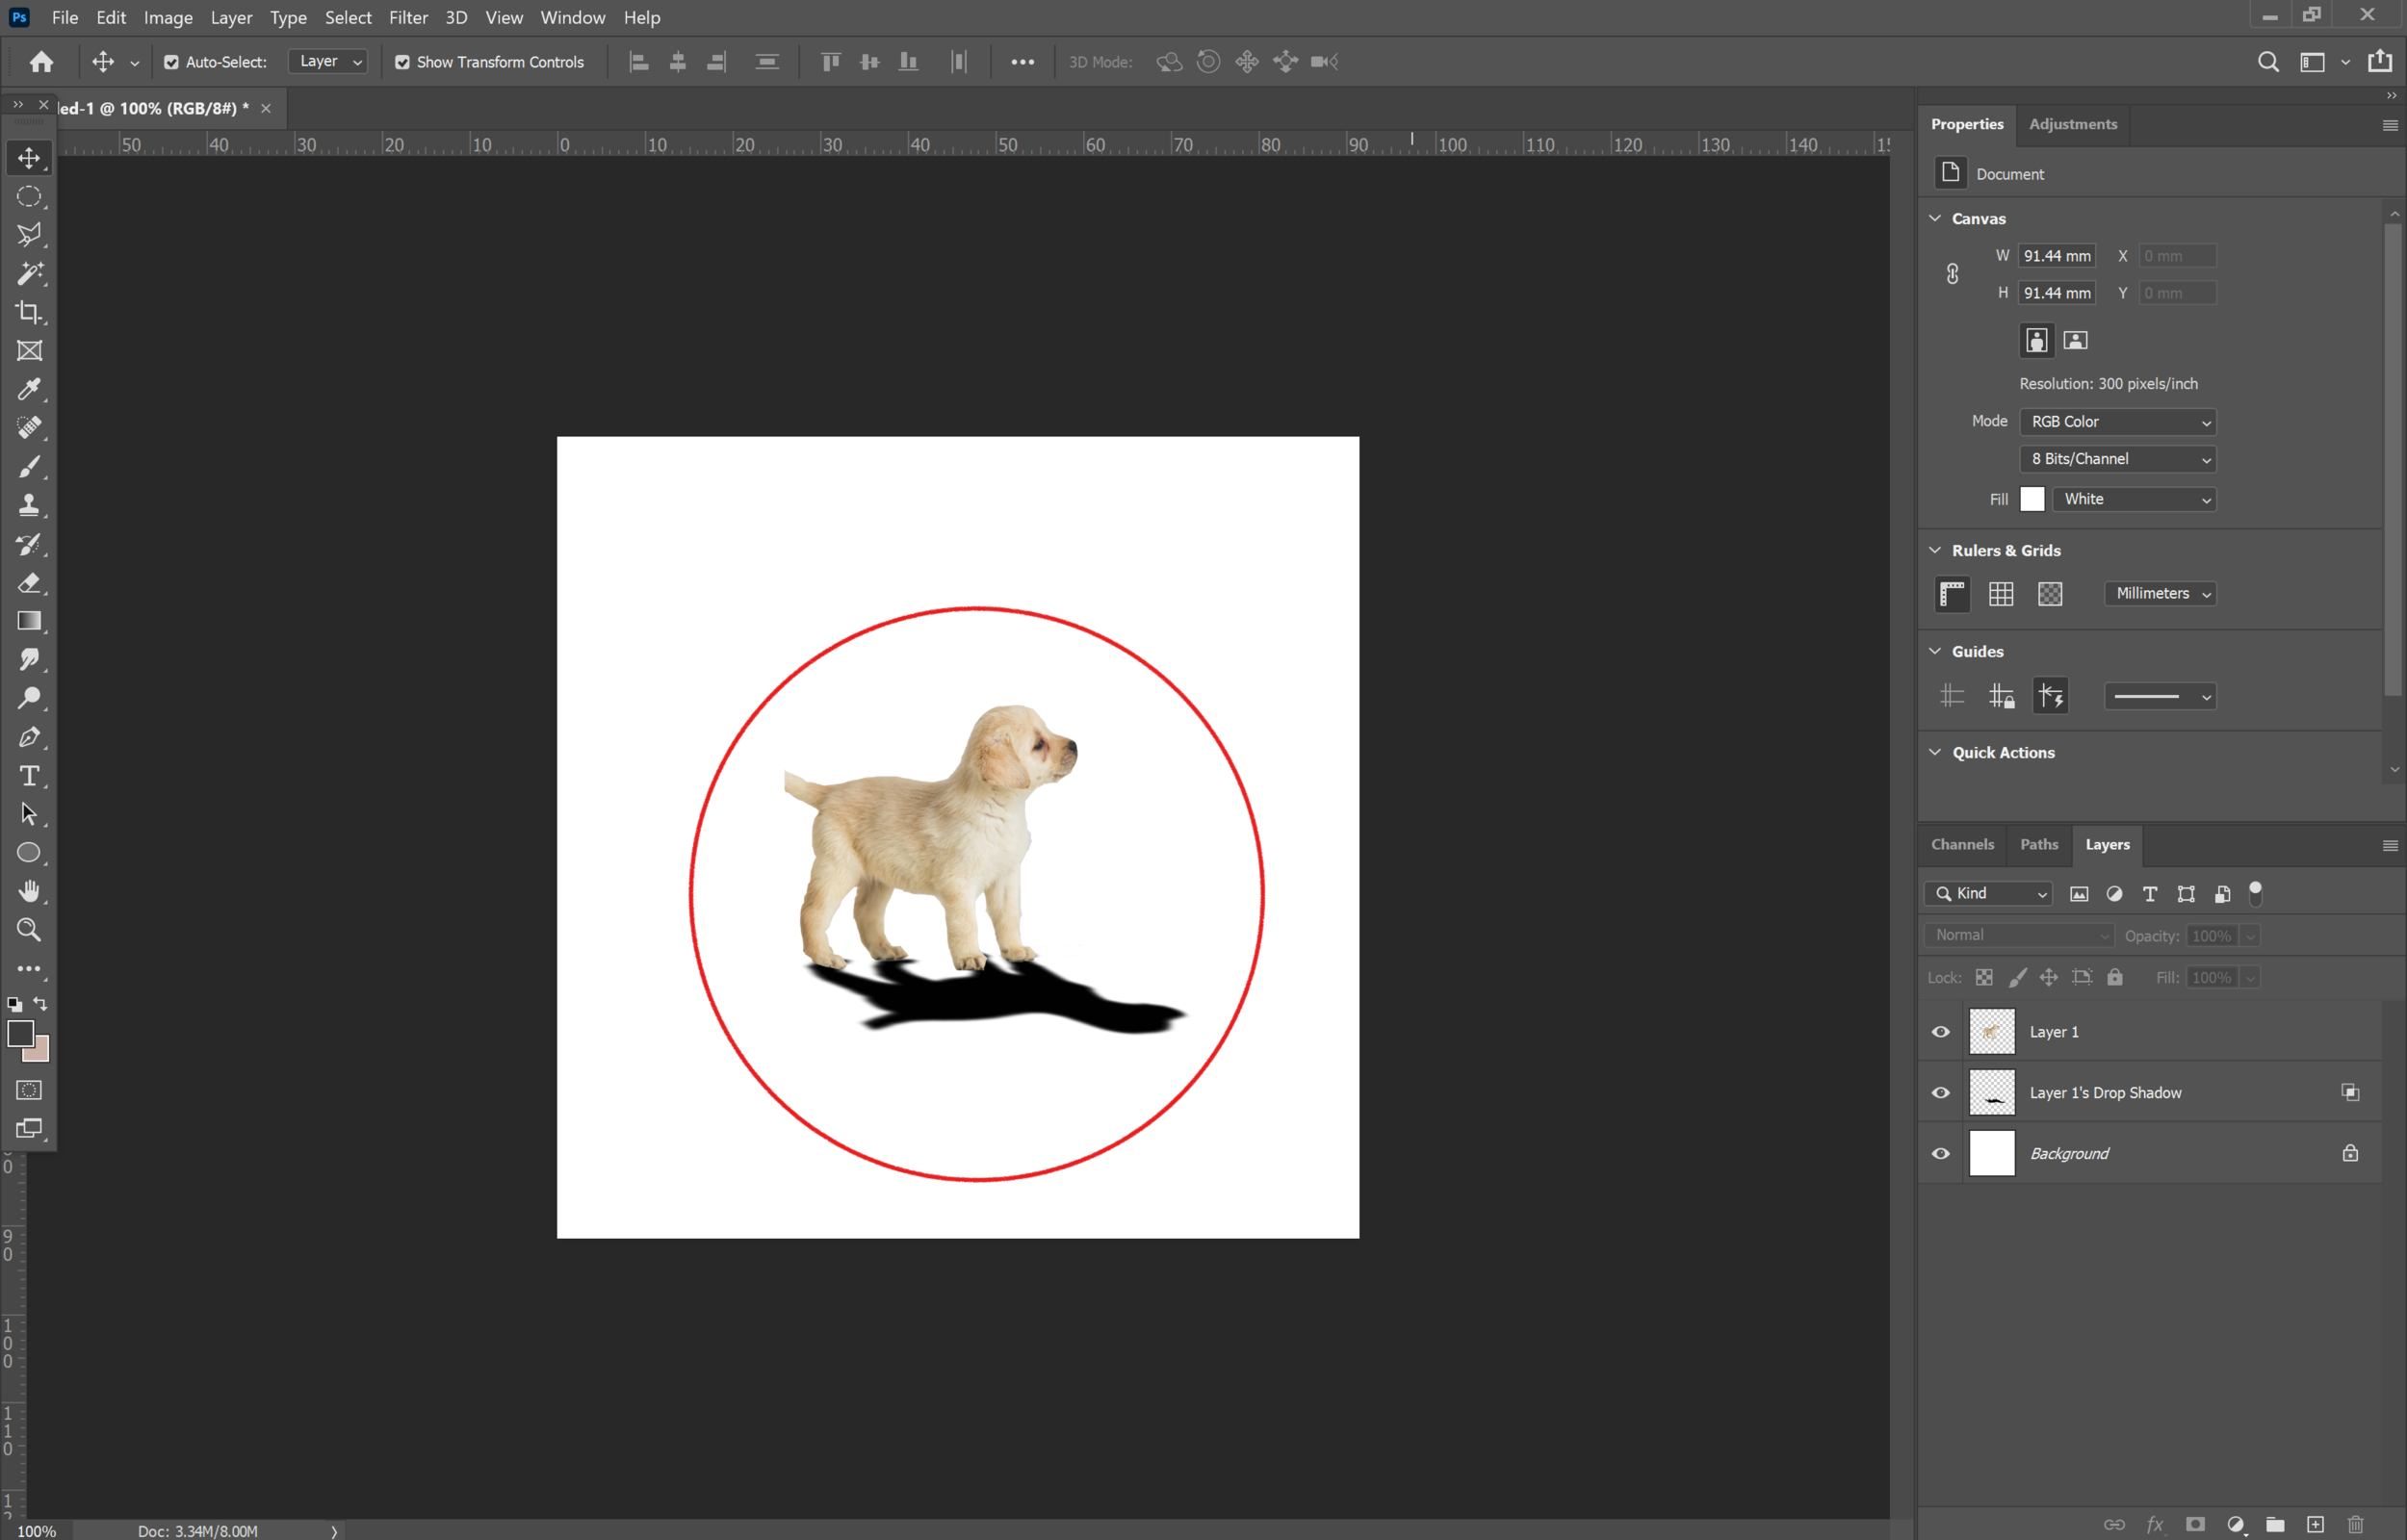
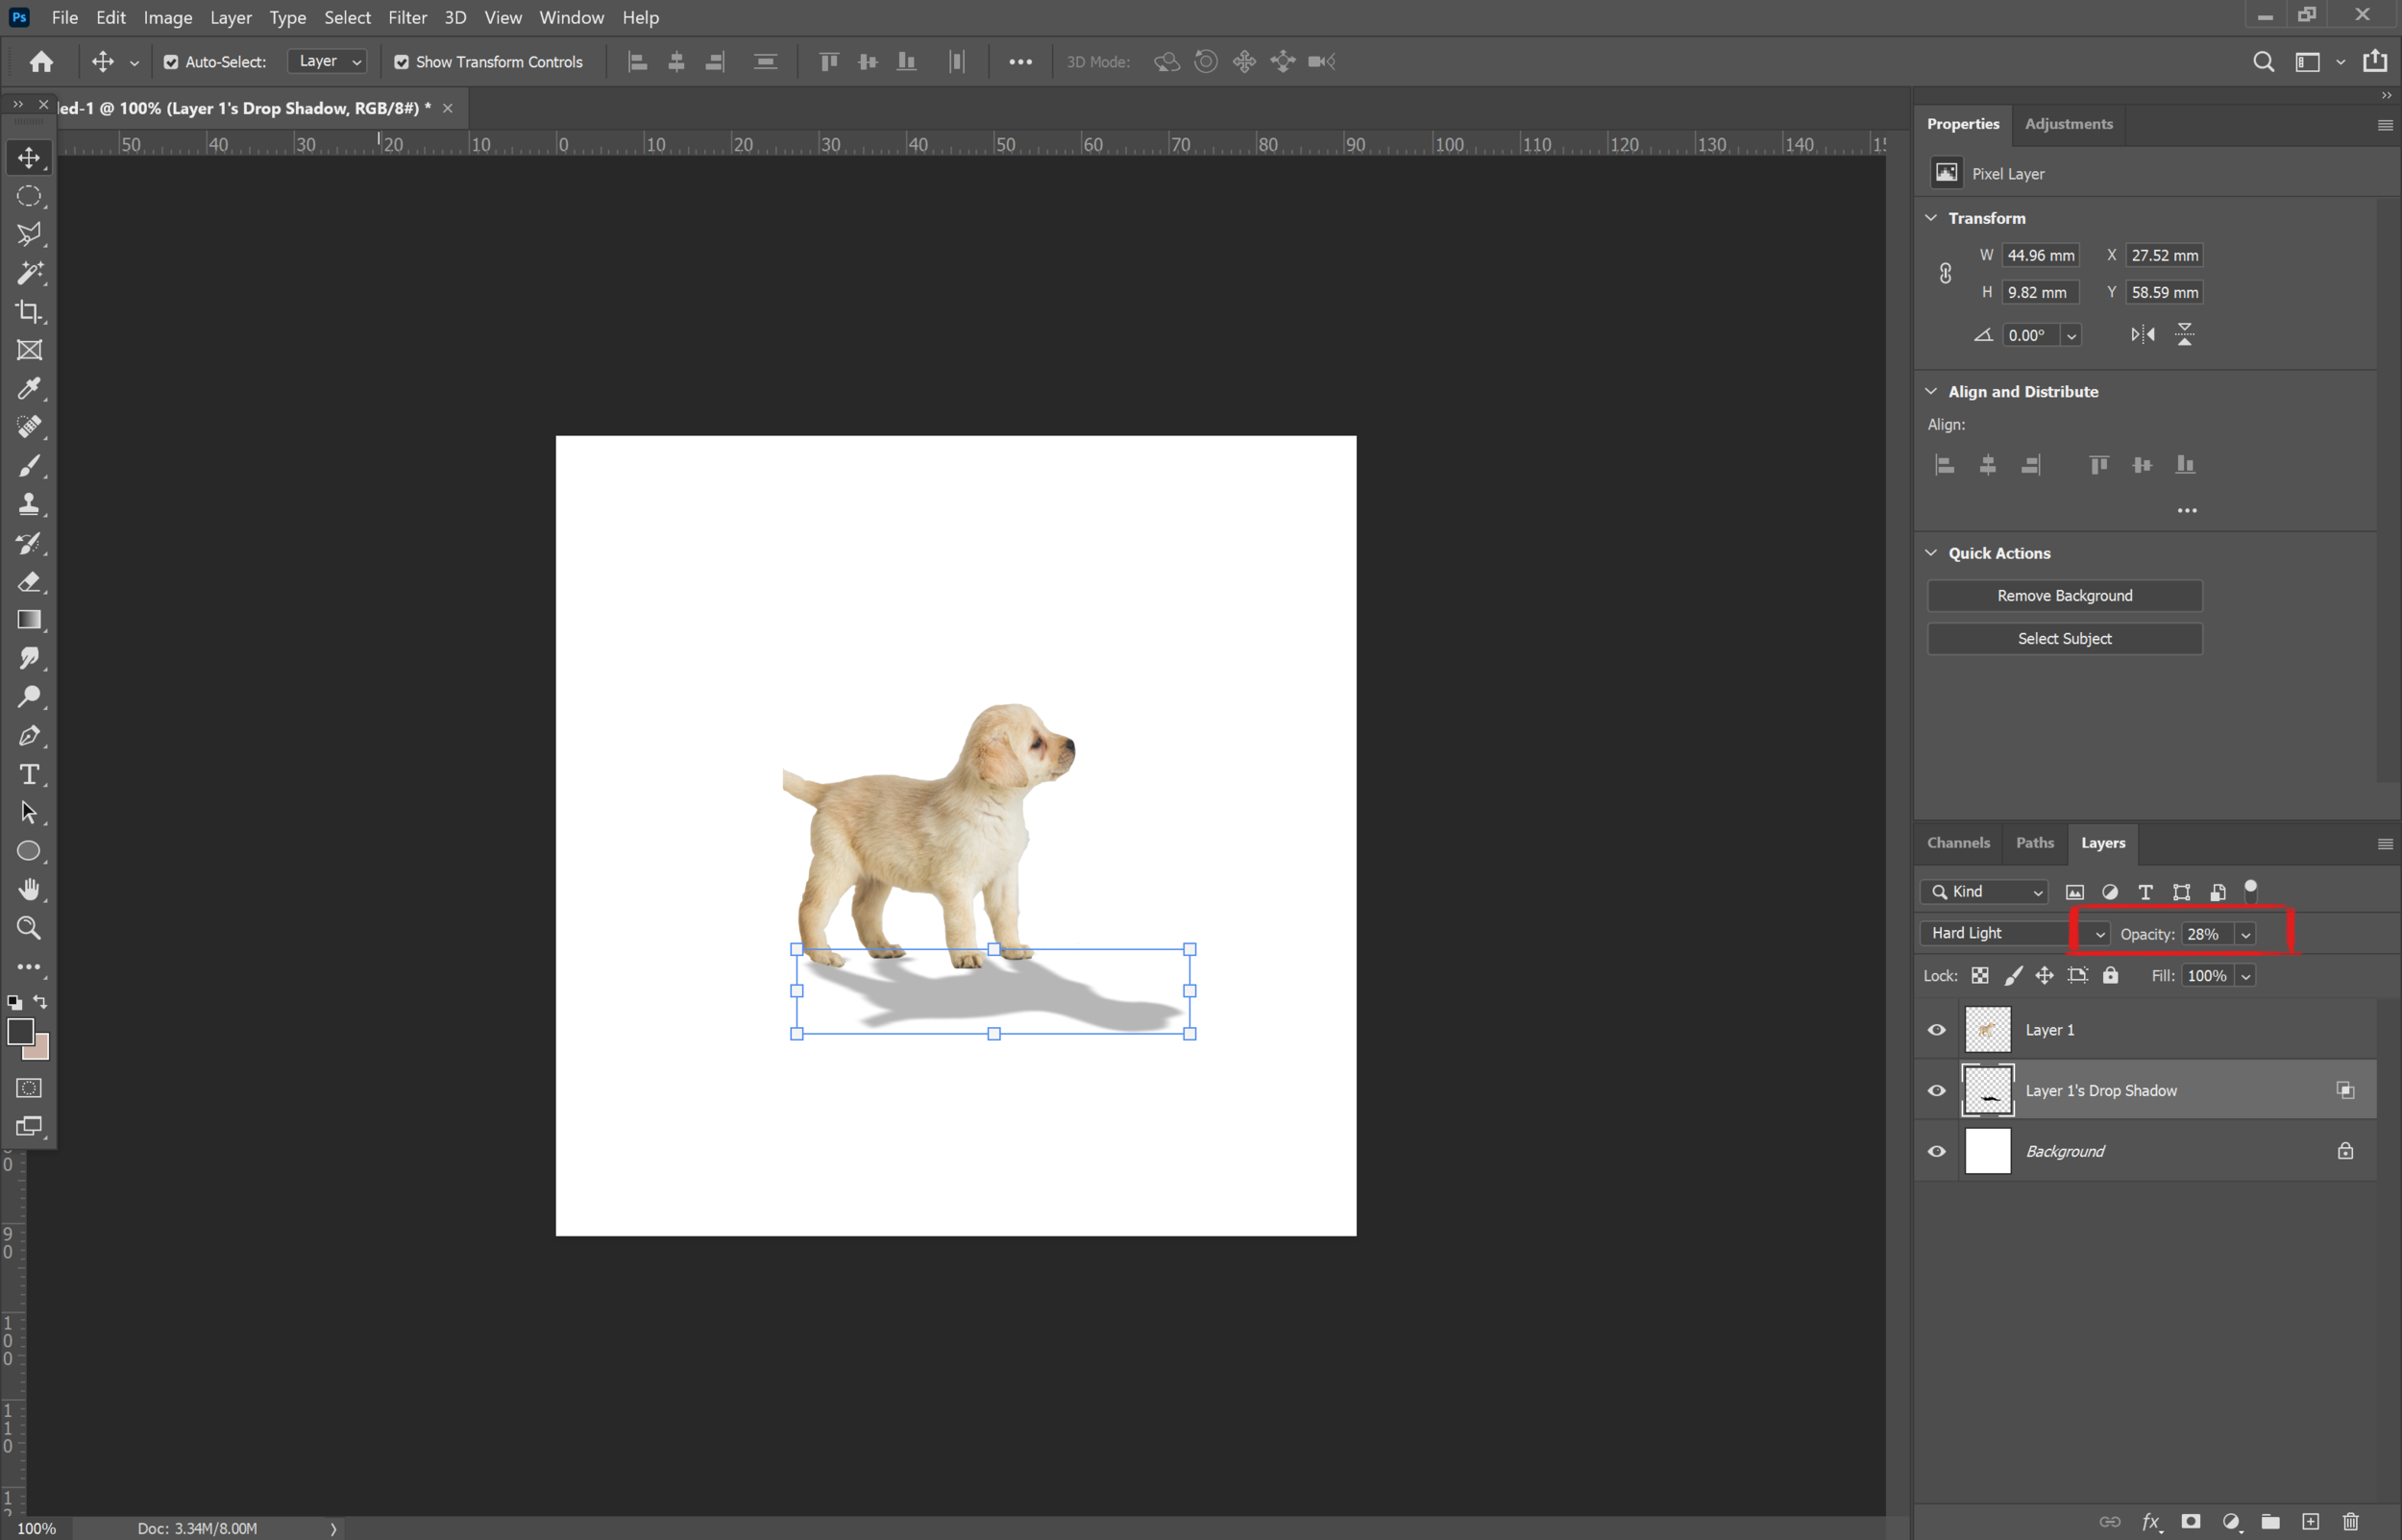
You will now have two layers: one of the original image and one of the shadow (7). Using the ‘Free Transform’ tool you can adjust the shadow so it fits the perspective of a real shadow [8]. Lastly, select the shadow layer and adjust the opacity depending on the distance between the object and the light source [9]. Final image [10].


Fill Function
The fill function is not the same as the fill (paint bucket) tool. The fill function is extremely useful in removing people and objects from images as well as creating large areas of solid colour, gradients and patterns. I use this mostly to remove objects from images.
[1] To use this function you first need to select the area you want to remove or fill. You can do this using the marquee tool, the lasso tool or if the contrast is high enough, the magic wand tool. If you are trying to select the part of the image which doesn’t have a high contrast or is quite busy, try to be as precise as you can so it can work as best as possible.
[2] Once you’ve selected the desired area, go to the menu bar and click Edit > Fill…
This should open a new window called ‘Fill’ (Shift +F5).
[3] To remove the selected area, where it says ‘Contents’, select ‘Content Aware’ and adjust the opacity to your liking. This setting uses the area on the rest of the image to predict what the selected area should be filled with.
[4] After clicking ‘Done’, ‘Deselect’ (Ctrl +D) the remaining selected contents which should leave you with the final image.
As I mentioned at the start of this post, these tools are some of the ones we use most when collaging, however there are many more functions and commands you can learn that add different qualities to your work. Some of these include learning to use the brushes to enhance images and adding masks to layers for different effects. Just like learning a software, learning to create specific work like a collage is something you get better at with practise.
If you would like to see another post on collaging in Photoshop, let us know on our Instagram @archidabble or via our email which you can find on the Contact Us page. We hope to see you next week with a new post on Friday!