
Adobe Illustrator: The Basics
Hey guys! Linda here :) This week I’ll be going through some tips and tricks to help you get started with Adobe Illustrator. This vector-based programme can be really useful if you want to create diagrammatic representations, perspective views and even 3D representations like axonometric and isometric drawings. Let's familiarise ourselves with some of the basic features of this software.
Setting up a document

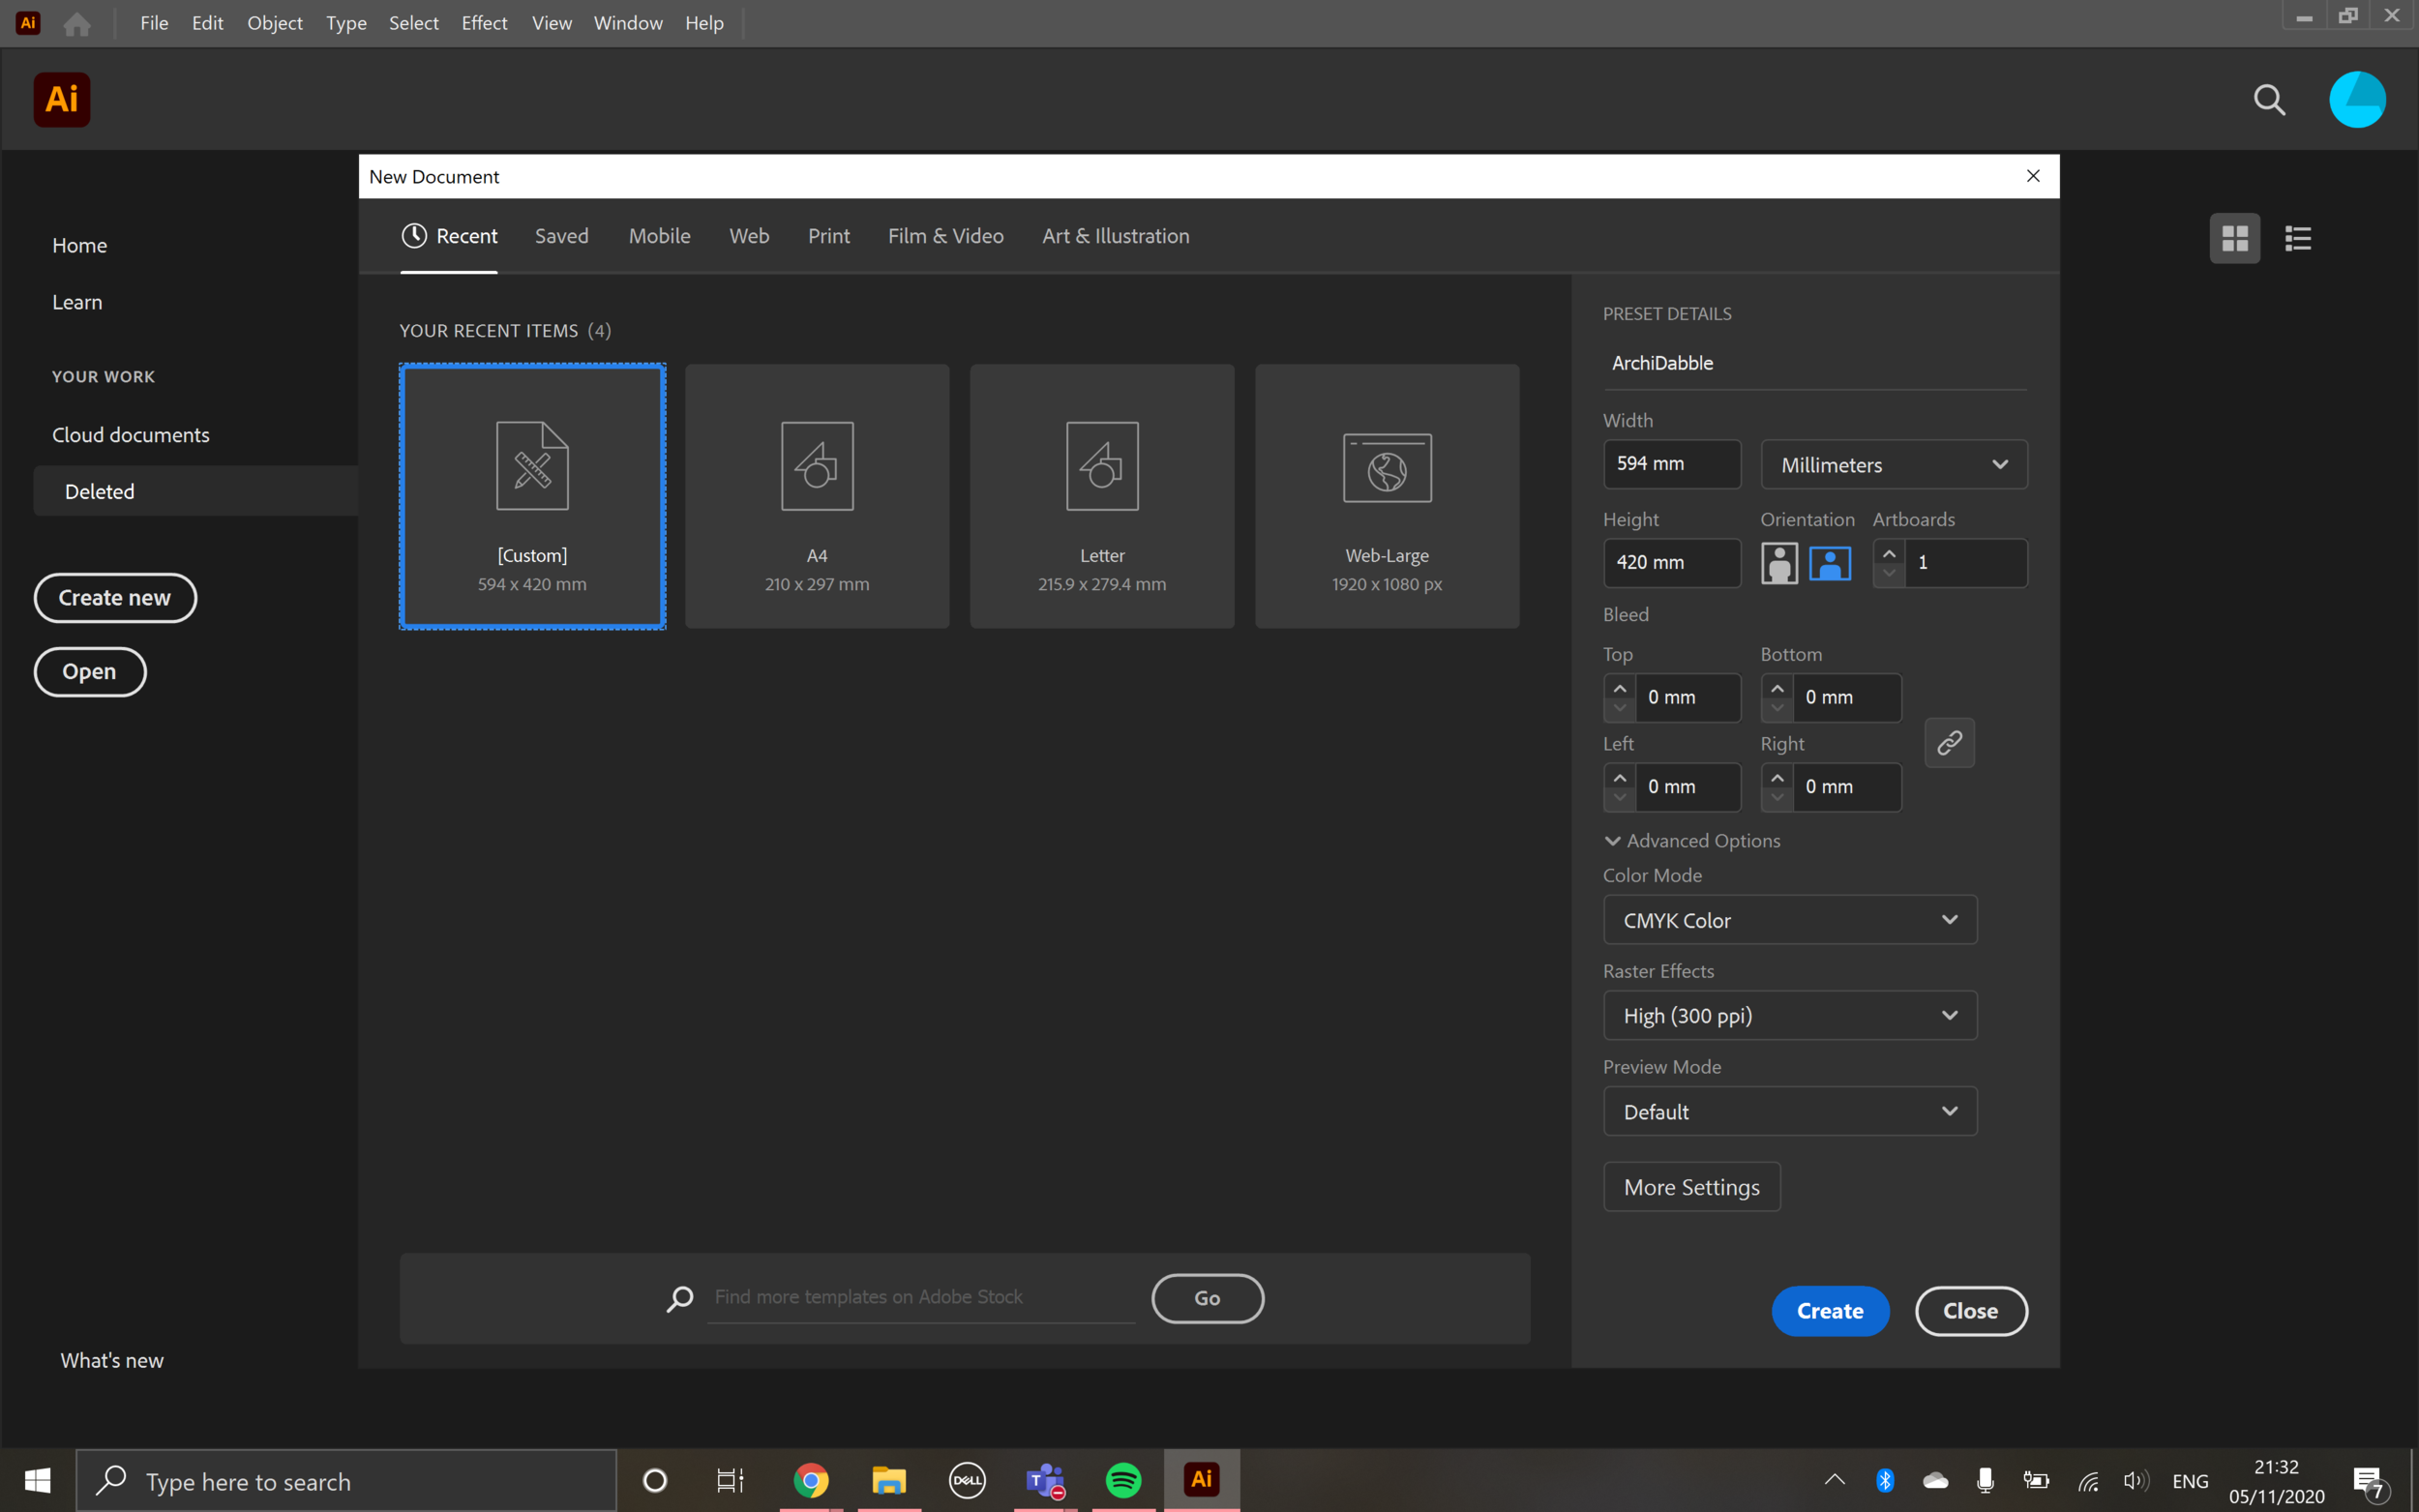
Open up Adobe Illustrator and go to ‘Create New’.
To make an A2 sized artboard, set the following dimensions:
Width: 594mm
Height: 420mm
This is what your set-up should look like. Now, we'll set up your workspace so you have useful features that you'll need at hand.
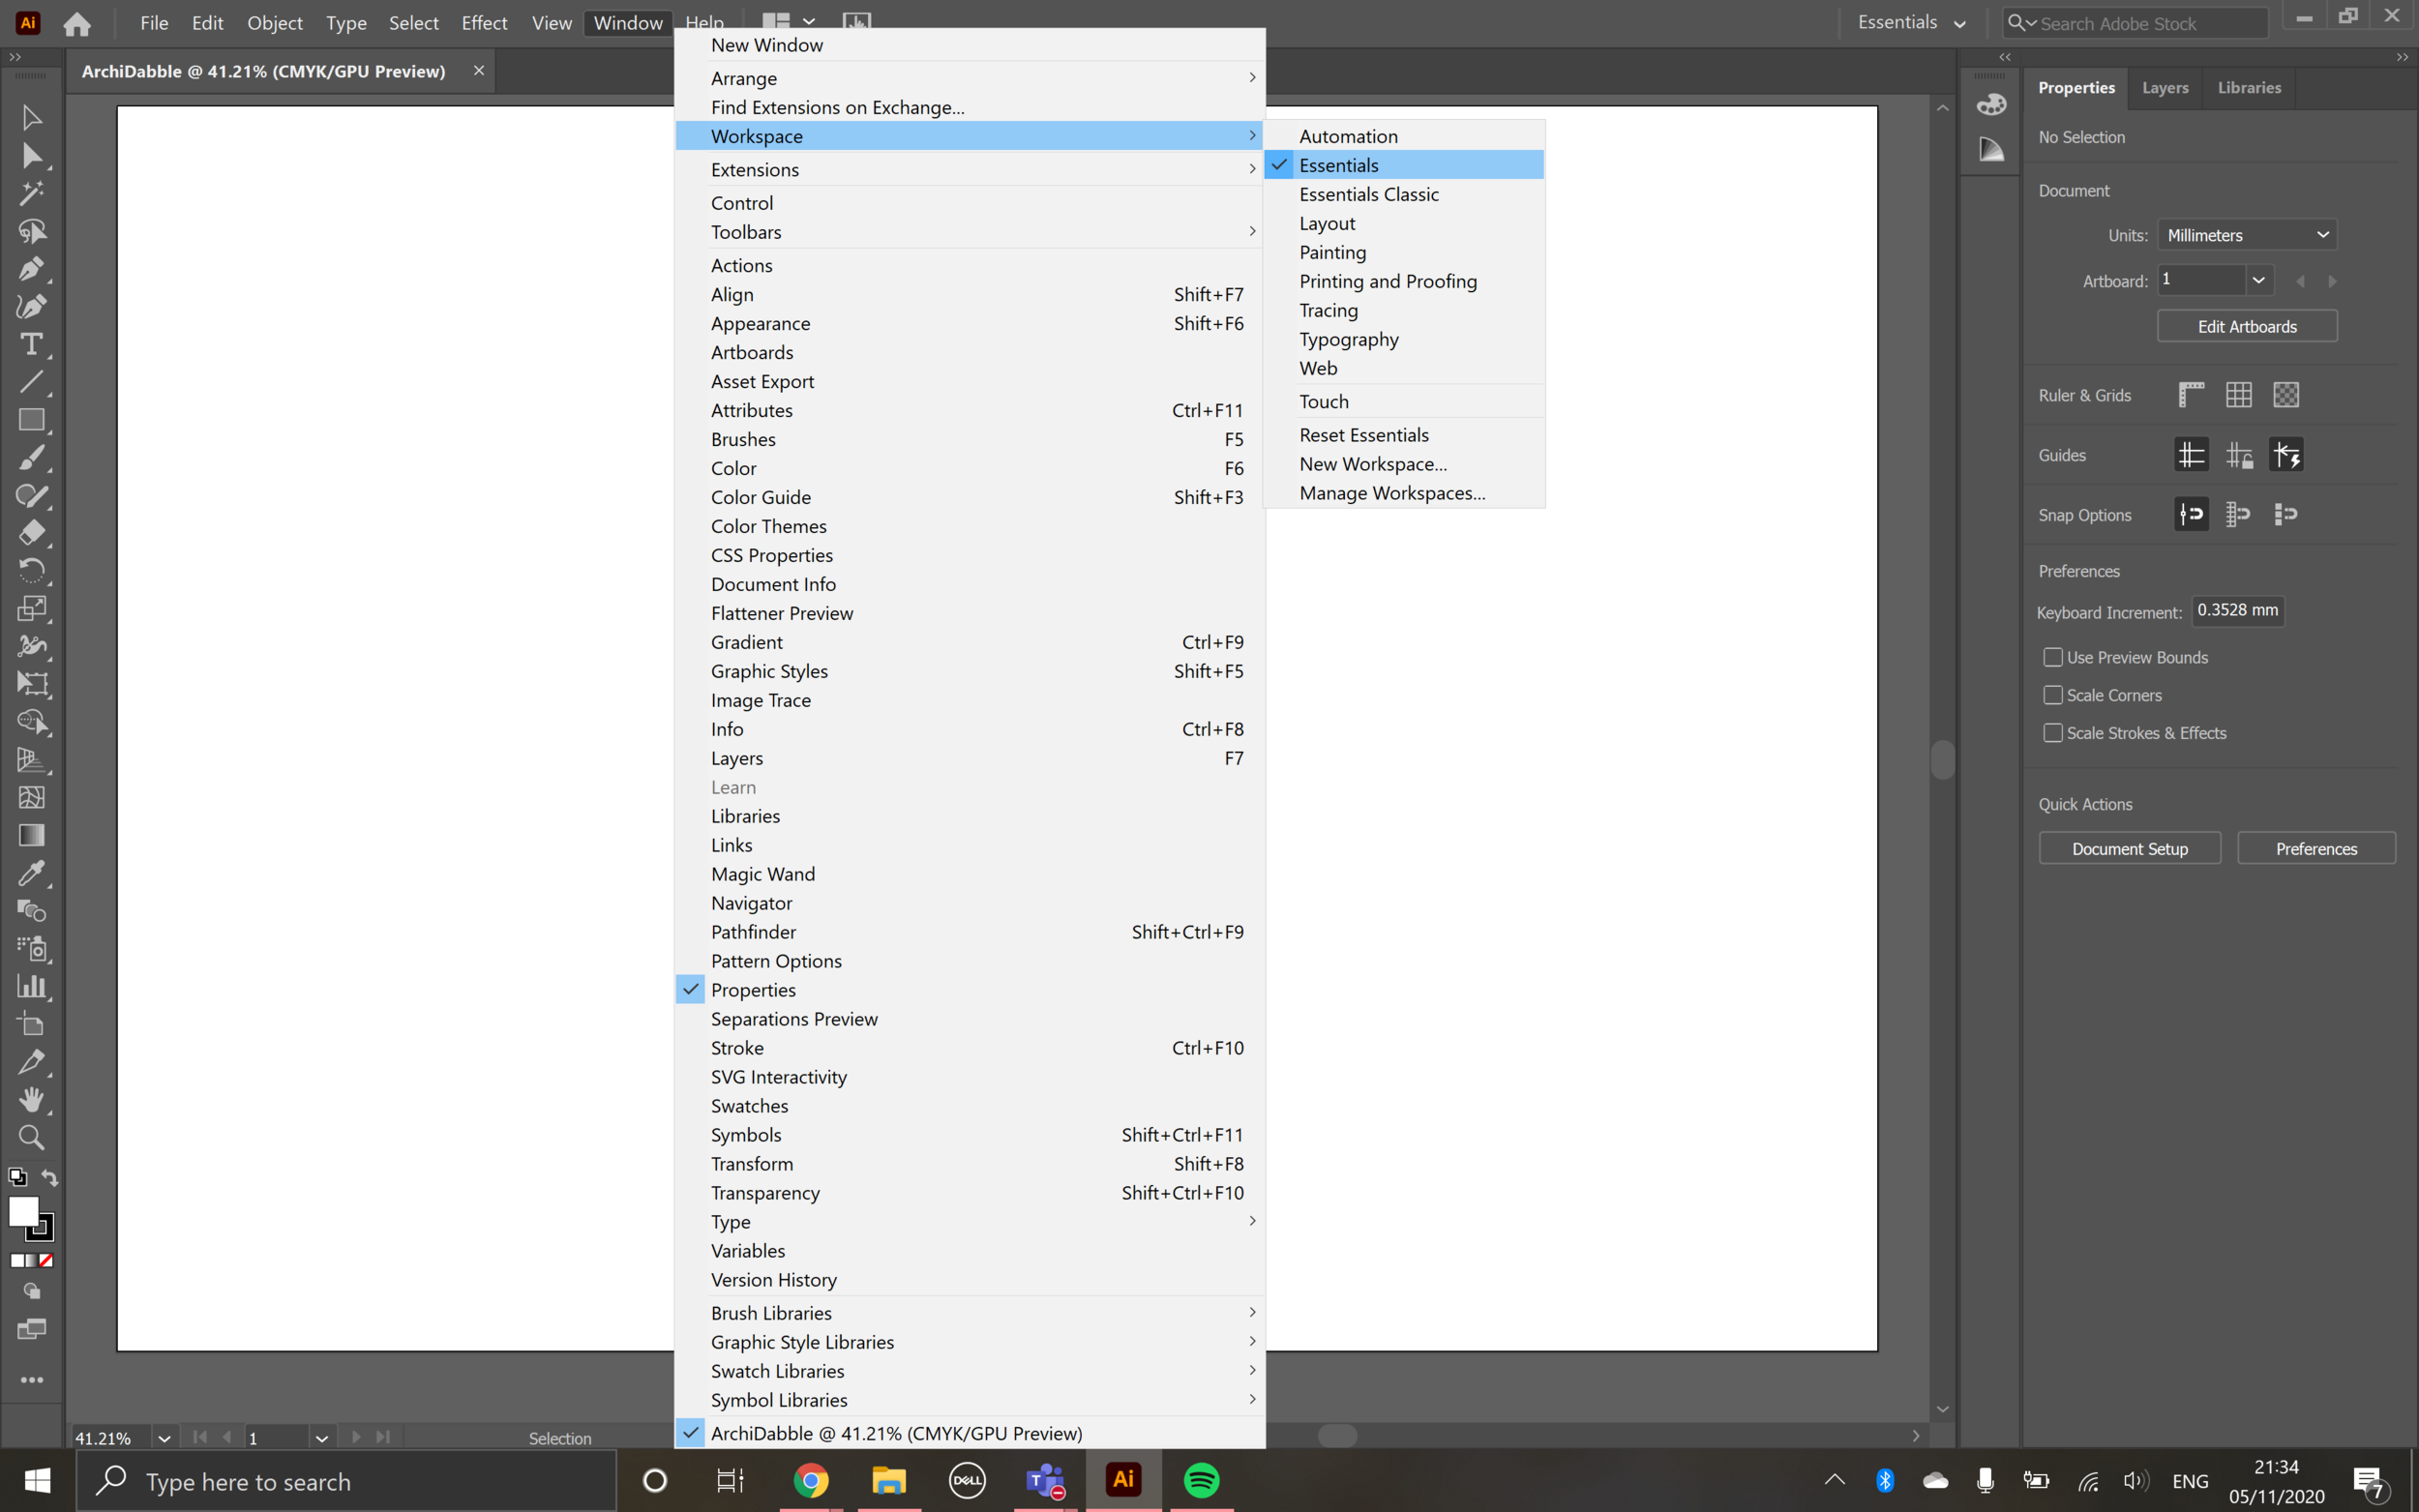
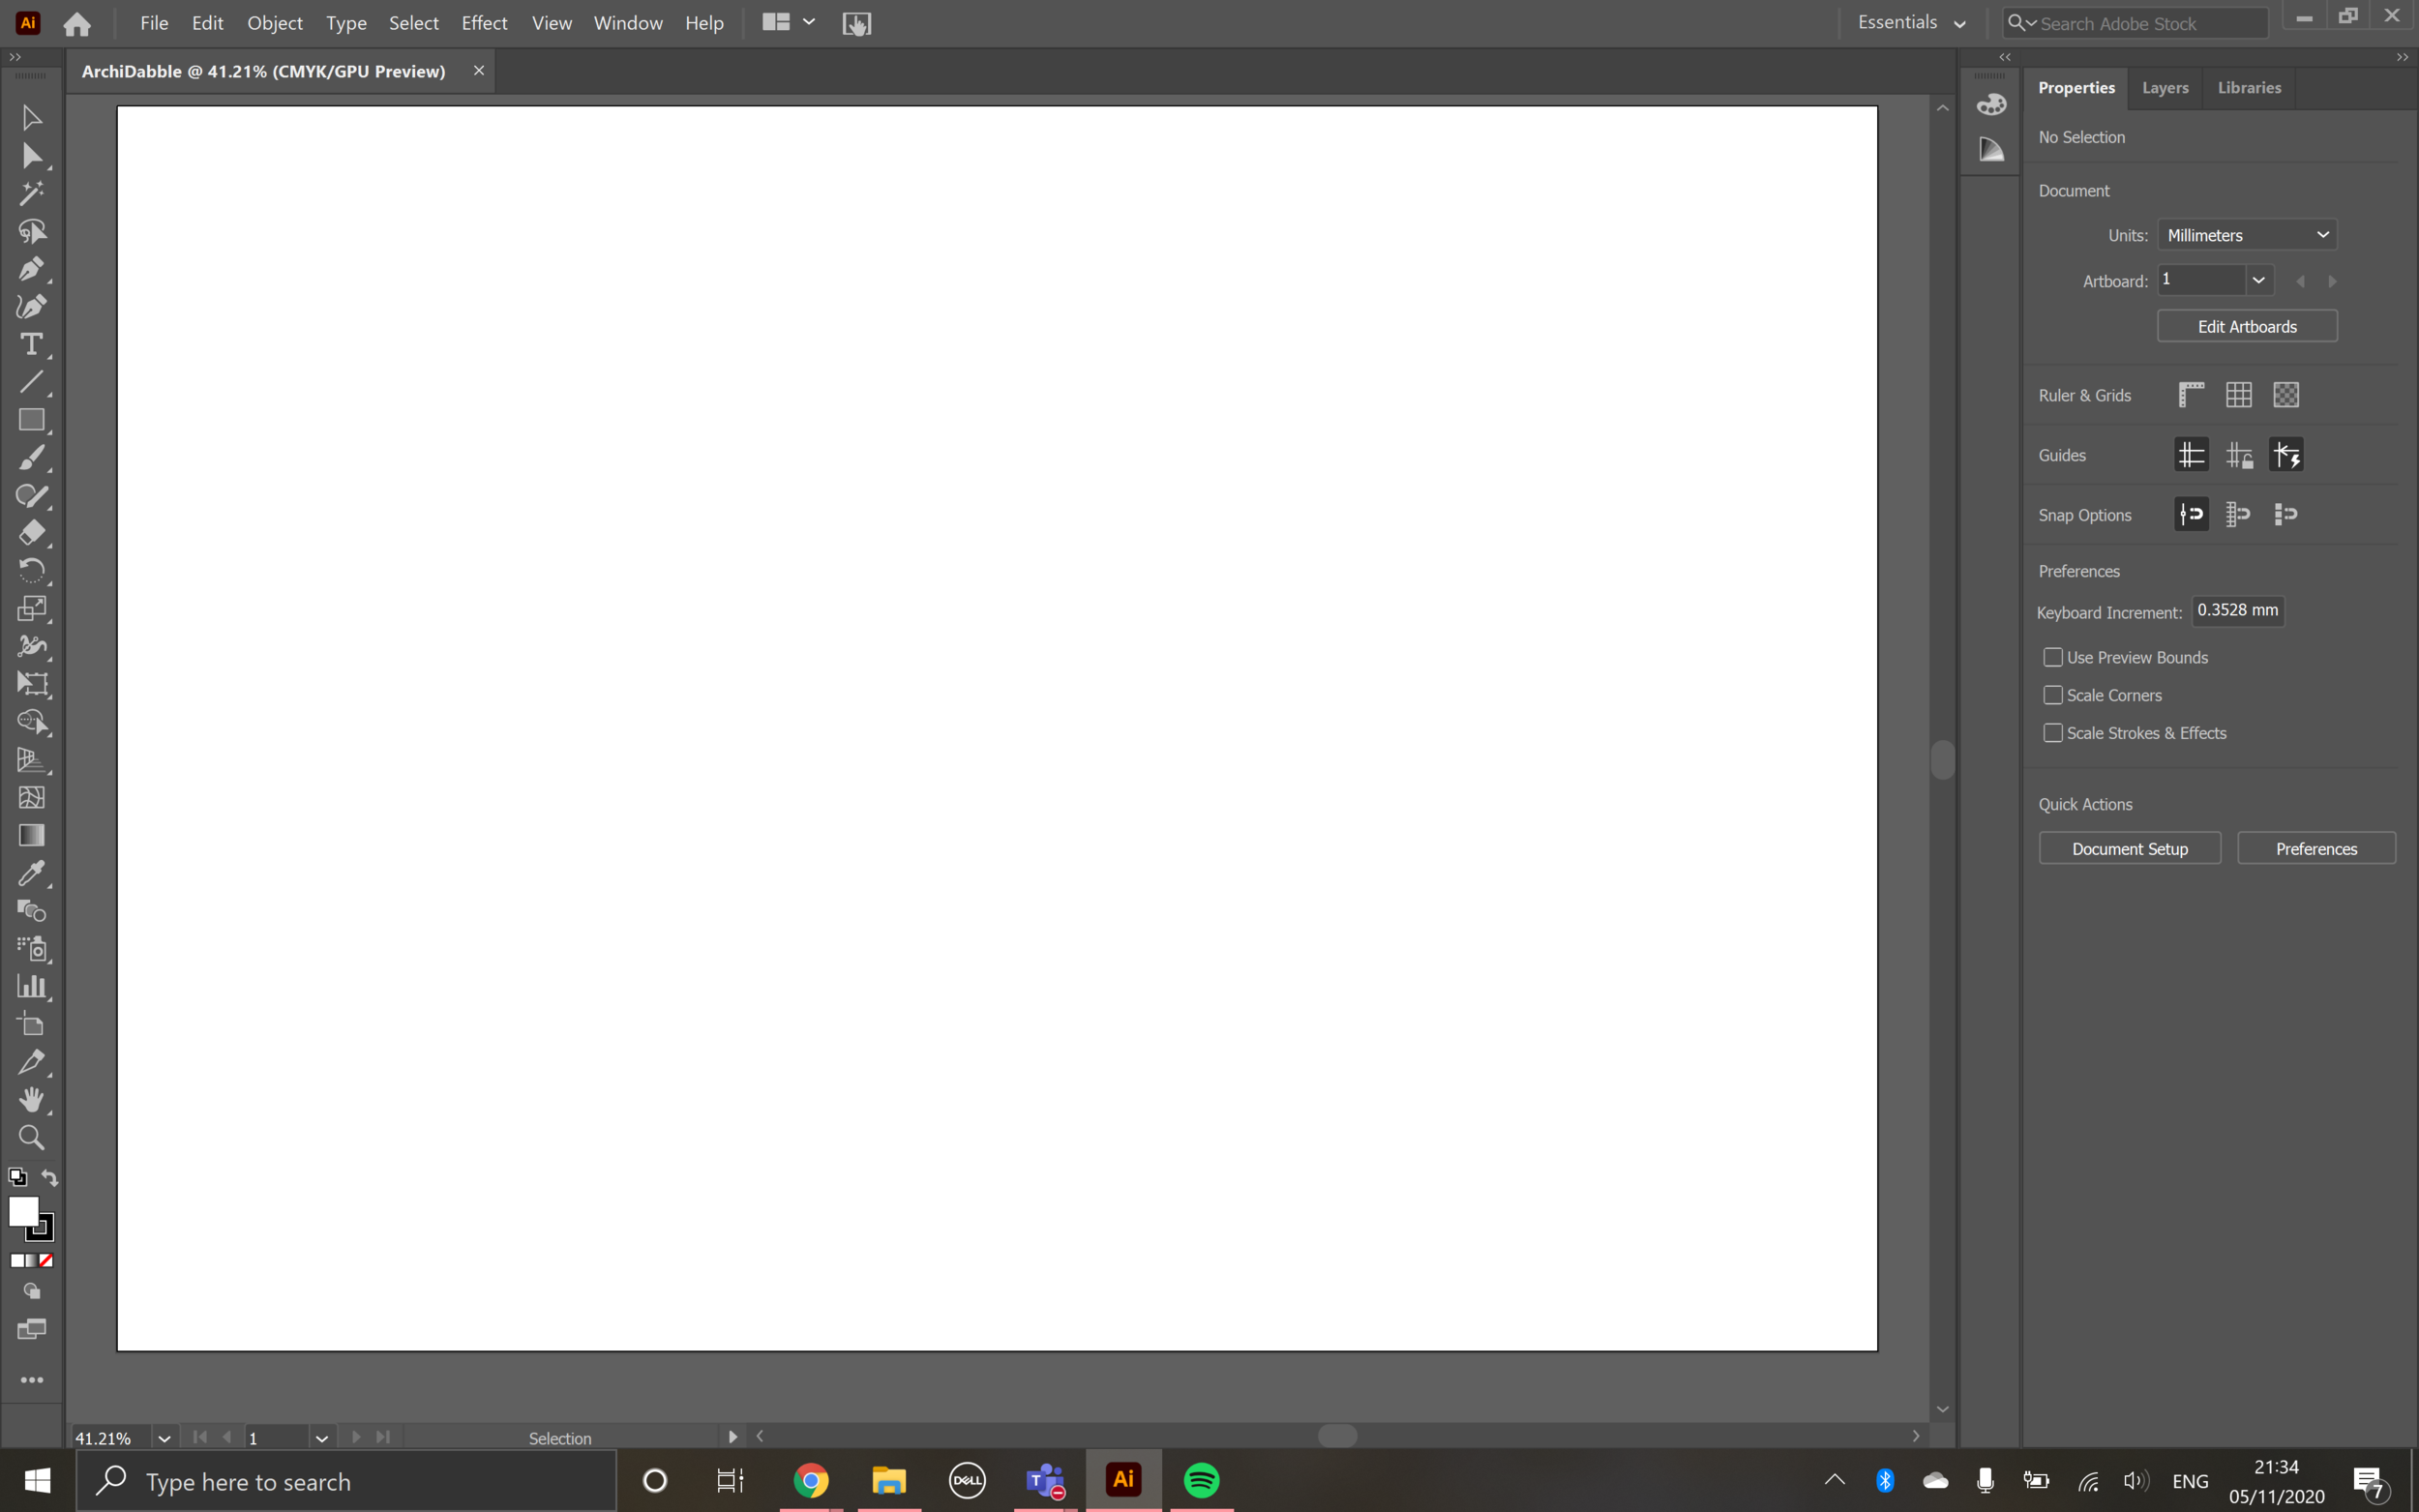
If you haven't already, go to ‘Window’ > ‘Workspace’ > ‘Essentials’ to select the basic toolkit palette you’ll need.
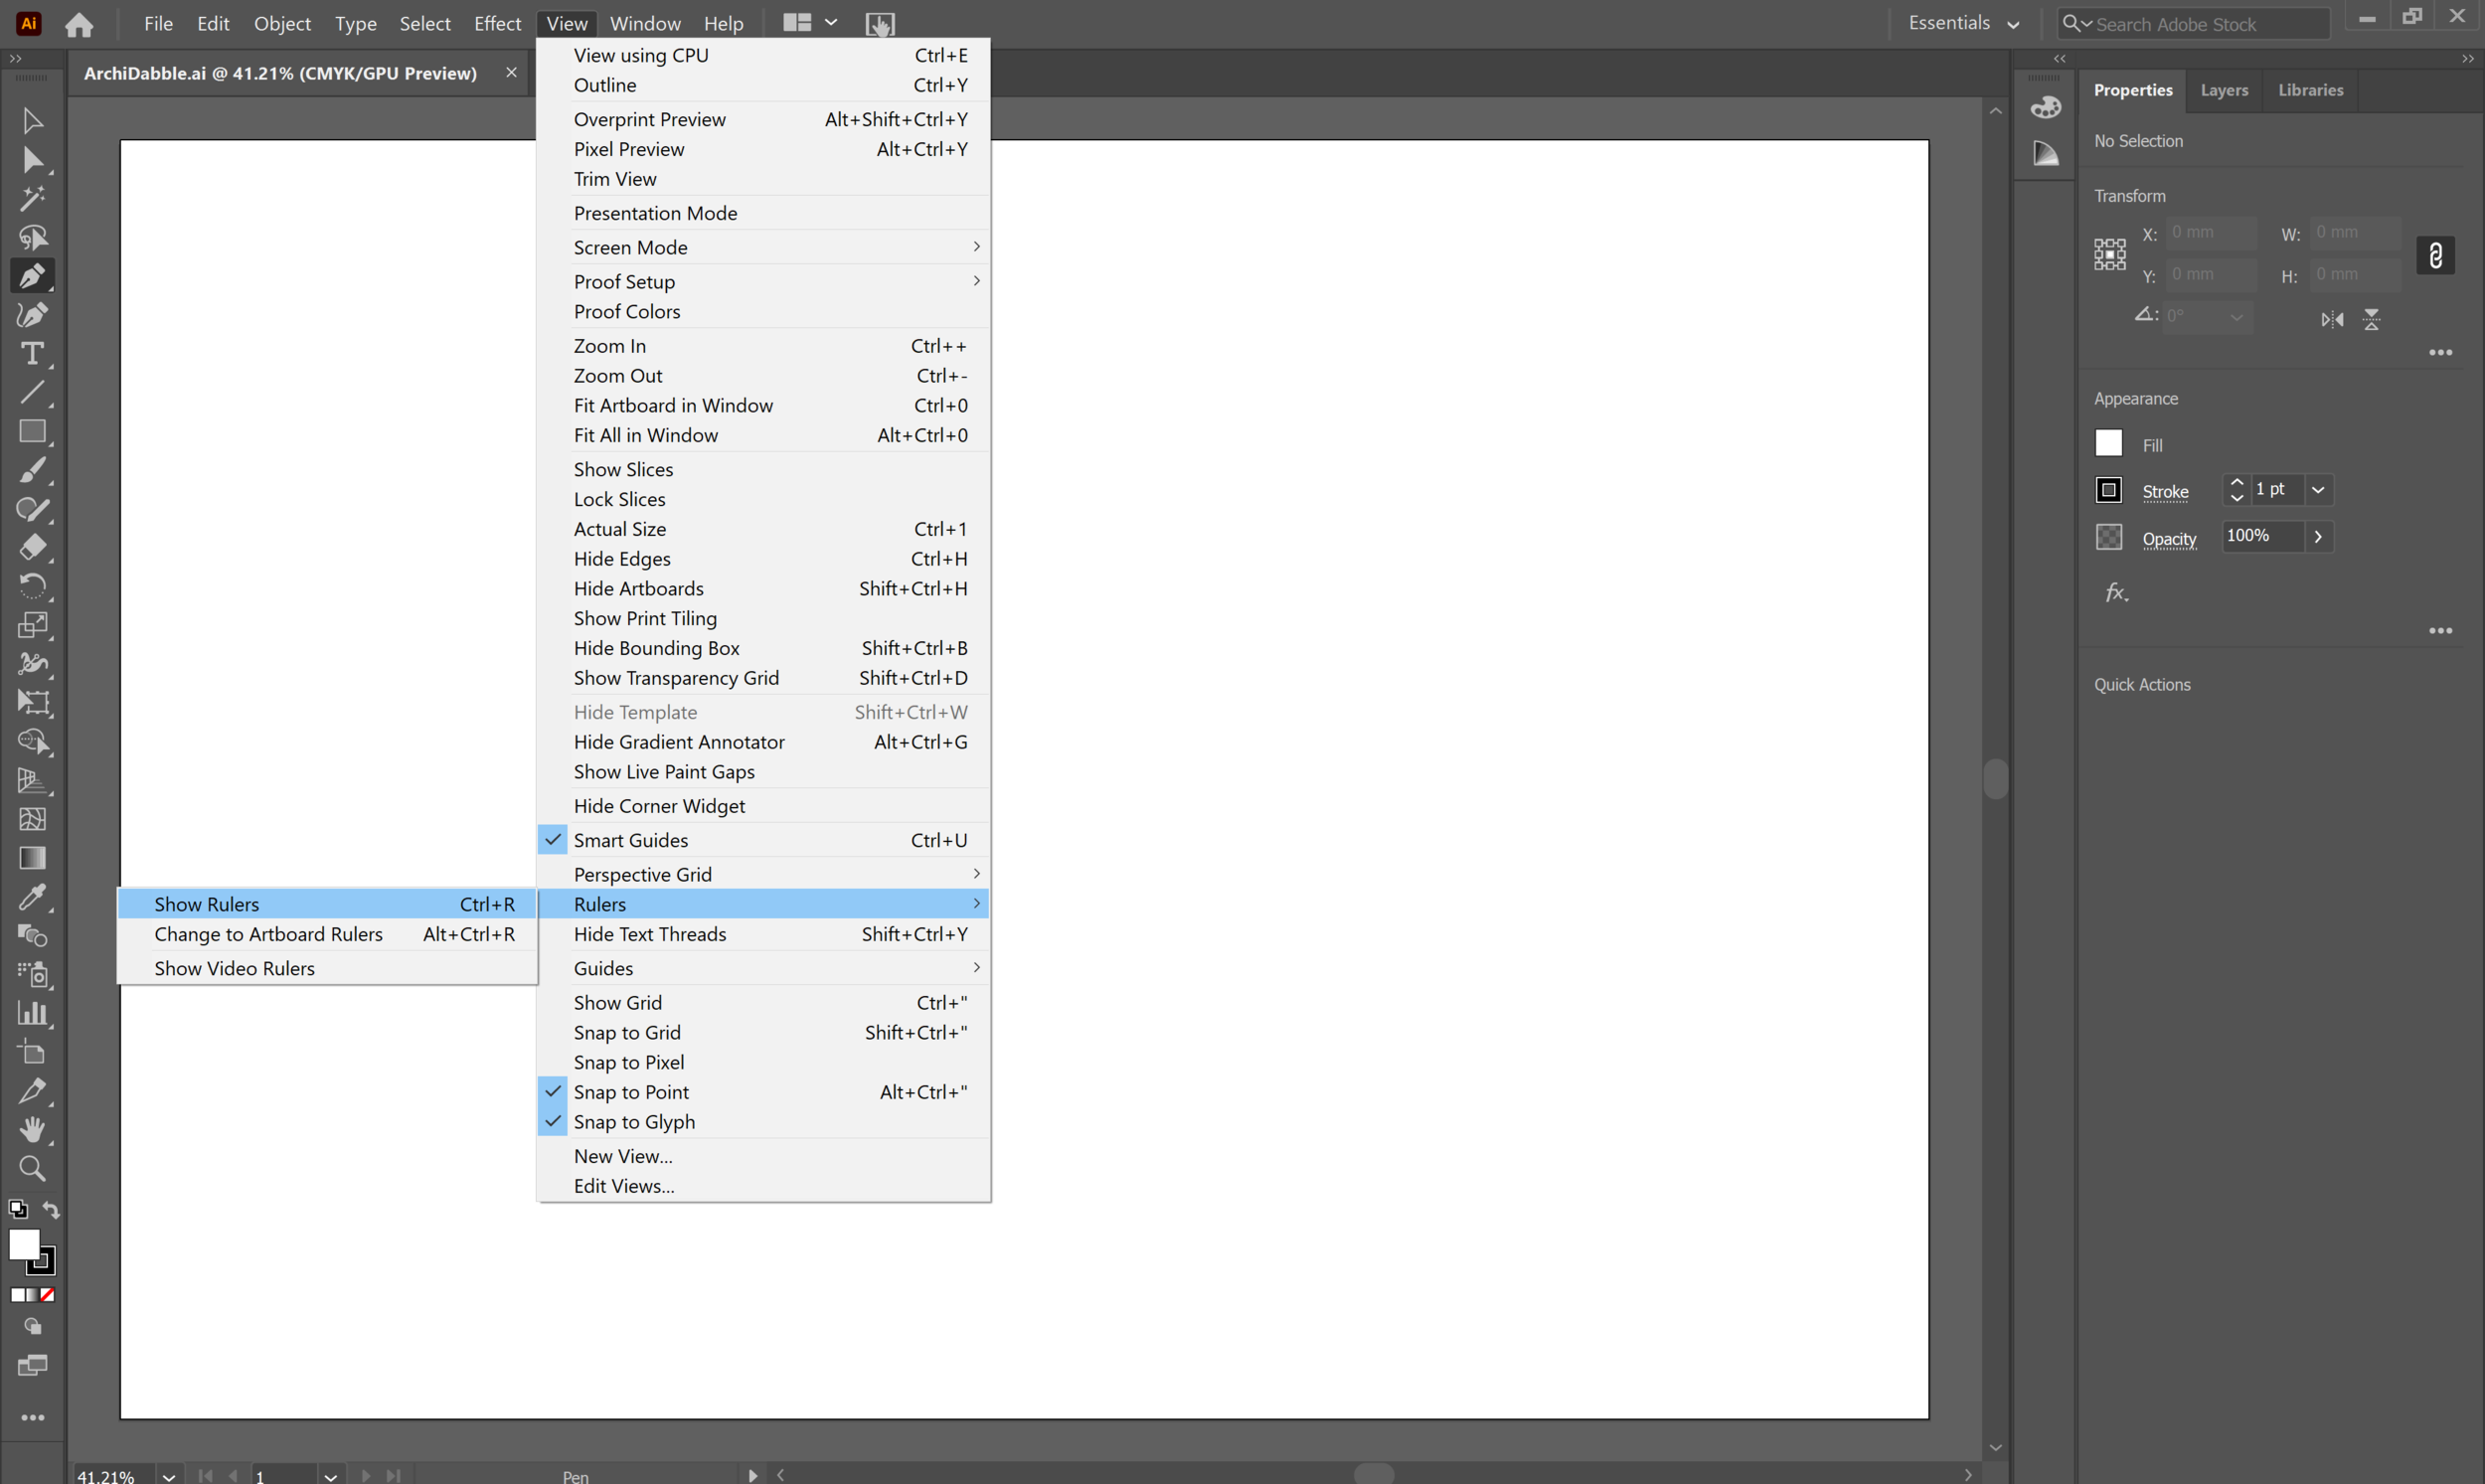
Setting up rulers on your page can help you to align content on your document. Go to 'View' > 'Rulers' > 'Show Rulers'.
Alternatively, use the following shortcut to activate this feature:
Windows: Ctrl+R
Mac: Command+R
Tools
There are many tools in Illustrator that are different to Adobe Photoshop and InDesign. Let's start off with looking at how to build different shapes.
.png)
.png)
.png)
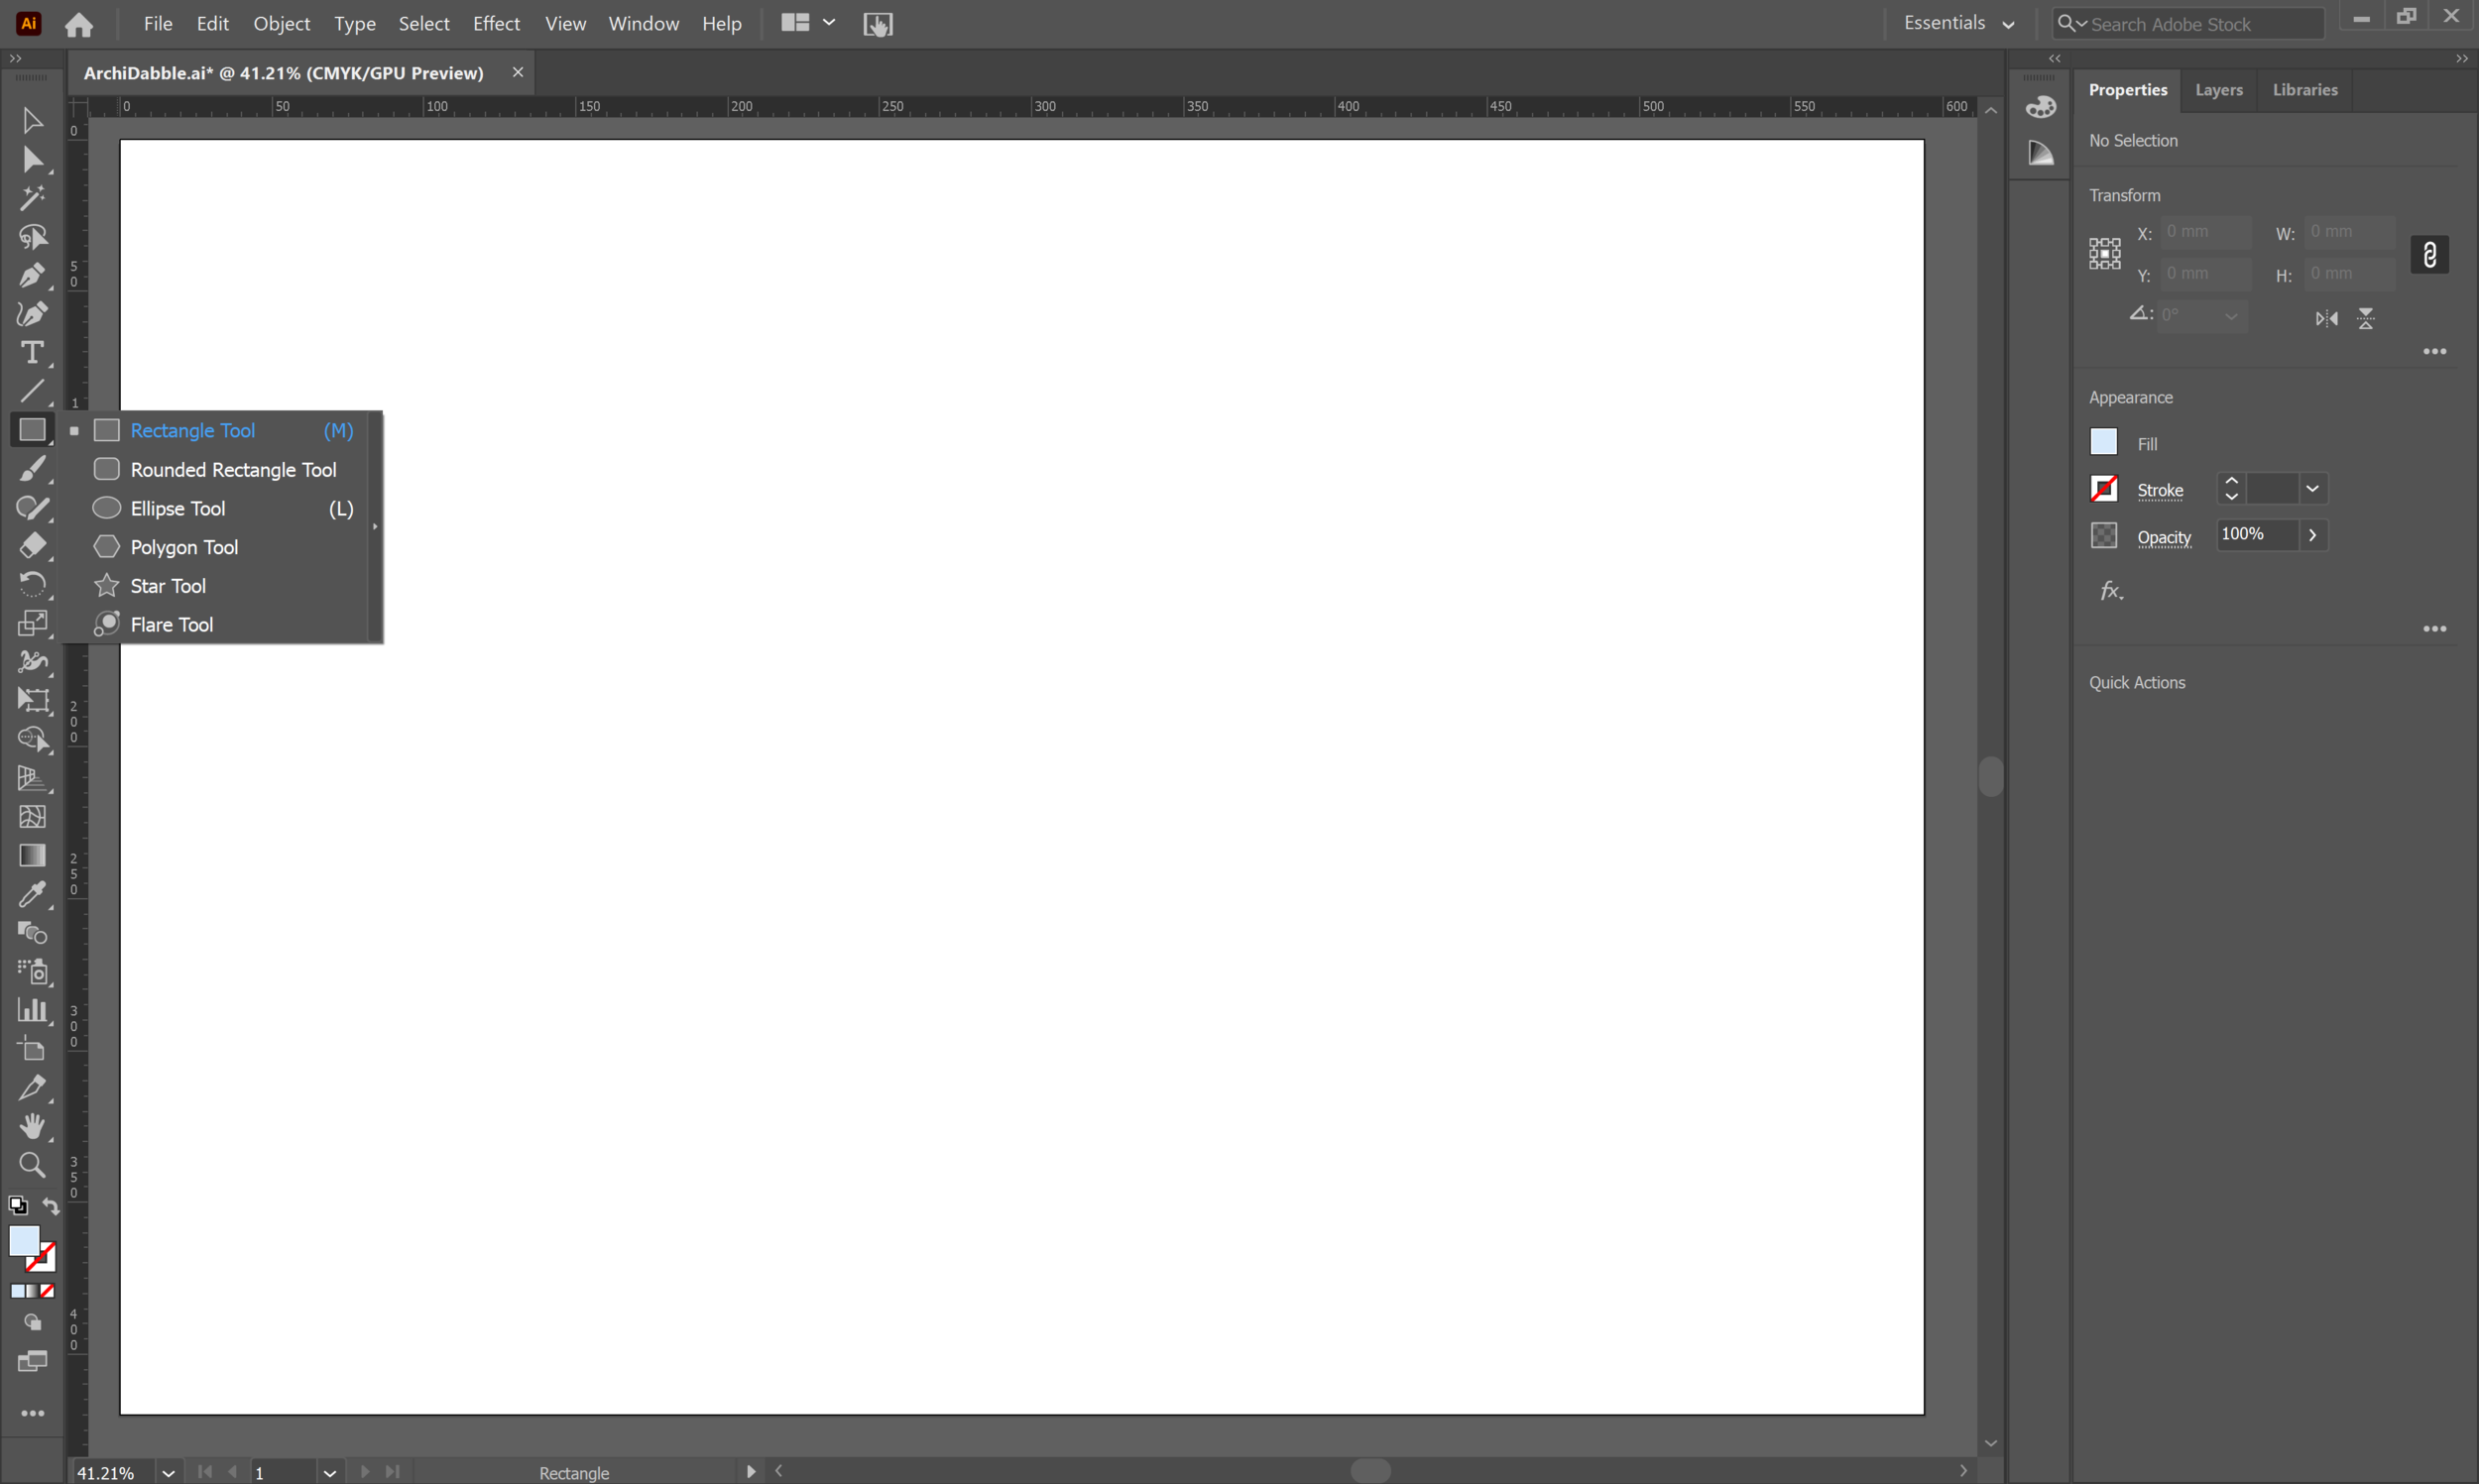
In your workspace, click on the drop-down menu of the rectangle tool to open up the menu of different shapes you can create. Select the rectangle tool.
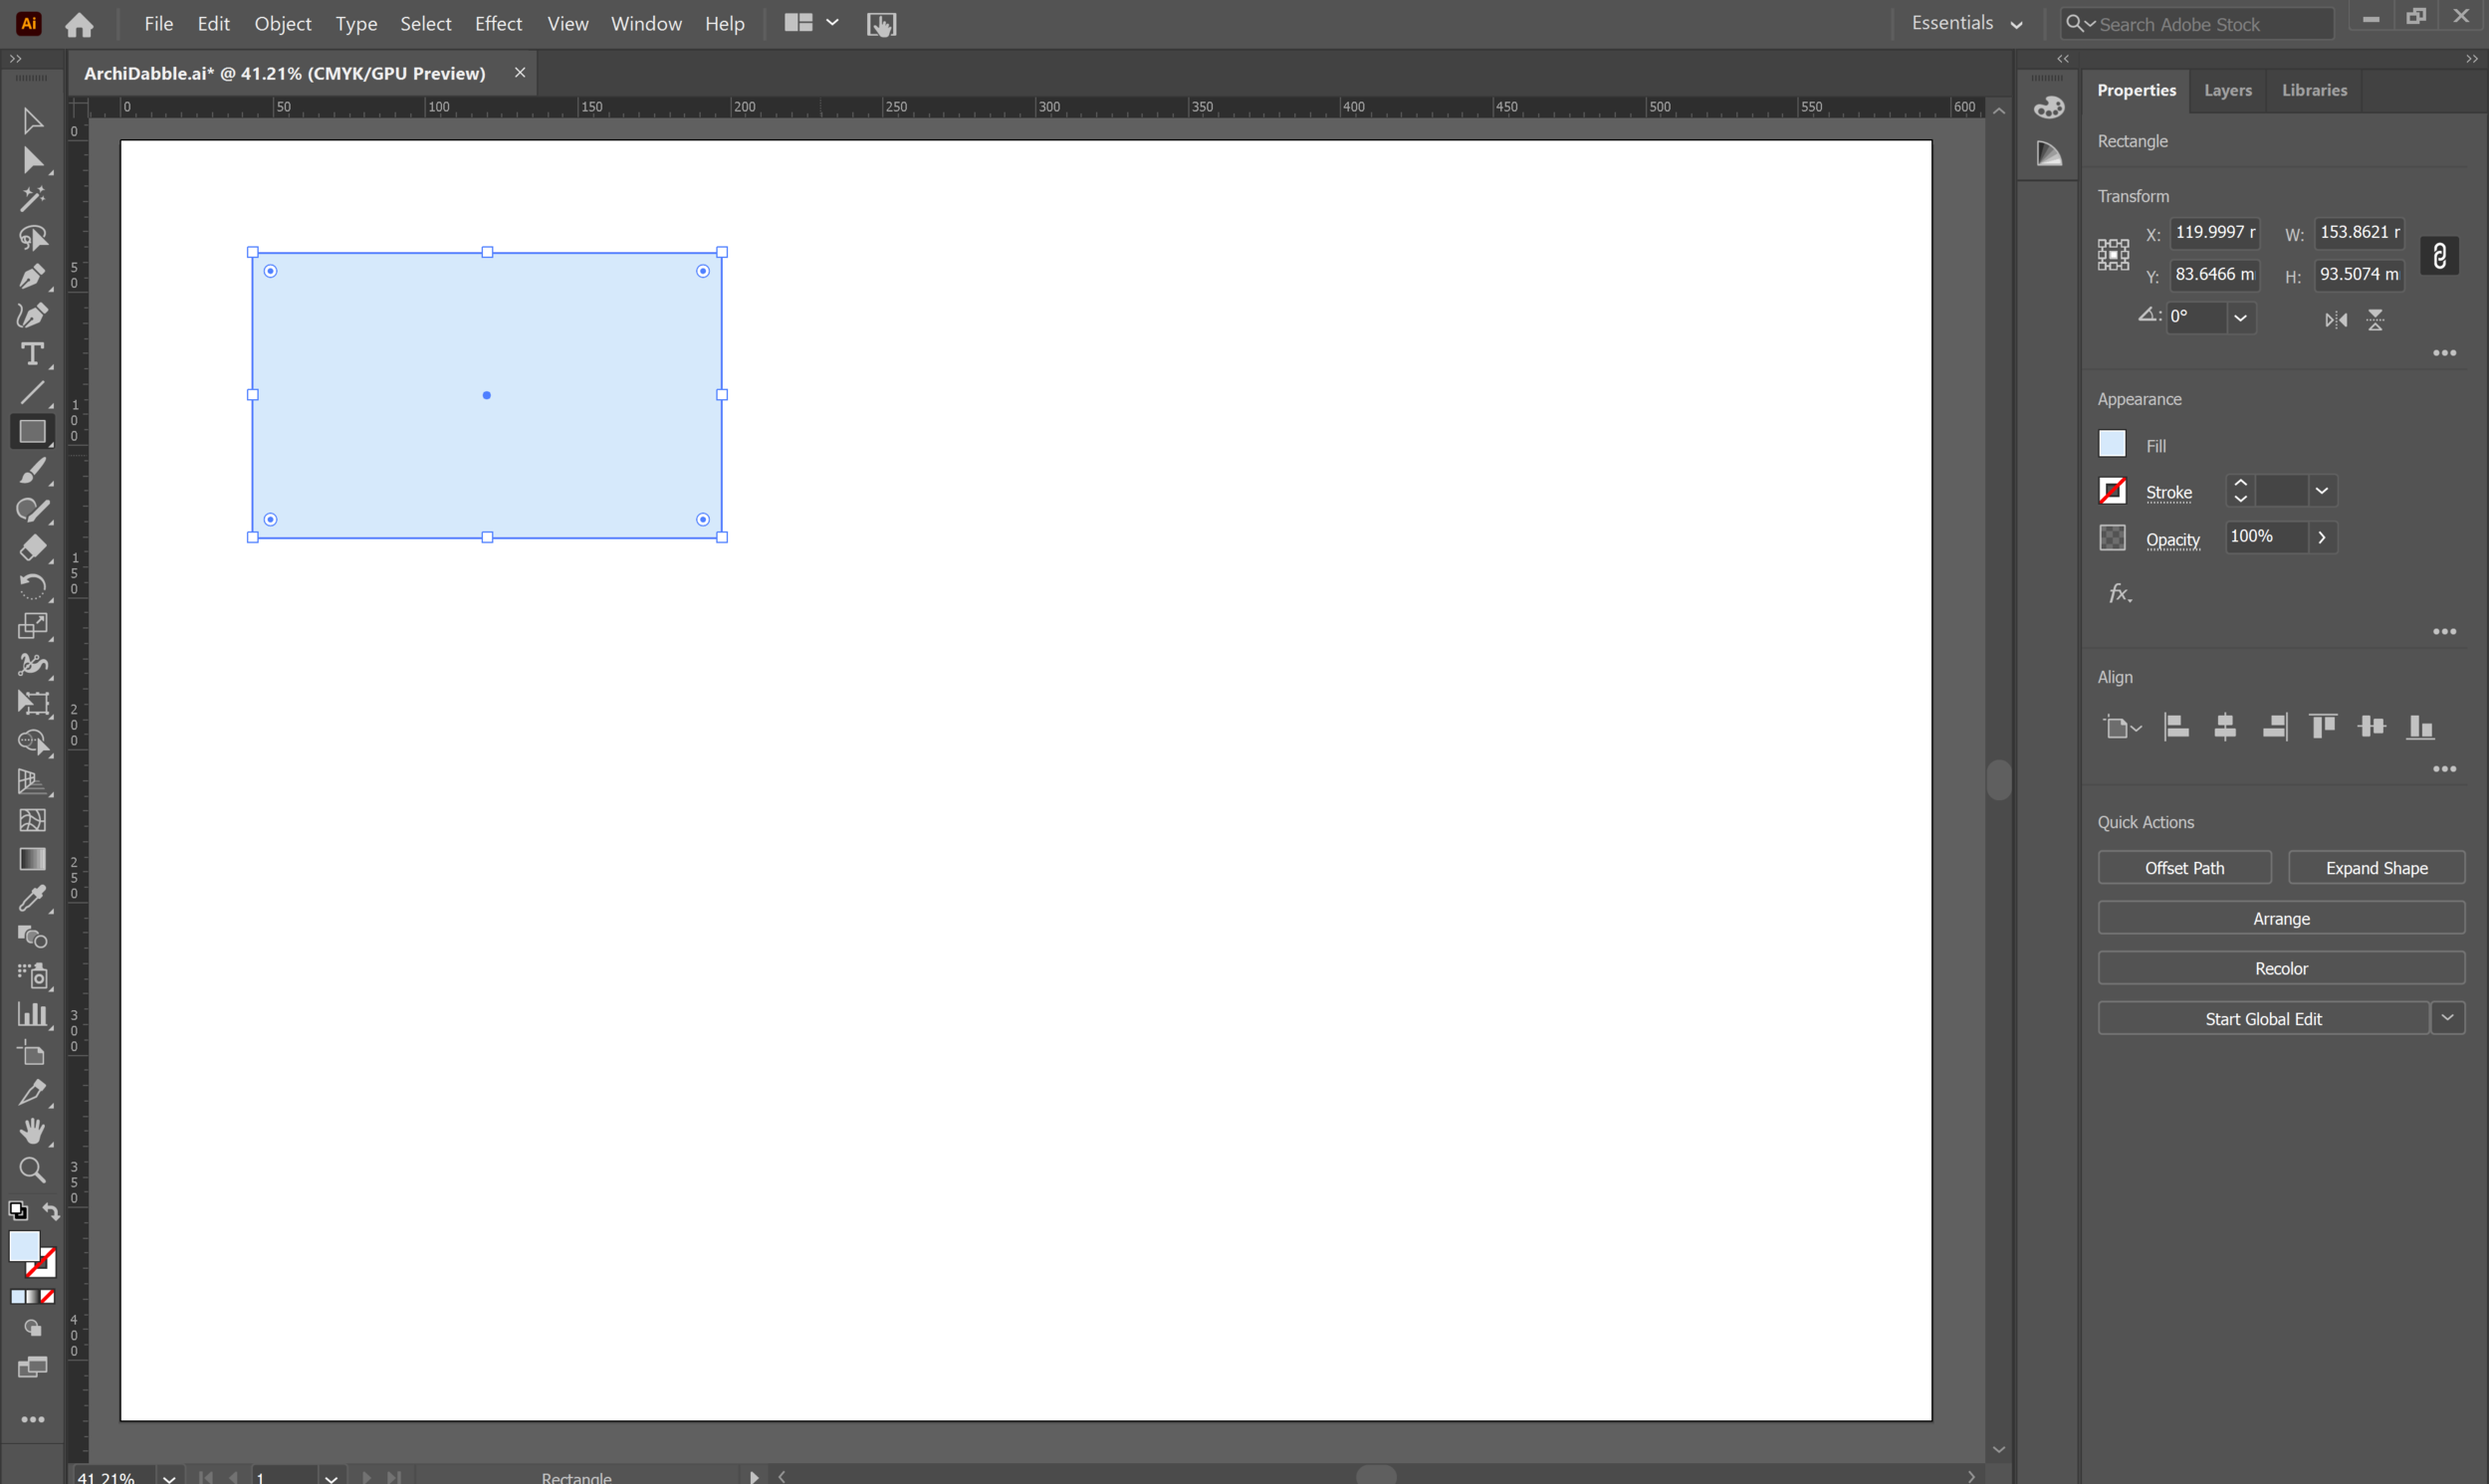
To manually draw a rectangle, click anywhere on your artboard and drag from one corner to the next to create it. Format the Fill and Stroke over in the Properties panel on the right hand side of the artboard.
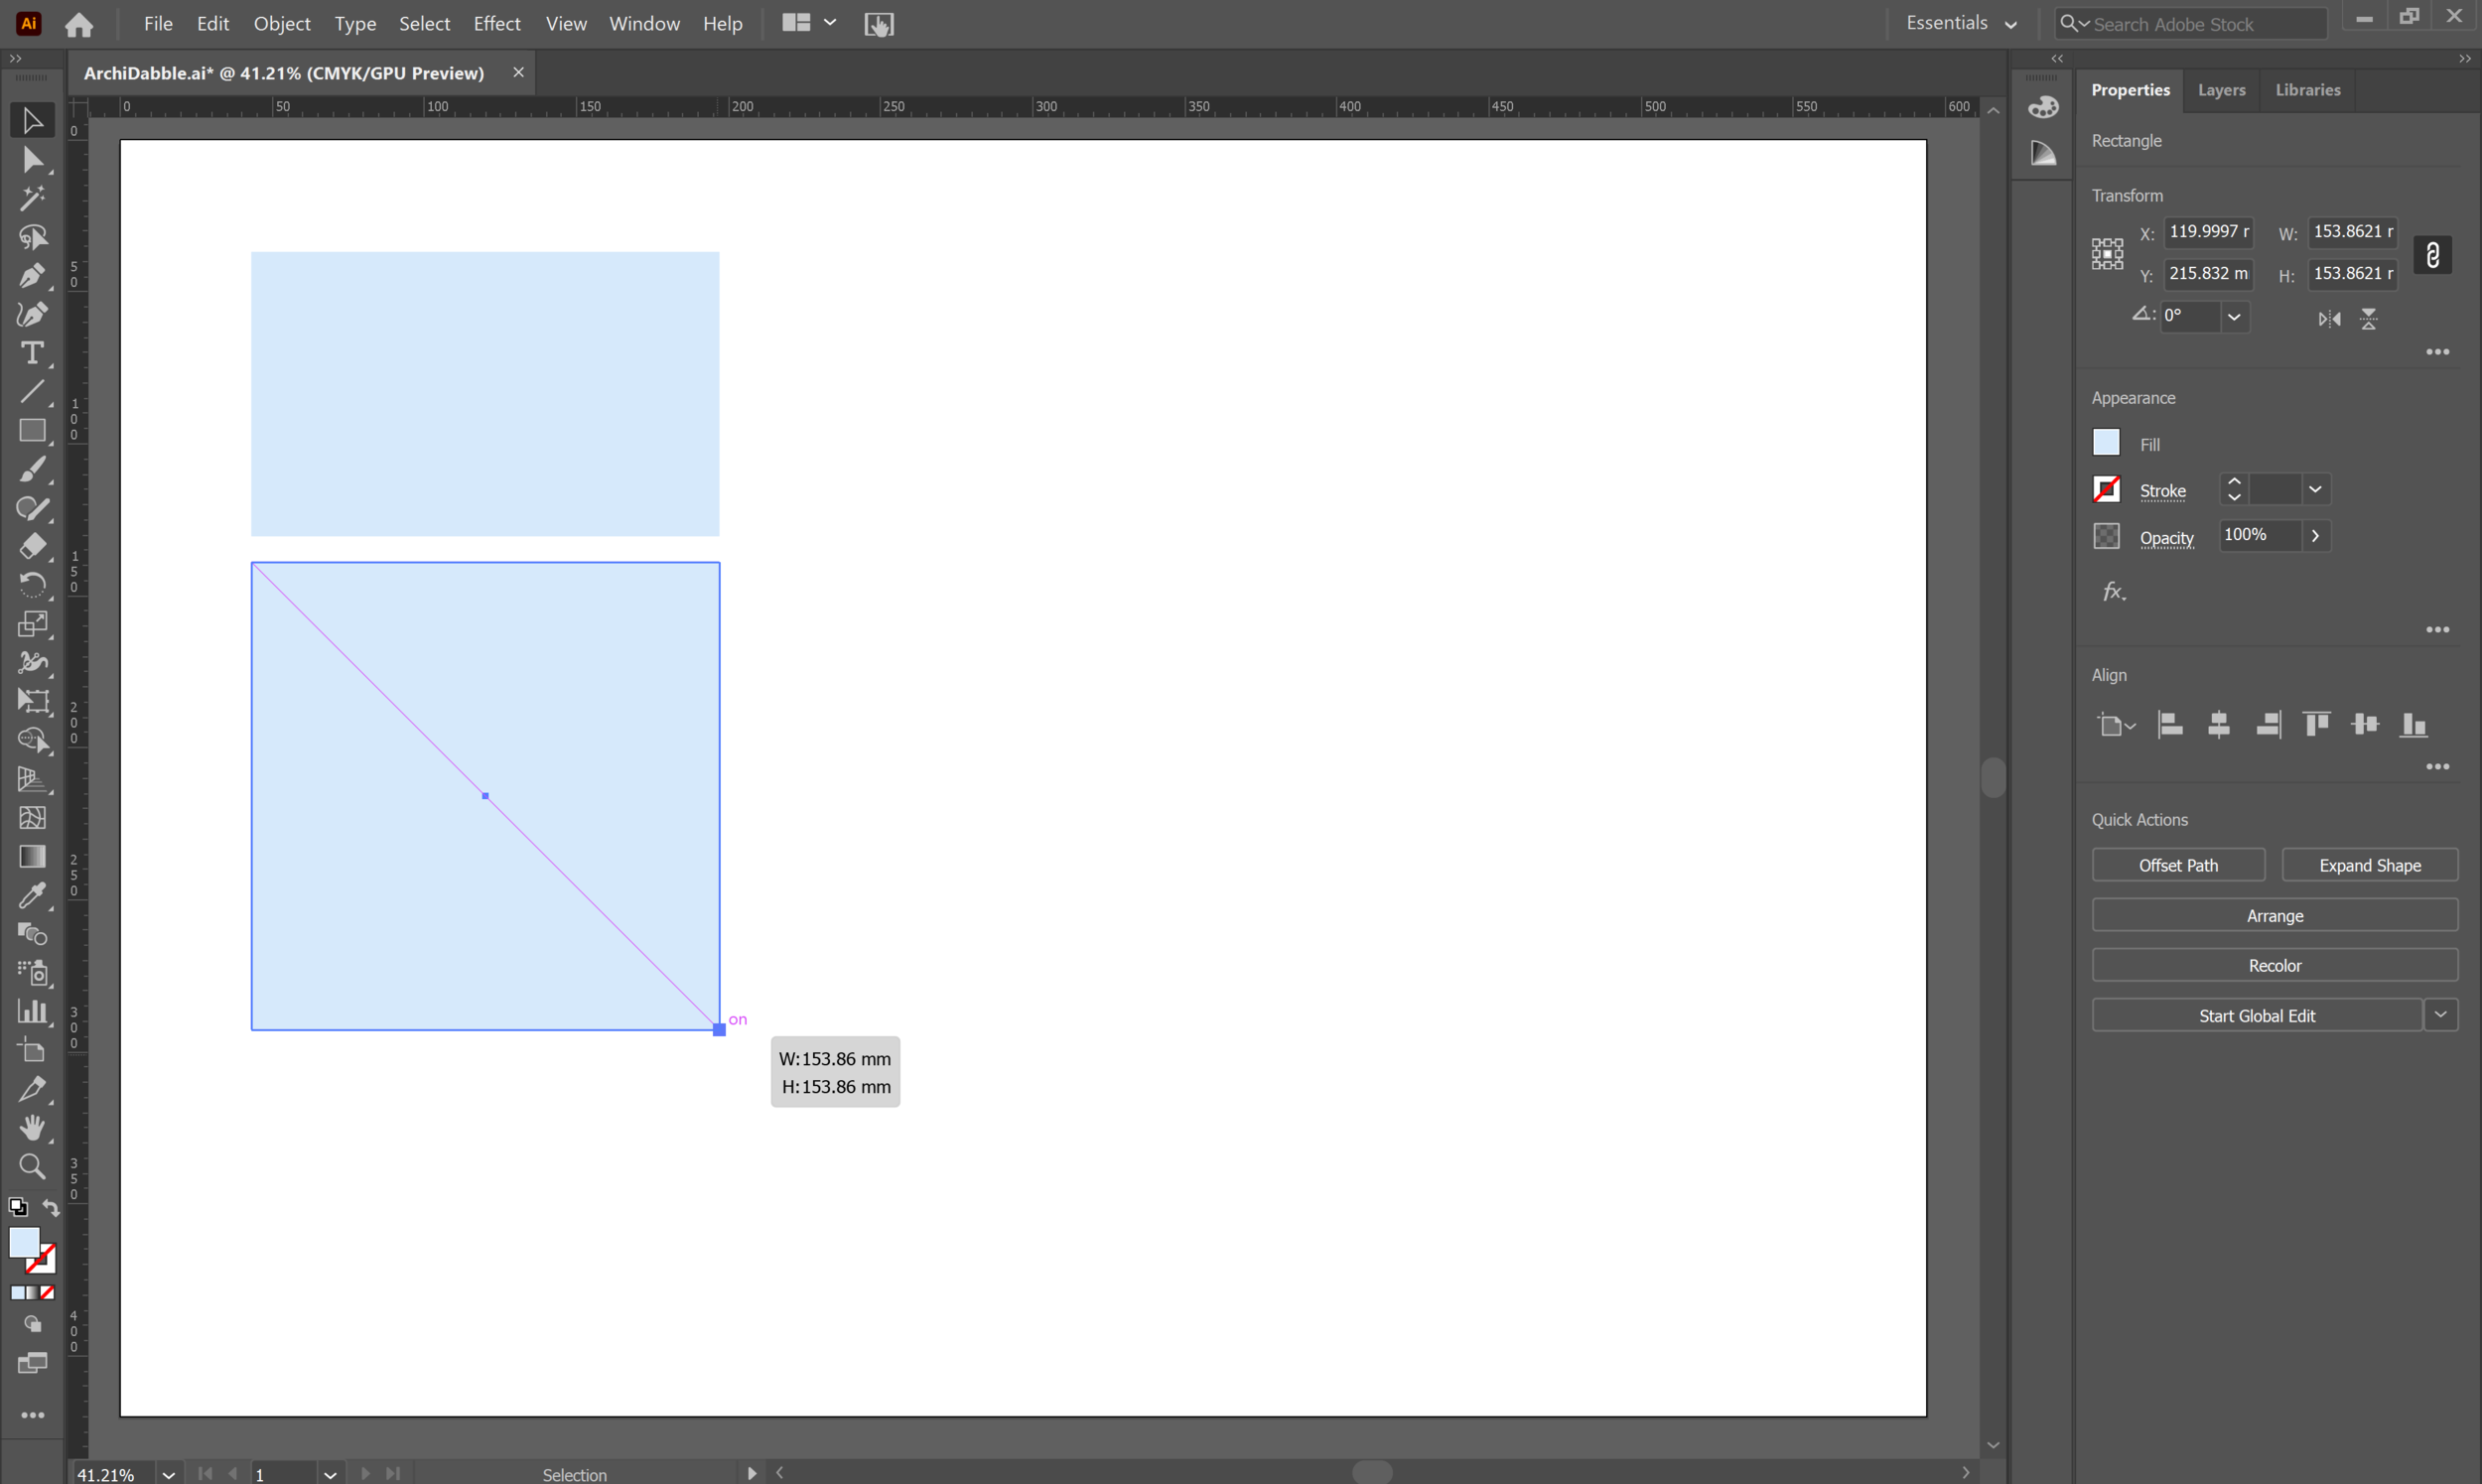
To create a regular polygon (in this case, a square), hold down 'Shift' when drawing your rectangle to maintain equal proportions for your shape.
.png)

.png)

To create rounded corners, use the 'Selection Tool', activated by the keyboard shortcut 'V' (the first tool at the top of the workspace).
Select your chosen shape by clicking on it. You should see that small circles in each corner of the shape appear.
Click and drag from these small circles to curve the corners of the shape. A rounded rectangle shape feature is also available from the drop down menu of shapes.
Now, we're going to draw a shape by entering specific dimensions.

Go back to the drop down menu, and this time select the 'Ellipse' tool. Click anywhere on the artboard and a dialogue box should open up, allowing you to enter the dimensions of your shape.
To create a circle, you can use either the method of holding down 'Shift' when drawing an ellipse, or by entering equal dimensions for the width and height of your shape.
.png)

.png)

To create a regular shape that isn't on the drop down menu, go to the 'Polygon' tool. Click anywhere on your artboard, enter the radius and number of sides of your shape, then click 'OK' to create the shape.
Resizing:
.png)

.png)

To resize a group of objects, activate the 'Selection' tool again by pressing 'V' and draw a marquee around all the objects you want to resize. Click and drag from one of the white boxes in the corners to resize the selected group.
Rotate:
.png)

.png)
.png)
.png)
.png)
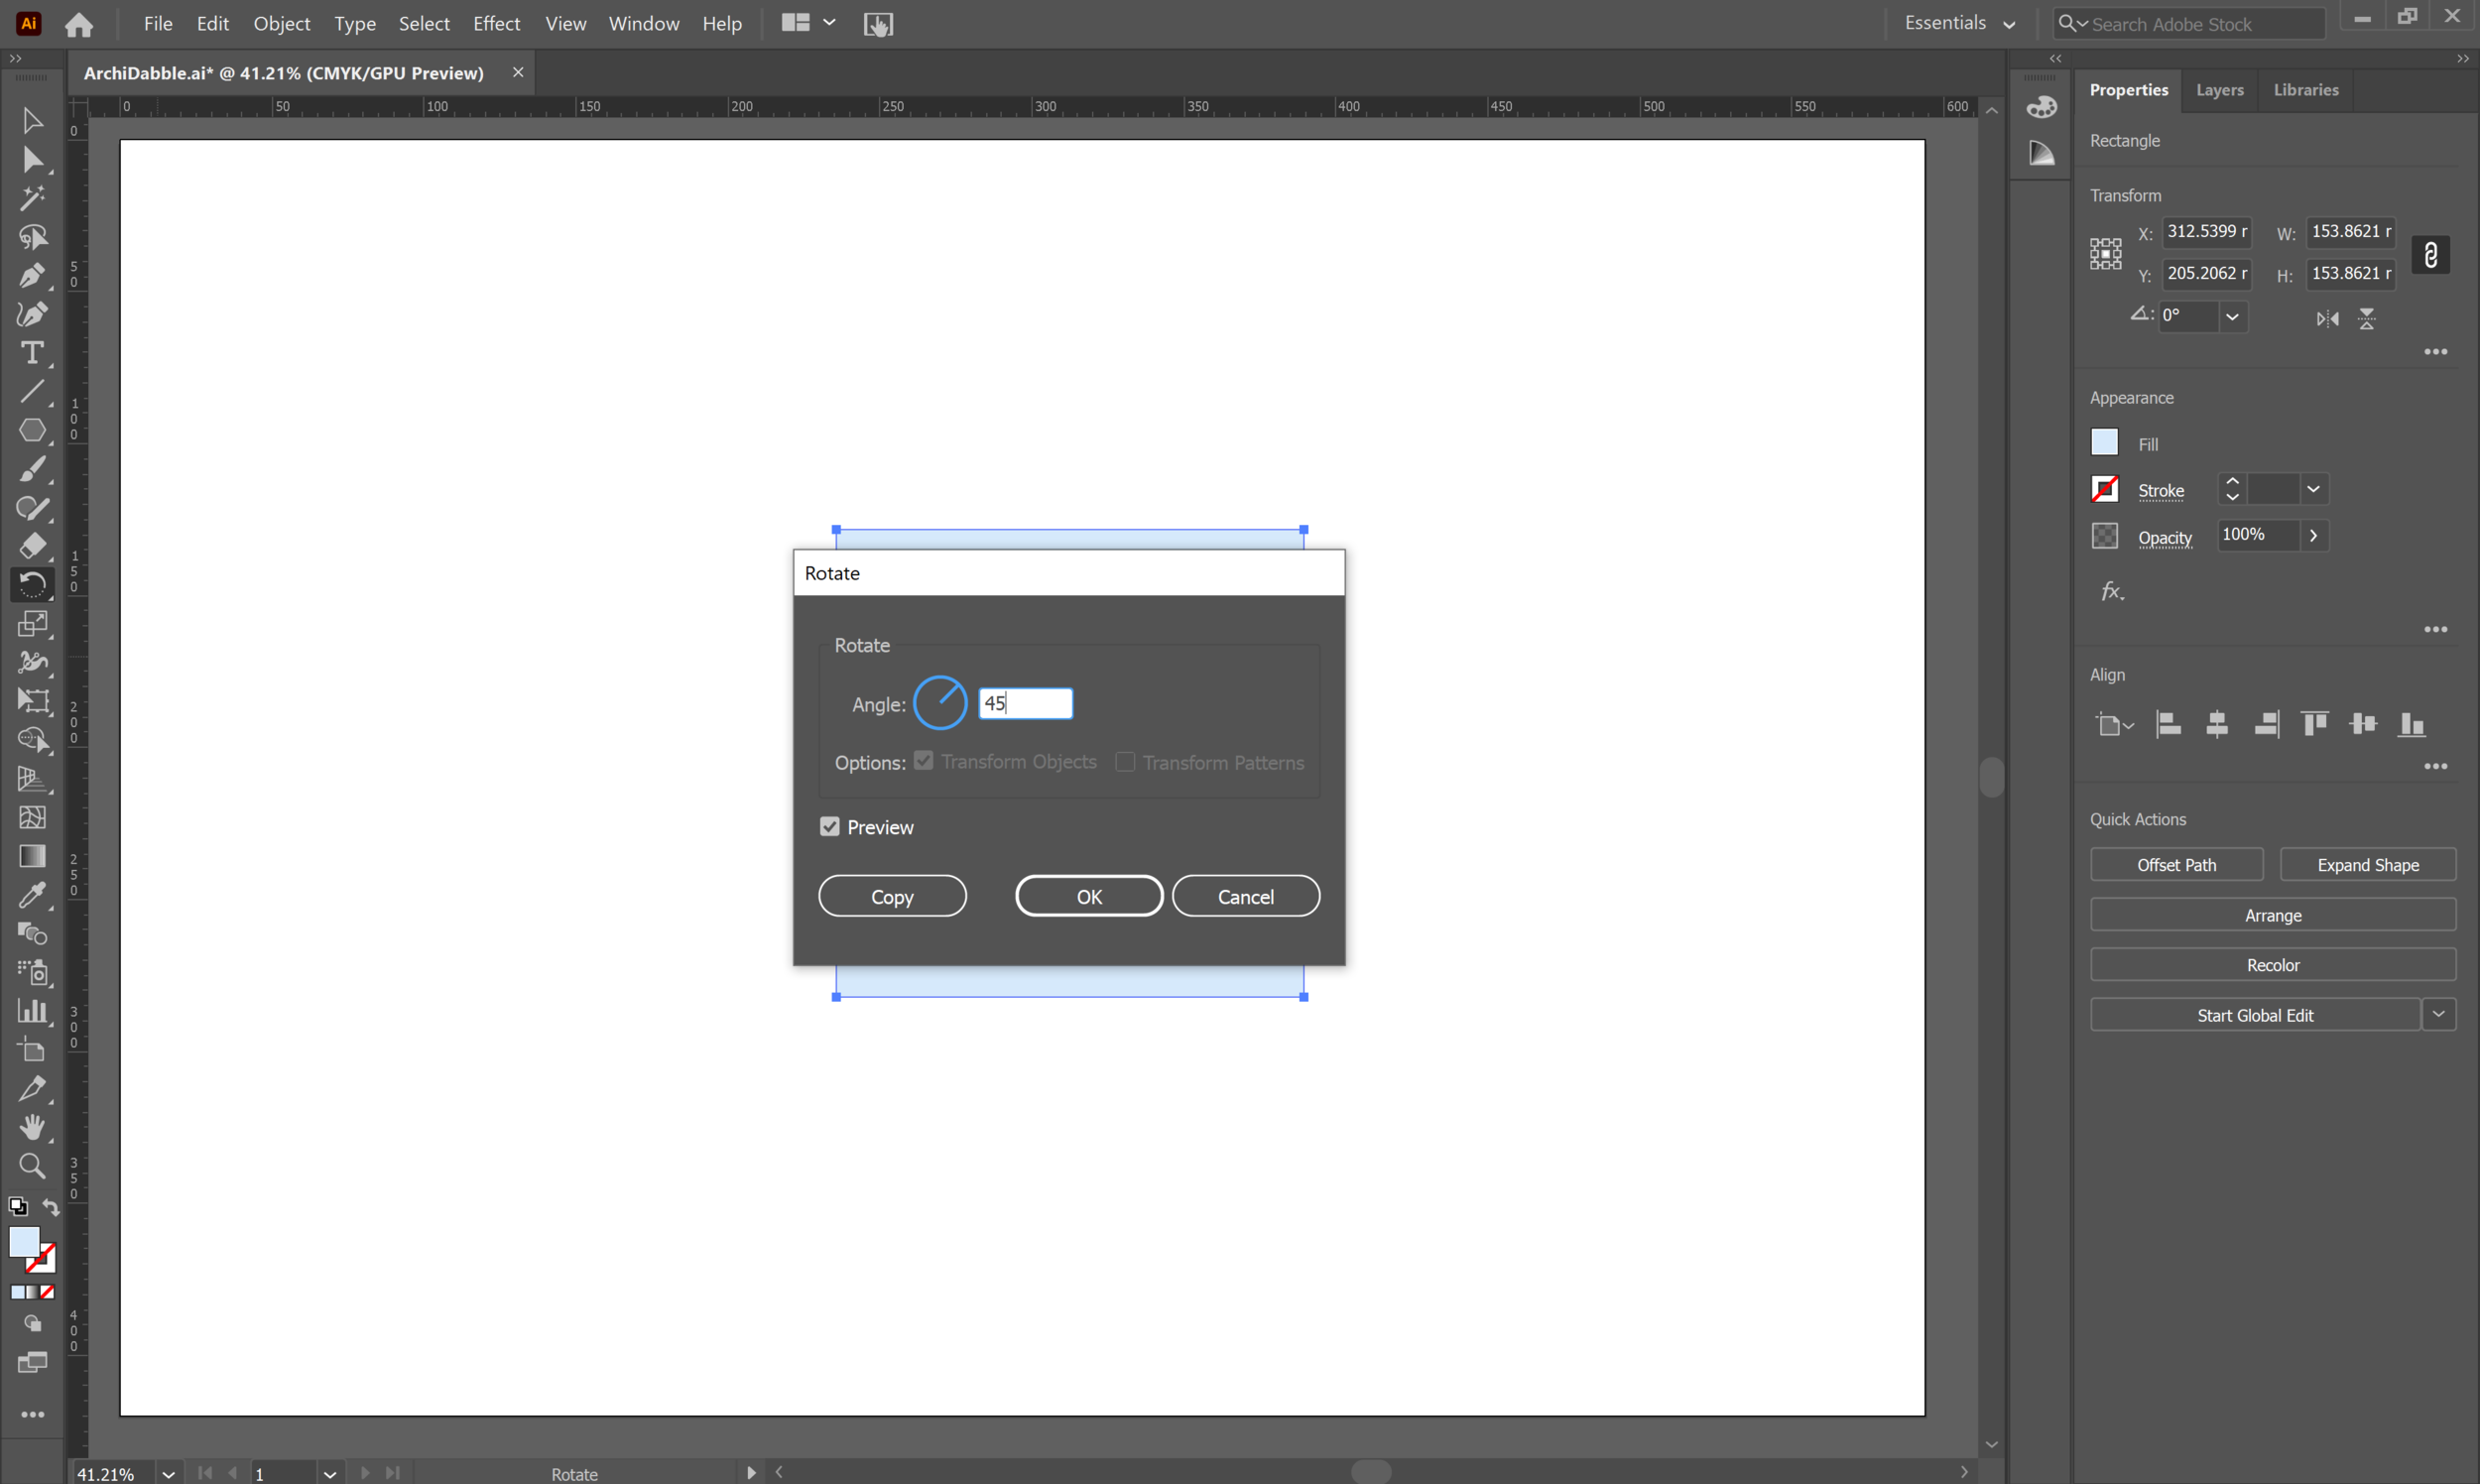
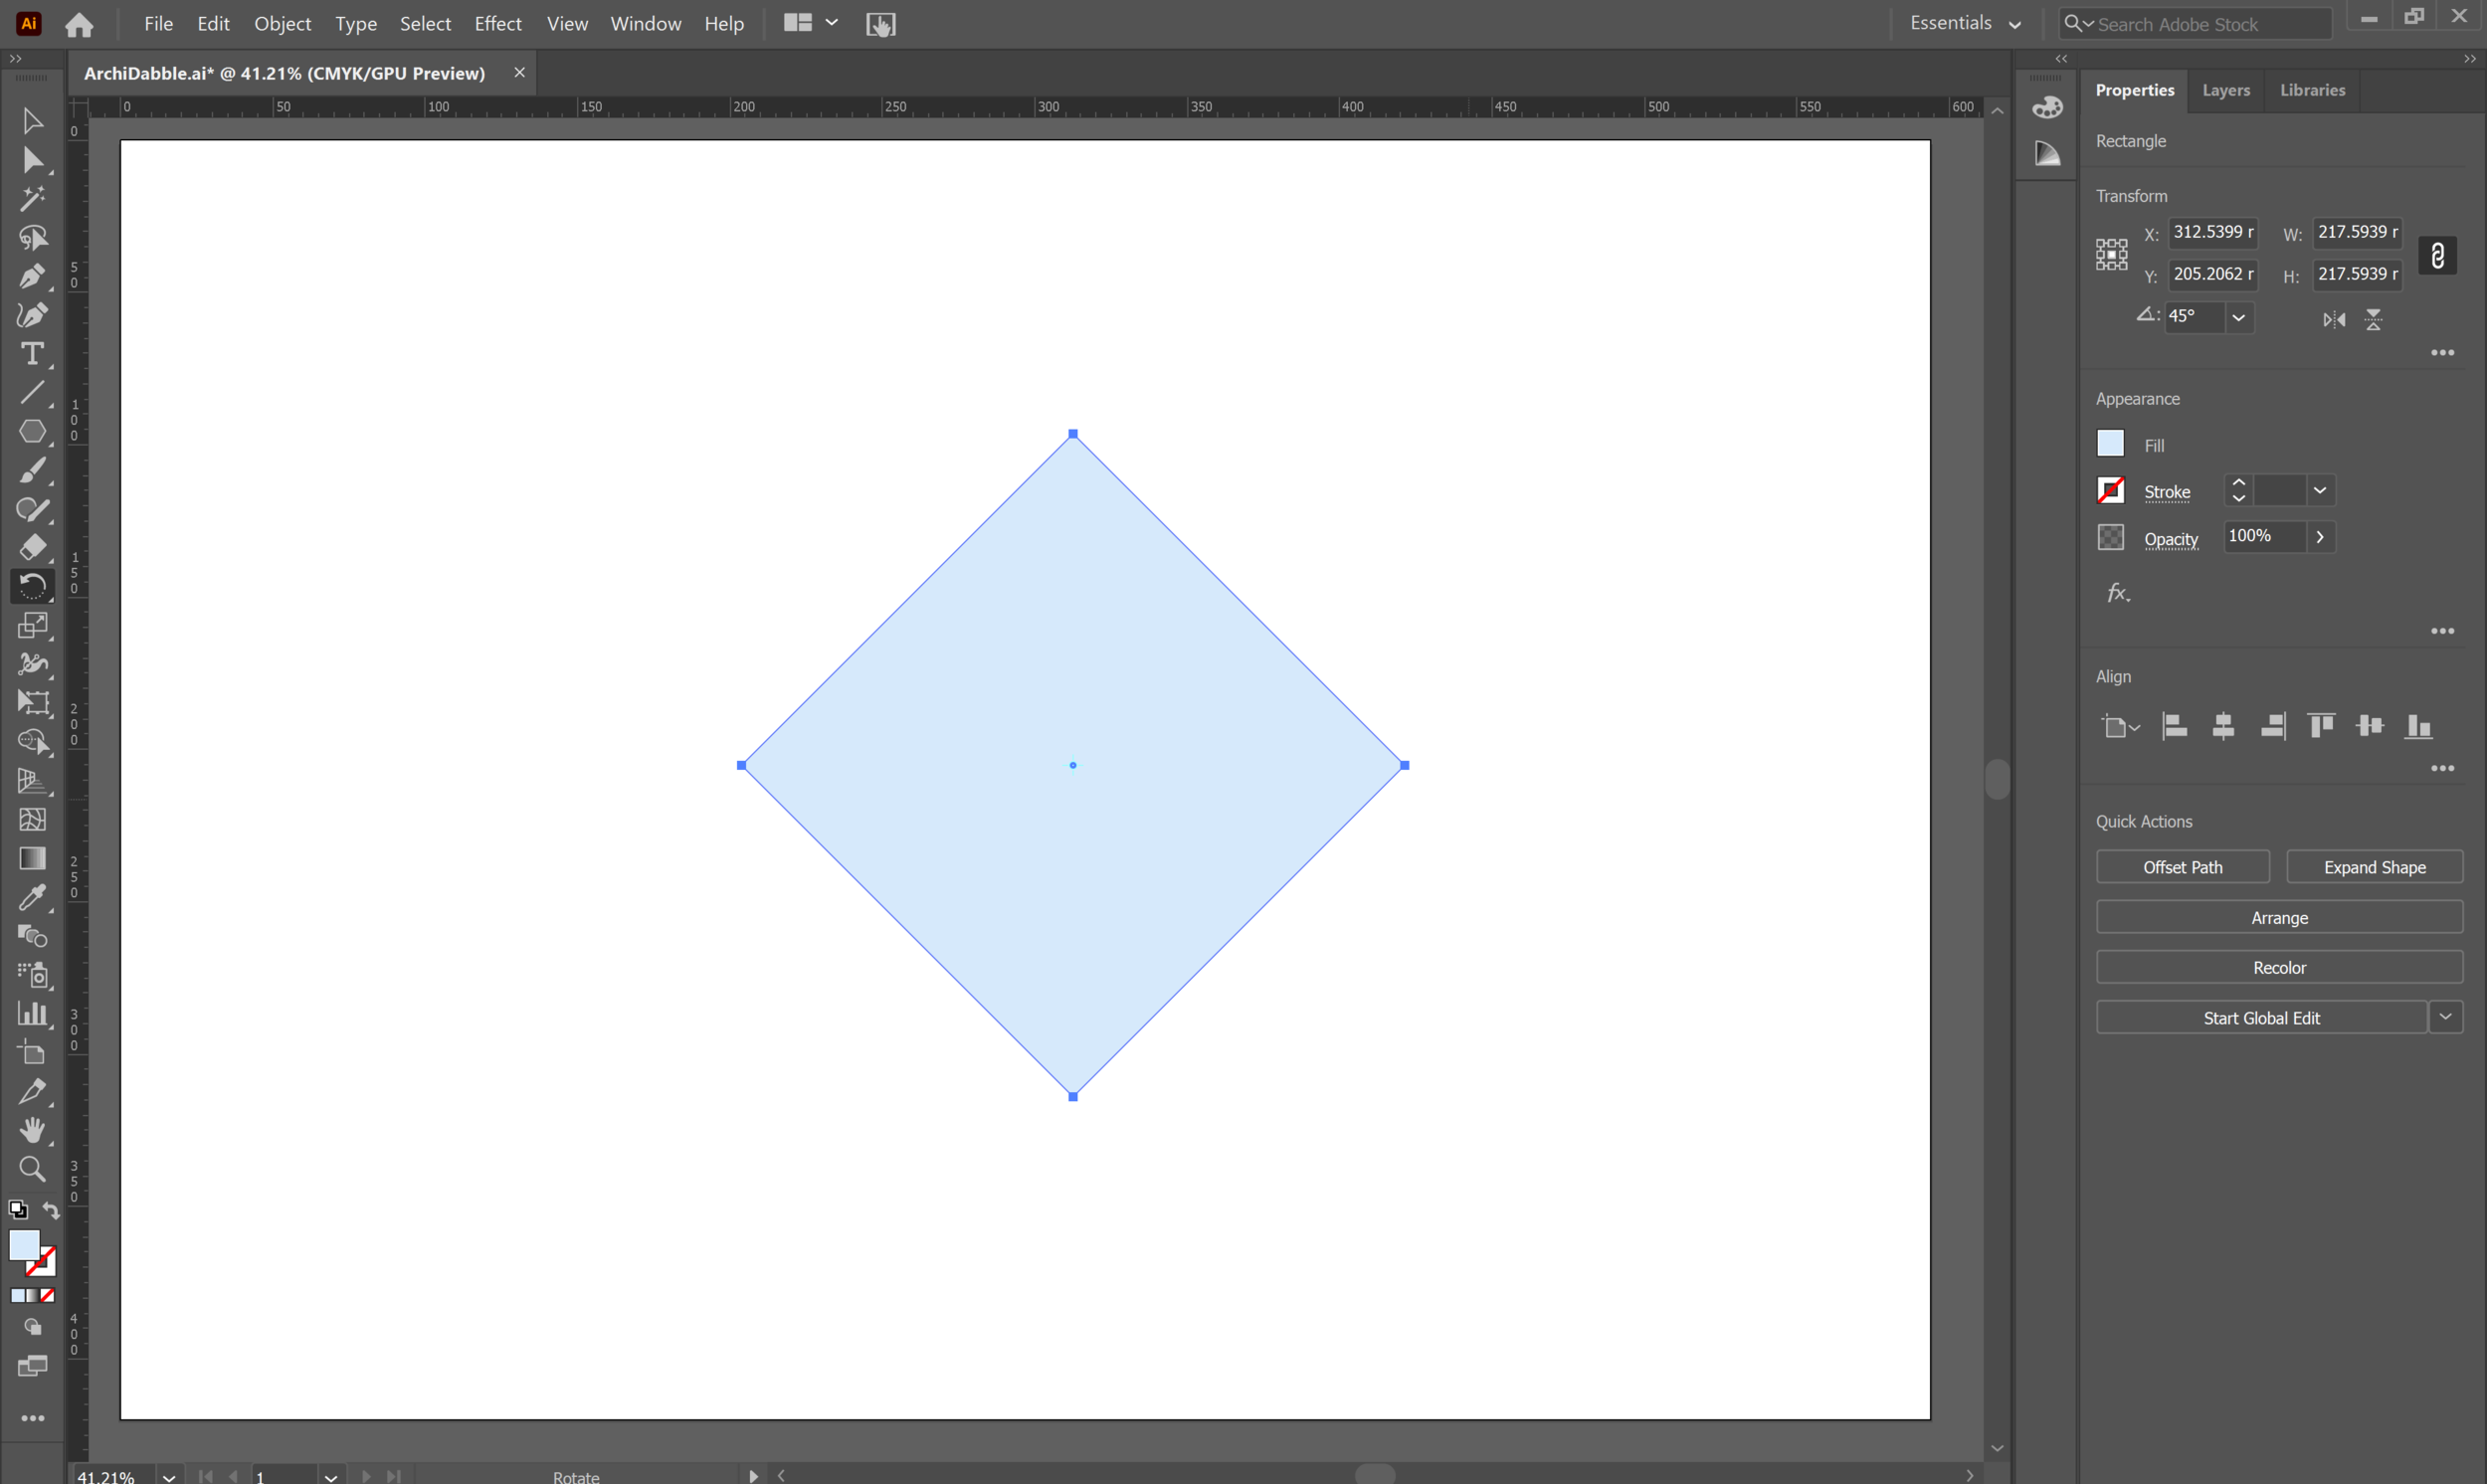
There are two ways to rotate an object. To rotate by angle, select your object using the 'Selection' tool and activate the 'Rotate' tool - you can use the keyboard shortcut 'R' to do this.
Press 'Enter' on your keyboard to open up a dialogue box, where you should be able to input the angle by which you want to rotate your object. Click 'OK' to rotate it.
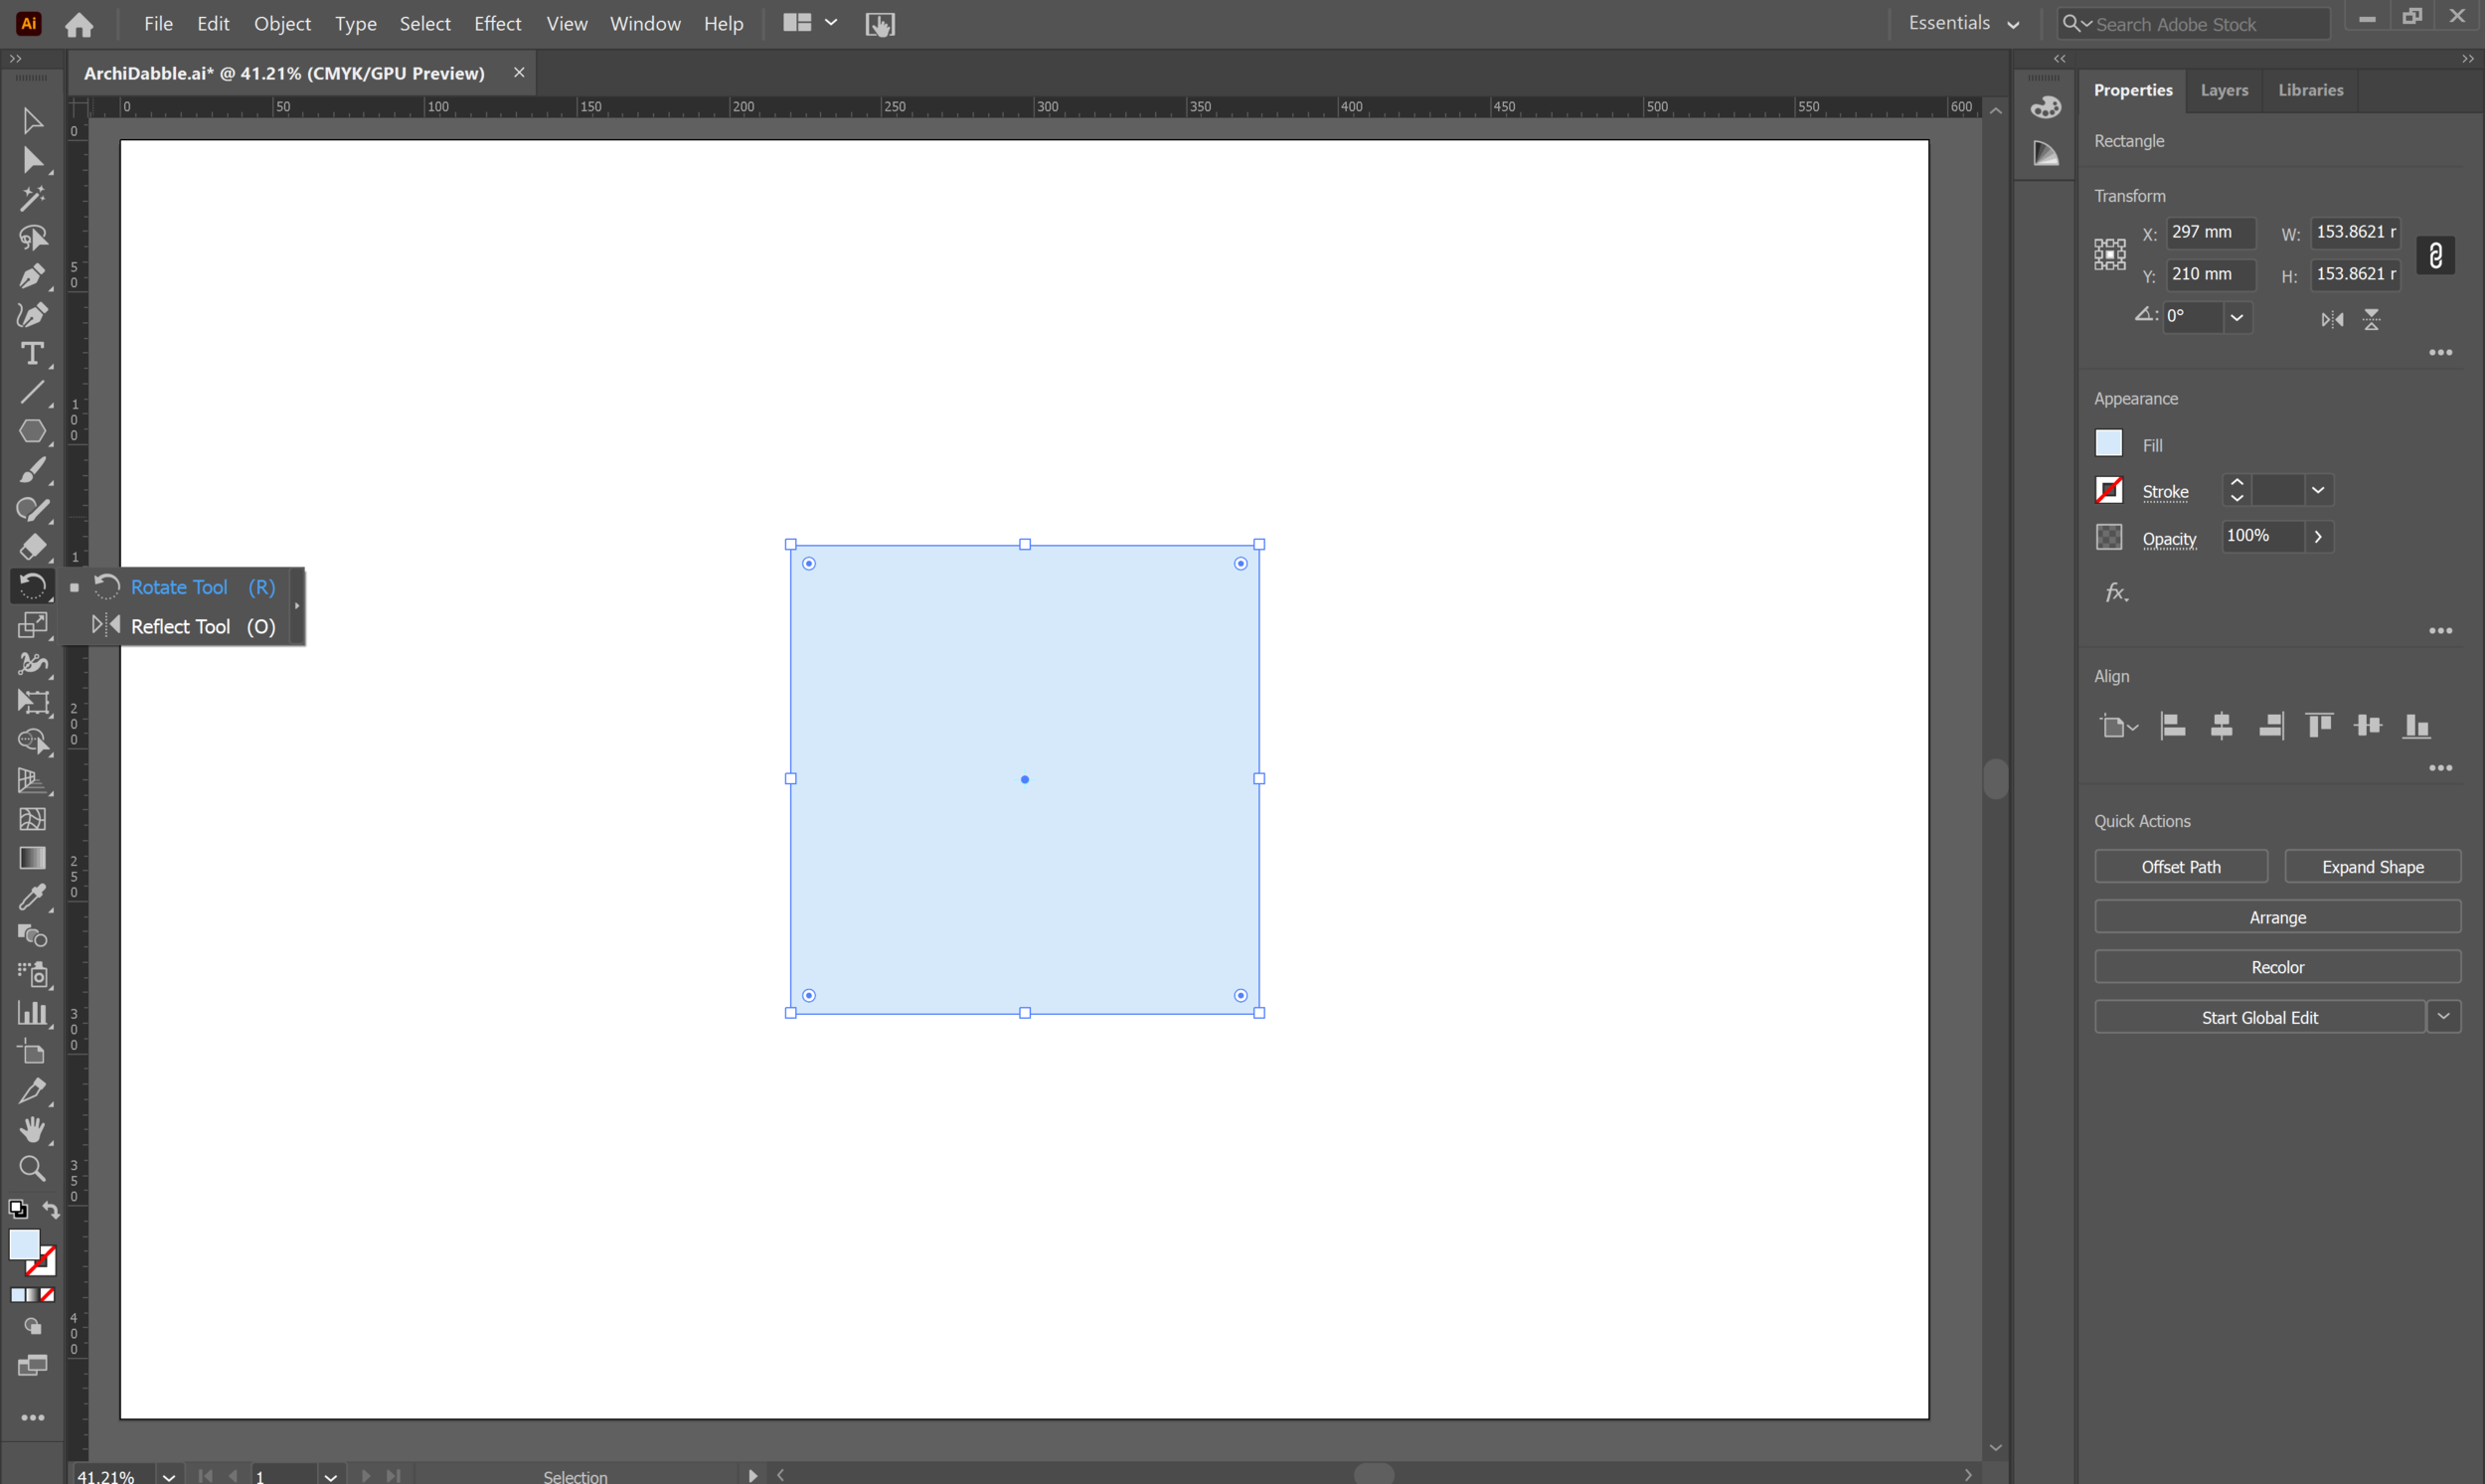
Alternatively, use the second method to rotate shapes.
Select the 'Rotation' tool, but instead of pressing 'Enter', click anywhere on the page to set the centre of rotation. This is marked by a small centre icon which appears once you set this point.
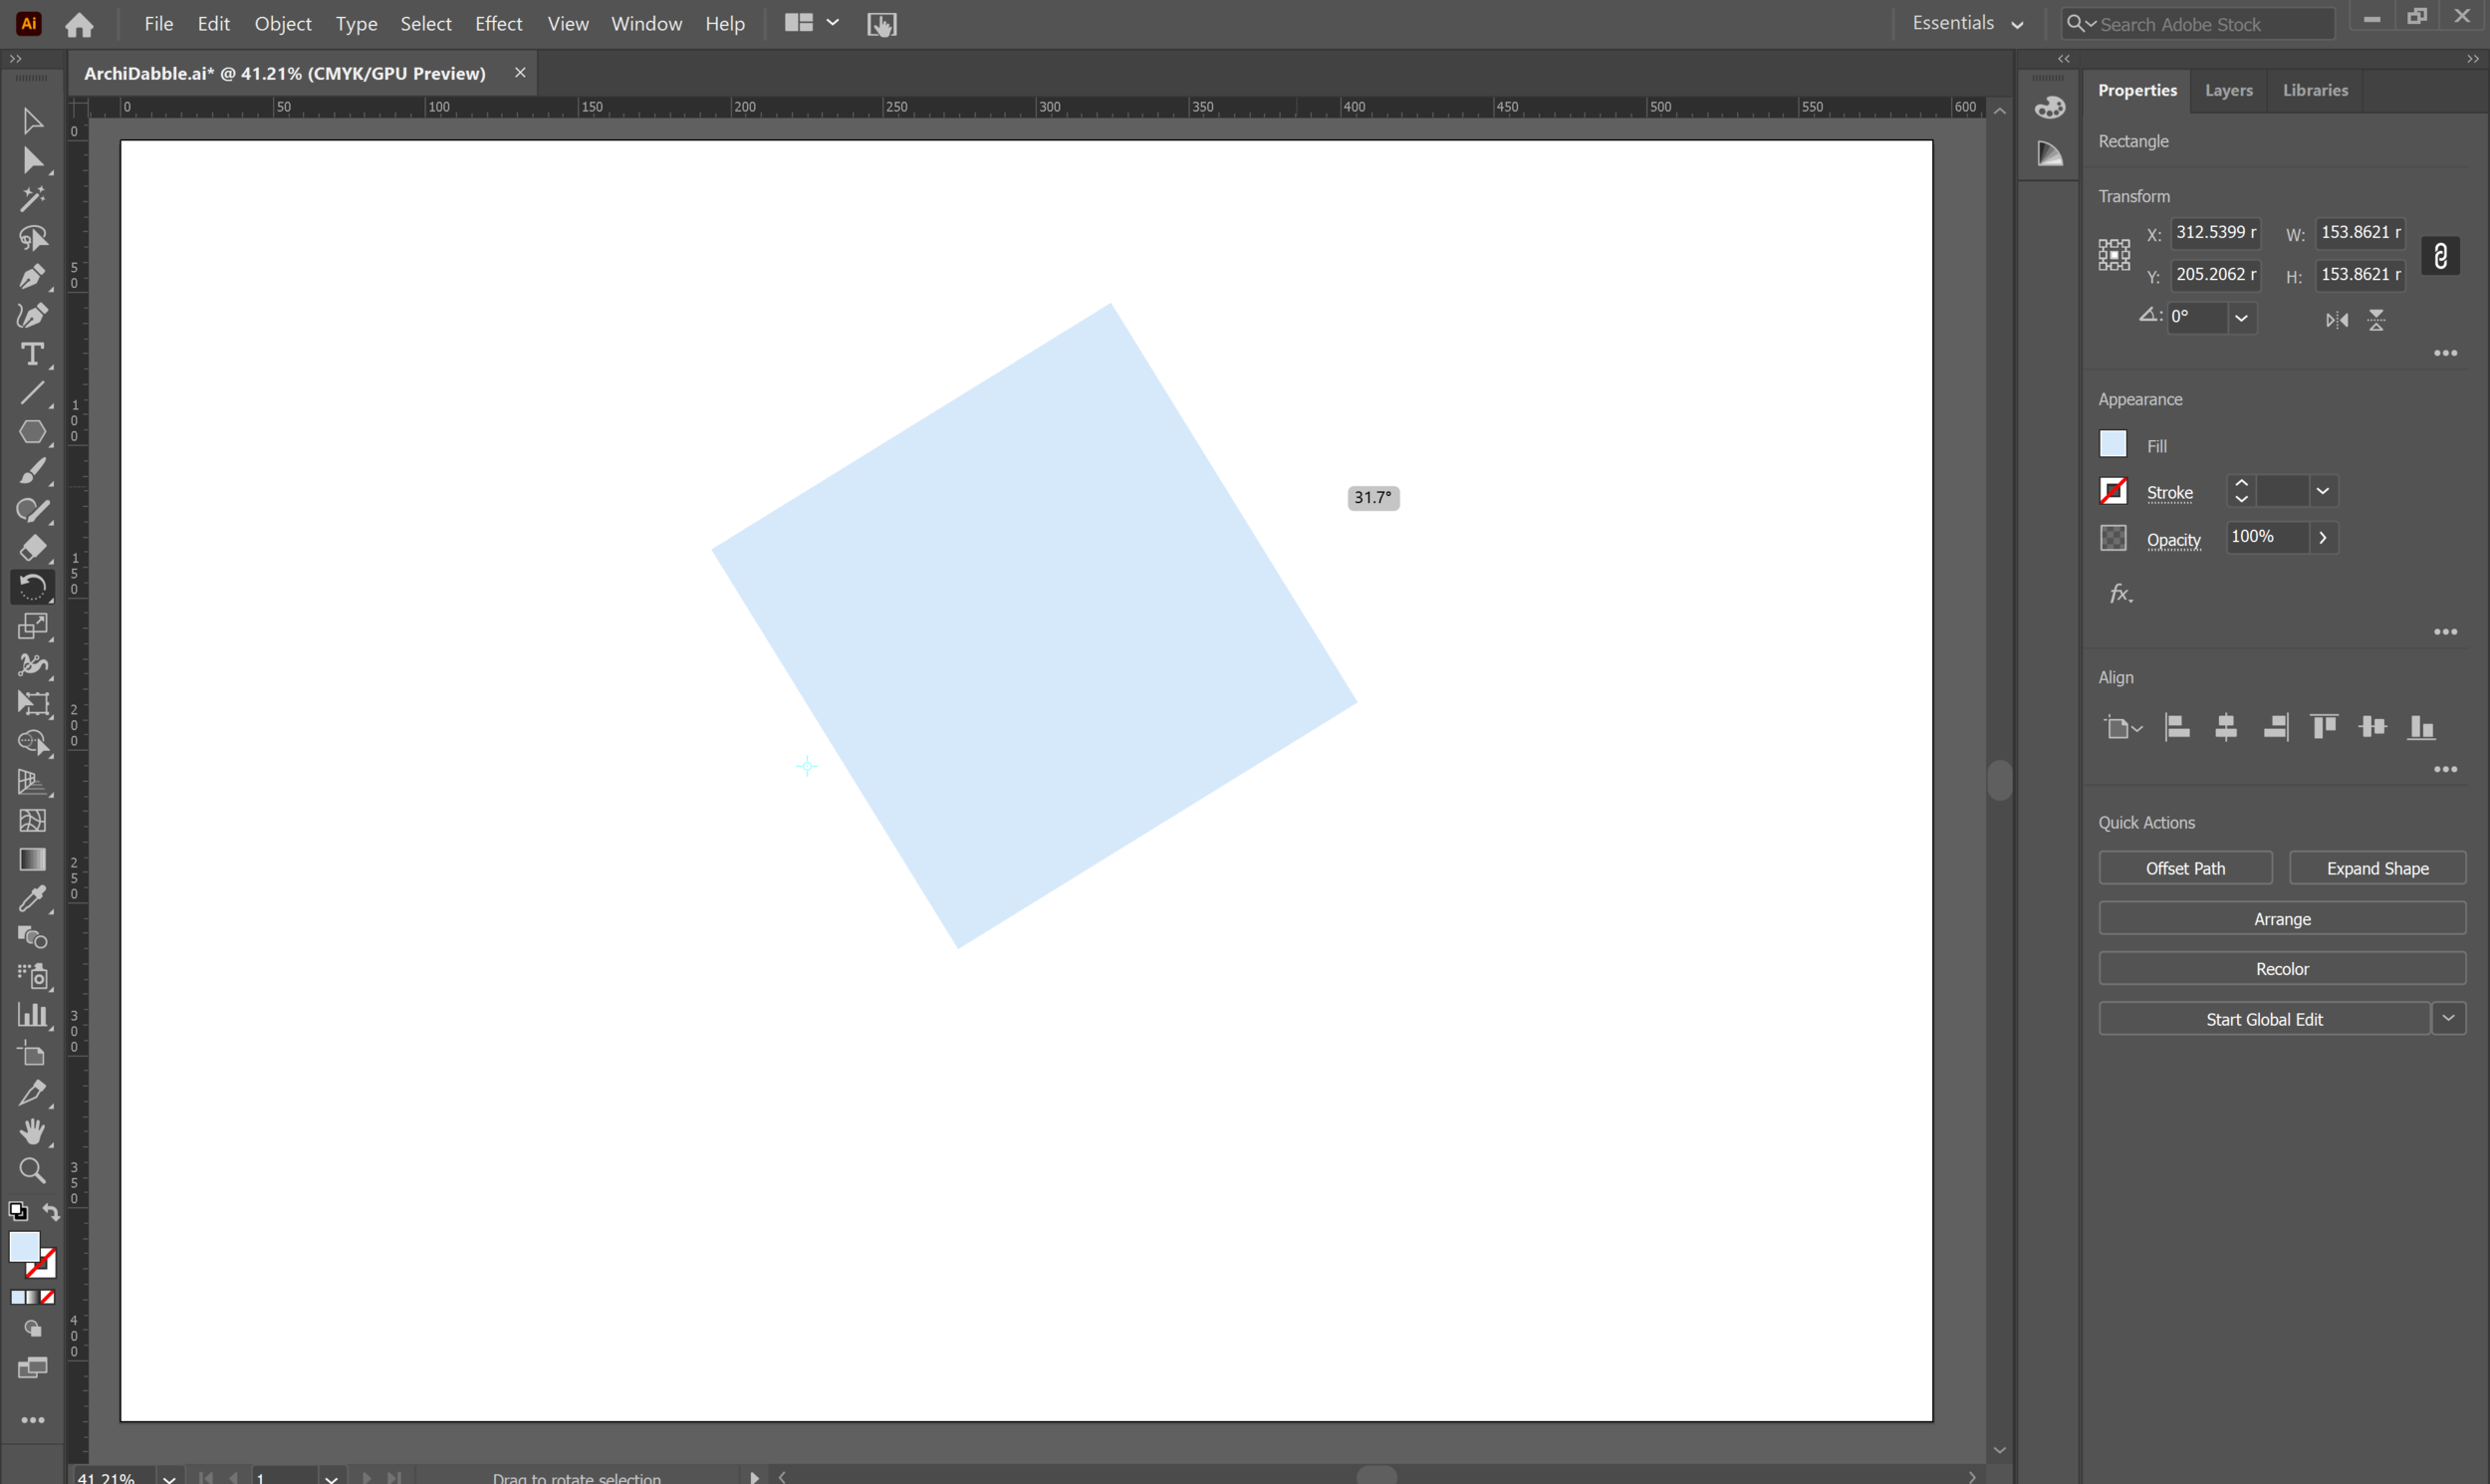
Making sure your object is selected, click and drag to rotate the object around the new set axis.
Shape Builder Tool:
To create more complex shapes, you can combine different shapes or split them up by using the 'Shape Builder Tool'. Let's look at how to use this feature with a circle.
.png)
.png)
.png)

.png)
.png)
.png)
.png)
.png)
.png)
.png)

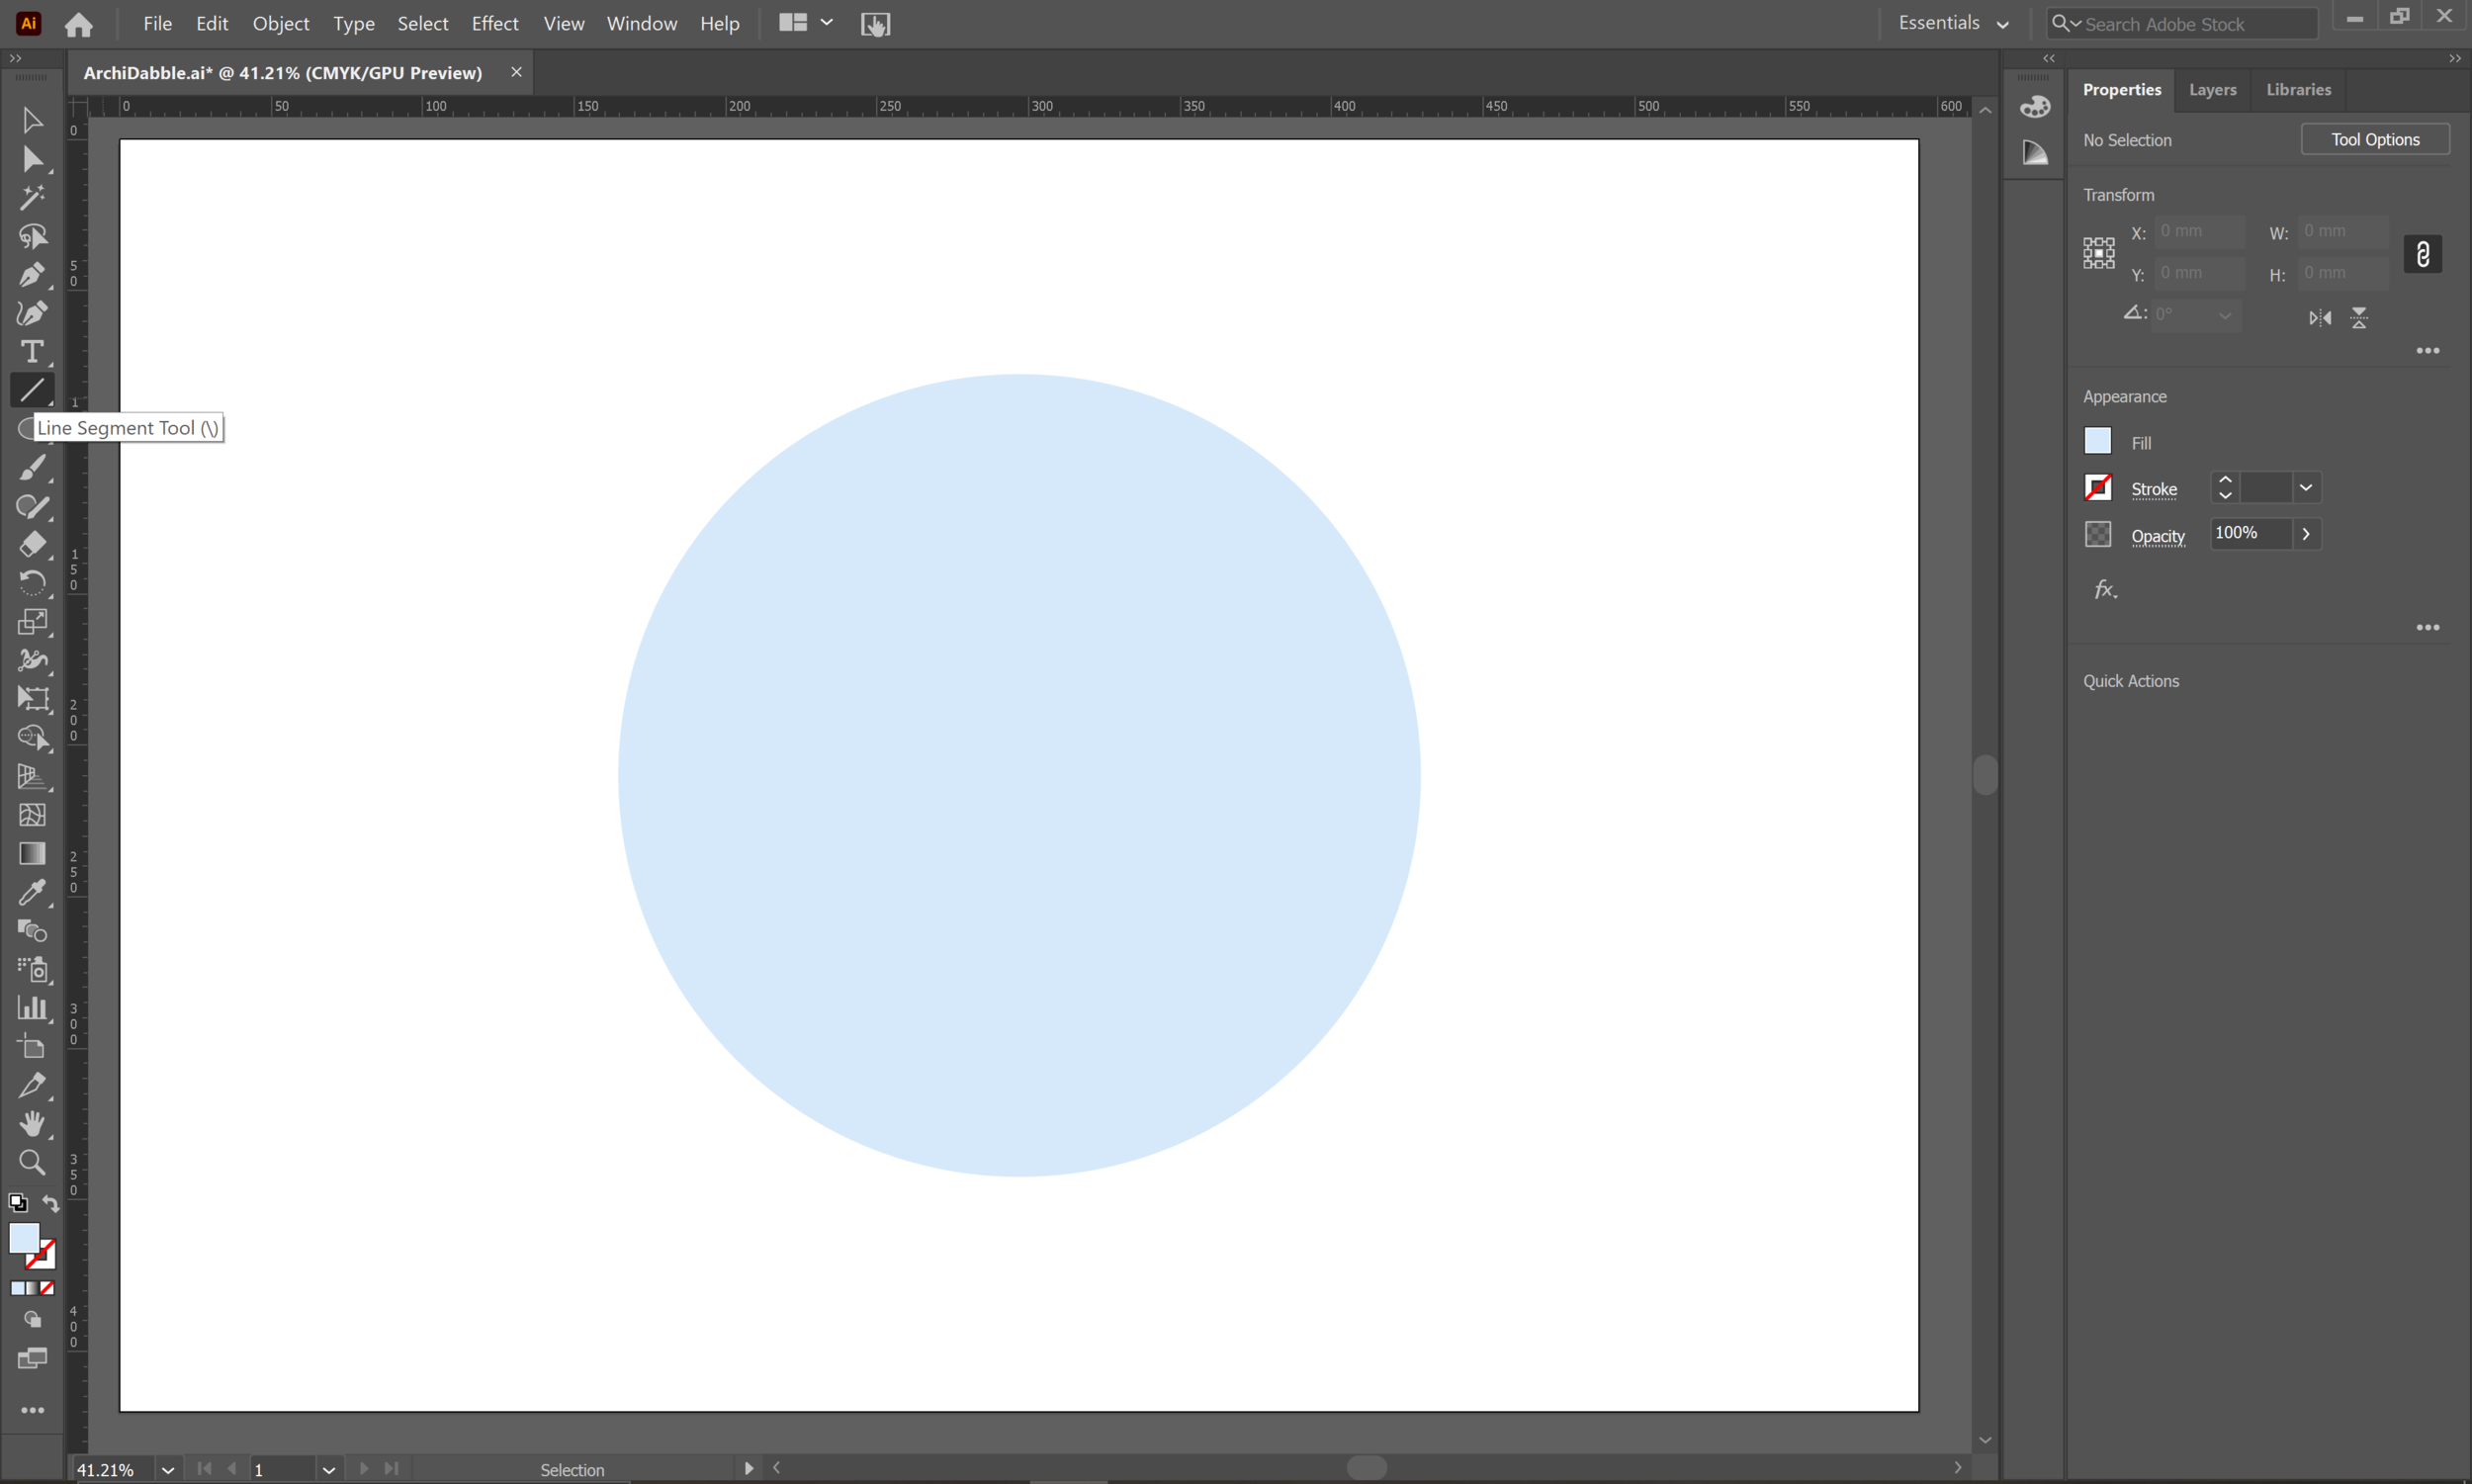
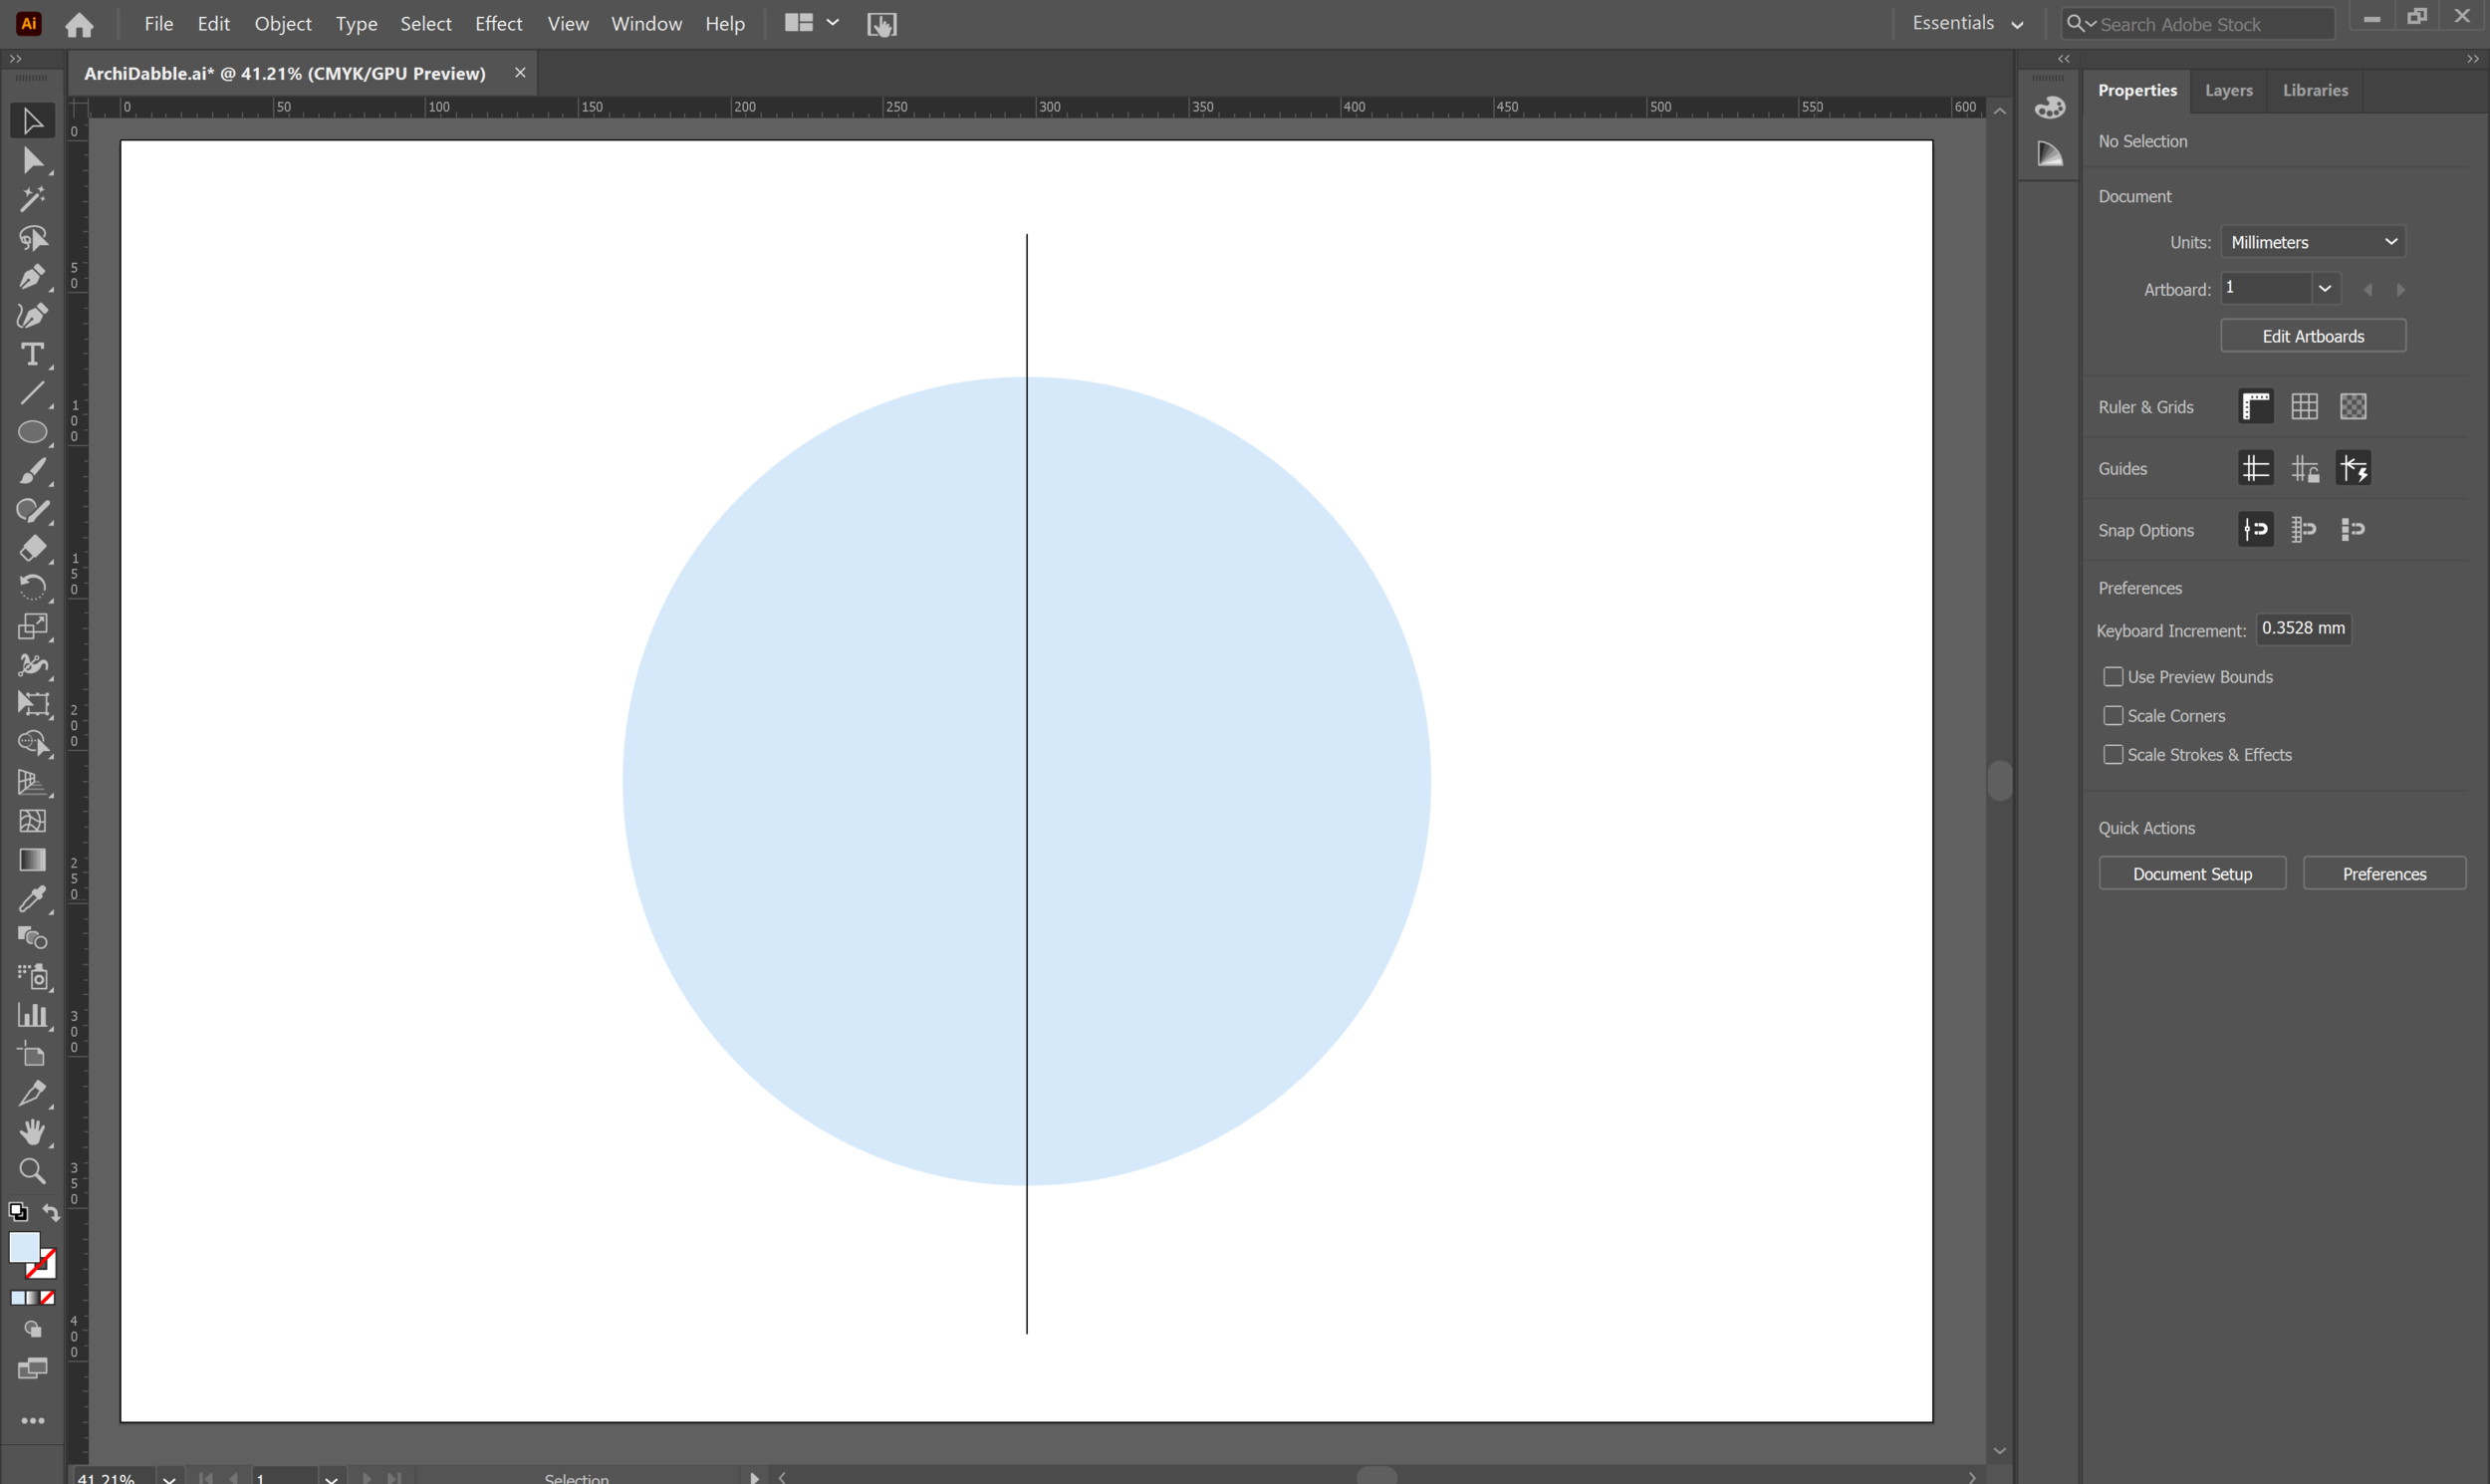
Create a circle on your document, then select the 'Line Segment' tool or use the keyboard shortcut '\'.
Draw a line intersecting through the middle of the circle. This will indicate the two halves of the circle we will create.
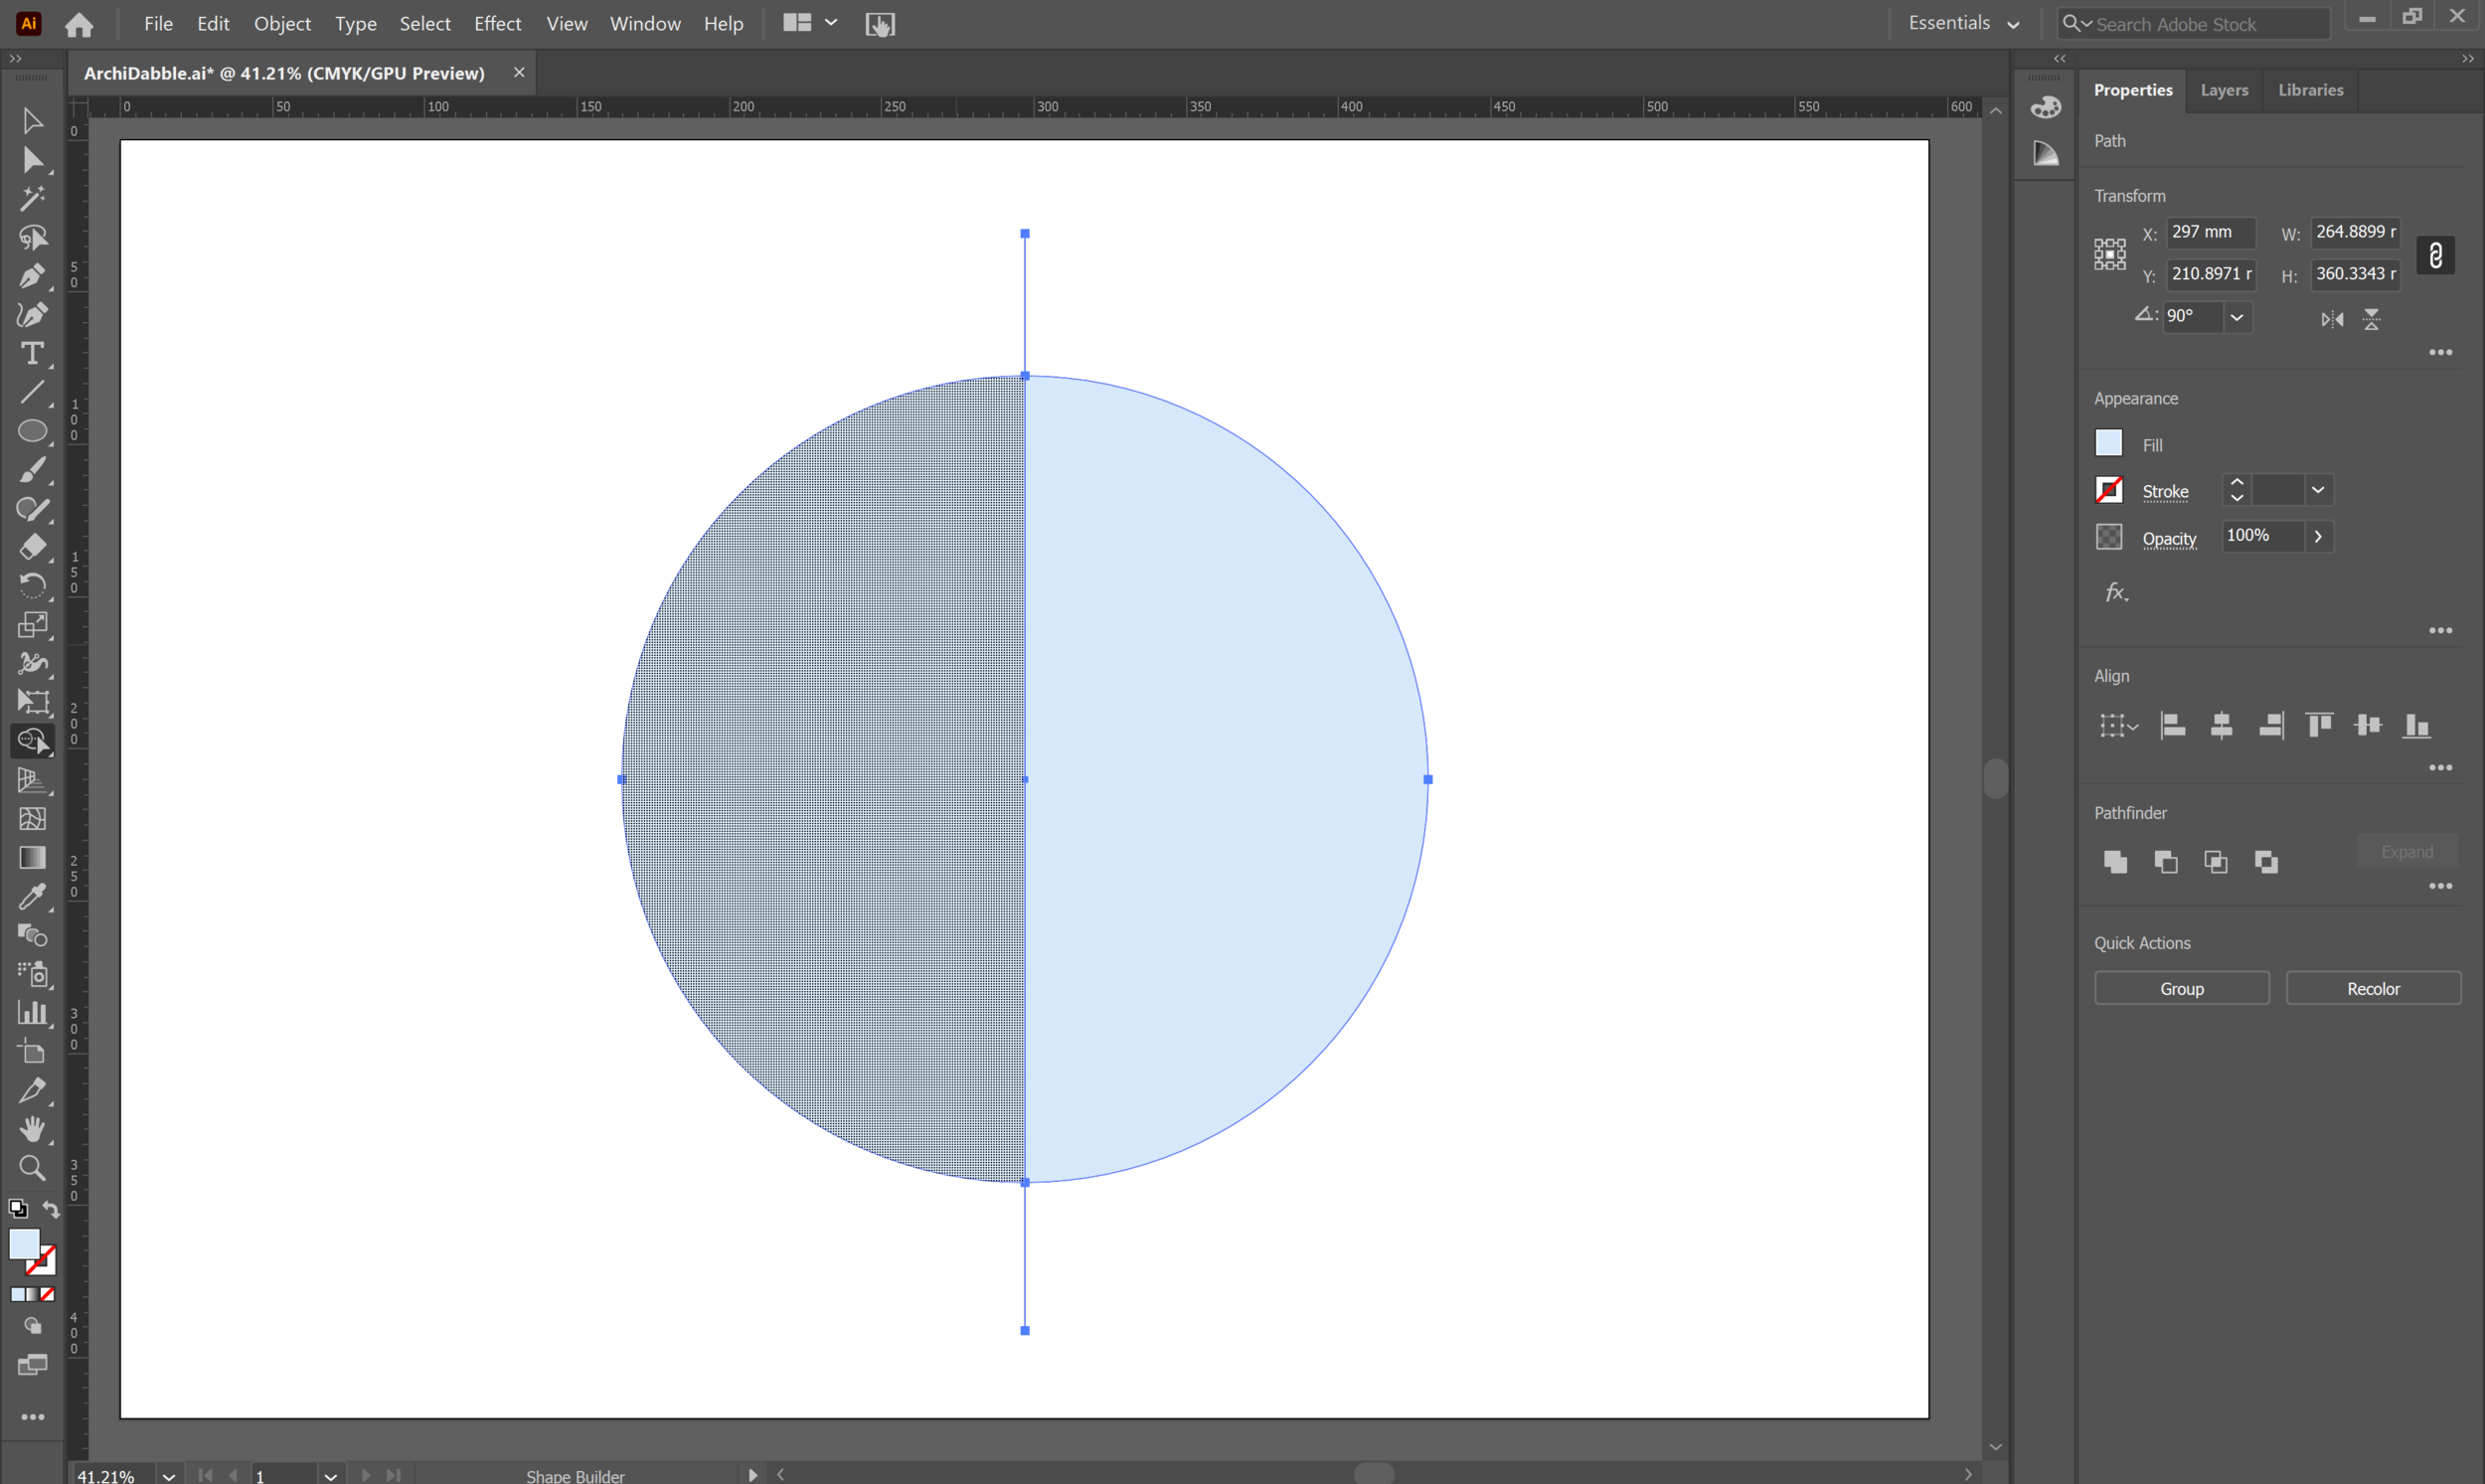
Select both shapes with the 'Selection' tool, then use the 'Shape Builder Tool' or activate it using the keyboard shortcut 'Shift+M'.
Click on one of the semi-circles you have created to split the shape.
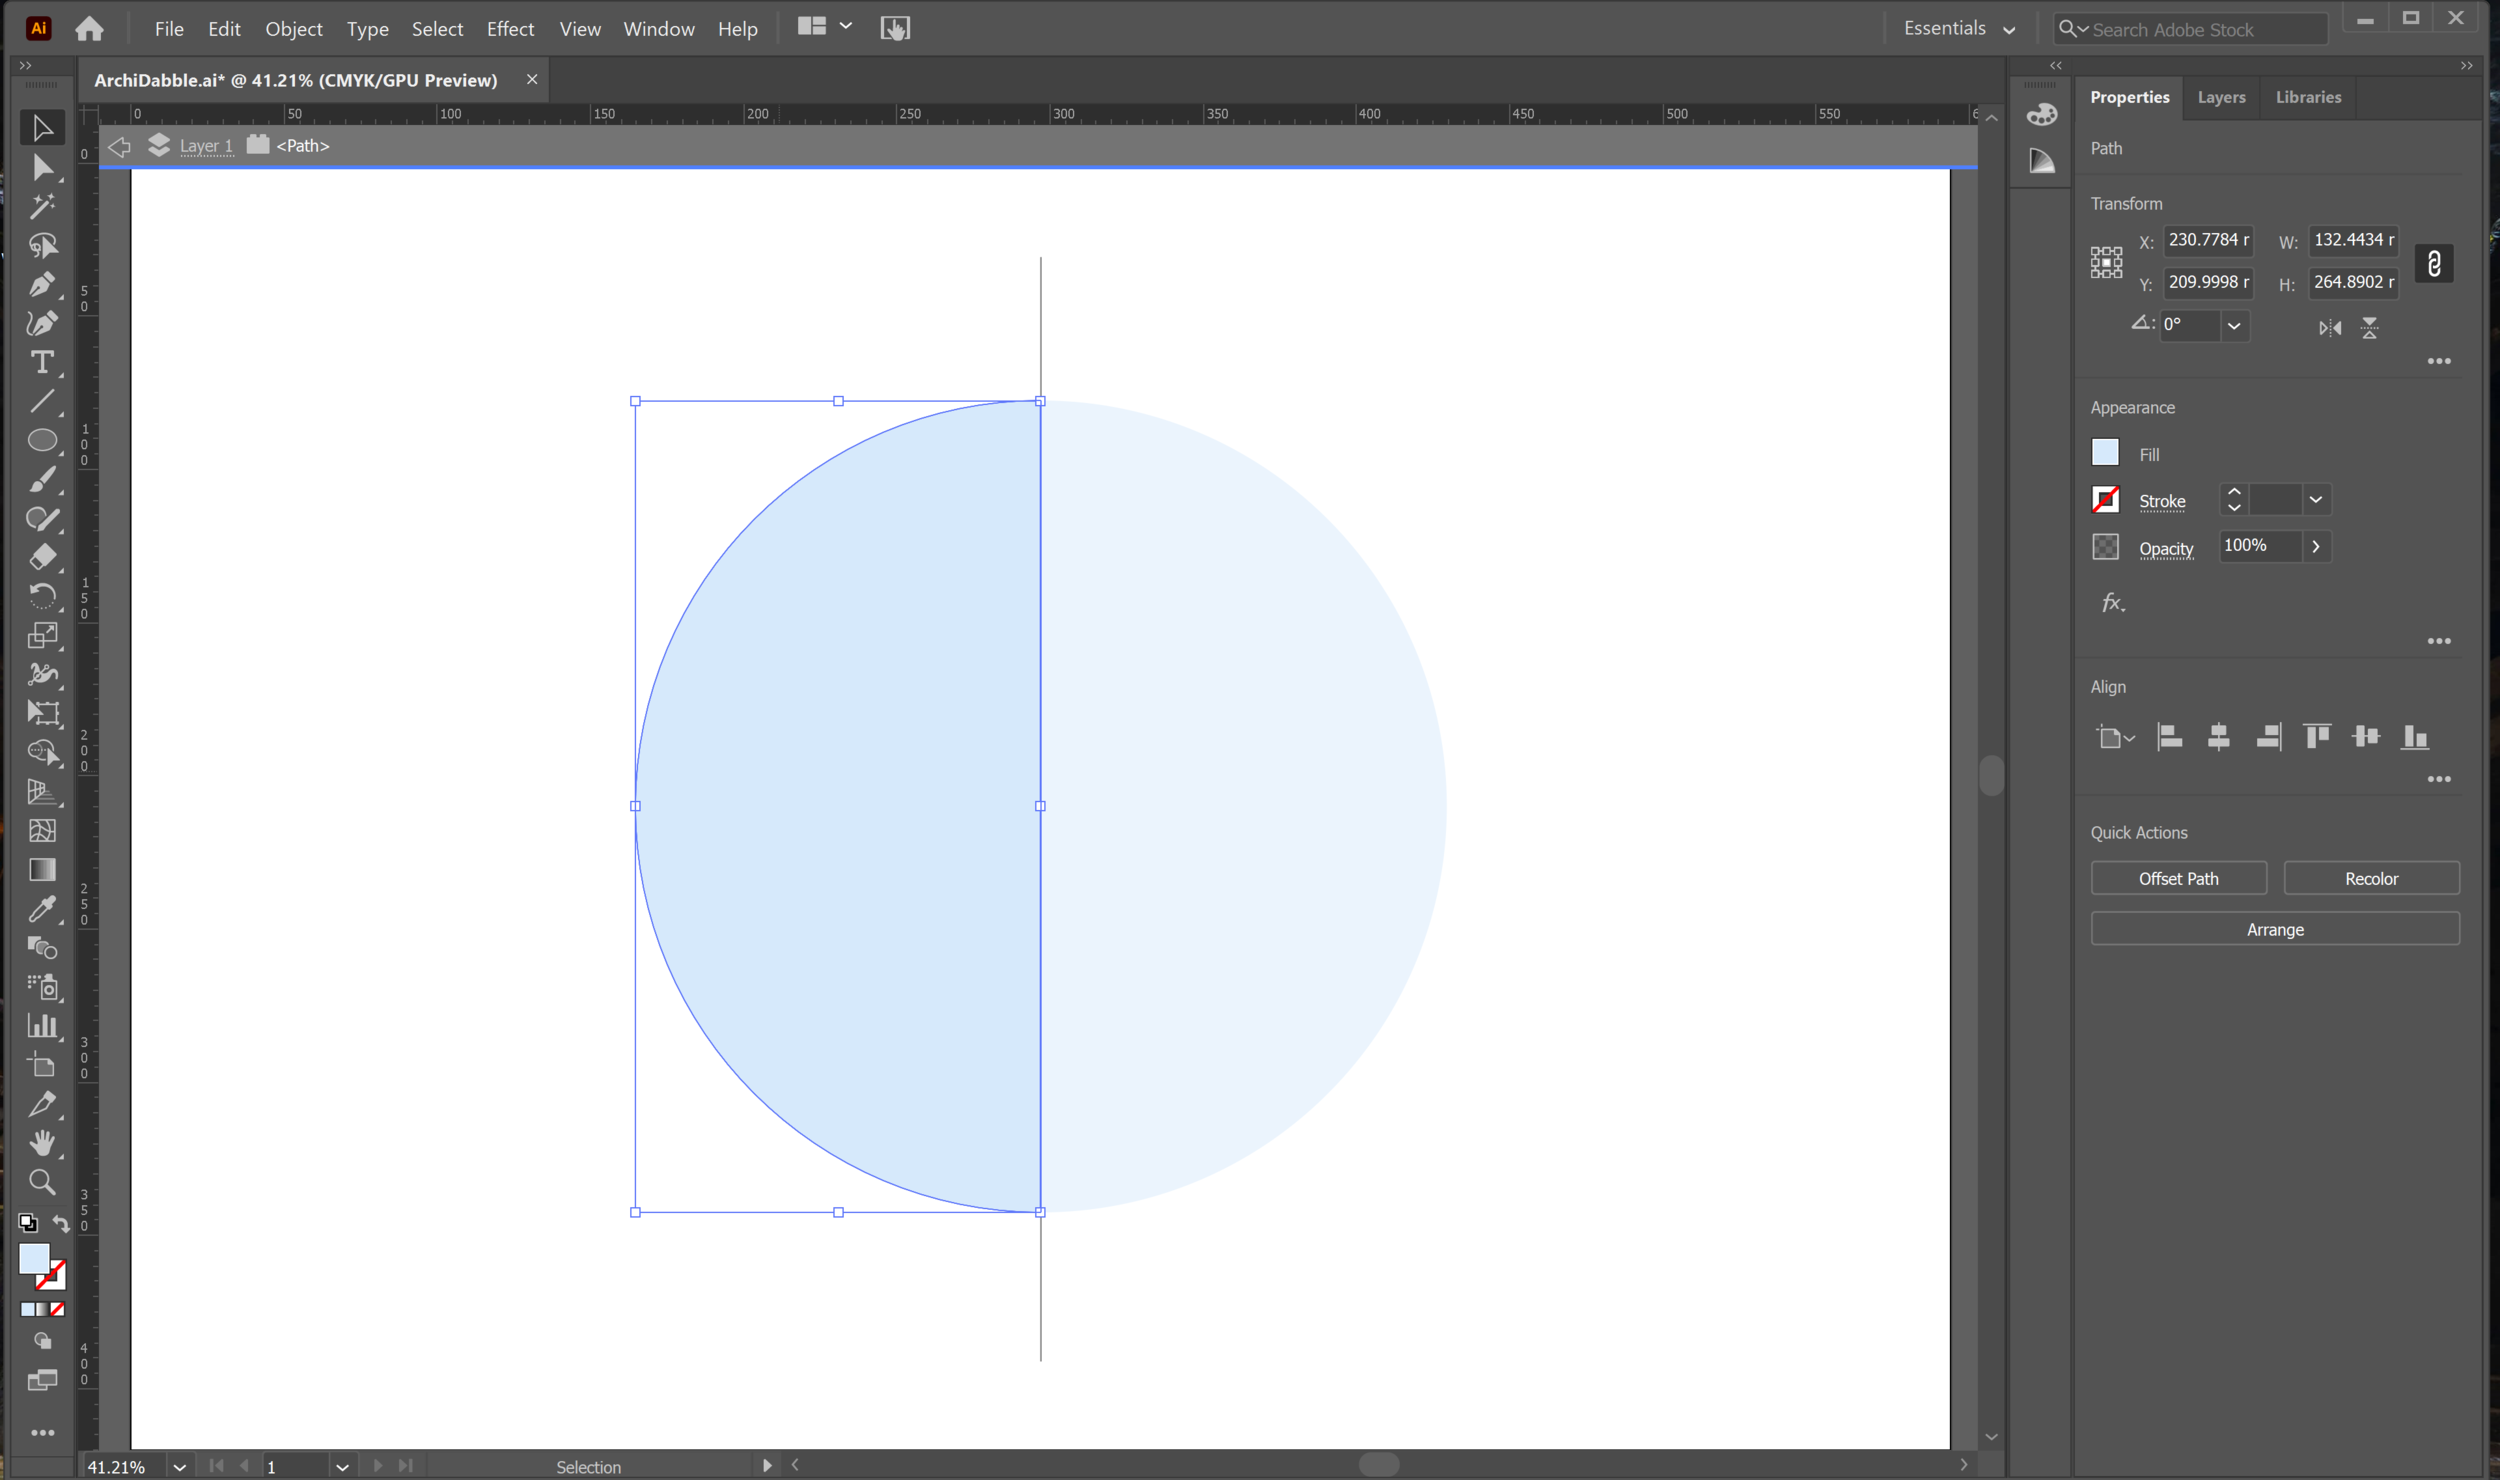
Switch back to the 'Selection' tool (V) and double click on the half that you clicked previously. This will put the shape in isolation mode - click and drag to move it away from the other half.
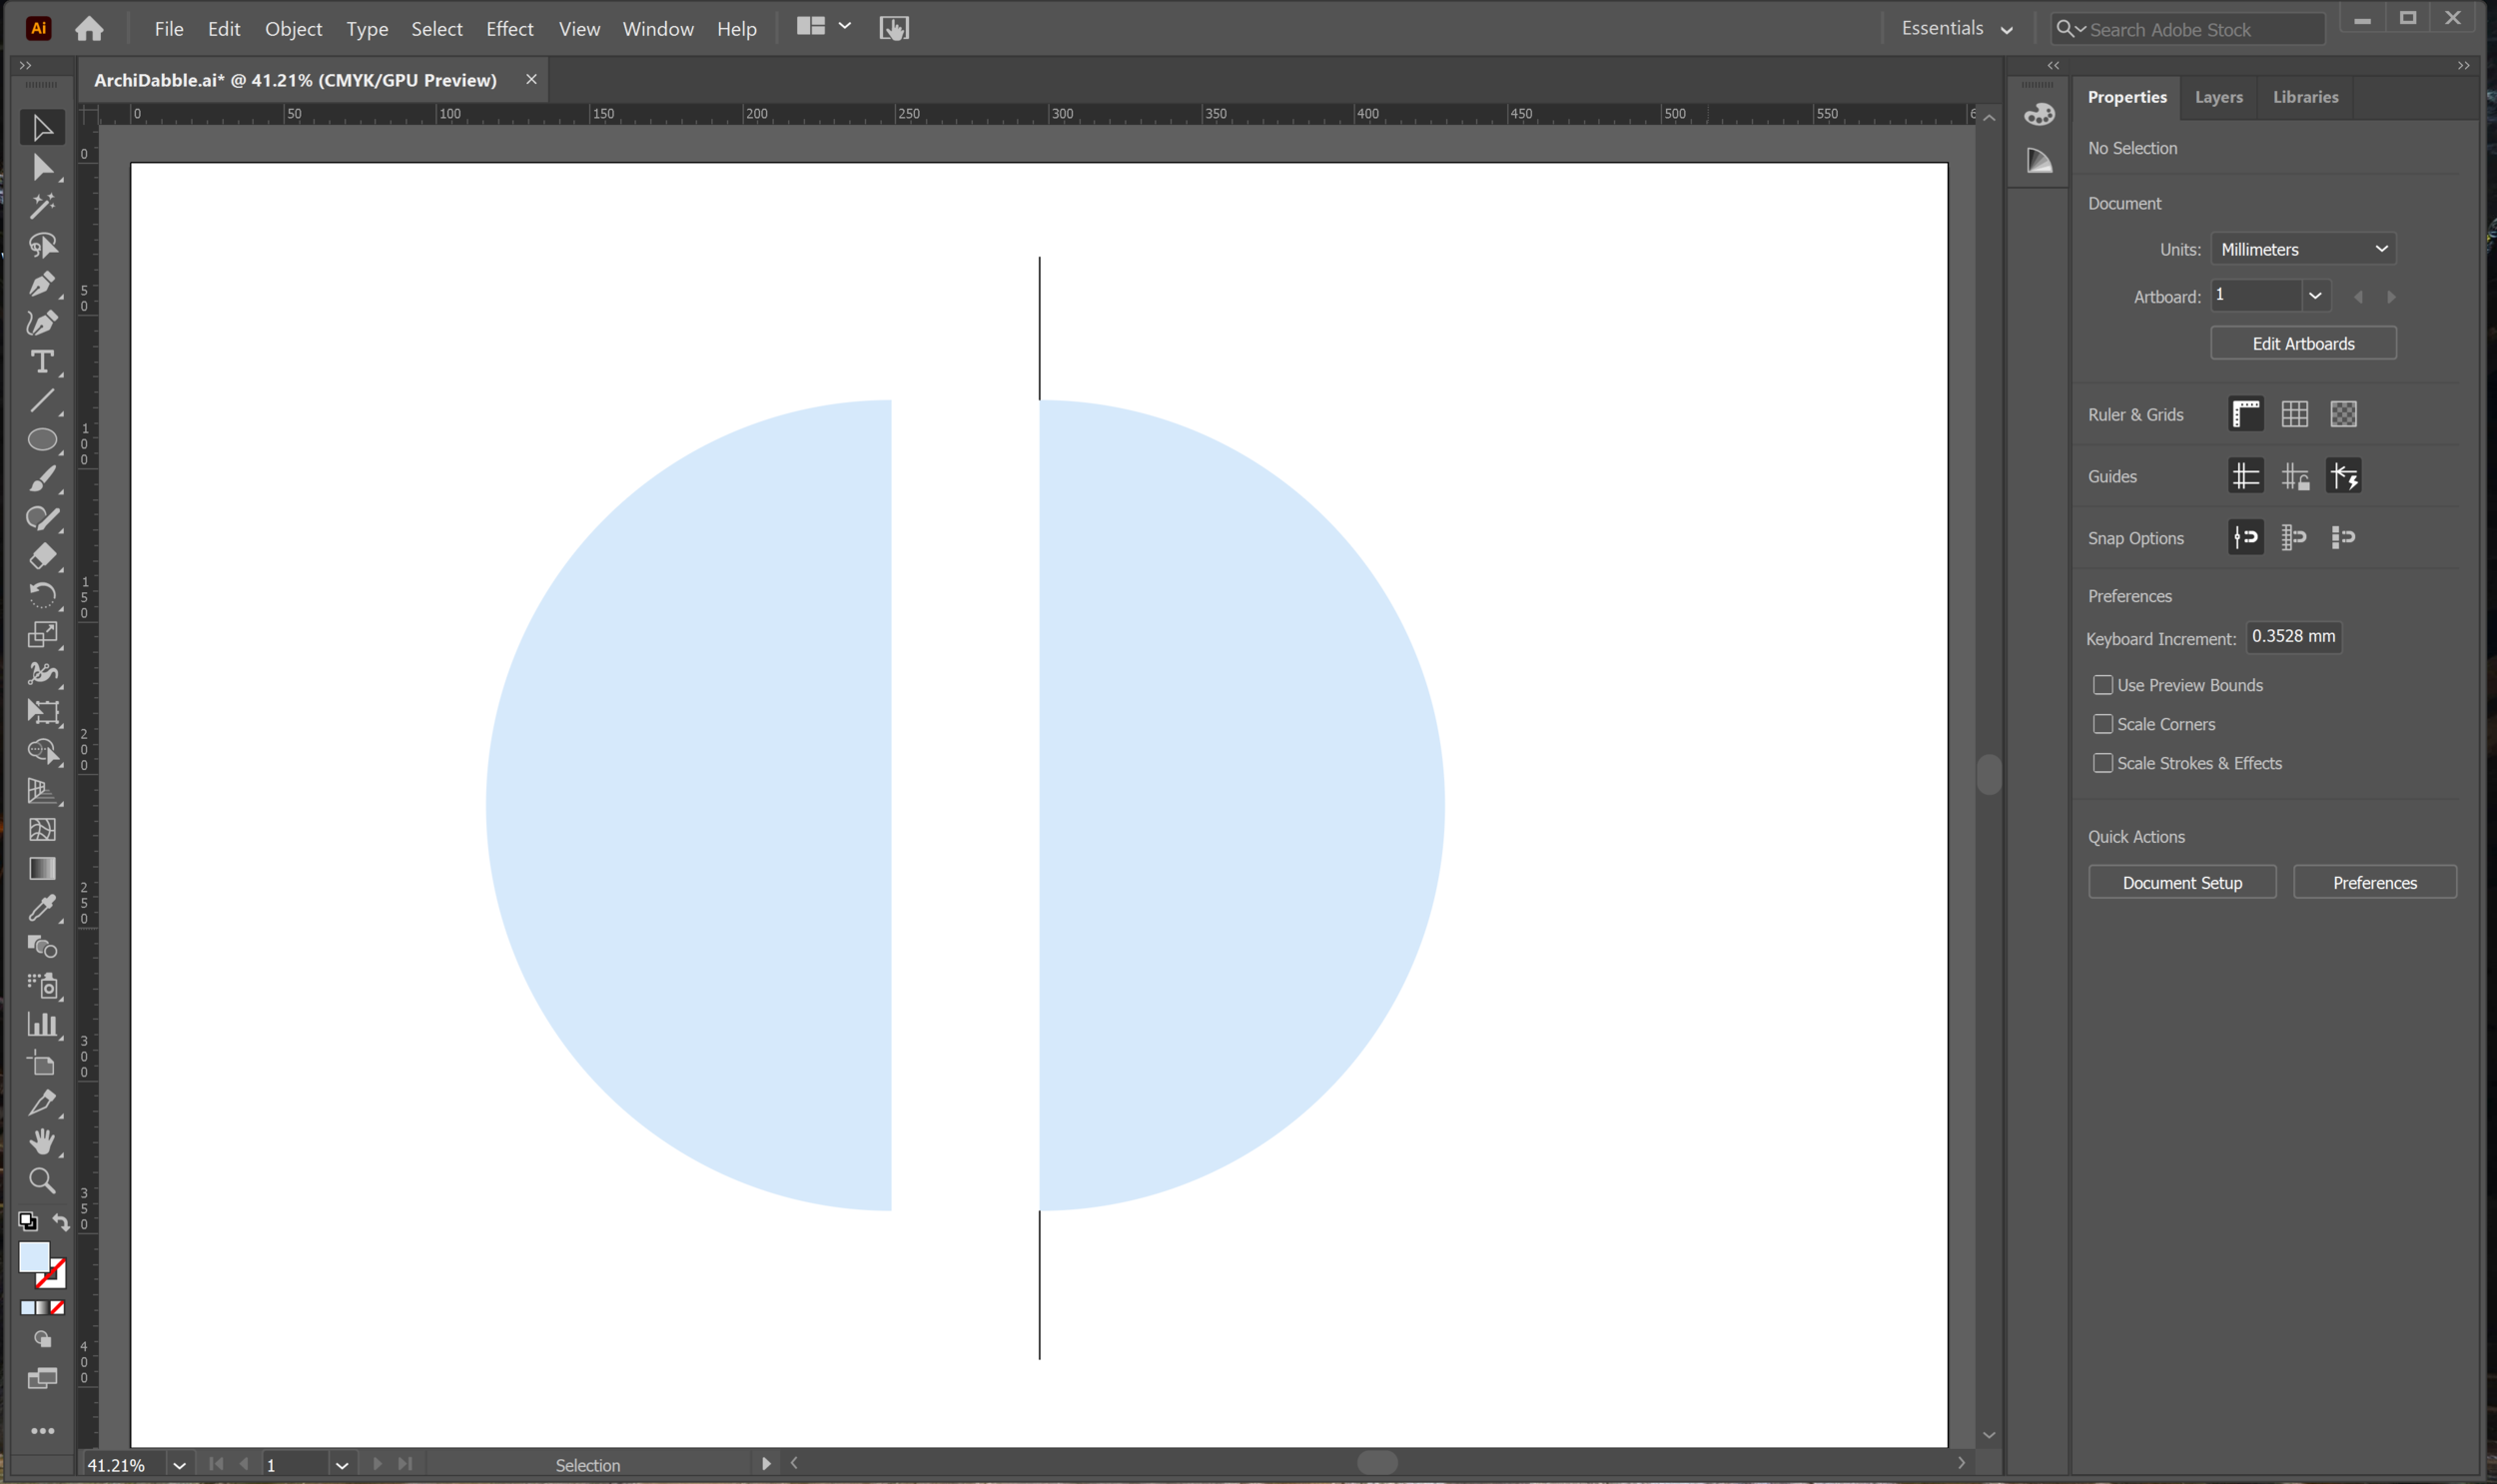
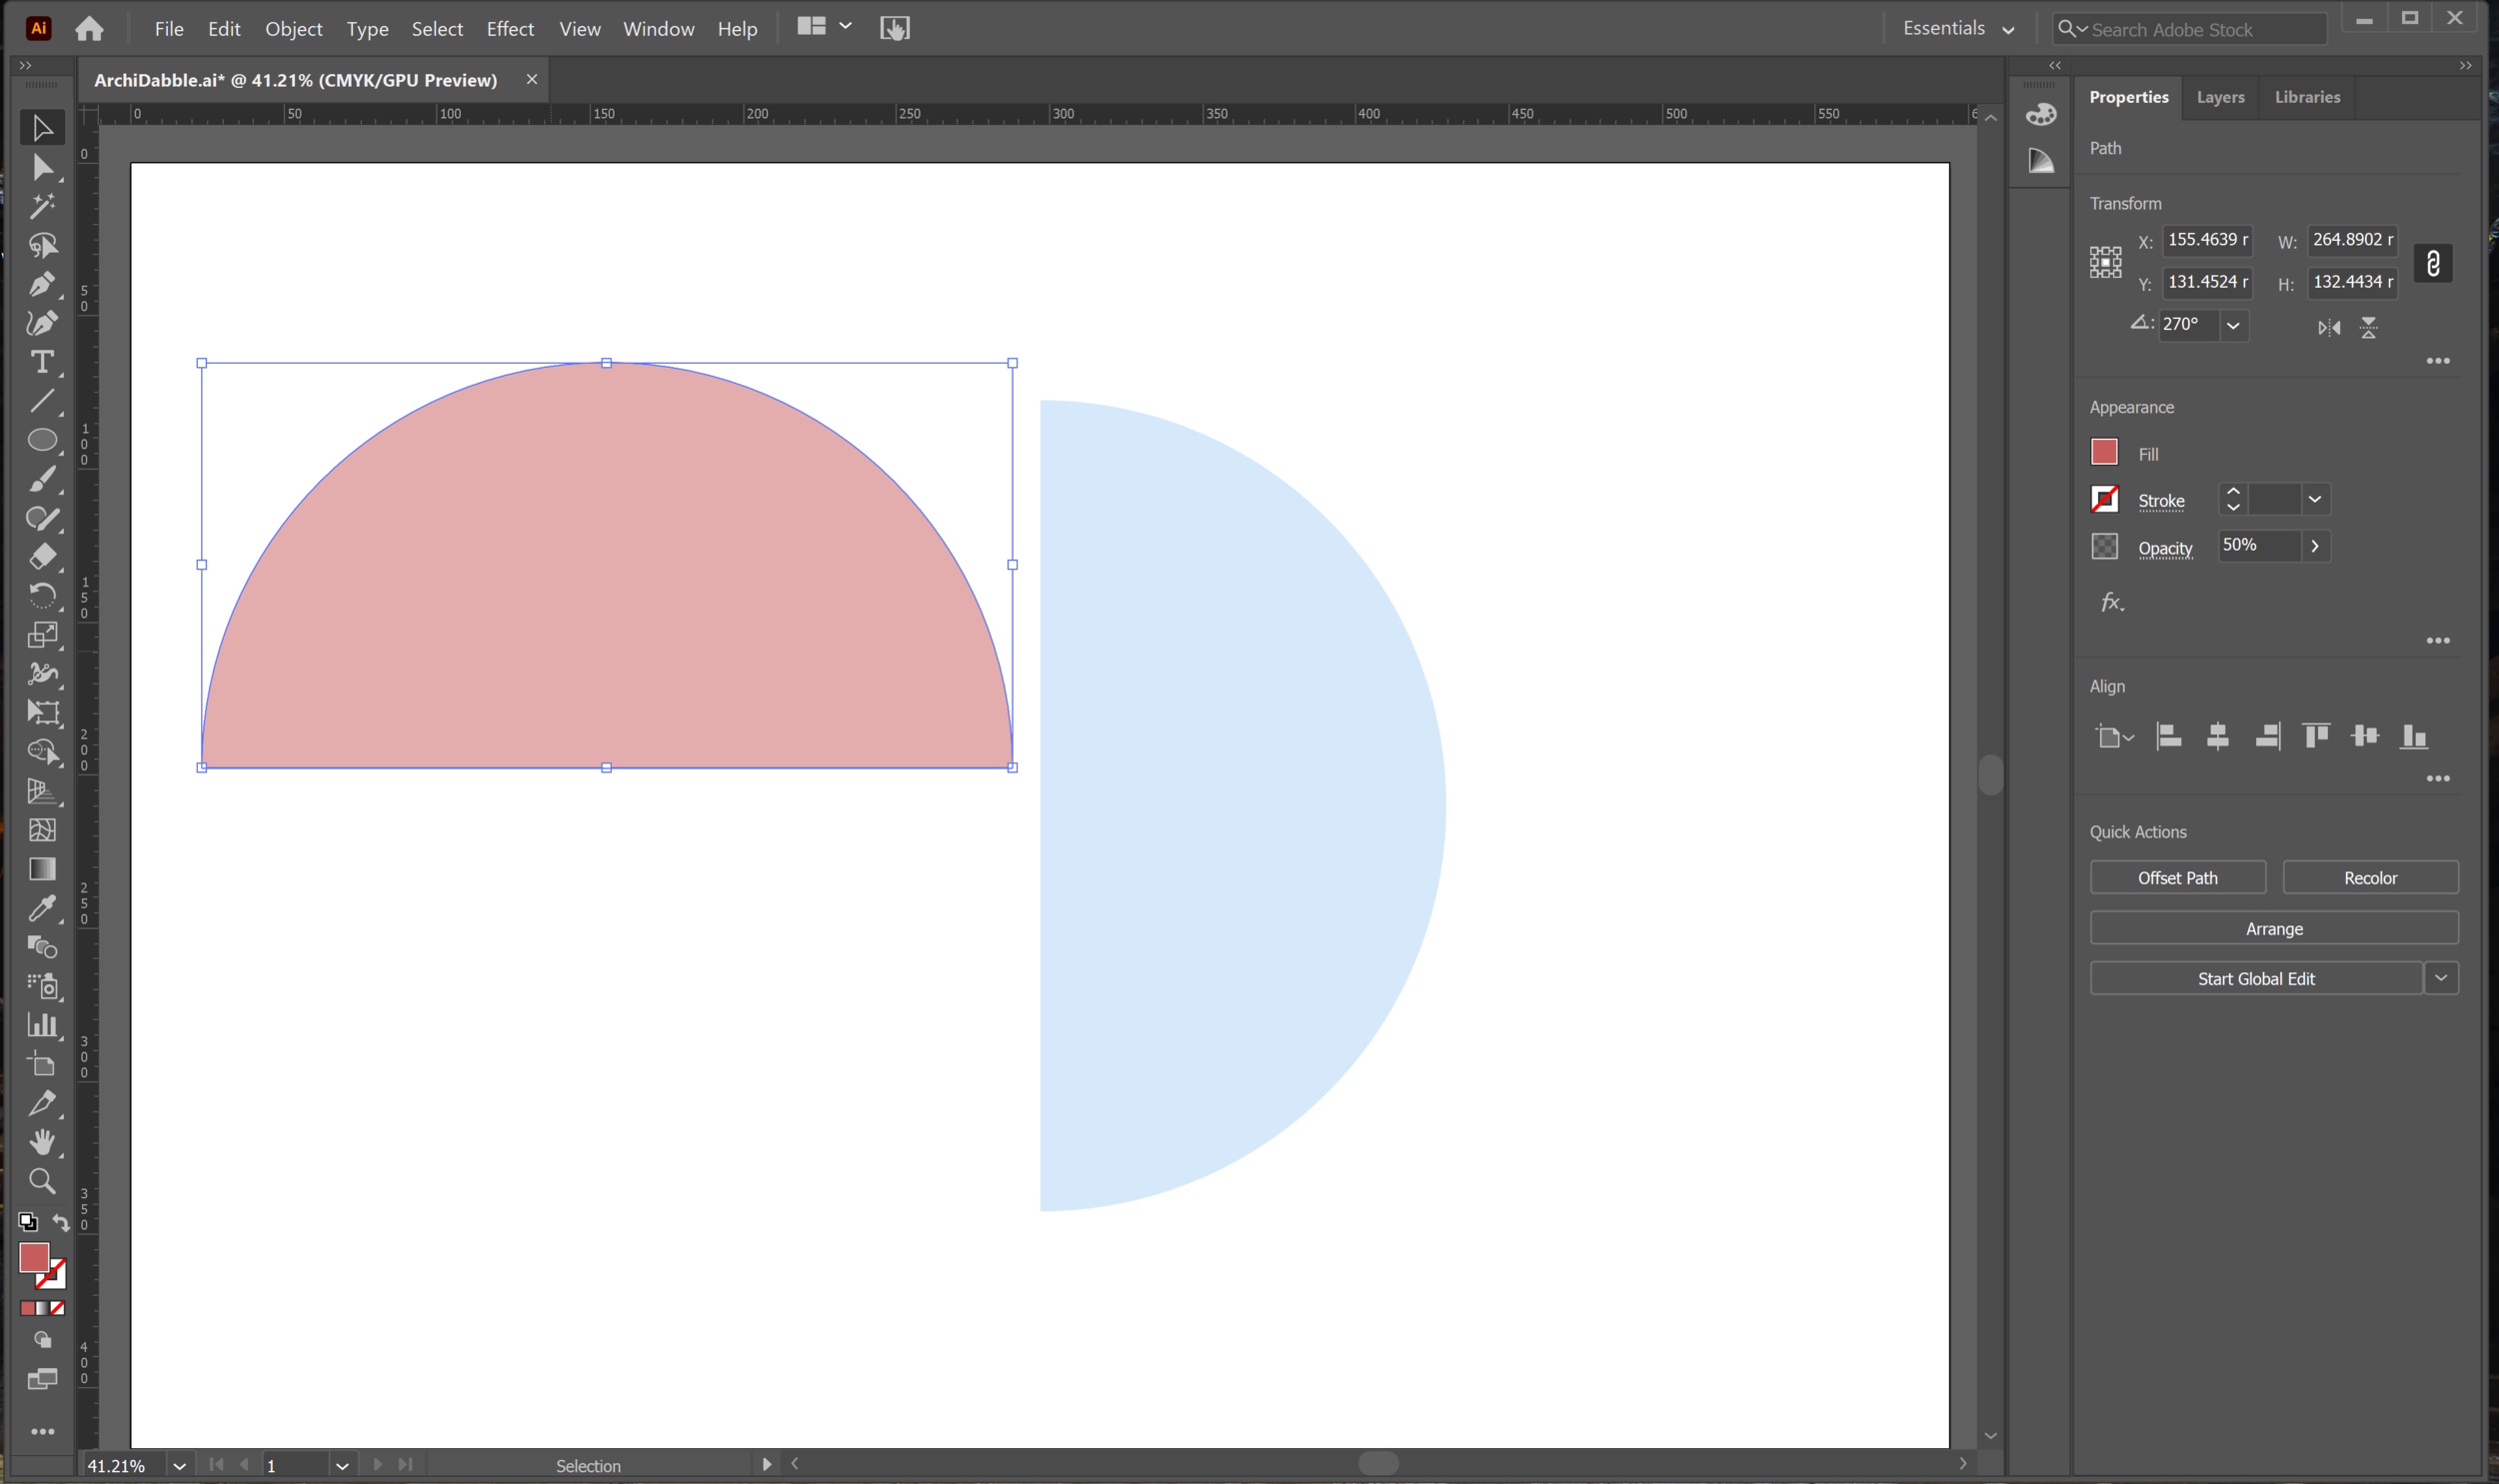
Double click elsewhere on the page to exit isolation mode. You should now have two semicircles to work with. Let's have a look at how to combine these shapes. I have made one half red and the other blue to make these steps clearer.
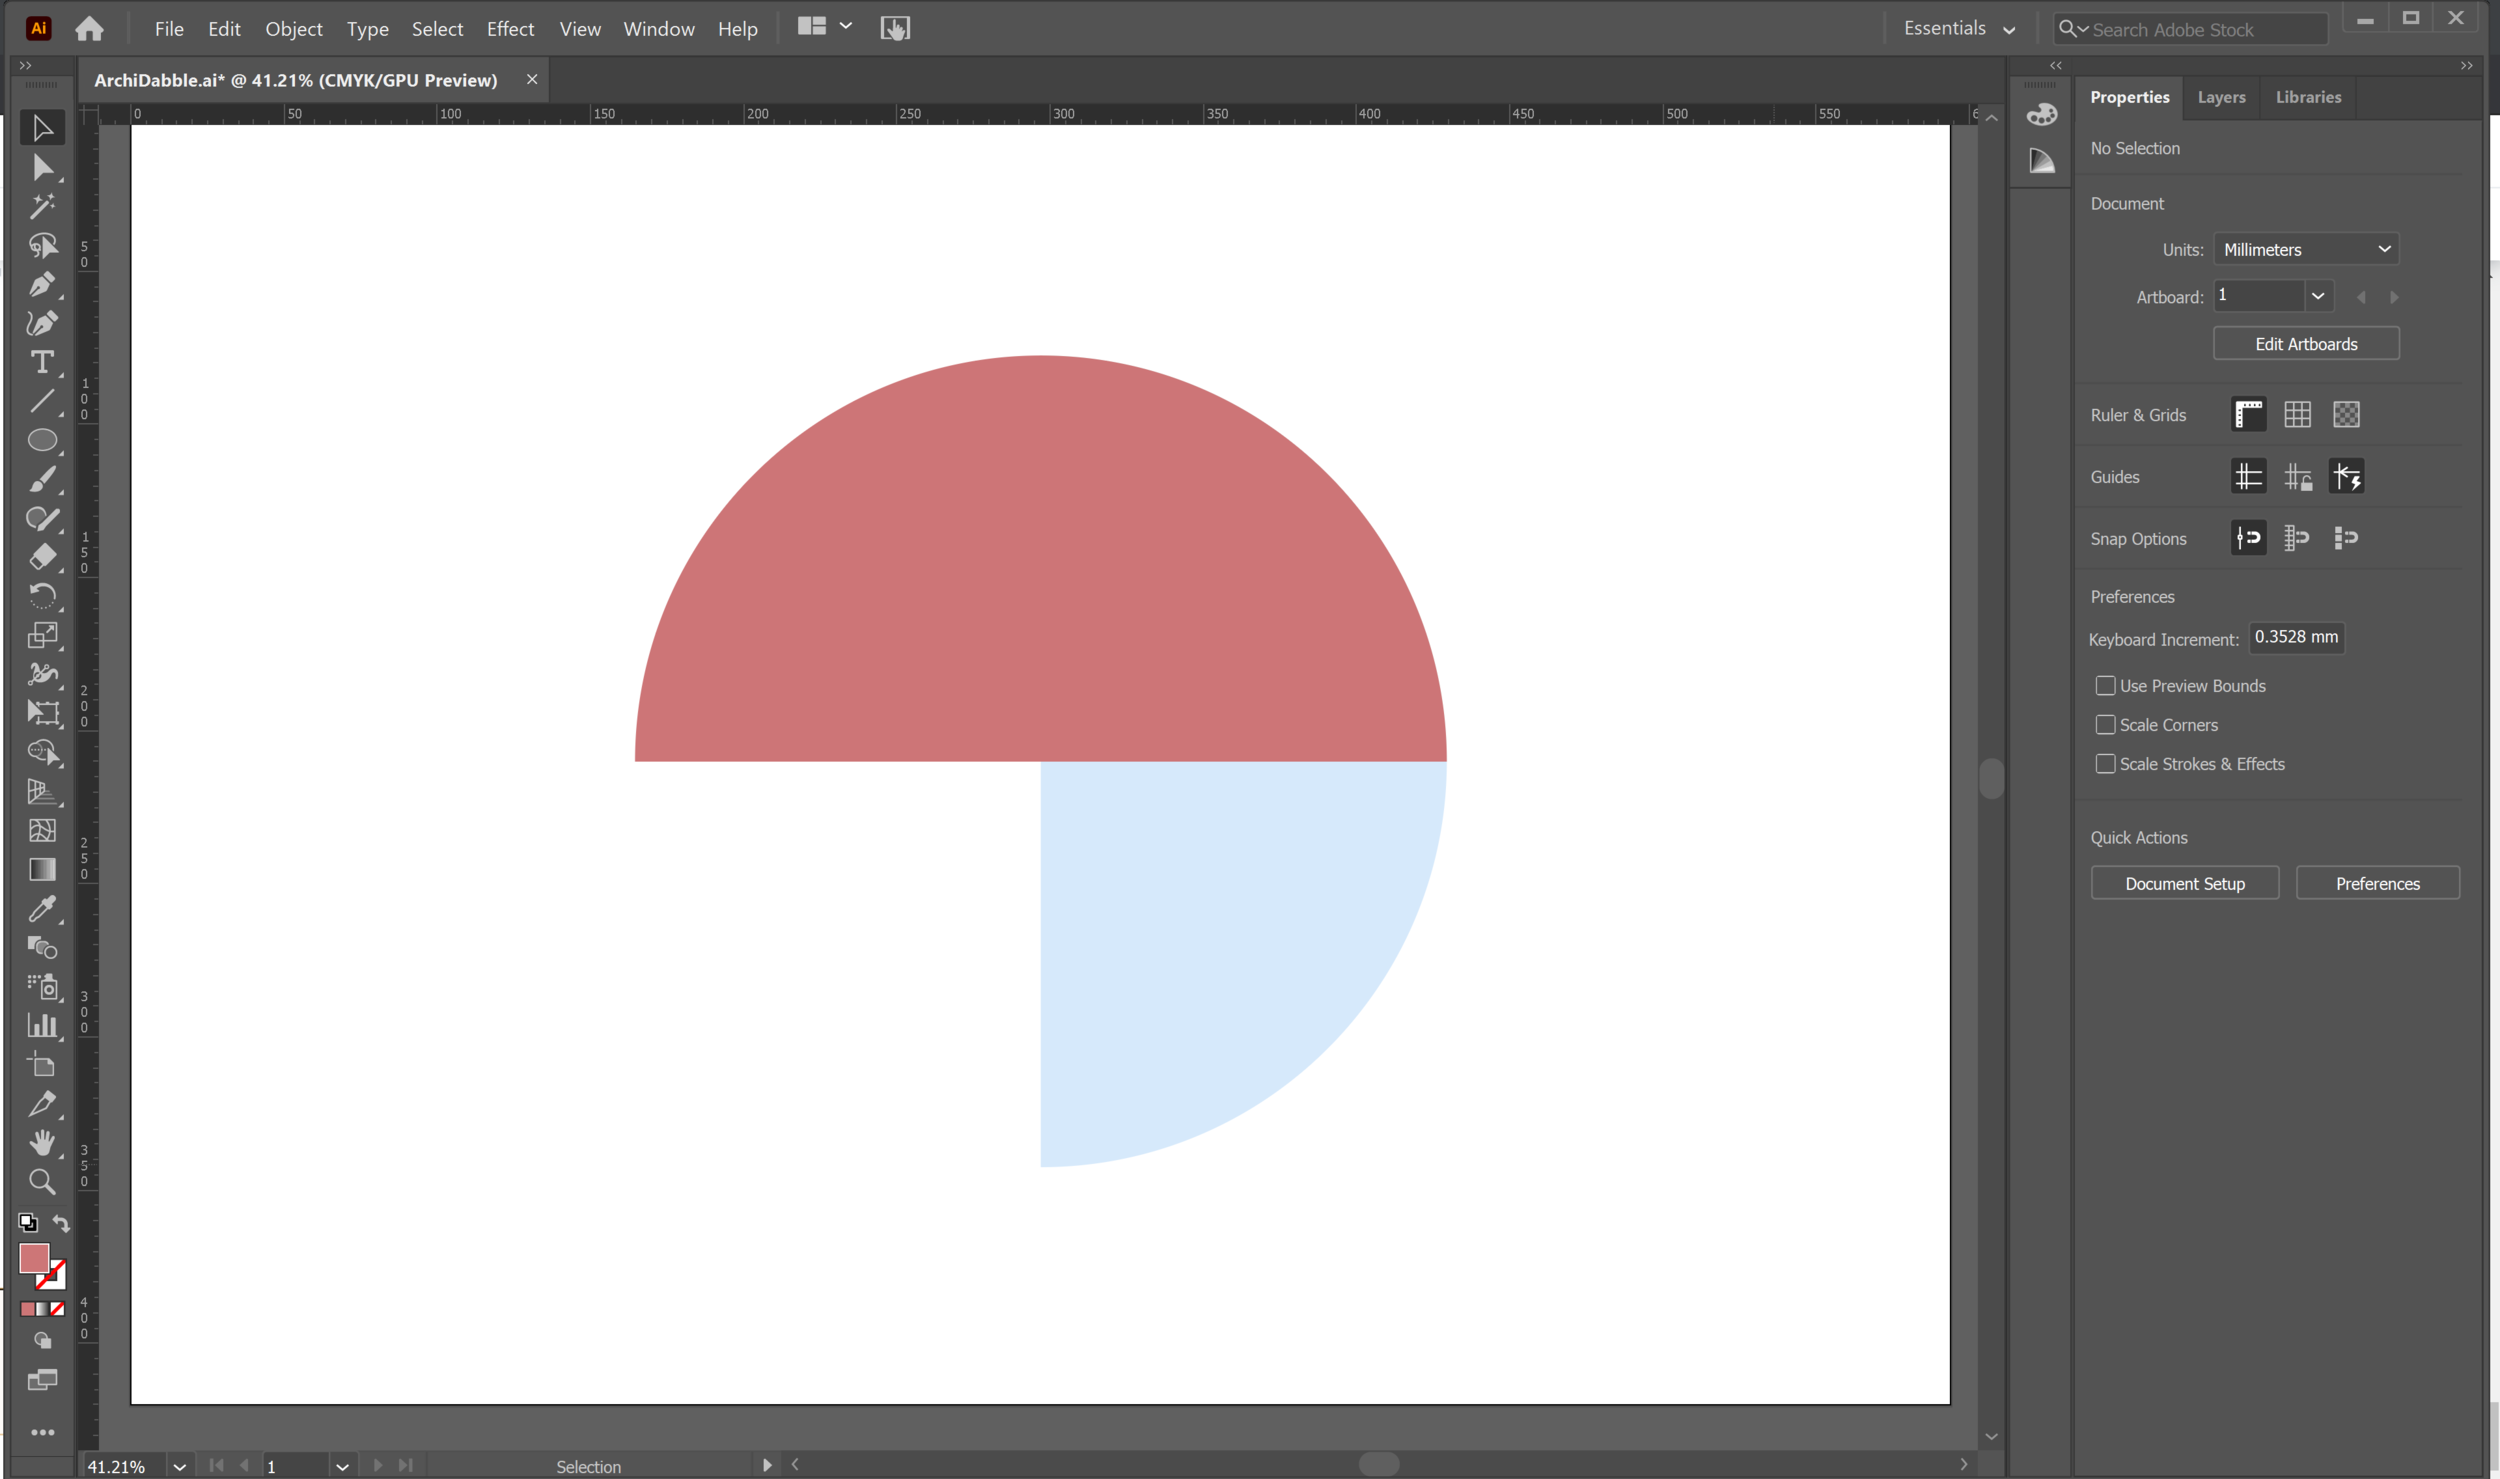
Rotate one semicircle 90 degrees and align it with the other shape as desired.
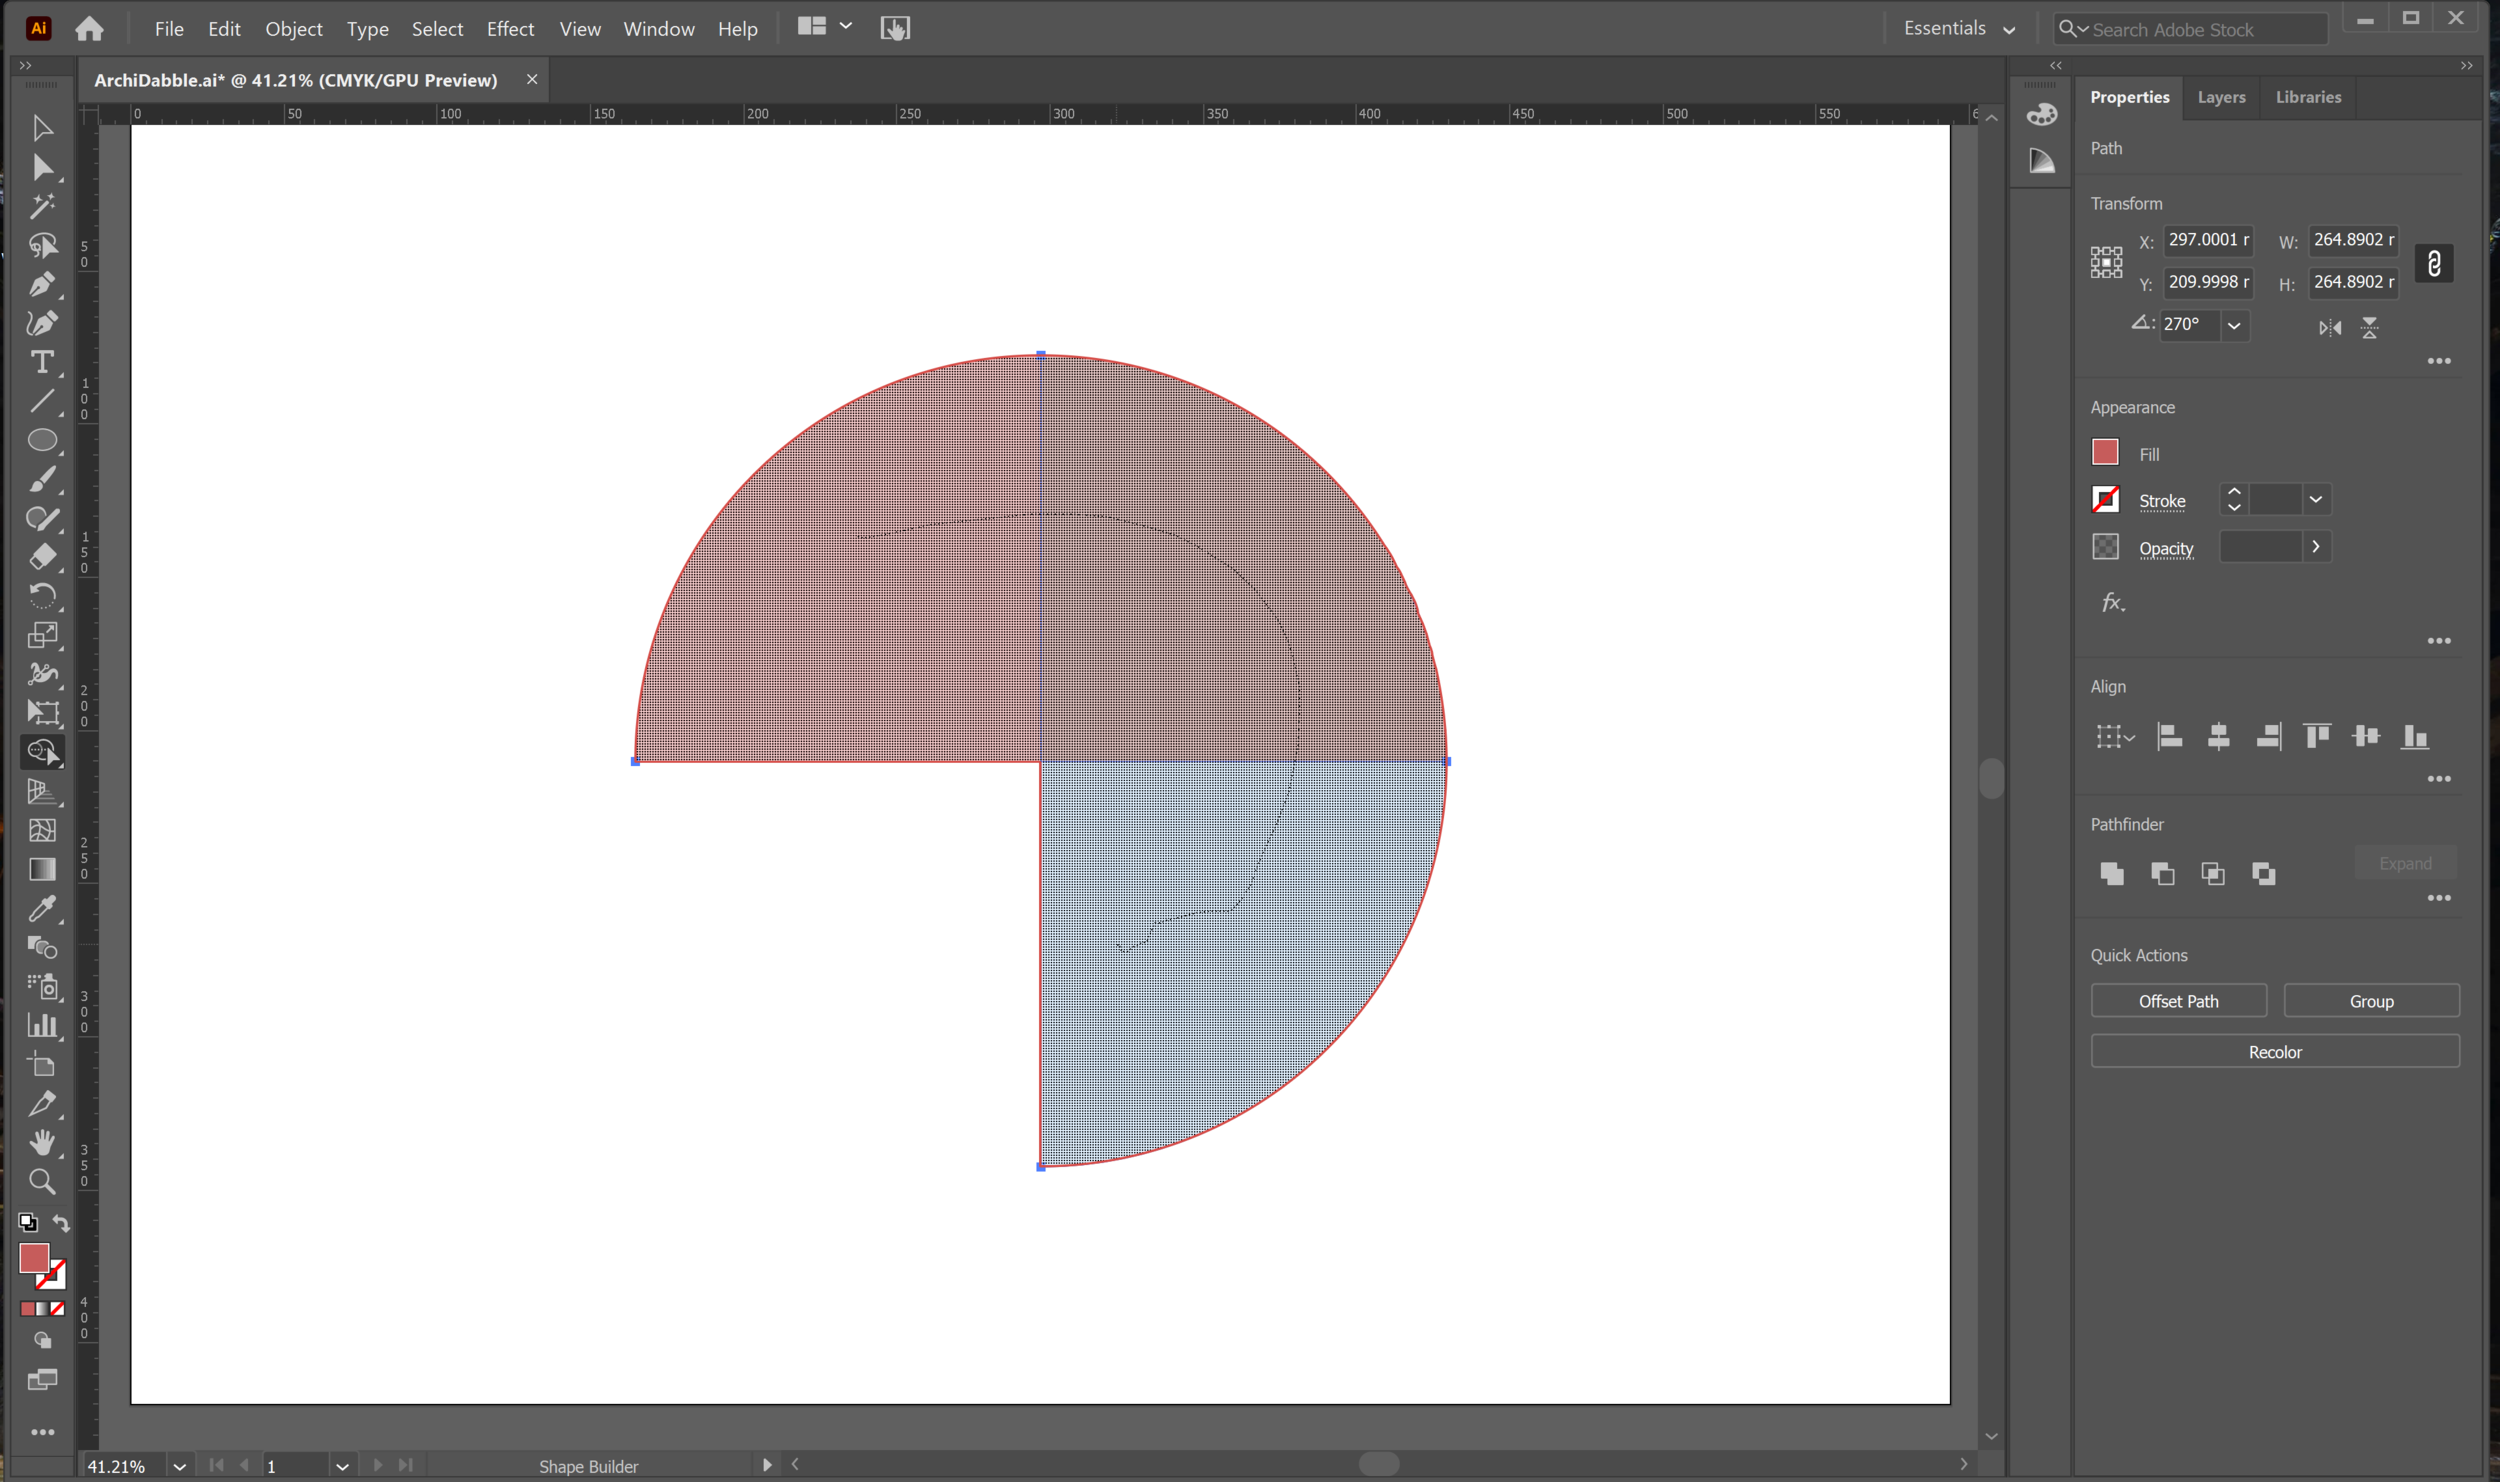
Select all the objects and activate the 'Shape Builder' tool. Click and drag to create a path that crosses over all the objects you want to combine.
You should now be able to see a single shape from the ones you've combined.
Pen Tool:
The pen tool allows you to be more flexible with the shapes you make, whilst maintaining the accuracy of straight lines and perfect curves. To practice using this feature, we'll trace over an imported image.
.png)
.png)
.png)
.png)
.png)

.png)

.png)

.png)
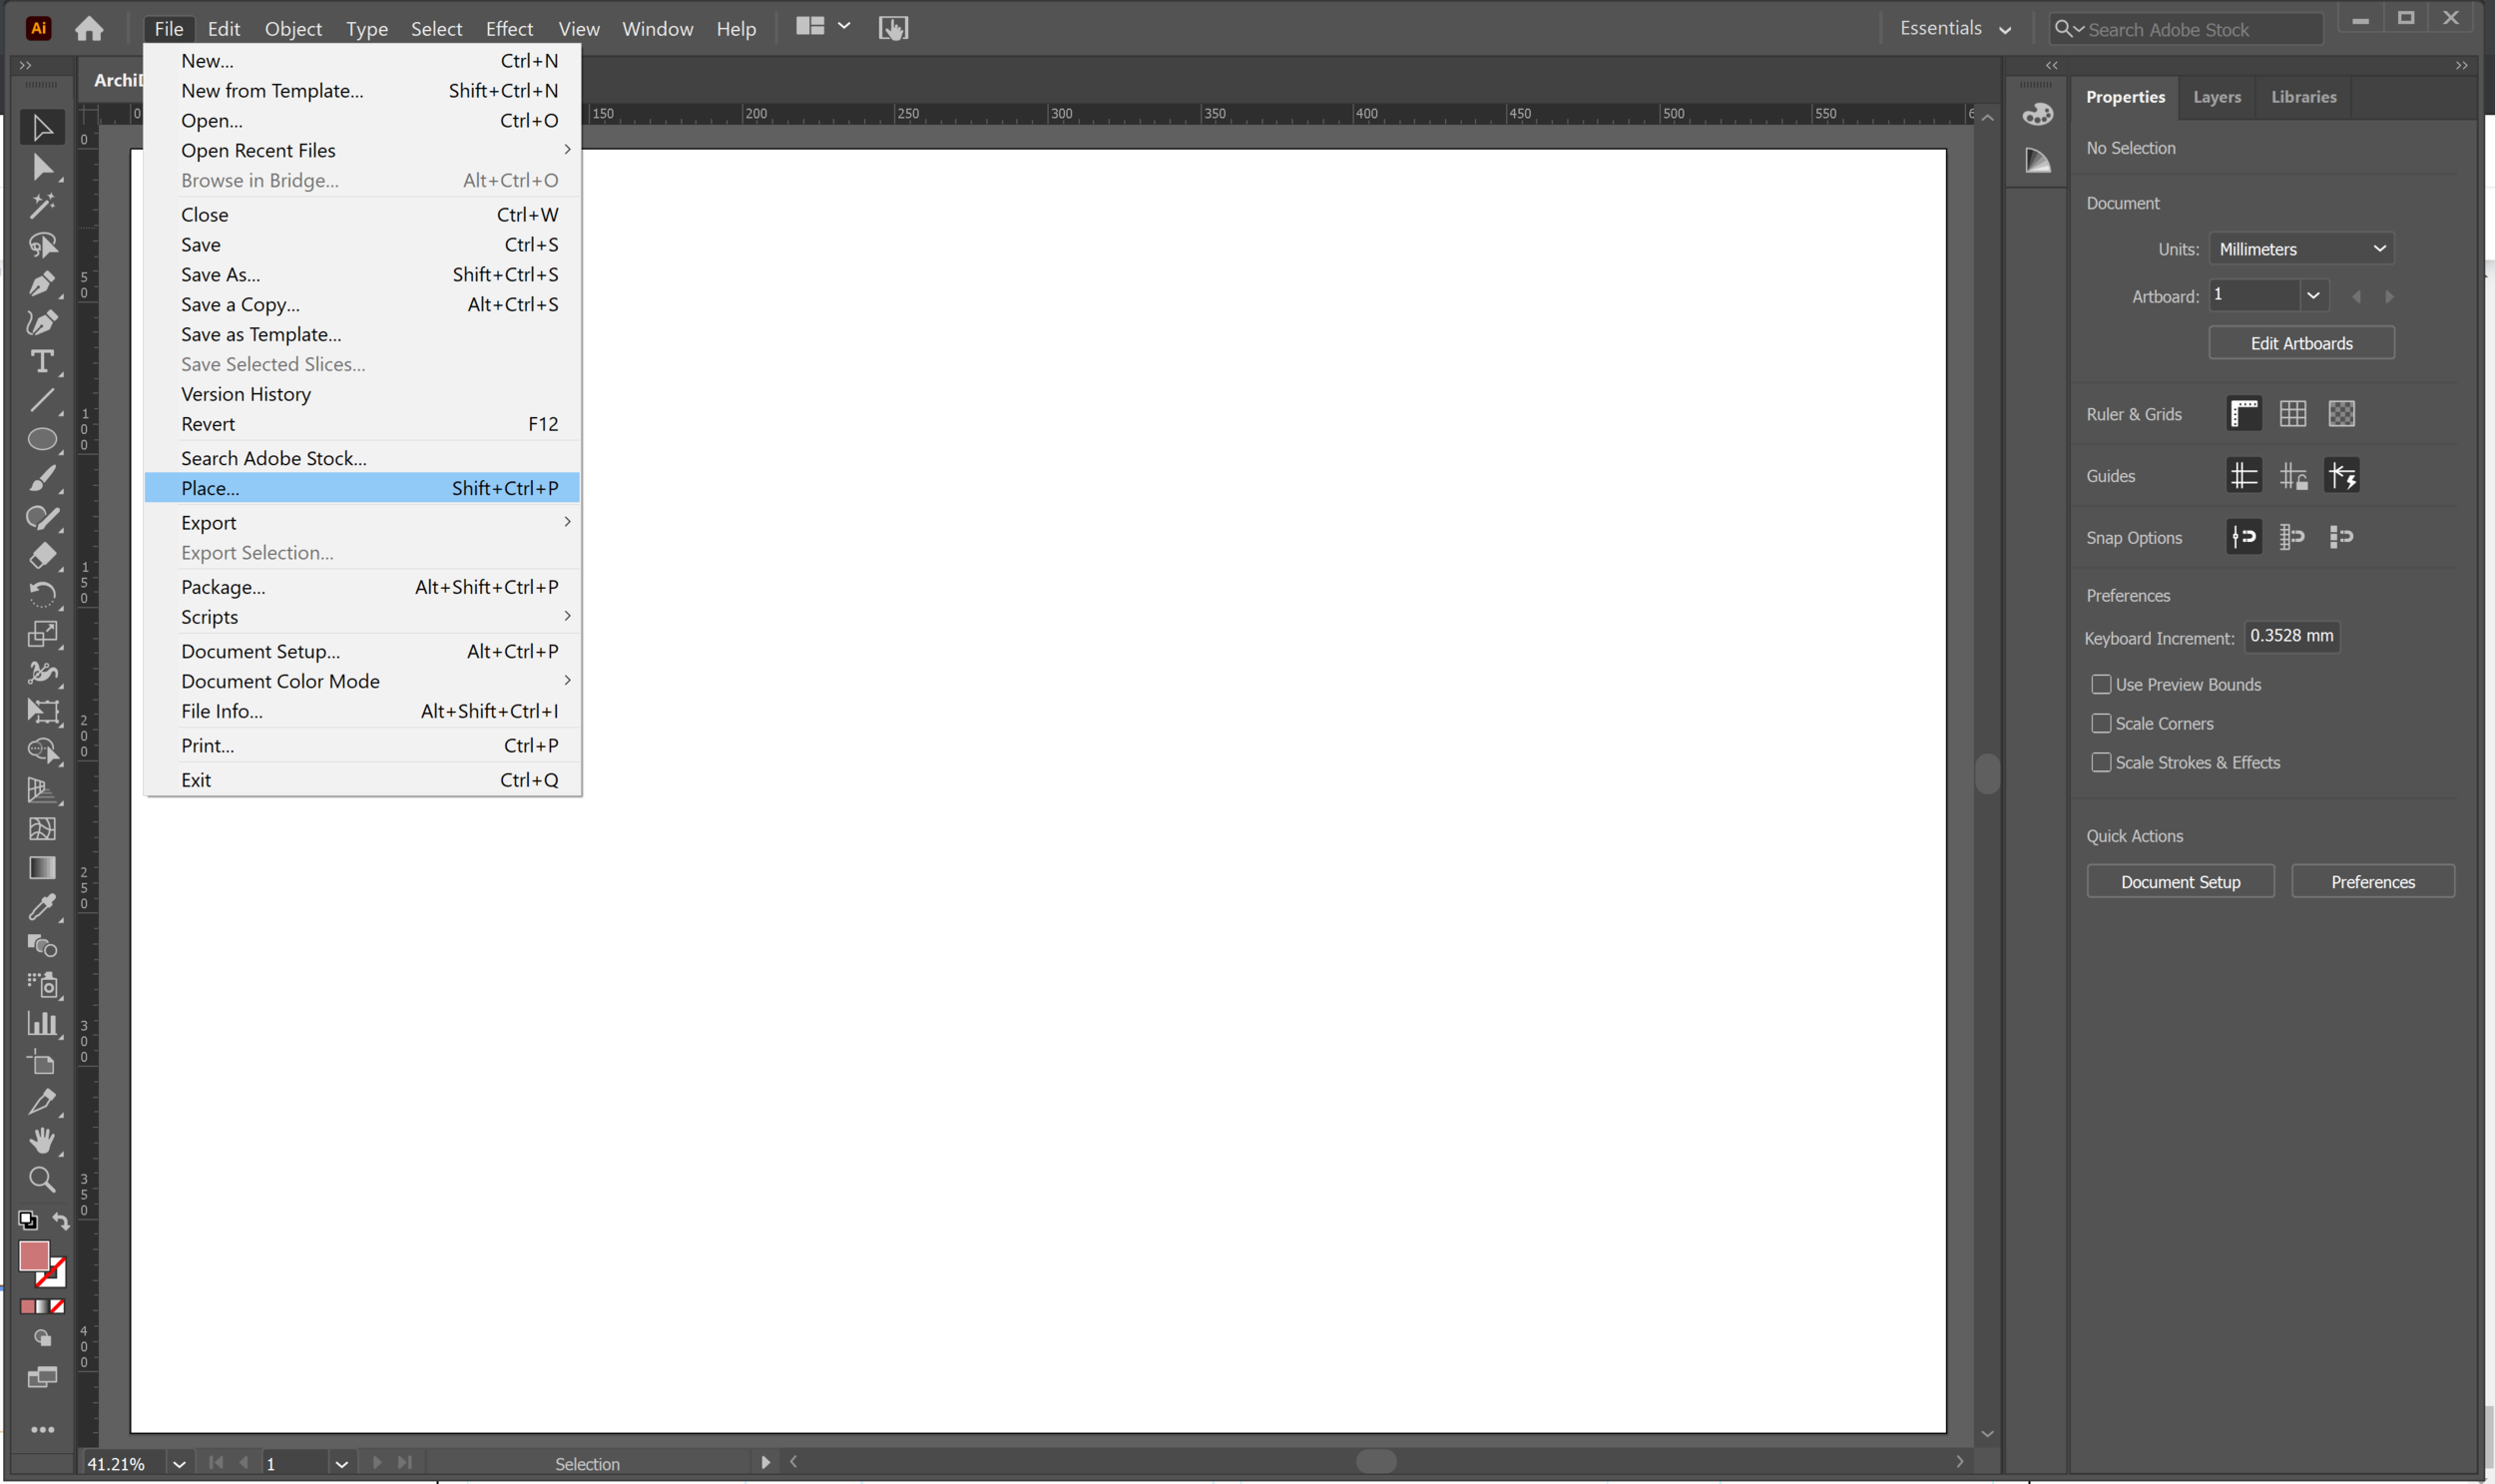
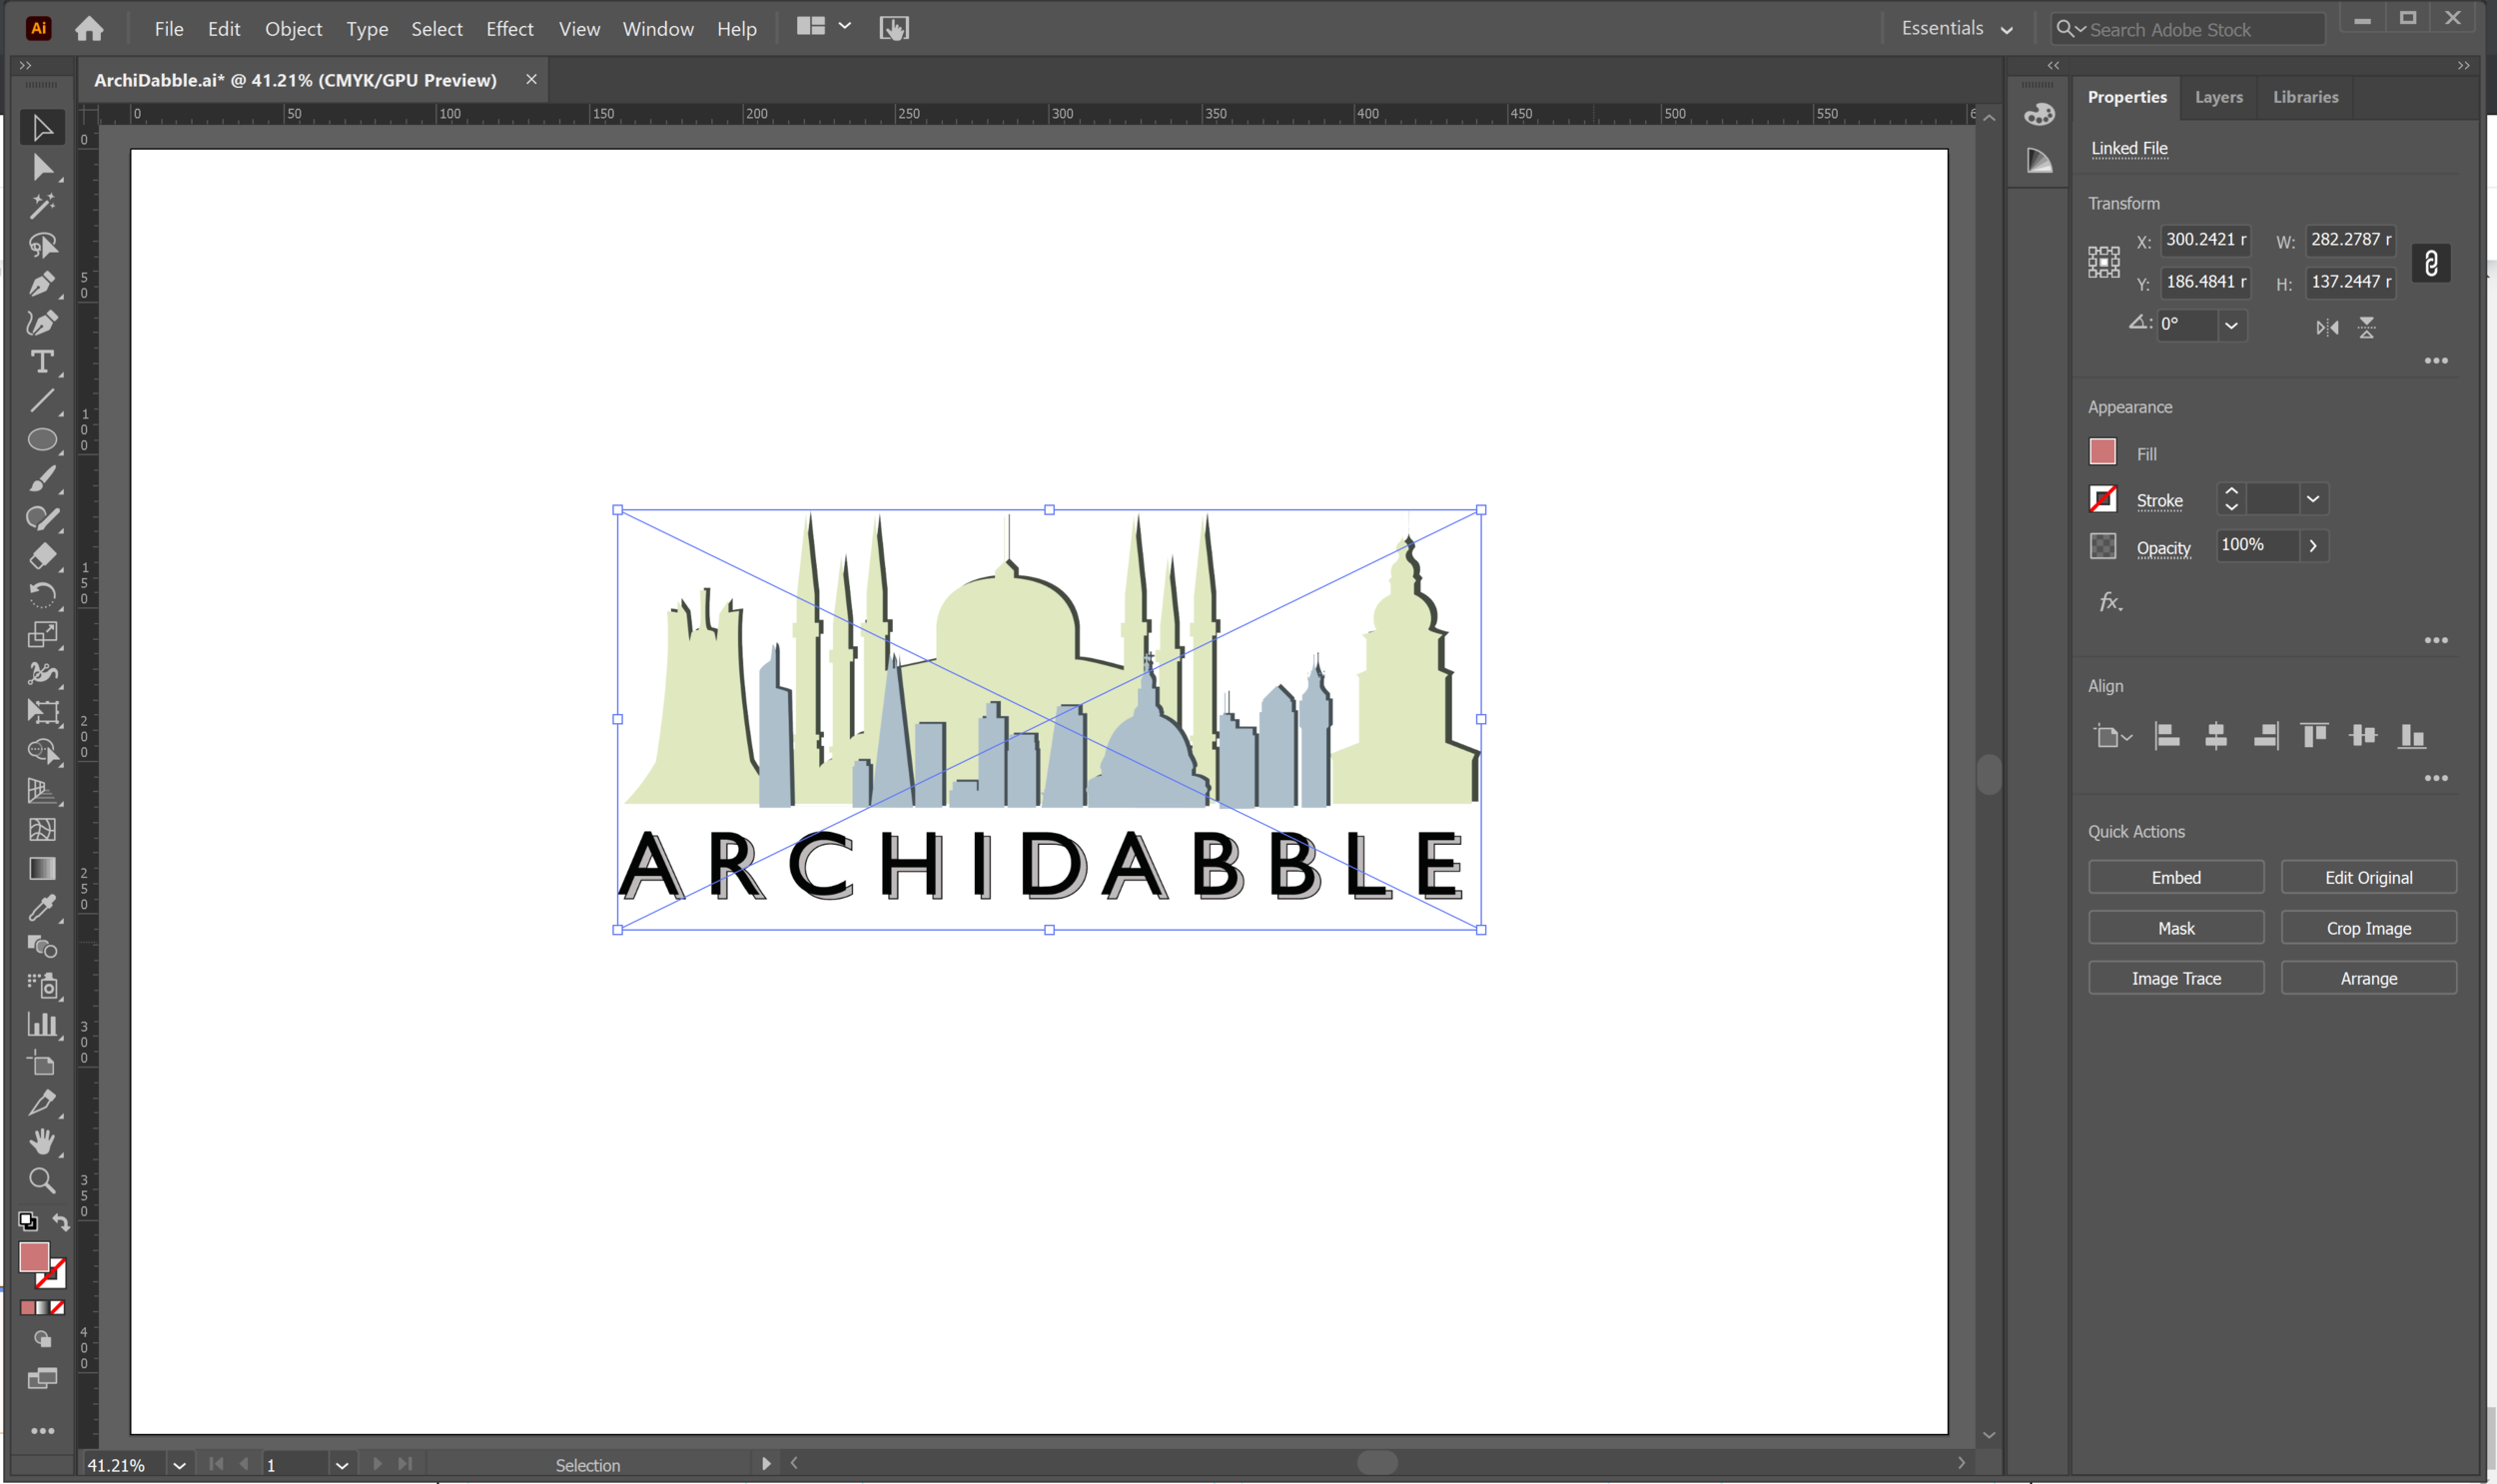
Go to File > Place and choose a file to import into the document. Click anywhere on the page to place it.
In the Layers panel, click on the empty box next to the visibility panel for the file which you just placed into the document. This locks the layer so it won't move when you trace over it.
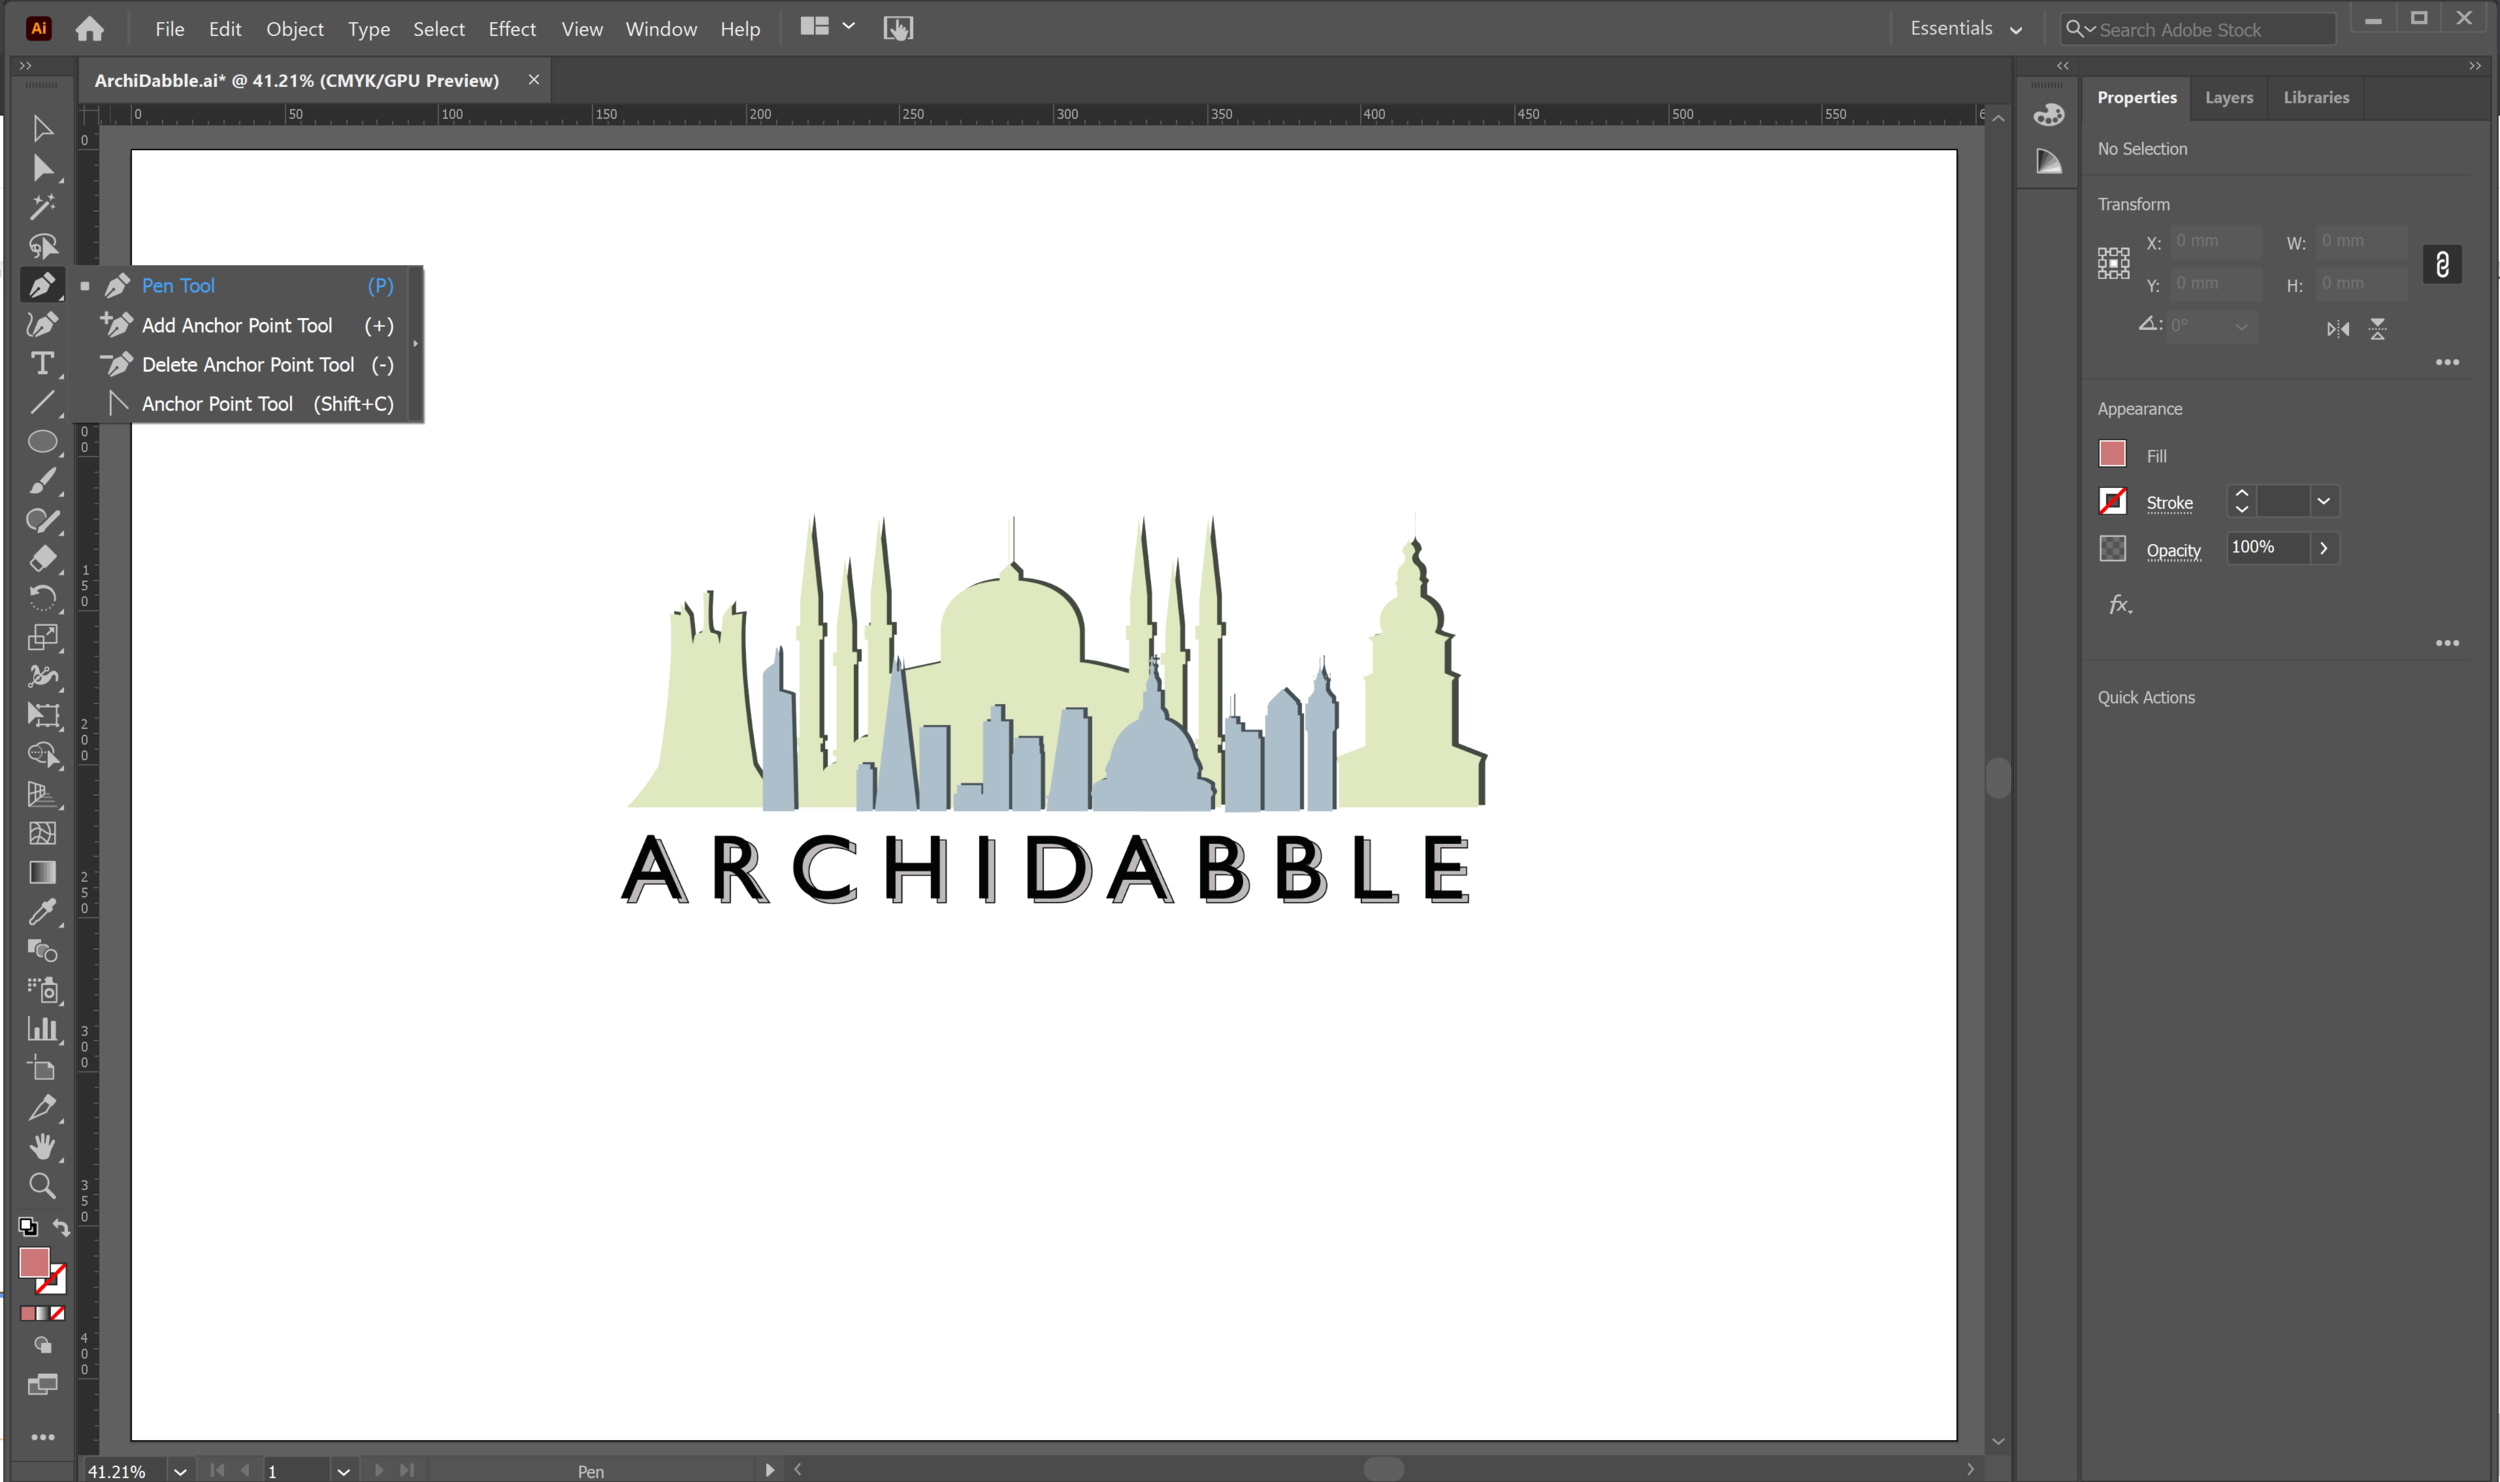
Select the 'Pen' tool (P) from the workspace.
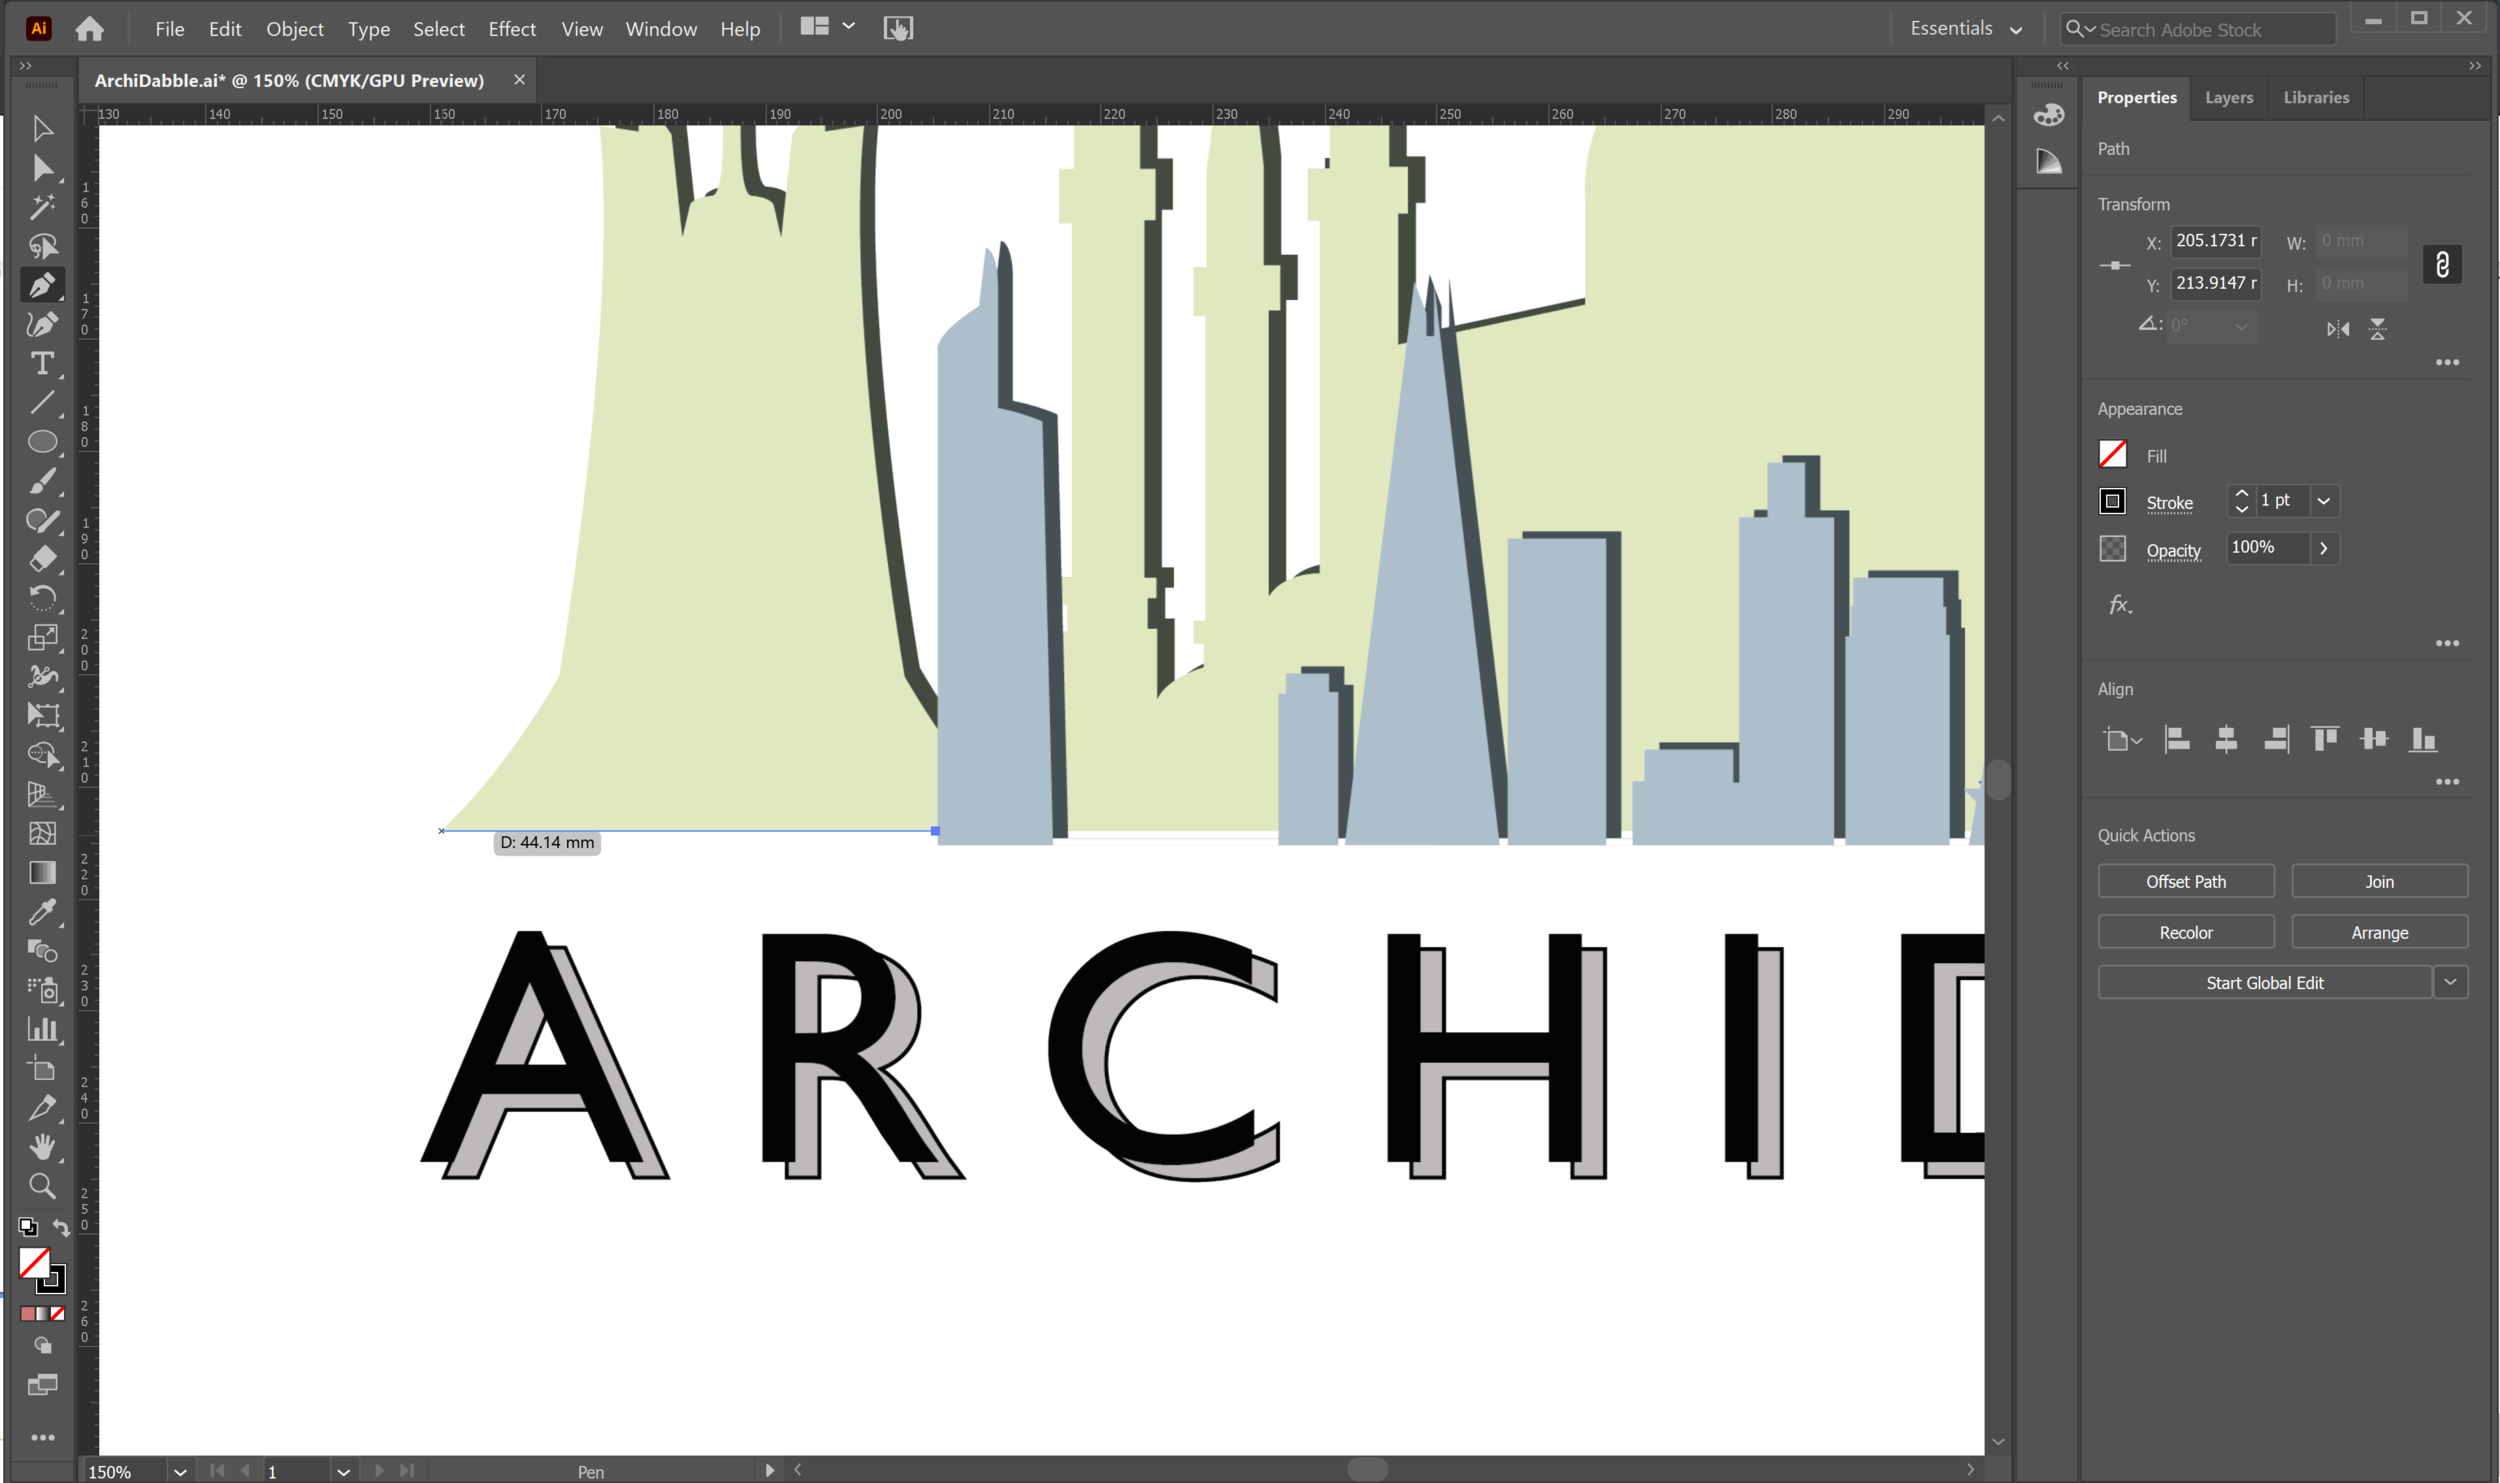
Make sure your fill is transparent and you have a visible stroke. Click on the first point of your shape. Hold 'Shift' whilst moving your mouse (not clicking and dragging) to the next point to make it a straight line.
To make a curved line, move your mouse to the next point and click, but don't release. Drag your mouse to define the intensity of the curve, and release when you're happy with it.
To continue drawing with curves, simple move your mouse and click the next point. You can also use the extended handle bars to adjust the curve you've just drawn by dragging them.
To exit the curvature mode, click on the last anchor point after you've made your curve. The top handle should disappear once you do this. Continue to define the rest of your anchor points as you build your shape.
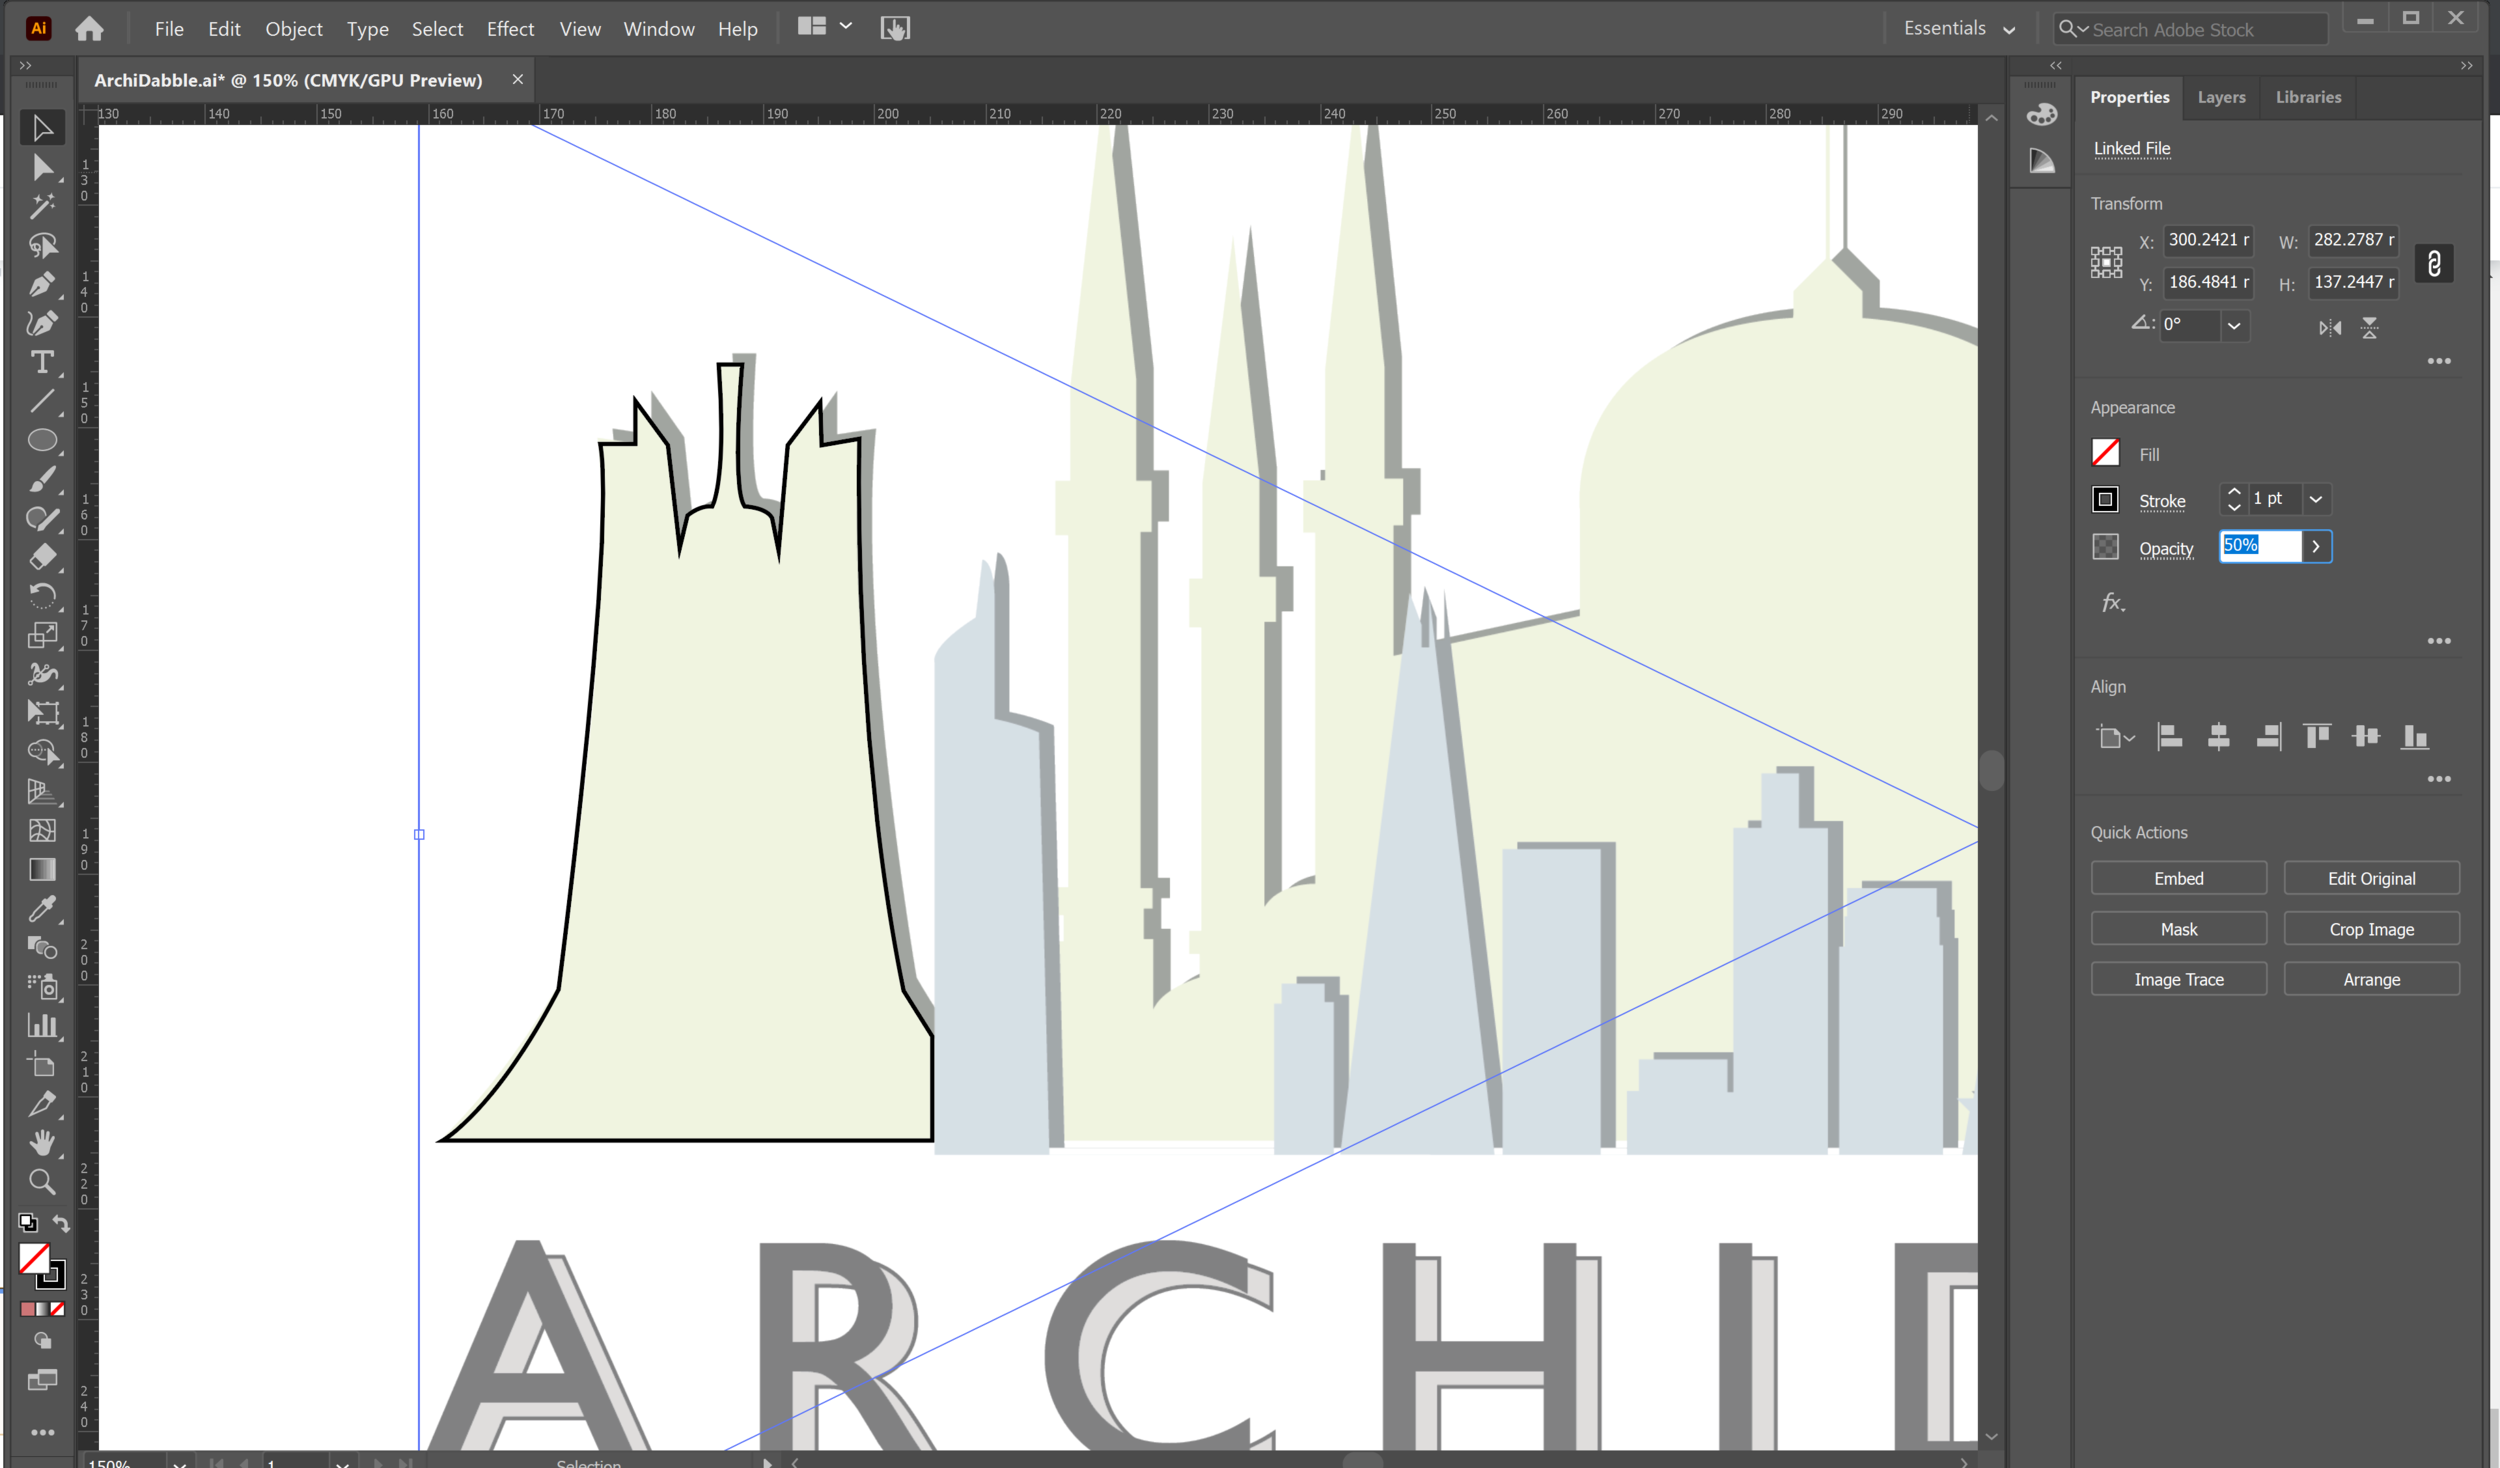
To complete your shape, click back to join your final line with the first anchor point of your shape. You can toggle the opacity to see your traced shape clearer in the 'Properties' panel.
Exporting:
Adobe Illustrator files (.ai) often need to be saved in alternative formats to use in other programmes e.g. retouching in Photoshop or adding to your portfolio on InDesign.
.png)

.png)
.png)
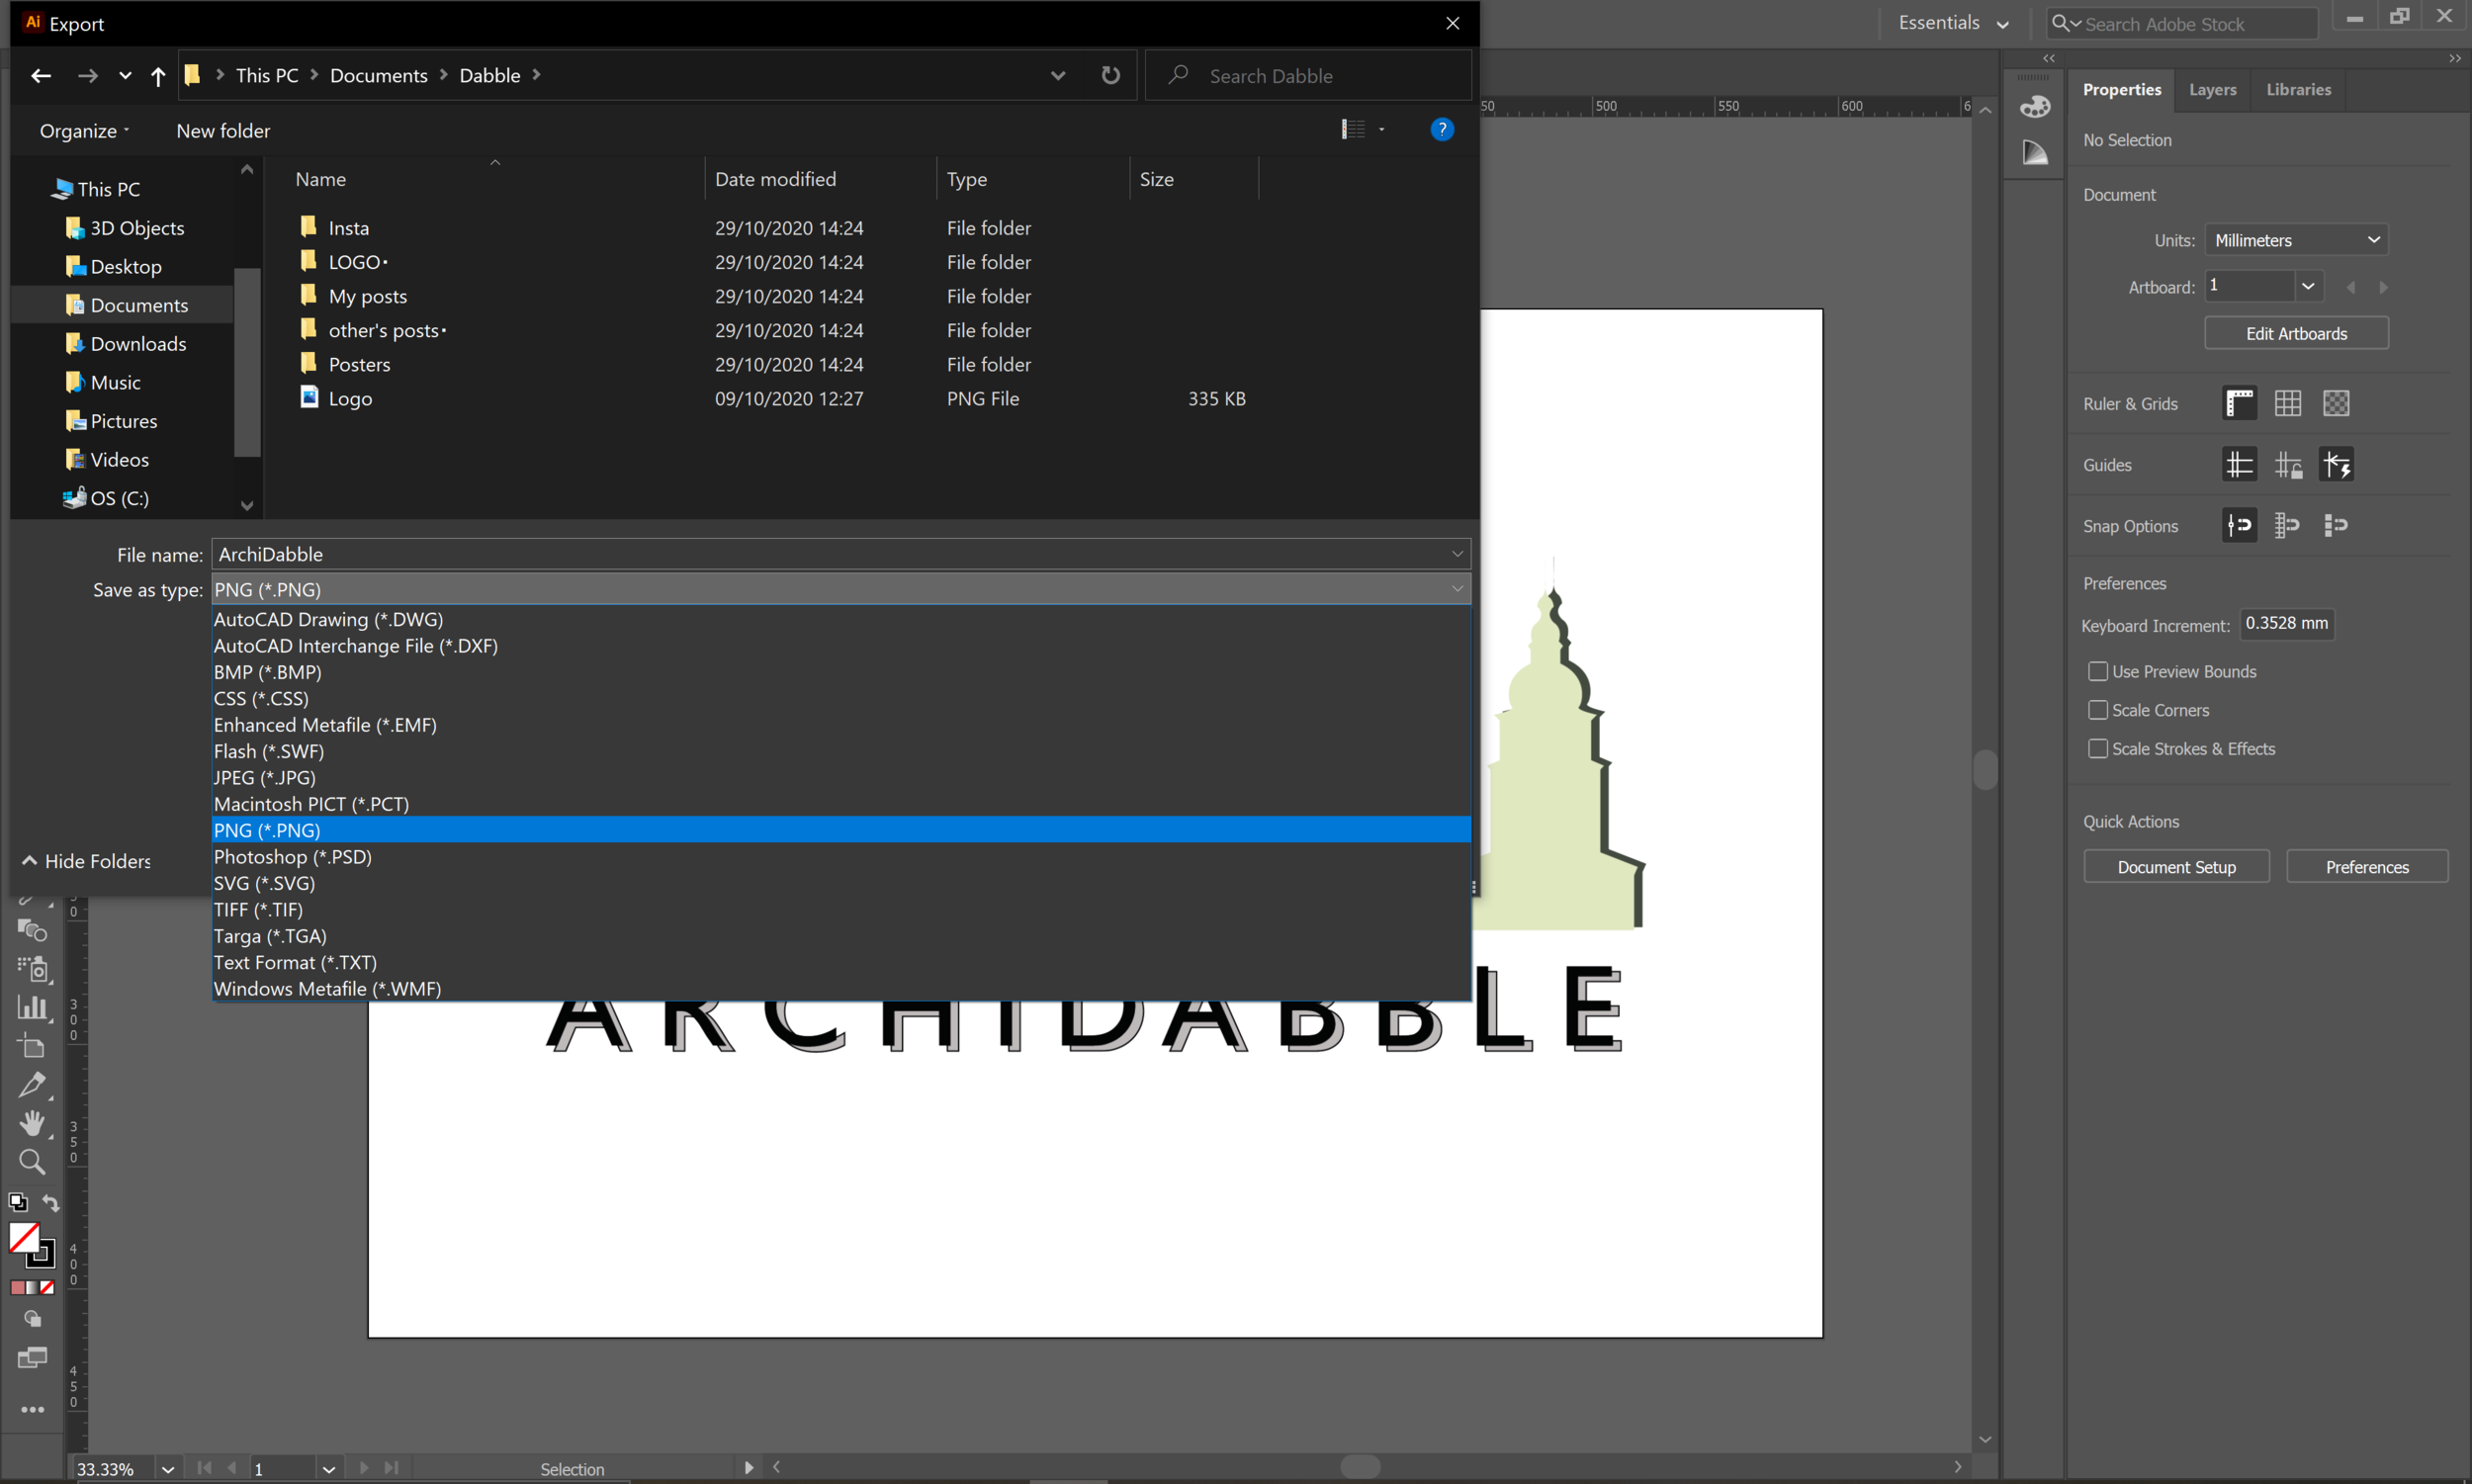
Go to File > Export > Export As...
If you didn't do so already, name your file and select your required file format. JPEG's and PNG's are the best options if you need to retouch something in Photoshop before adding to your portfolio.
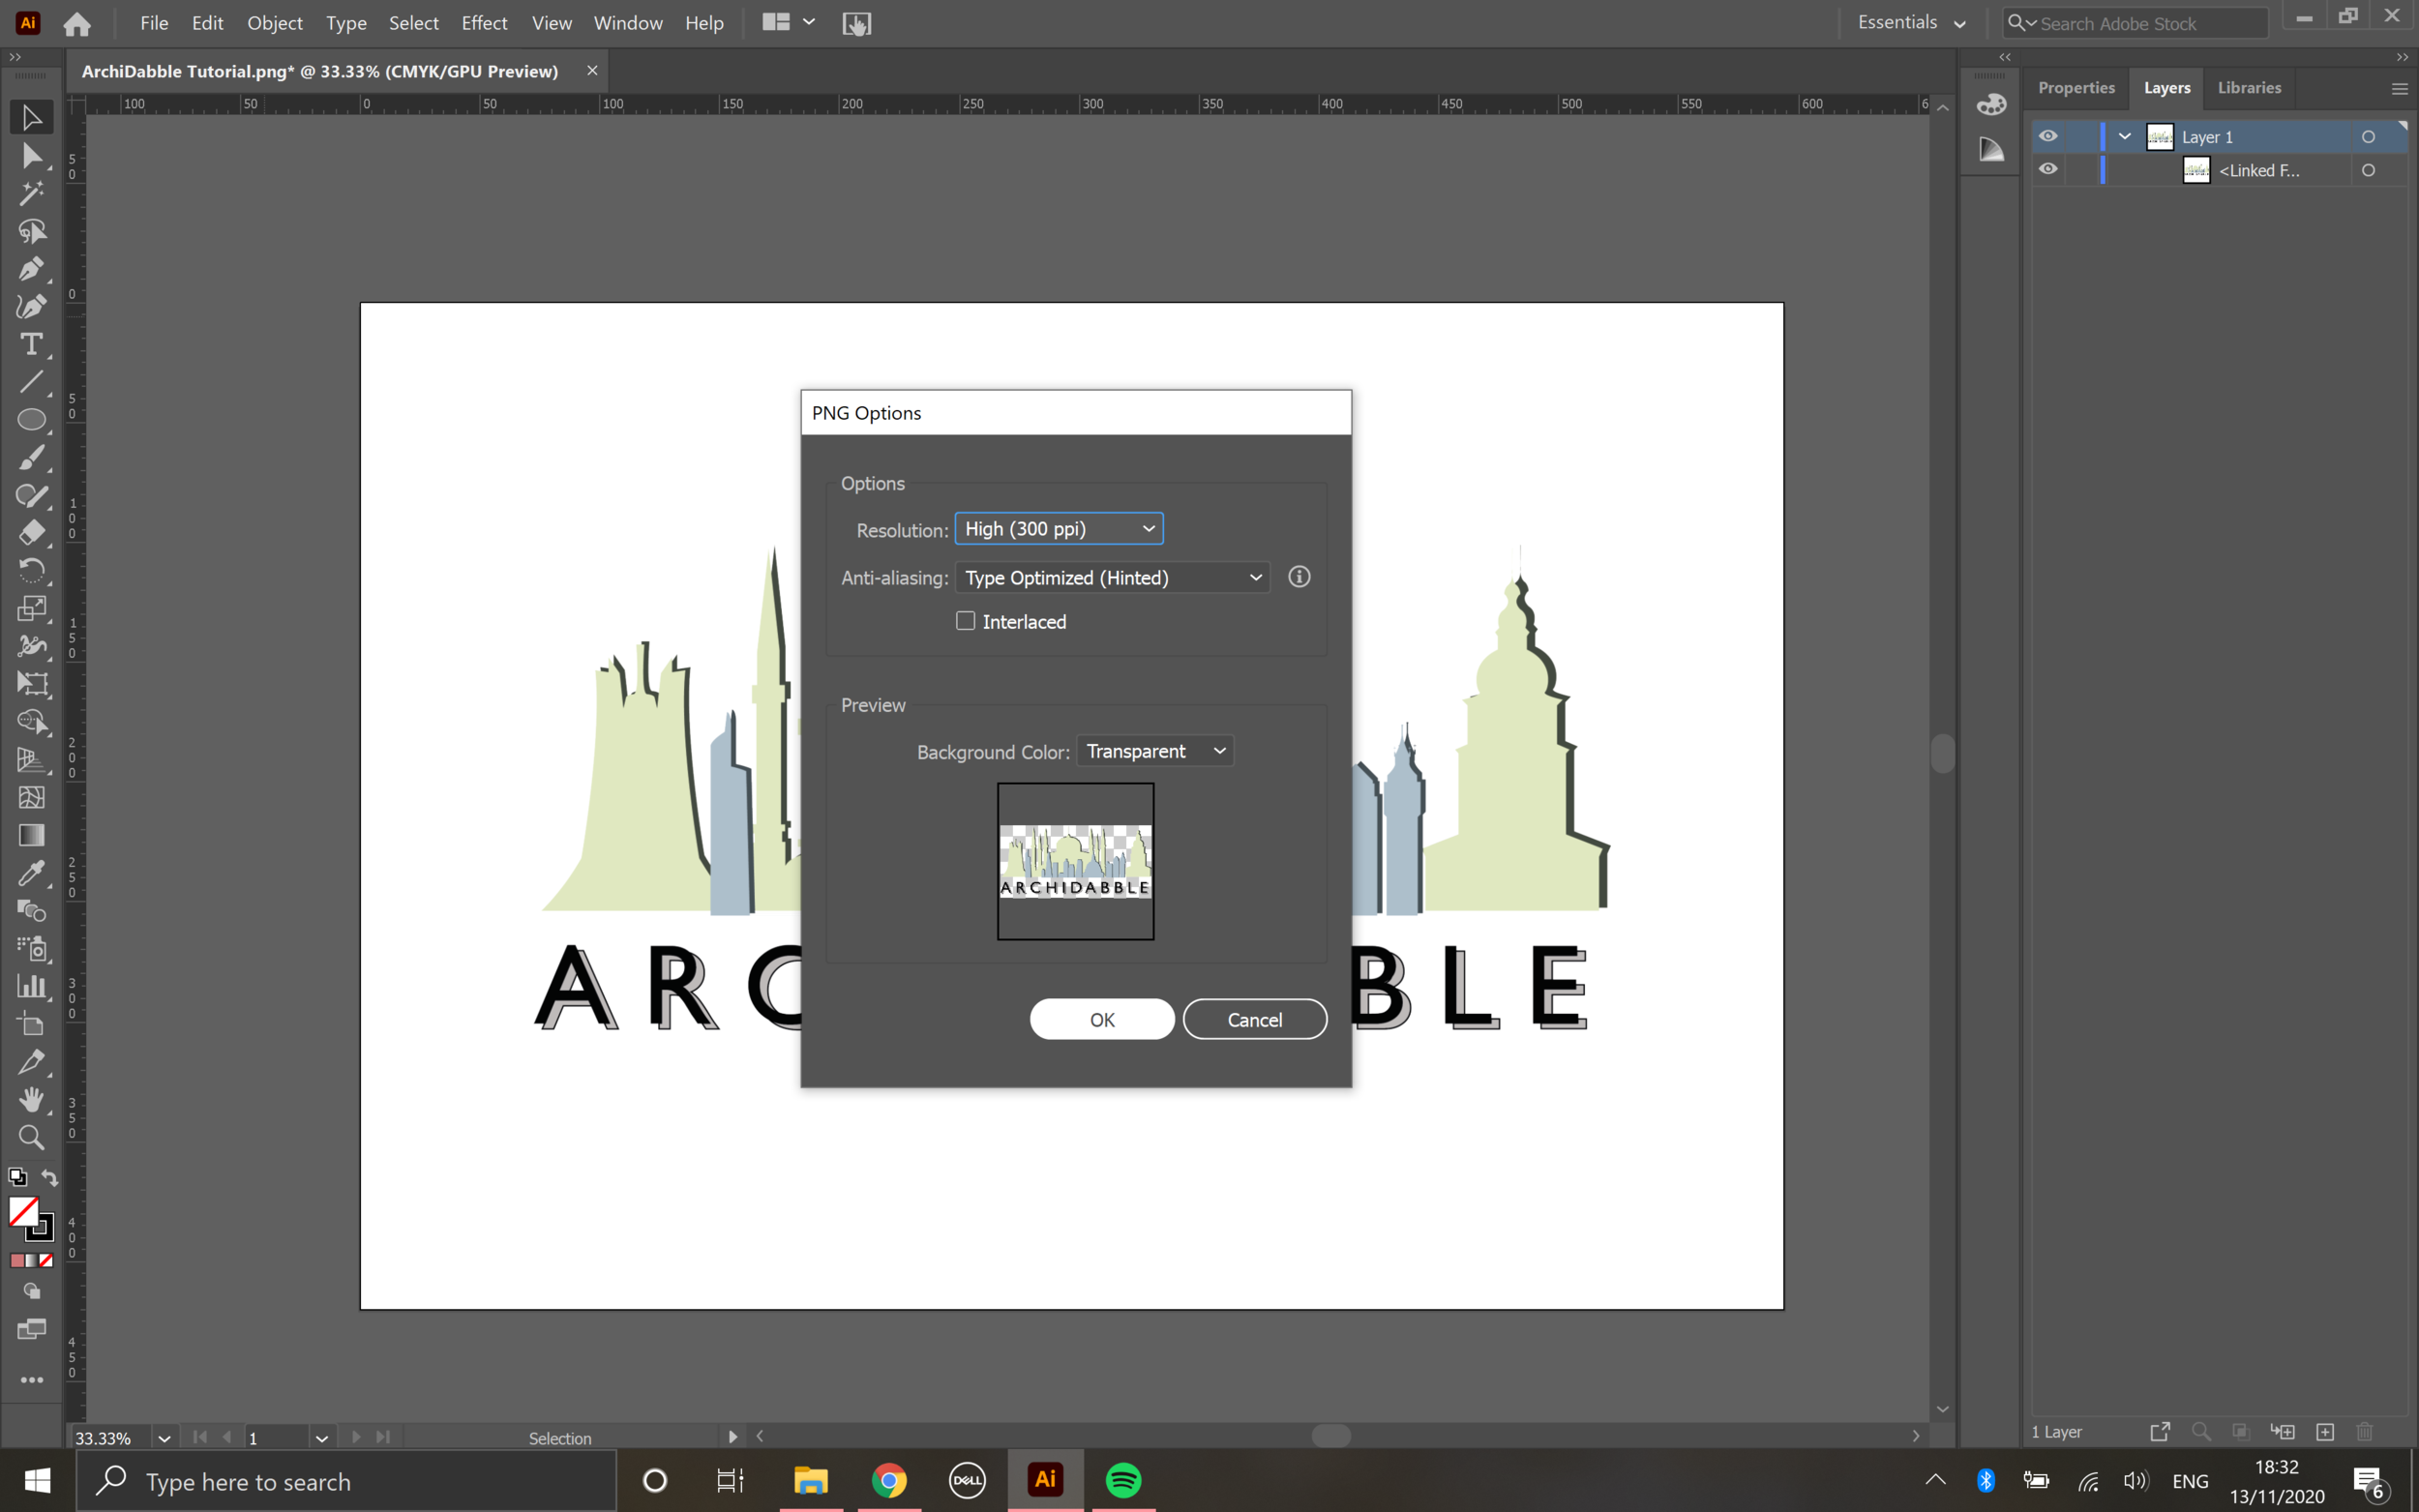
For this specific file, I'm exporting as a PNG so it can be exported with a transparent background. Click 'OK' to save your file.
That's it for this week's post! Hopefully you're more familiar with Adobe Illustrator and have enough basic knowledge to get started on your own vector drawings and diagrams. If you have any questions about using Illustrator or any other blog posts, get in touch with us at dabbleenquiries@gmail.com. Make sure to follow us on @archidabble on Instagram to keep up to date with our latest posts!